Creating an amigurumi design starts with an idea. Every step—from sketching to final assembly—adds personality and uniqueness to your handmade piece.
1. Inspiration: Sketching the First Designs
Before you start crocheting, you can bring your idea to life by sketching it on paper. These initial drawings help visualize the shape and proportions of your amigurumi.
📌 Image suggestion: A notebook with hand-drawn amigurumi sketches.
2. Choosing Materials: The Power of Colors
Soft pastel tones and high-quality yarn choices play a crucial role in the final look of an amigurumi. Cotton and organic yarns ensure durability and a natural finish.
📌 Image suggestion: A neatly arranged box of pastel-colored yarns.
3. Crocheting Process: Stitch by Stitch Artistry
Key techniques like the magic ring, single crochet, increases, and decreases define the structure of an amigurumi. Every stitch adds to the unique character of the final piece.
📌 Image suggestion: Close-up of an amigurumi piece being crocheted.
4. Assembly: Bringing the Design to Life
As the crocheted parts come together, details like eyes, stitches, and accessories give personality to the amigurumi. Thoughtful assembly enhances the final look.
📌 Image suggestion: Hands stitching an amigurumi together.
5. Final Touches: Styling and Presentation
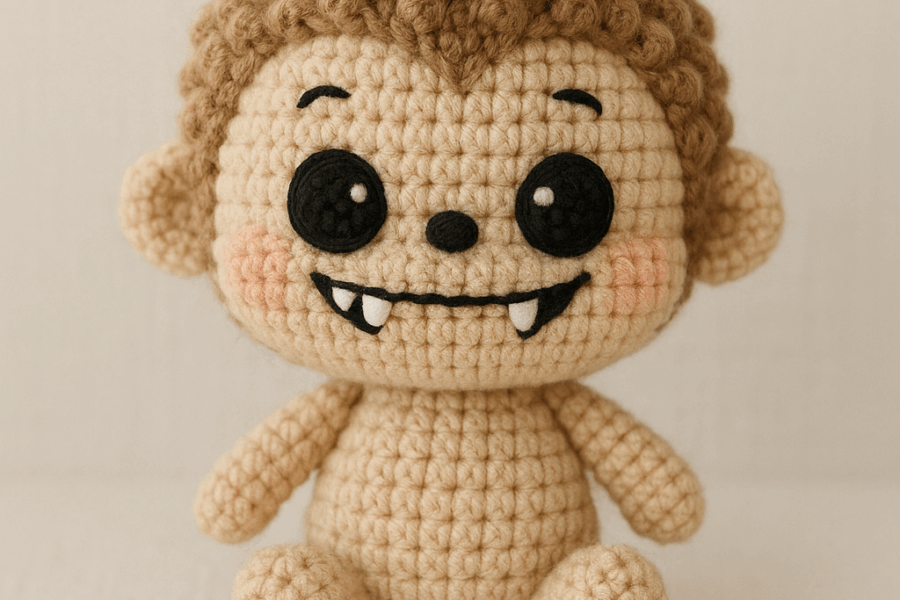
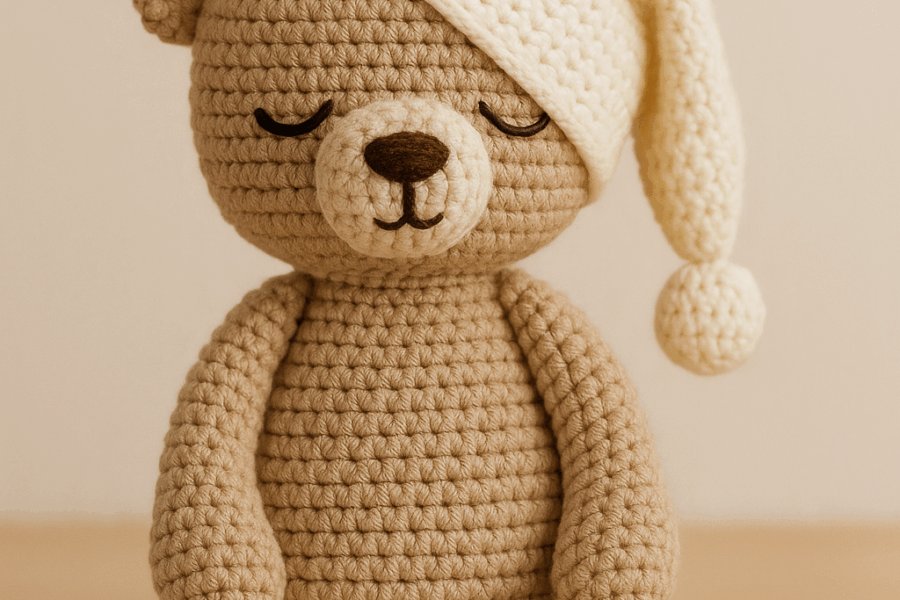
Once completed, the amigurumi is photographed under natural light to showcase its details. A carefully arranged backdrop can elevate the presentation.
📌 Image suggestion: A well-styled, professionally photographed amigurumi in soft lighting.
FAQ: Frequently Asked Questions
Q1: How long does it take to complete an amigurumi?
The duration depends on the complexity of the design and the size of the piece. A small figure may take a few hours, while more detailed creations can take several days.
Q2: What type of yarn is best for amigurumi?
Cotton yarn is preferred for its durability, structure, and ease of use. Blended or acrylic yarns are also common choices depending on the desired texture and flexibility.
Q3: How do I make my stitches tighter?
Using a smaller crochet hook and maintaining even tension while crocheting can help create tighter stitches, ensuring the final piece holds its shape well.
Q4: How do I prevent gaps between stitches?
Proper tension, smaller stitch sizes, and filling the amigurumi with an appropriate amount of stuffing can help eliminate gaps and create a smooth finish.
Q5: Can I wash amigurumi?
Yes, but it depends on the yarn type. Cotton yarn can be gently hand-washed, while delicate materials may require surface cleaning. Always check the yarn label instructions.
Usage Disclaimer
All amigurumi patterns and designs featured here are original creations, crafted with attention to detail. These tutorials and guides are for personal use only. Any reproduction, commercial distribution, or adaptation of these designs without proper credit is not permitted.
If you’d like to feature these designs in any publication or share them on platforms, please ensure appropriate attribution.
Follow Amyliva Handmade on Social Media!
Stay updated with new amigurumi patterns, tutorials, and creative content:
📌 Instagram: @amyliva_handmade
📌 Pinterest: Amyliva Handmade
📌 YouTube: Amyliva Handmade Channel
Let me know if you need any refinements or additions! 😊

Leave a Comment