CROCHET ACCESSORIES AND HOME
amigurumi, amigurumi designs, amigurumi holiday doll, AmyLiva Handmade, crochet santa ornament, crochet tutorial with soul, DIY amigurumi, emotional crochet art, fiberfill stuffed toy, fluffy white beard detail, free amigurumi pattern, free crochet pattern, gentle yarn textures, handmade christmas gift, HandmadeWithLove, kawaii crochet, poetic handmade scene, red yarn santa figure, safety eyes placement, soft baby doll, soft festive decoration, storytelling amigurumi, winter ritual crafting
admin
0 Yorumlar
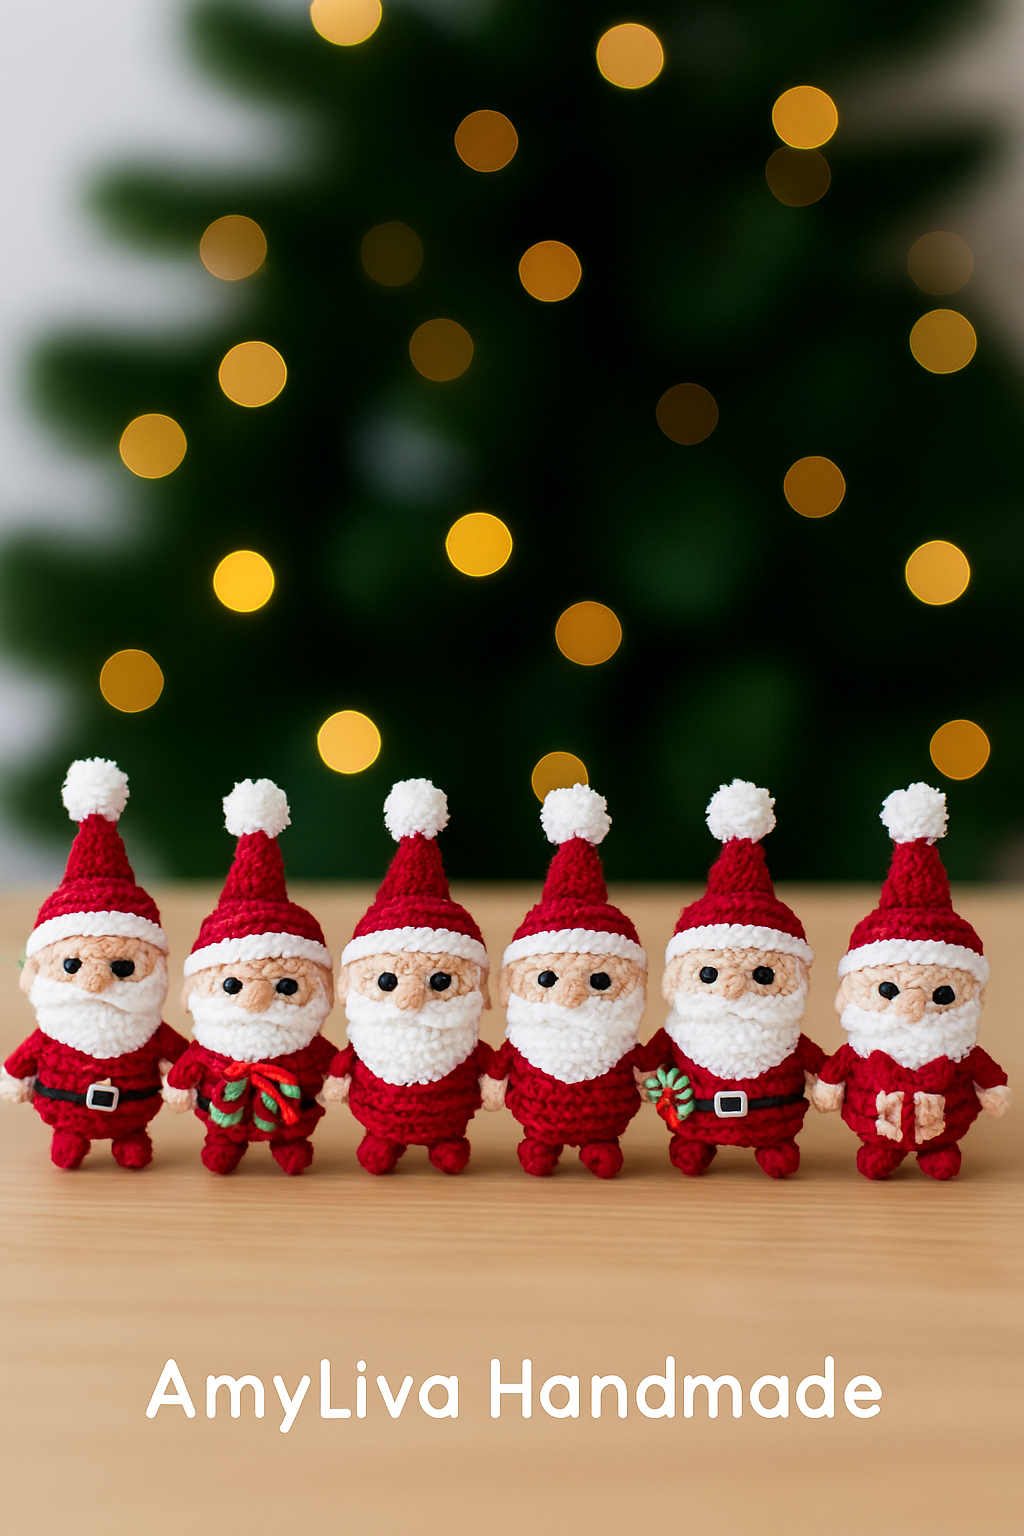
Craft the Cutest Holiday Decor: The Ultimate Guide to Amigurumi Mini Santa Ornaments
Are you looking for a fun, creative way to add a personal touch to your holiday decorations this year? There’s nothing quite like a handmade ornament to bring warmth and charm to your Christmas tree. And if you’re a fan of crochet, you’re in for a treat! Amigurumi, the Japanese art of crocheting small stuffed yarn creatures, is the perfect craft for creating adorable, whimsical holiday figures.
https://youtube.com/shorts/cmAuAr8JhqY?si=OXw8c3VOtGR10Fl3
In this comprehensive guide, we’ll walk you through a step-by-step pattern to create your very own amigurumi mini Santa ornaments. This project is fantastic for both seasoned crocheters and enthusiastic beginners. We’ll cover everything from the materials you’ll need to a detailed, row-by-row pattern for each piece of our tiny Santa. Get your hooks ready—let’s bring some holiday cheer to life!
Why Amigurumi Santas?
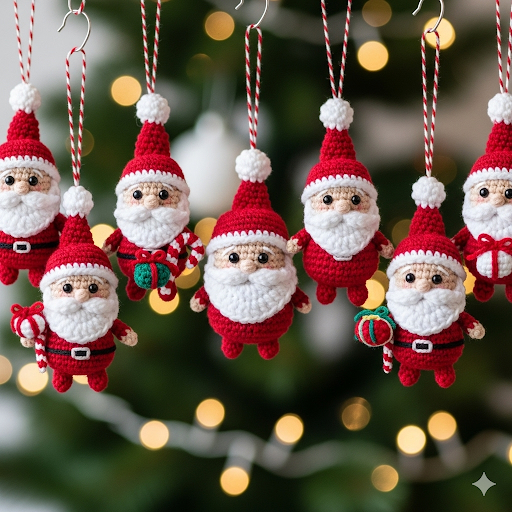
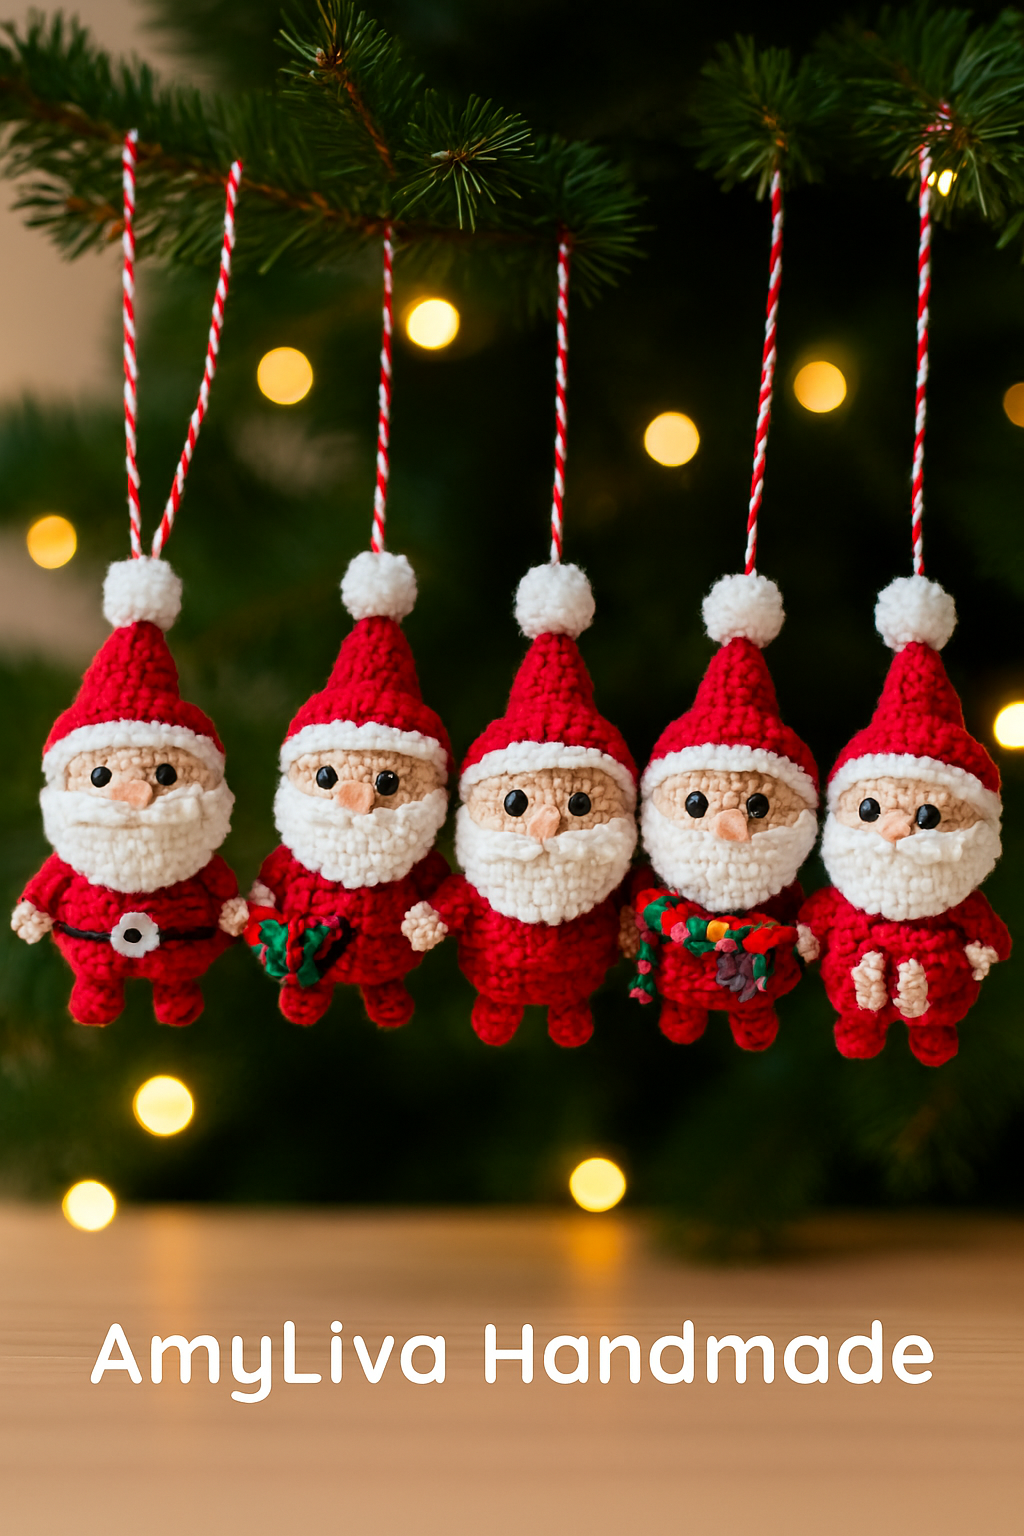
Miniature handmade ornaments have a special kind of magic. They are small enough to be quick to make, so you can easily whip up a whole set for your tree. They also make thoughtful and personalized gifts for friends, family, and colleagues. Imagine them as a charming gift topper, a festive keychain, or a stocking stuffer. These little Santas are not just decorations; they’re tiny tokens of holiday cheer, handmade with love and care.
Materials You’ll Need
Before we dive into the pattern, make sure you have all the necessary supplies. Having everything organized will make the process much smoother and more enjoyable.
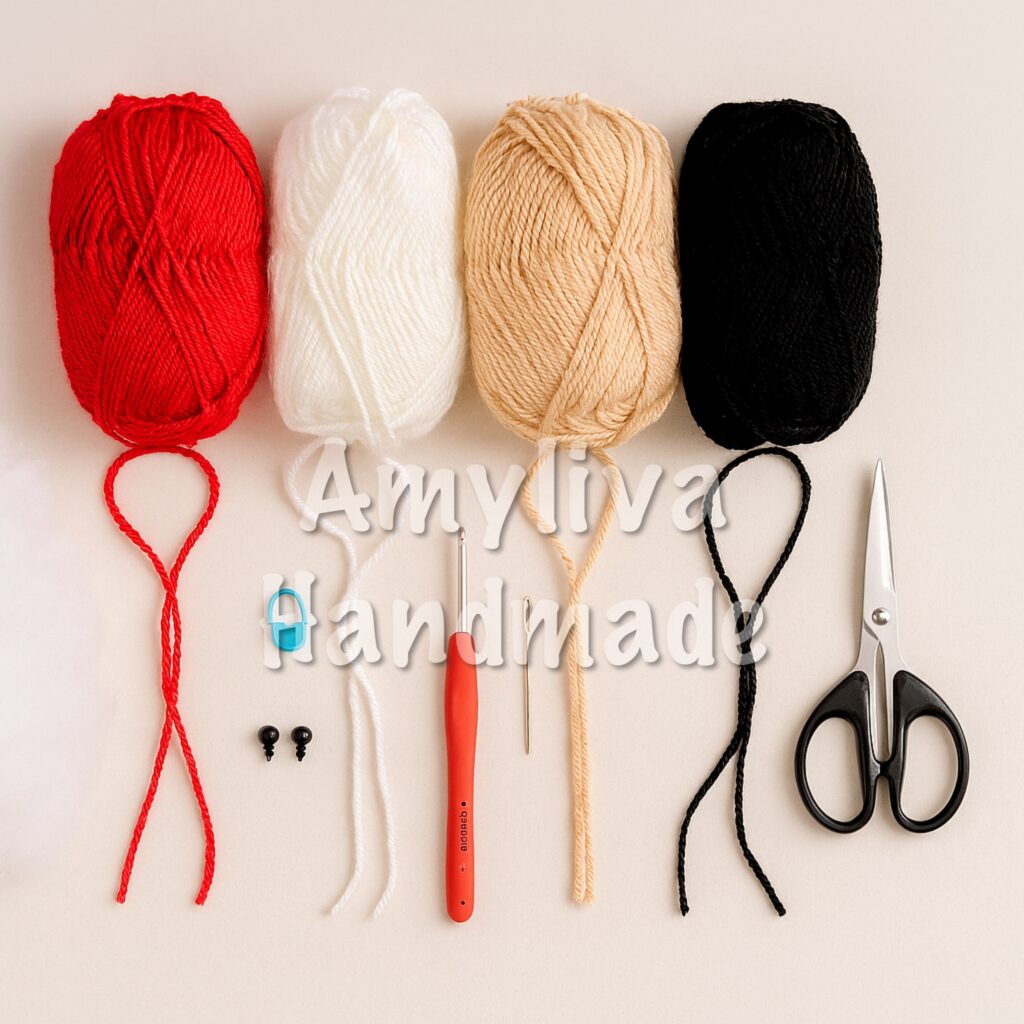
• Yarn: You’ll need four different colors of yarn, preferably a worsted-weight or light-worsted acrylic yarn. Acrylic is durable, holds its shape well, and is affordable.
• Red: For Santa’s suit and hat.
• White: For the beard, hat trim, and pom-pom.
• Flesh Tone/Beige: For Santa’s face.
• Black: For the belt and boots.
• Crochet Hook: A 3.0 mm or 3.25 mm (D/3 or E/4) hook is perfect for worsted-weight yarn, as it creates tight stitches, preventing the stuffing from showing through.
• Stuffing: Polyester fiberfill is the standard choice for amigurumi.
• Safety Eyes: Two 6mm or 8mm safety eyes. Alternatively, you can embroider the eyes with black thread if you prefer a softer look.
• Yarn Needle: A blunt-tipped needle for sewing the pieces together.
• Scissors: For cutting your yarn.
• Stitch Marker: A small clip or a piece of contrasting yarn to mark the beginning of each round. This is crucial for amigurumi!
Understanding the Basics of Amigurumi
If you’re new to amigurumi, don’t worry! Here are a few essential techniques you should be familiar with before you begin. We’ll be using these stitches and methods throughout the pattern.
• Magic Ring (MR): This is the foundation of most amigurumi projects. It’s a method for beginning a circular piece by creating a closed ring of stitches without a hole in the center.
• Single Crochet (sc): The most common stitch in amigurumi. It creates a dense, sturdy fabric.
• Invisible Decrease (inv dec): This technique creates a seamless decrease that is much less noticeable than a standard single crochet decrease, giving your finished piece a smoother look. To do it, you insert your hook into the front loop of the next two stitches and then yarn over and pull through.
• Increase (inc): This simply means placing two single crochet stitches into the same stitch from the previous round.
The Amigurumi Santa Pattern
All parts are worked in continuous rounds unless otherwise stated. Use a stitch marker to keep track of the first stitch of each round.
Part 1: The Head (Using Flesh Tone Yarn)
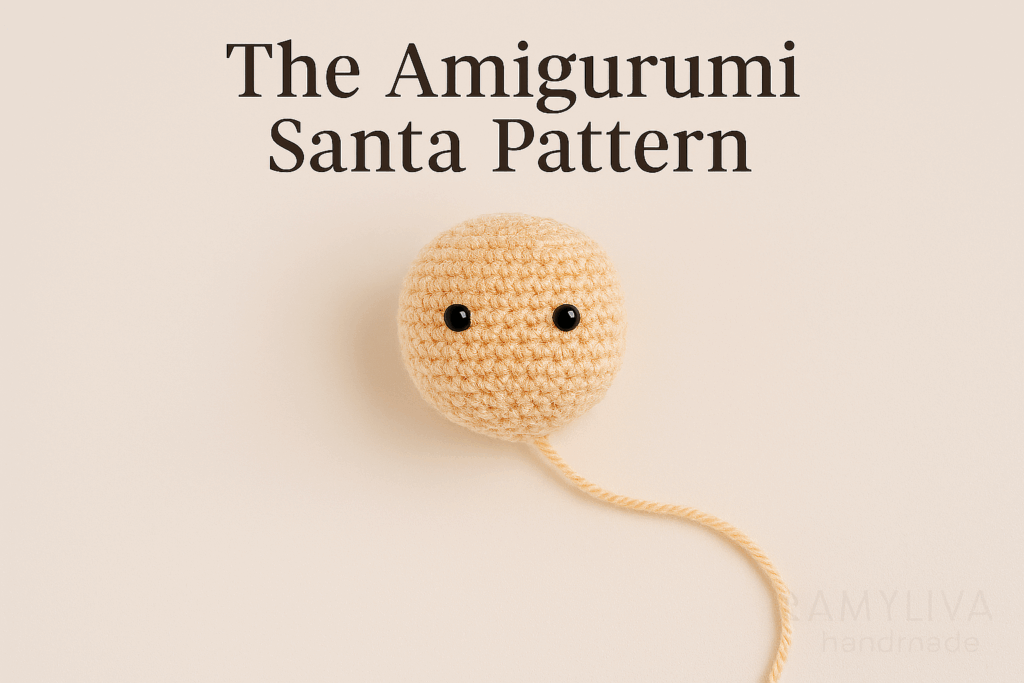
1. Round 1: Start with a magic ring of 6 single crochet (6)
2. Round 2: [Inc] x 6 (12)
3. Round 3: [Sc, inc] x 6 (18)
4. Round 4: [Sc in next 2, inc] x 6 (24)
5. Round 5-8 (4 rounds): Sc in each stitch around (24)
6. Round 9: [Sc in next 2, inv dec] x 6 (18)
7. Attach Eyes: Place the safety eyes between Rounds 6 and 7, about 4-5 stitches apart.
8. Round 10: [Sc, inv dec] x 6 (12)
9. Stuff the Head: Firmly stuff the head with fiberfill. Make sure it’s smooth and plump.
10. Round 11: [Inv dec] x 6 (6)
11. Final Step: Fasten off, leaving a long tail for sewing. Use the tail to sew the remaining hole shut and weave in the end.
Part 2: The Body (Using Red Yarn)
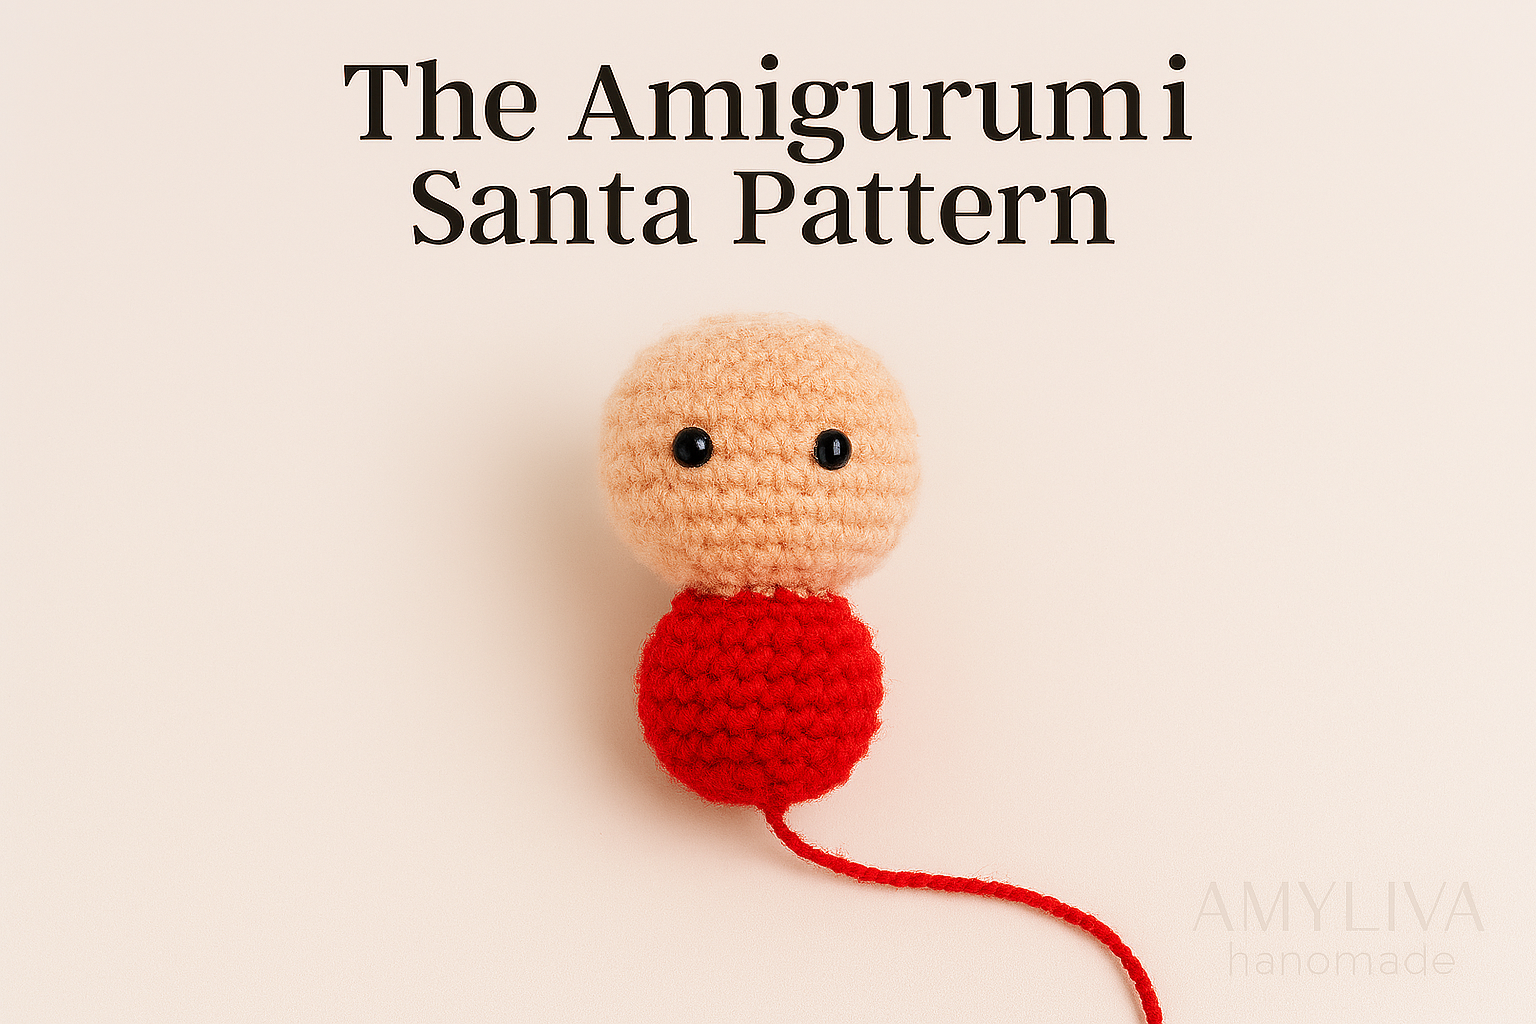
1. Round 1: Start with a magic ring of 6 single crochet (6)
2. Round 2: [Inc] x 6 (12)
3. Round 3: [Sc, inc] x 6 (18)
4. Round 4: Sc in each stitch around (18)
5. Round 5: [Sc in next 2, inc] x 6 (24)
6. Round 6-9 (4 rounds): Sc in each stitch around (24)
7. Round 10: [Sc in next 2, inv dec] x 6 (18)
8. Round 11: [Sc, inv dec] x 6 (12)
9. Stuff the Body: Fill the body with fiberfill, shaping it as you go.
10. Round 12: [Inv dec] x 6 (6)
11. Final Step: Fasten off, leaving a long tail for sewing. Close the hole and weave in the end.
Part 3: The Hat (Using Red Yarn)

1. Round 1: Start with a magic ring of 6 single crochet (6)
2. Round 2: Sc in each stitch around (6)
3. Round 3: [Sc, inc] x 3 (9)
4. Round 4: Sc in each stitch around (9)
5. Round 5: [Sc in next 2, inc] x 3 (12)
6. Round 6: Sc in each stitch around (12)
7. Round 7: [Sc in next 3, inc] x 3 (15)
8. Round 8: Sc in each stitch around (15)
9. Round 9: [Sc in next 4, inc] x 3 (18)
10. Round 10: Sc in each stitch around (18)
11. Round 11: [Sc in next 5, inc] x 3 (21)
12. Round 12: Sc in each stitch around (21)
13. Round 13: [Sc in next 6, inc] x 3 (24)
14. Round 14: Sc in each stitch around (24)
15. Hat Brim (Change to White Yarn):
16. Round 15: [Sc in next 3, inc] x 6 (30)
17. Round 16: Sc in each stitch around (30)
18. Final Step: Fasten off and weave in ends. Do not stuff.
Part 4: The Pom-Pom (Using White Yarn)
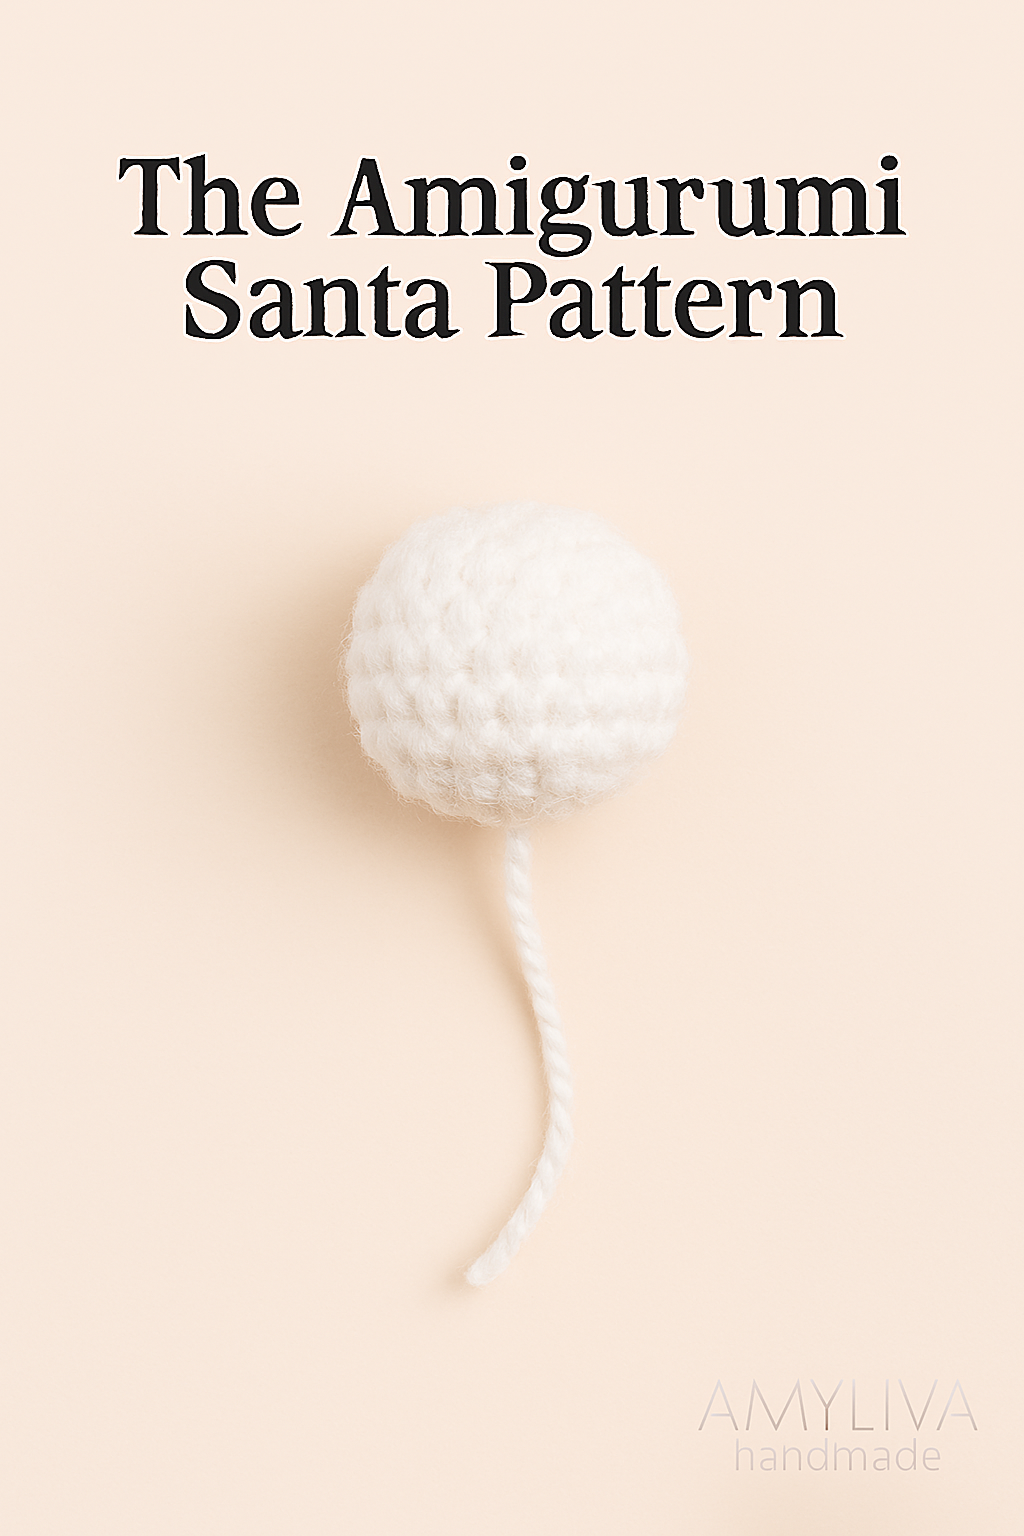
1. Round 1: Start with a magic ring of 6 single crochet (6)
2. Round 2: [Inc] x 6 (12)
3. Round 3: Sc in each stitch around (12)
4. Round 4: [Inv dec] x 6 (6)
5. Final Step: Fasten off, leaving a long tail for sewing. Stuff the pom-pom firmly and sew the remaining hole shut.
Part 5: The Beard (Using White Yarn)
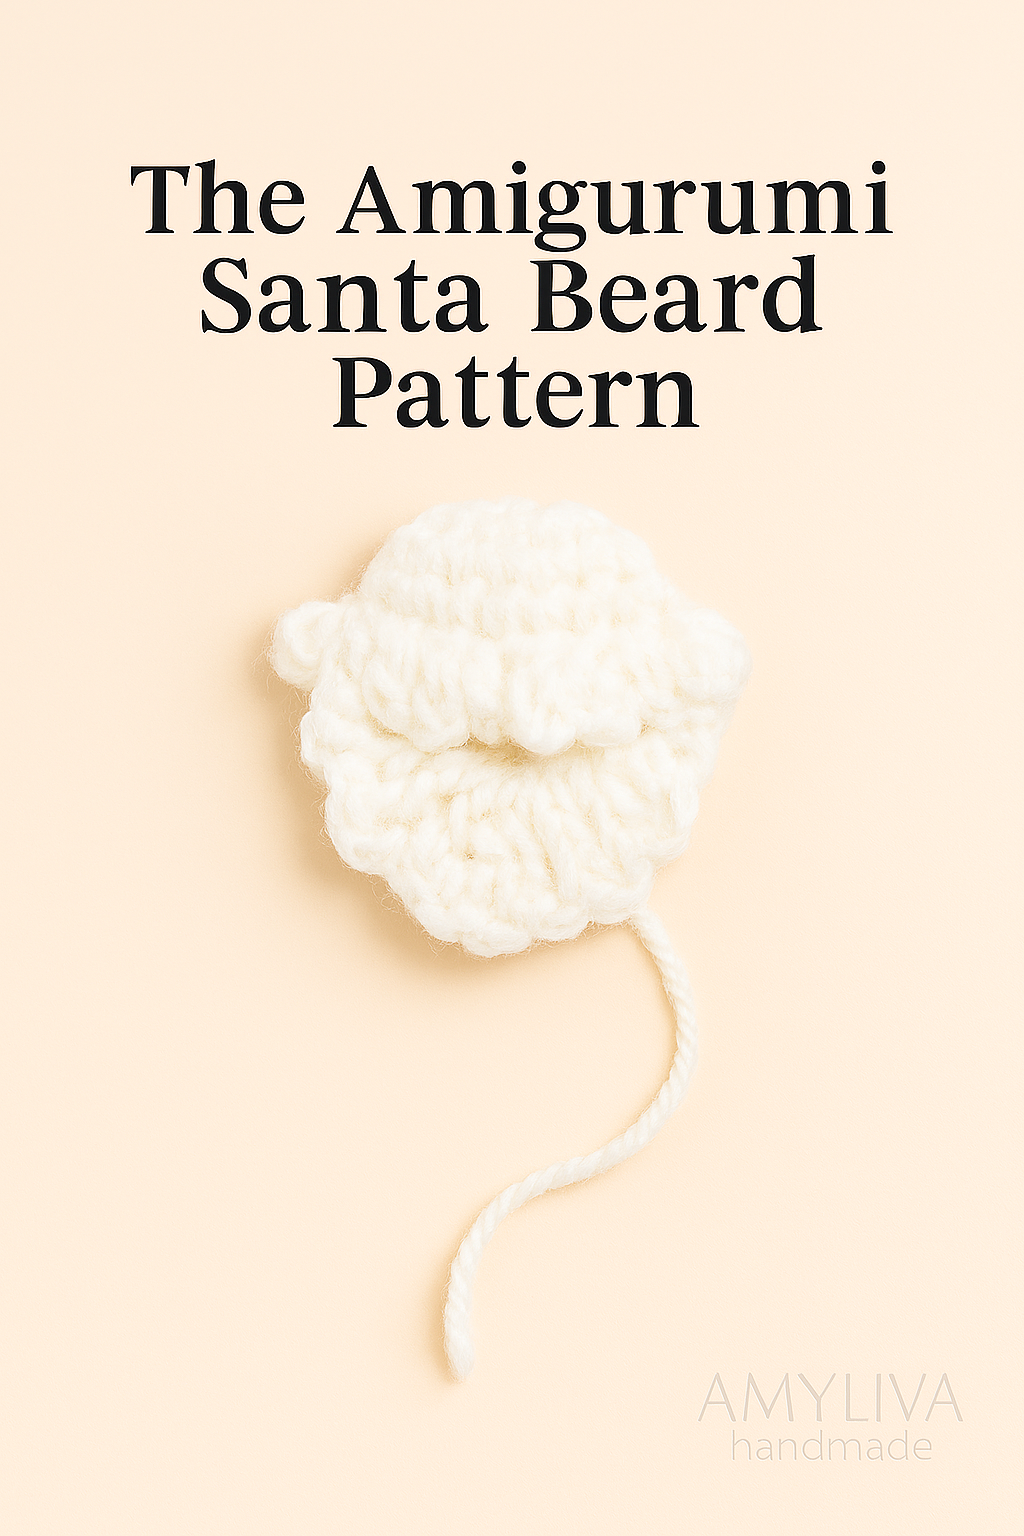
This is a separate piece that adds character.
1. Row 1: Chain 7. Sc in second chain from hook and across. (6)
2. Row 2: Chain 1, turn. Sc in each stitch across. (6)
3. Final Step: Fasten off, leaving a long tail for sewing to the face. Shape it to look like a fluffy beard.
Part 6: Arms and Legs (Make 2 of Each)
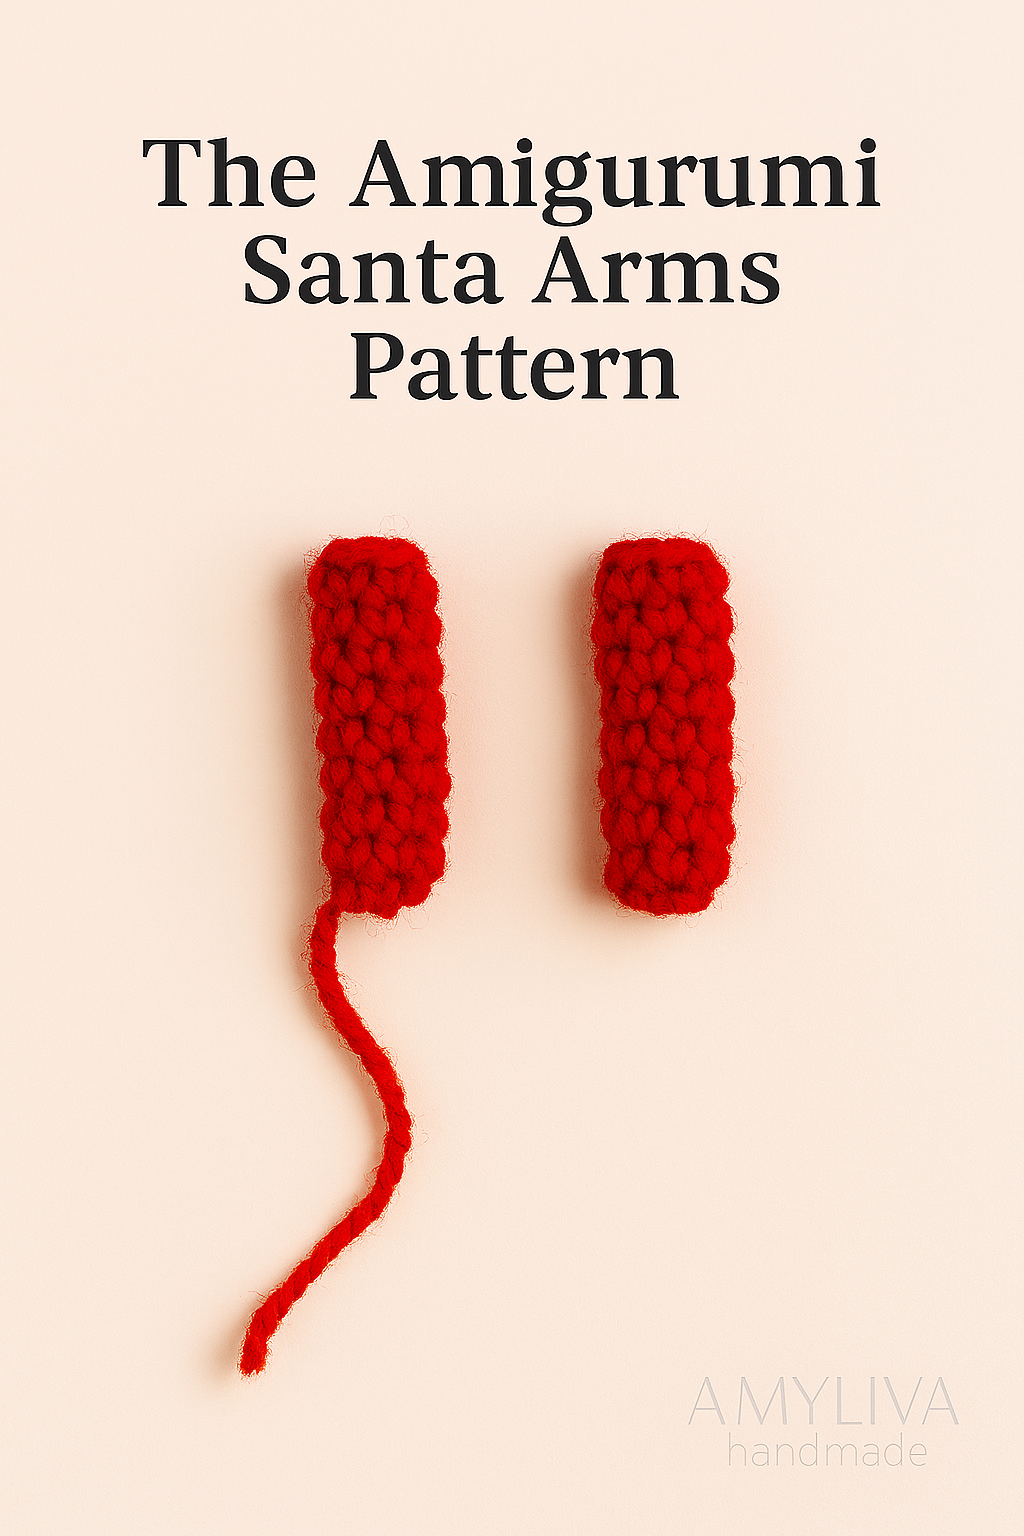
• Arms (Using Red Yarn):
1. Round 1: Start with a magic ring of 6 sc (6)
2. Round 2-5: Sc in each stitch around (6)
3. Final Step: Fasten off, leaving a long tail. Lightly stuff the arm.
• Legs (Using Black Yarn):
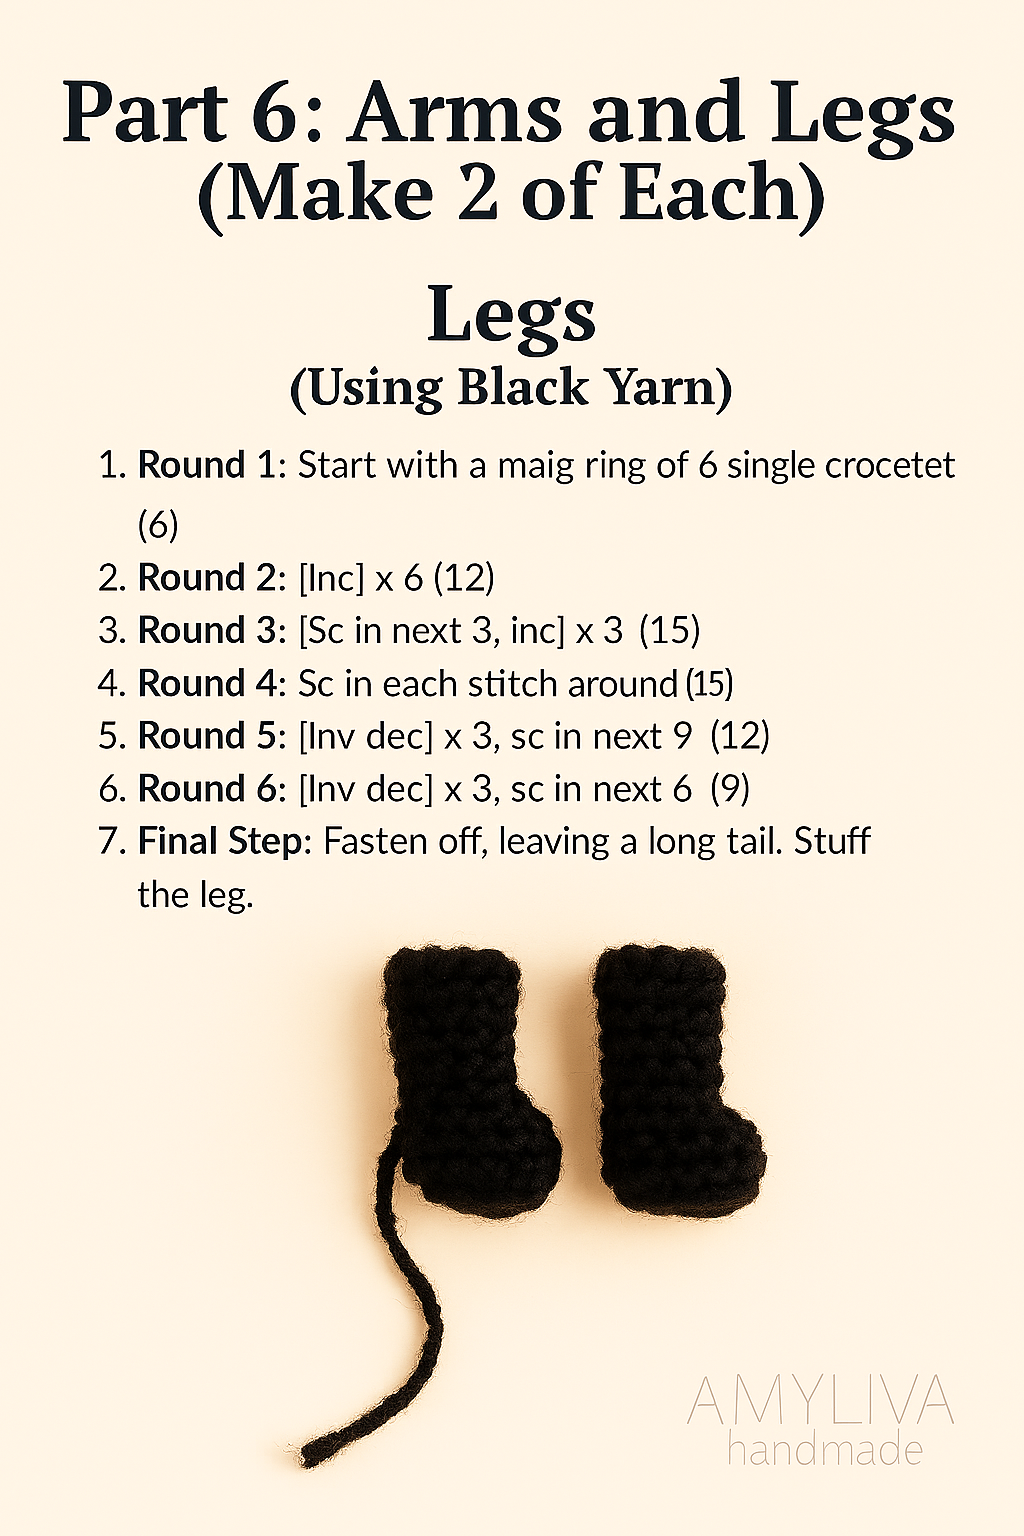
1. Round 1: Start with a magic ring of 6 sc (6)
2. Round 2: [Inc] x 6 (12)
3. Round 3: [Sc in next 3, inc] x 3 (15)
4. Round 4: Sc in each stitch around (15)
5. Round 5: [Inv dec] x 3, sc in next 9 (12)
6. Round 6: [Inv dec] x 3, sc in next 6 (9)
7. Final Step: Fasten off, leaving a long tail. Stuff the leg.
Assembly Instructions
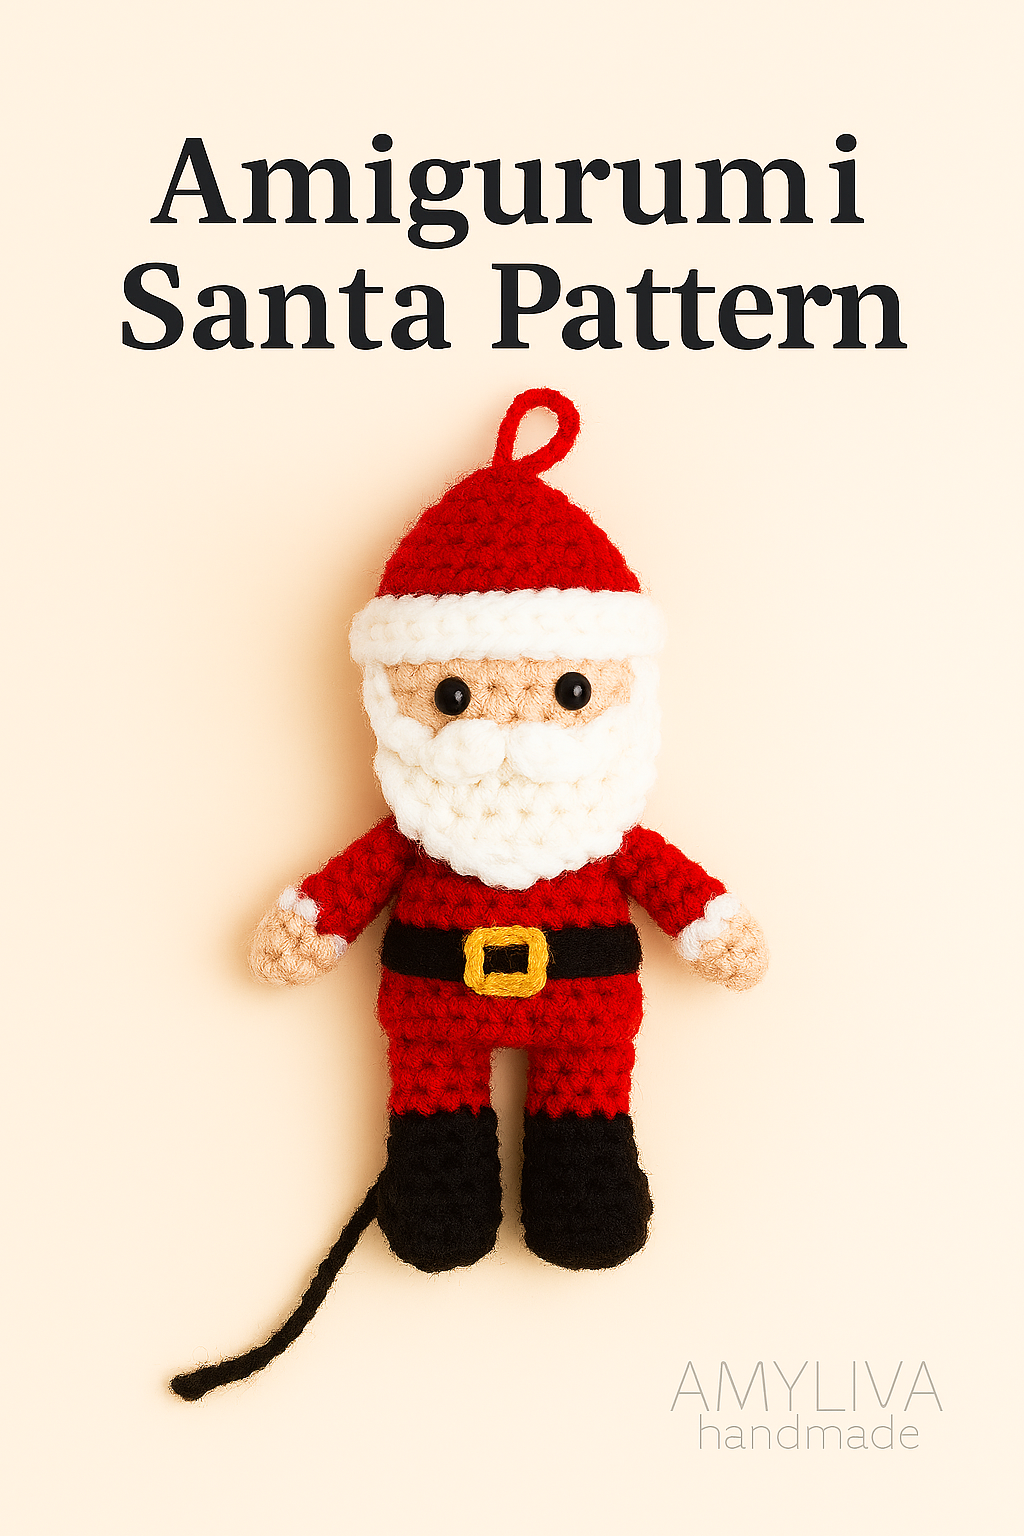
This is where your little Santa comes to life!
1. Attach the Head to the Body: Using the long tail from the head, sew it securely to the top of the body. Make sure the stitching is neat and even.
2. Attach the Hat: Sew the hat to the top of the head. Sew the pom-pom to the tip of the hat.
3. Add the Beard: Position the beard just below the eyes and sew it onto the face.
4. Attach the Arms and Legs: Sew the arms to the sides of the body and the legs to the bottom.
5. Final Details: You can add a small black belt around the body with a yellow or gold embroidered buckle for extra detail. You can also add a hanging loop of yarn or ribbon to the top of the hat to turn your Santa into an ornament.
Tips for Amigurumi Beginners
• Maintain Consistent Tension: Try to keep your stitches at an even tension. This ensures your finished piece looks smooth and professional.
• Stuff as You Go: Don’t wait until the very end to stuff your pieces. Stuffing as you work will help you get into all the nooks and crannies, ensuring a firm and well-shaped result.
• Don’t Rush: Take your time with the sewing and assembly. A neatly assembled piece is the key to a professional-looking finished product.
Frequently Asked Questions (FAQ)
• Q: Can I use a different type of yarn?
• A: Yes, you can! However, the final size of your Santa will vary depending on the yarn weight and hook size you choose. The key is to use a hook that is slightly smaller than what the yarn label recommends to create tight stitches.
• Q: How long does it take to make one Santa ornament?
• A: For a beginner, it might take a few hours to complete one ornament. As you become more comfortable with the pattern, you can likely finish one in an hour or two.
• Q: Can I sell the Santas I make from this pattern?
• A: Yes! This pattern is designed to be shared and enjoyed. You can absolutely sell the finished products you create from this tutorial. We would appreciate it if you credit “Amyliva Handmade” as the original designer.
Conclusion: Your Handmade Holiday Awaits!
Congratulations! You’ve successfully created an adorable, handcrafted amigurumi Santa ornament. This project is a wonderful way to express your creativity and add a personal touch to your holiday decorations. Whether you’re making them for your own home or giving them away as gifts, each little Santa is a testament to the joy of handmade art.
We would love to see your finished creations! Tag us on social media with #AmylivaHandmade and #AmigurumiSanta to show off your work. For more unique handmade crafts and patterns, be sure to visit amyliva.com. Happy crocheting!
⚠️ Usage Disclaimer
The Crochet Cat Paw Earrings pattern shared in this blog post is for personal use only. You are welcome to make these earrings for yourself, as gifts, or even to sell in small quantities, but please do not redistribute or sell the pattern itself as your own.
• All images in this post are the property of Amyliva Handmade. Please do not use, copy, or share them without permission.
• If you would like to feature this design on your website, kindly link back to the original post on amyliva.com.
• Safety note: These earrings are not toys and should be kept away from small children and pets, as small parts may pose a choking hazard.
By following this tutorial, you agree to use the pattern and related images responsibly.
Yorum gönder