CROCHET ACCESSORIES AND HOME
amigurumi, amigurumi designs, AmyLiva Handmade, beginner crochet tutorial, crochet Halloween pillow pattern, crochet pumpkin ghost, free amigurumi pattern, free crochet pattern, Halloween amigurumi pillow, Halloween crochet ideas, Handmade Halloween Decor, kawaii crochet, spooky cute crochet
admin
0 Yorumlar
Crochet This Spooky-Cute Halloween Amigurumi Pillow (Free Pattern)
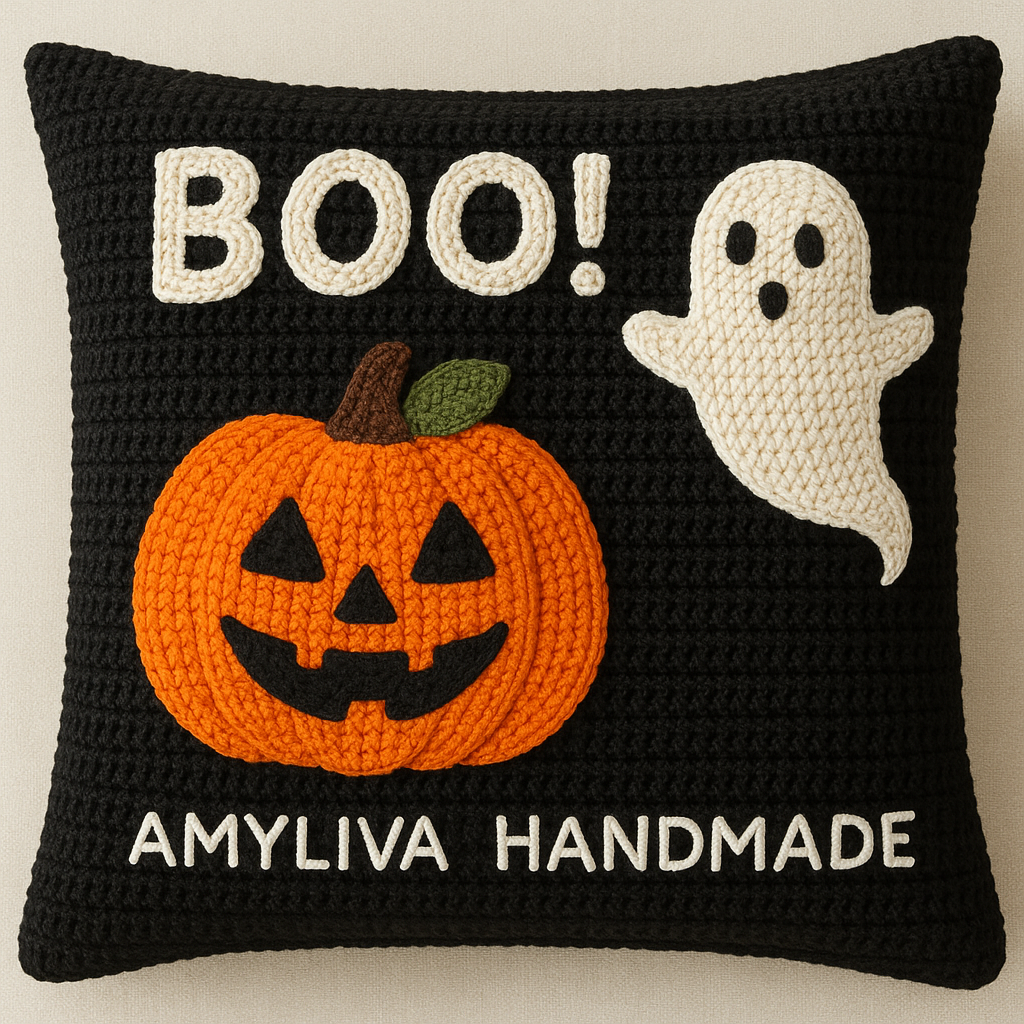

Bring the cozy spirit of Halloween into your home with this handmade crochet pillow that combines the charm of amigurumi with festive Halloween vibes. This project features a cheerful pumpkin, a friendly ghost, and the playful “BOO!” message that instantly adds warmth and fun to your seasonal décor.
Whether you’re a crochet beginner or an intermediate maker looking for a unique home project, this Halloween Amigurumi Pillow Pattern is easy to follow and deeply satisfying to create. Let’s dive into the step-by-step process and make your spooky season soft, stylish, and handmade!
🧶 Materials You’ll Need
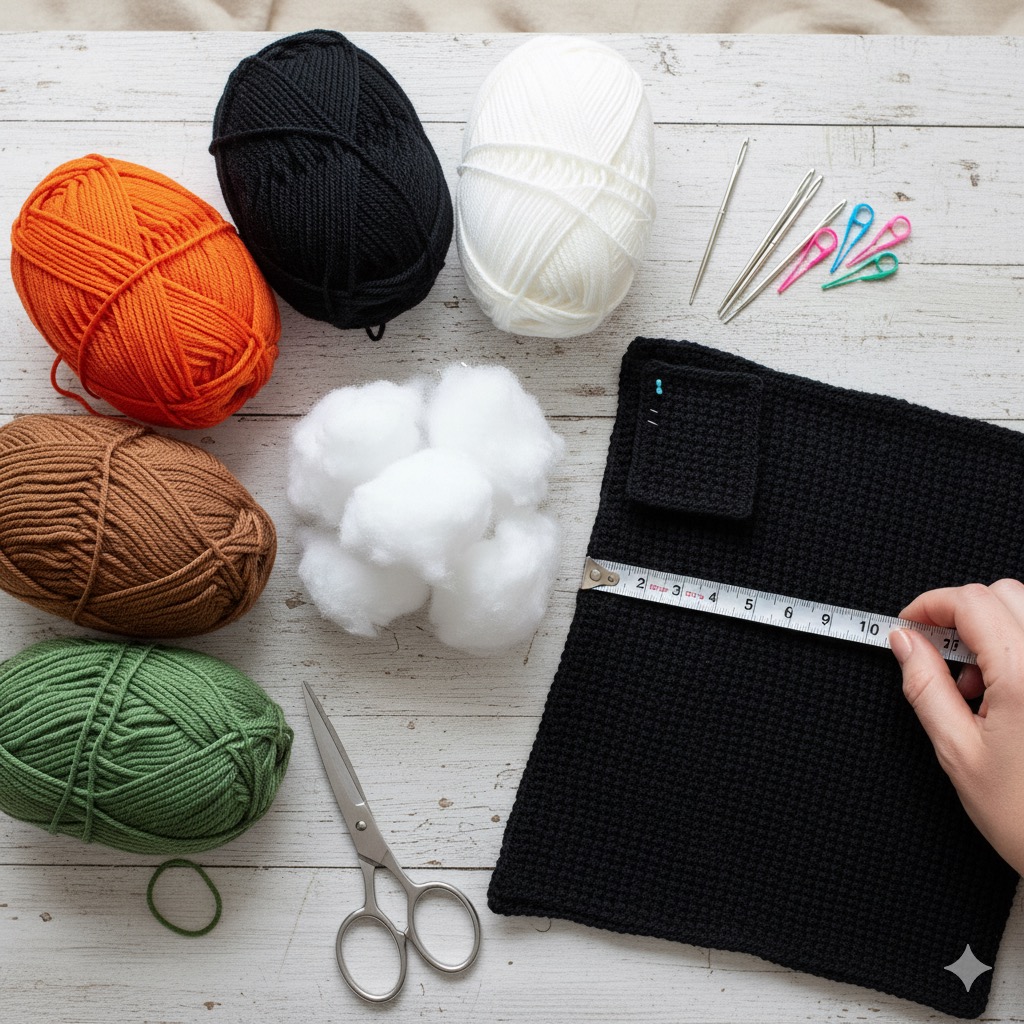
Before you start, gather the following supplies:
- Yarn:
- Orange (pumpkin)
- Black (background & details)
- White (ghost & text)
- Brown (pumpkin stem)
- Green (leaf)
- Crochet Hook: 3.5 mm or 4.0 mm (depending on your yarn thickness)
- Yarn needle for sewing parts together
- Scissors
- Stuffing fiber (polyfill or soft cushion filling)
- Stitch markers
- Square pillow insert – approximately 35×35 cm (14×14 inches)
✨ Gauge & Size
- Gauge: 20 stitches x 20 rows = 10 cm (4 inches) in single crochet
- Finished size: approx. 36 cm (14 inches) square (before stuffing)
🧡 Step-by-Step Instructions
1. Crochet the Base Pillow Cover
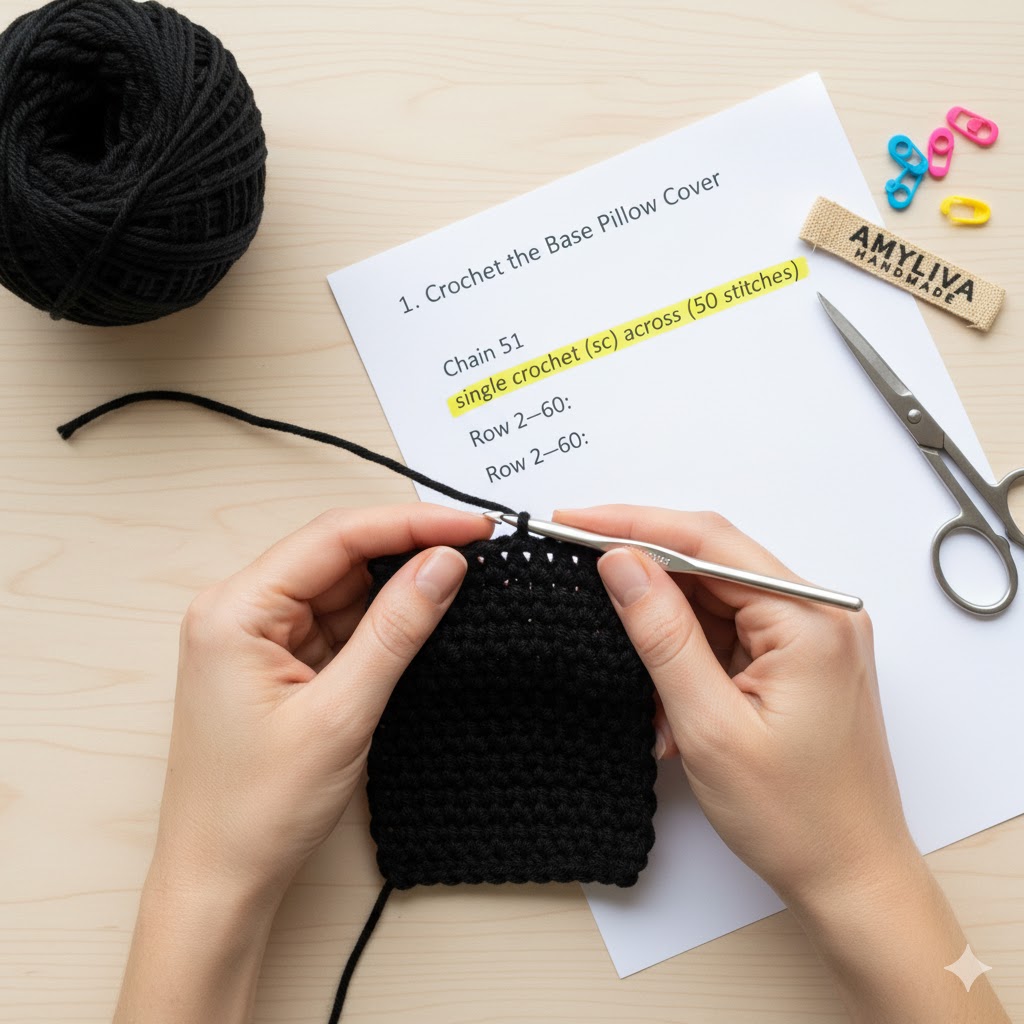
Front Panel (Black Background):
- With black yarn, chain 51 (or adjust for your pillow width).
- Row 1: Starting from the second chain, single crochet (sc) across (50 stitches).
- Row 2–60: Chain 1, turn, sc across each stitch.
- Fasten off and weave in the ends.
💡 Tip: You can adjust the size by adding or subtracting chains or rows. Keep the base square for a neat look.
Back Panel:
- Make another identical square panel in black yarn using the same stitch count.
- Alternatively, make two rectangles (half height each) if you want a removable pillow cover with buttons.
2. Crochet the Pumpkin Appliqué 🎃
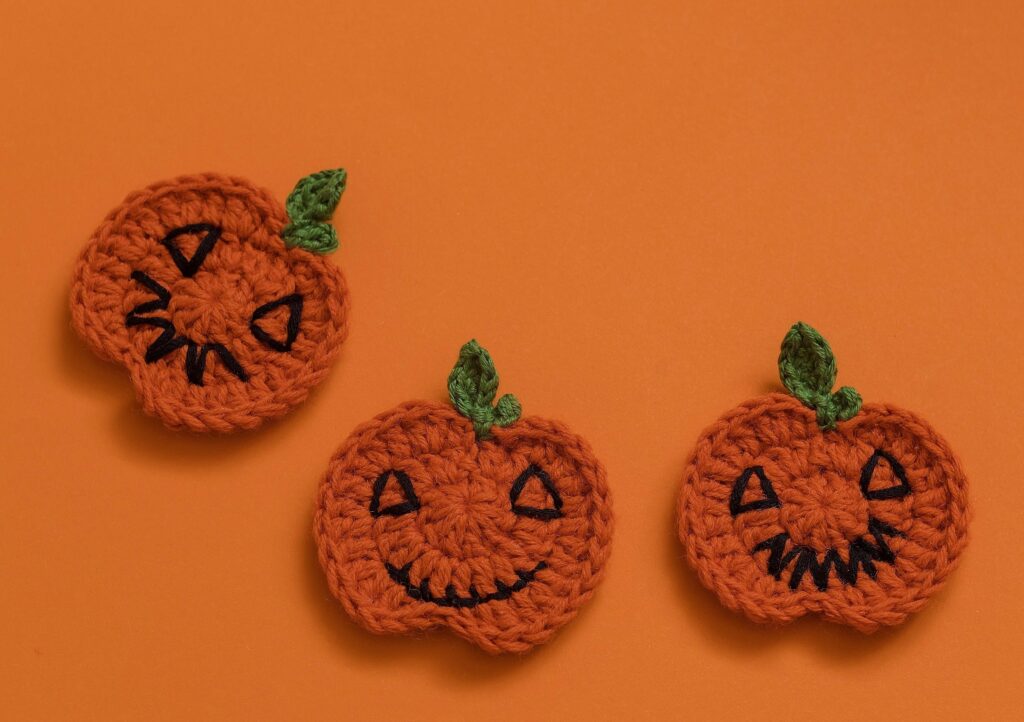
With orange yarn:
Round 1: Make a magic ring, 6 sc into the ring. (6)
Round 2: 2 sc in each stitch around. (12)
Round 3: 1 sc, inc repeat around. (18)
Round 4: 2 sc, inc repeat around. (24)
Round 5: 3 sc, inc repeat around. (30)
Round 6: 4 sc, inc repeat around. (36)
Continue increasing until the pumpkin reaches about 12–14 cm across.
Then, work 3 rows of even sc (no increases) to give it a fuller shape.
Switch to black yarn and embroider or sew on triangle eyes and mouth to create the Jack-O’-Lantern face.
Pumpkin Stem (Brown):
- Chain 7, sc in each stitch, fasten off.
- Sew to the top center of the pumpkin.
Leaf (Green):
- Chain 8, work back: sl st, sc, hdc, dc, tr, dc, hdc, sc.
- Sew next to the stem.
🍂 Optional: Add a bit of surface stitching with brown yarn to mimic pumpkin ridges.
3. Crochet the Friendly Ghost 👻
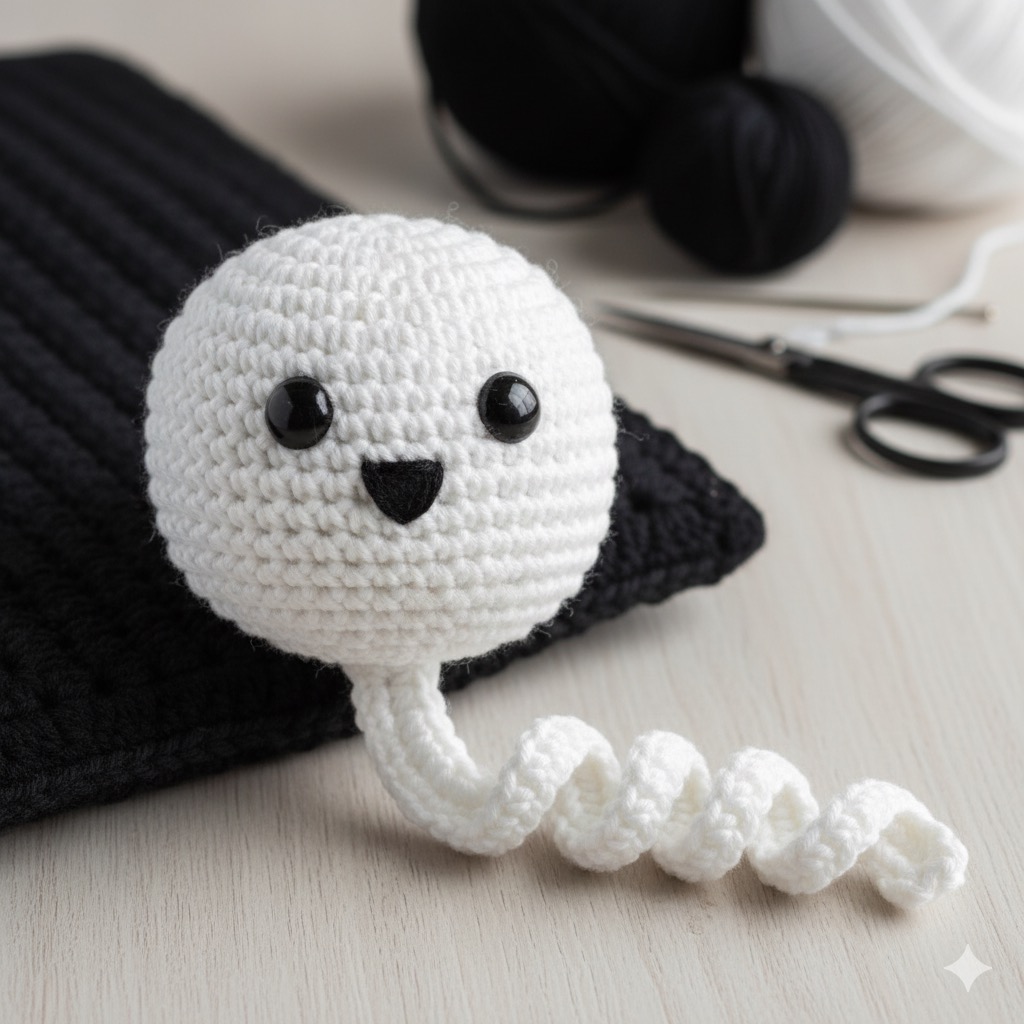
With white yarn:
Round 1: Make a magic ring, 6 sc into the ring.
Round 2: 2 sc in each stitch. (12)
Round 3: 1 sc, inc repeat. (18)
Round 4: 2 sc, inc repeat. (24)
Continue until your ghost body measures about 10 cm in diameter.
Body Shape:
- Work 5 rounds of even sc.
- To shape the tail:
- Decrease (dec) every 3 stitches for 2 rounds.
- Then chain 10 and slip stitch back to create a curly ghost tail.
Eyes and Mouth:
- Use small pieces of black felt or embroider directly with black yarn.
- Stitch or glue carefully in place.
4. Crochet the “BOO!” Letters
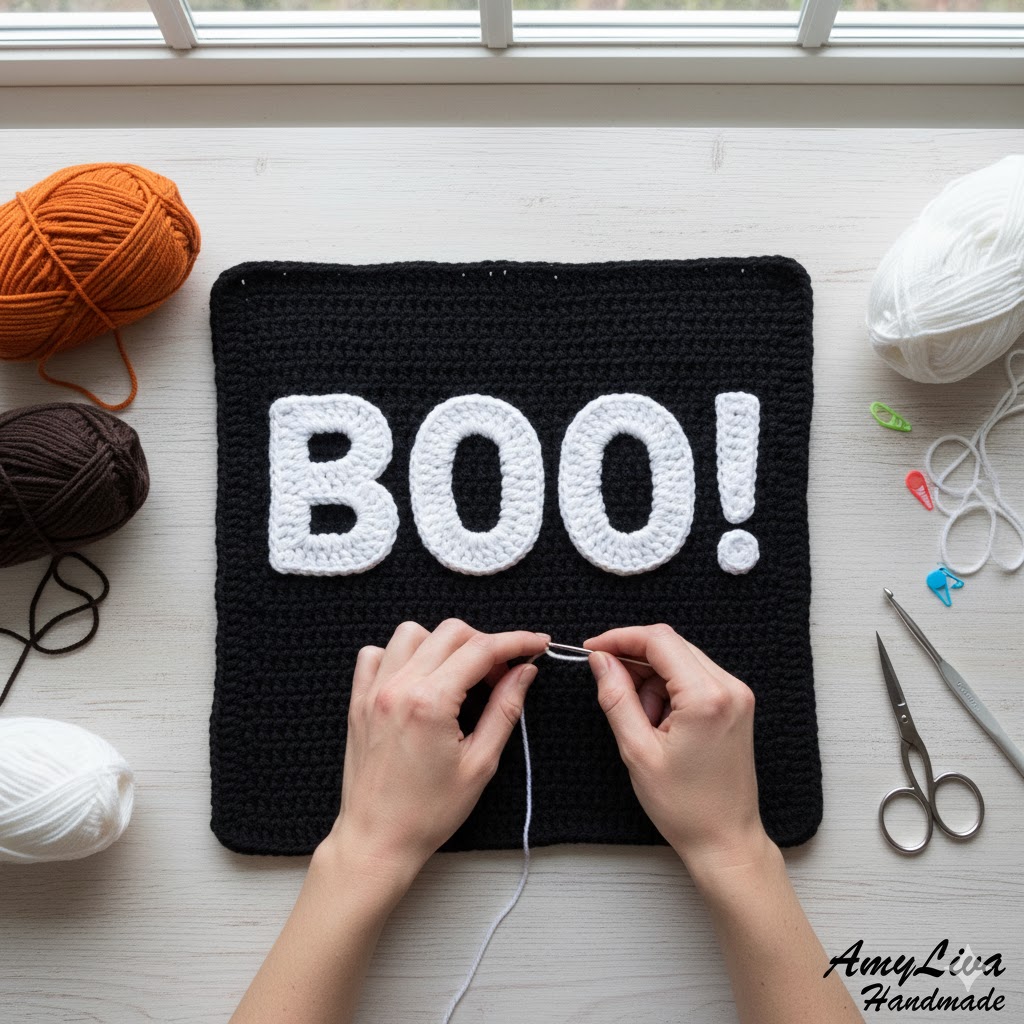
Using white yarn:
Each letter is crocheted separately with simple chains and single crochet rows.
Alternatively, use felt cutouts if you prefer a cleaner graphic look.
Example for “B”:
- Chain 14, sc across.
- Create two small loops (chain 5, slip stitch to side) for the upper and lower holes of “B”.
Repeat similar methods for “O” letters (chain ring + sc around).
Attach all letters securely to the top of the front panel.
5. Assemble the Pillow
Now comes the fun part—bringing everything together!
- Arrange your appliqués (pumpkin, ghost, and “BOO!” letters) on the front panel.
- Pin them in place before sewing to ensure perfect alignment.
- Sew each piece using the yarn needle and matching yarn colors.
- Once the decorations are attached, place the front and back panels together (right sides facing out).
- Single crochet around all four sides to join, leaving one side open.
- Insert your pillow form or stuffing and close with final sc stitches.
6. Finishing Touches ✨

- Add a small “AMYLIVA HANDMADE” embroidered tag at the bottom for branding.
- Steam block gently to smooth the surface.
- Optionally, add a fabric lining inside for a more professional finish.
Now your Halloween Amigurumi Pillow is ready to display or gift!
🕸️ Decorating Tips
- Place your new pillow on a cozy chair or couch with mini pumpkins and candles for a festive setup.
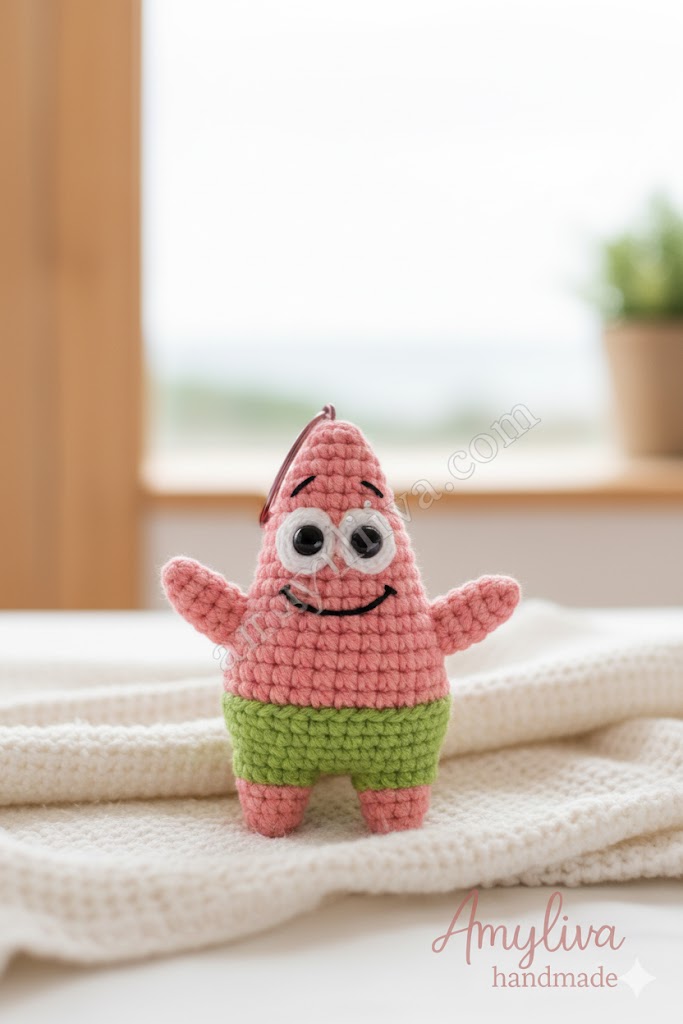
- Pair it with a matching amigurumi pumpkin keychain or mini ghost plush (you can find patterns on amyliva.com).
- Try making two or three themed pillows (pumpkin, skeleton, witch hat) for a full Halloween décor set!
🧠 Pro Crochet Tips
- Use cotton yarn for a cleaner stitch definition and durability.
- Keep your tension even to prevent the pillow from warping.
- If gifting, you can personalize the back with the recipient’s name in surface stitch embroidery.
💬 Frequently Asked Questions (FAQ)
Q1: Is this Halloween pillow beginner-friendly?
Yes! This pattern uses basic stitches — chain (ch), single crochet (sc), increase (inc), and decrease (dec) — perfect for anyone who knows the crochet basics.
Q2: Can I wash the pillow?
Yes, use hand-wash or a gentle cycle with cold water. Lay flat to dry. Avoid bleach or ironing.
Q3: What yarn weight is best?
Medium (4) weight yarn is ideal. You can use acrylic, cotton, or velvet yarn for different textures.
Q4: Can I make this pillow in different colors?
Absolutely! Try purple + green or white + orange combinations for a modern twist on Halloween colors.
Q5: How long does it take to complete?
Around 8–10 hours total depending on skill level — perfect for a weekend project.
🌐 More Crochet Ideas from AmyLiva Handmade
Looking for more seasonal amigurumi projects?
Check out these popular patterns on amyliva.com:
- Mini Amigurumi Pumpkin Keychain
- Cute Ghost Amigurumi Tutorial
- Crochet Mushroom Keychain
- Crochet Cozy Cat Bag
Each project is free and beginner-friendly, just like this pillow pattern.
🧵 Final Thoughts
Creating this Halloween Amigurumi Pillow isn’t just a craft—it’s a celebration of creativity, warmth, and the handmade spirit. The combination of cute and spooky makes it perfect for every corner of your home.
When you share your version on Pinterest or Instagram, don’t forget to tag @AmyLivaHandmade and add your personal twist — maybe glittery eyes for the ghost or a velvet pumpkin!
This simple yet detailed project is sure to impress your guests and become a cozy staple of your Halloween decorations every year.
Happy crocheting and spooky stitching! 🧡👻🎃
Yorum gönder