CROCHET ACCESSORIES AND HOME
amigurumi crochet basics, amigurumi for beginners, amigurumi guide, amigurumi materials, amigurumi step by step, amigurumi supplies list, beginner amigurumi tutorial, crochet plushie guide, crochet soft toys, easy amigurumi tips, how to crochet amigurumi, how to start amigurumi, learn to crochet toys
admin
0 Yorumlar
How to Crochet Ladybug Amigurumi Earrings | Amyliva Handmade
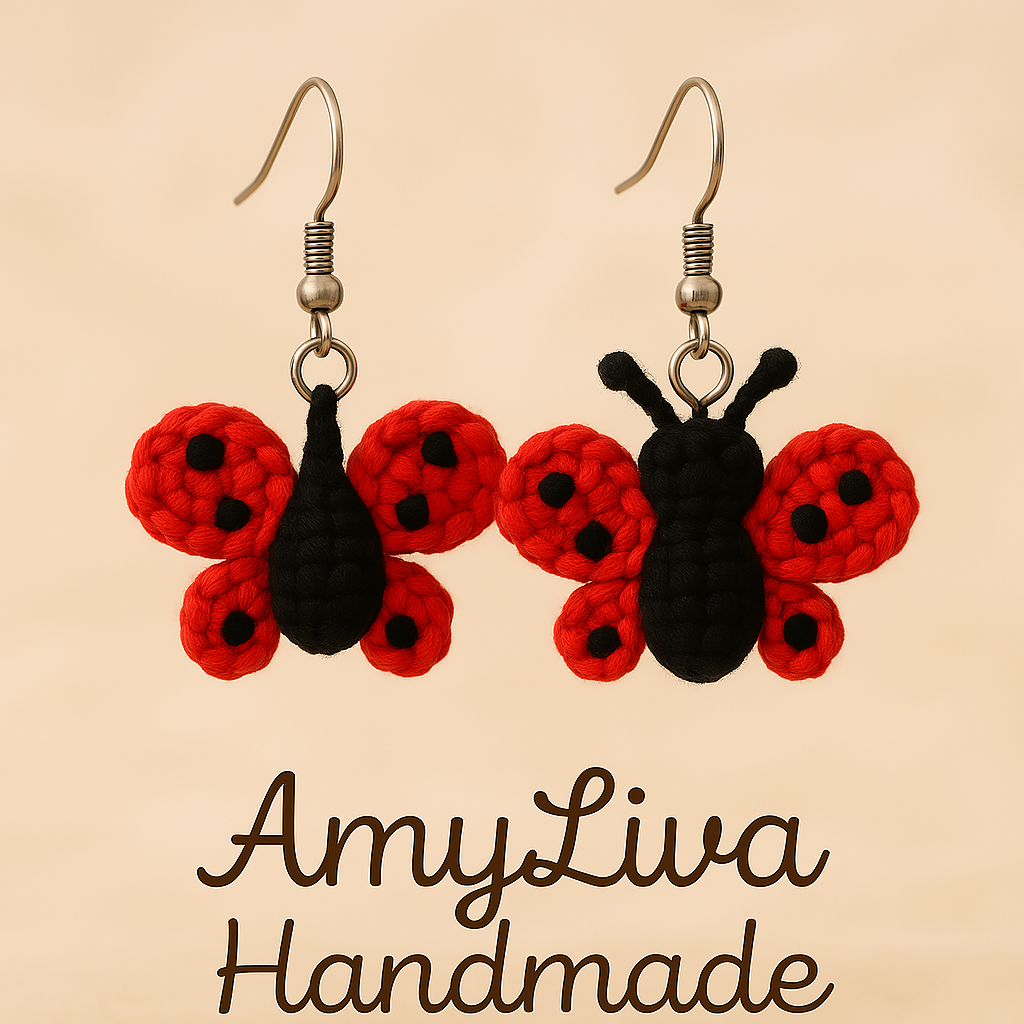
Whimsy Meets Handcrafted Elegance 🐞
Ladybugs have fluttered their way into folklore, fashion, and handmade art for generations. Their iconic red wings and spotted backs are not just cute — they’re symbolic of luck, hope, and natural charm. At Amyliva Handmade, these little creatures find new life as delicate crochet earrings, crafted with precision and a poetic heart.
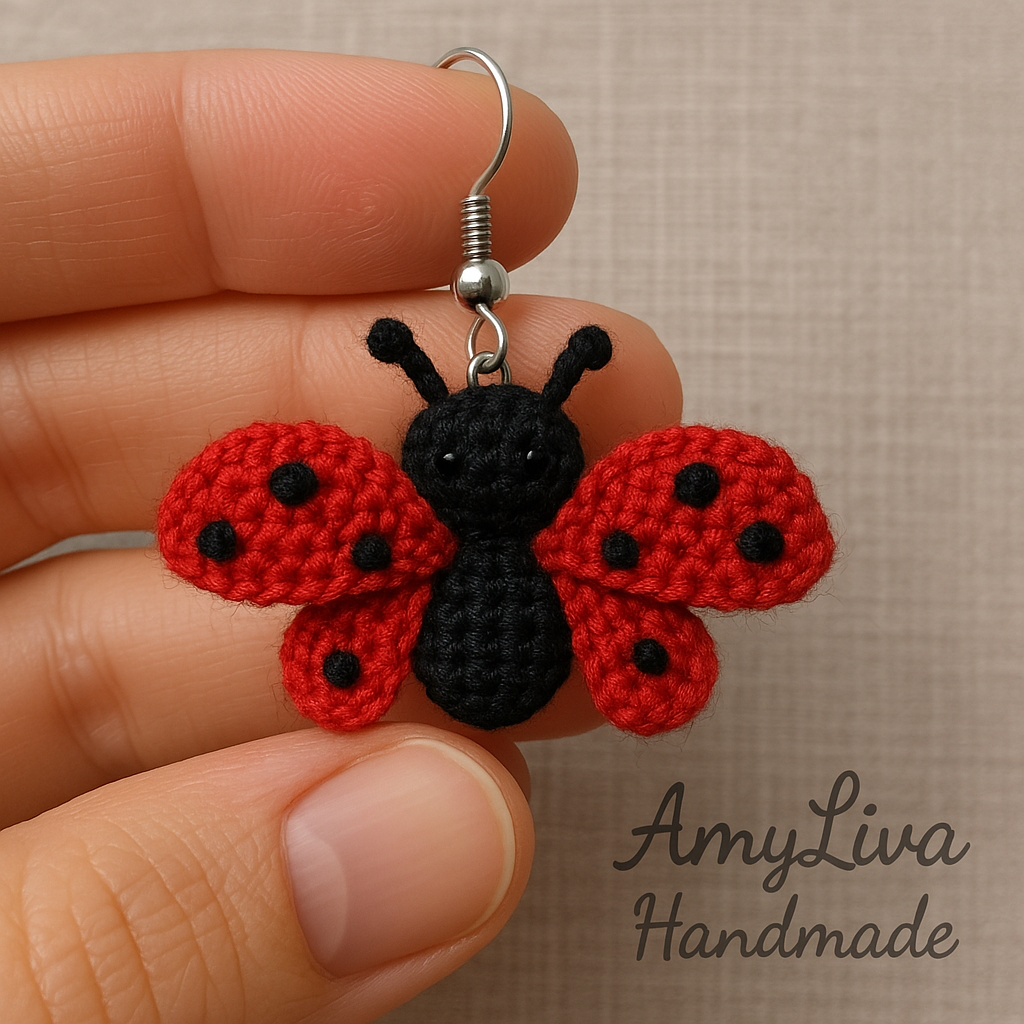
This tutorial takes you step-by-step through creating ladybug amigurumi earrings, ideal for gifting, seasonal styling, or simply celebrating your creative spark. Whether you’re deep into your crafting journey or just starting out, this project reflects the soul of handmade — detail-driven, expressive, and full of warmth.
🧶 Materials You’ll Need
- Cotton yarn: red and black (#10 or fingering weight)
- Crochet hook: 1.75 mm
- Tapestry needle
- Fiberfill stuffing
- Earring hooks (silver or gold tone)
- Optional: black felt or embroidery thread for detailing
These materials make your earrings lightweight, breathable, and gentle enough for everyday wear.
🎓 Step-by-Step Crochet Tutorial
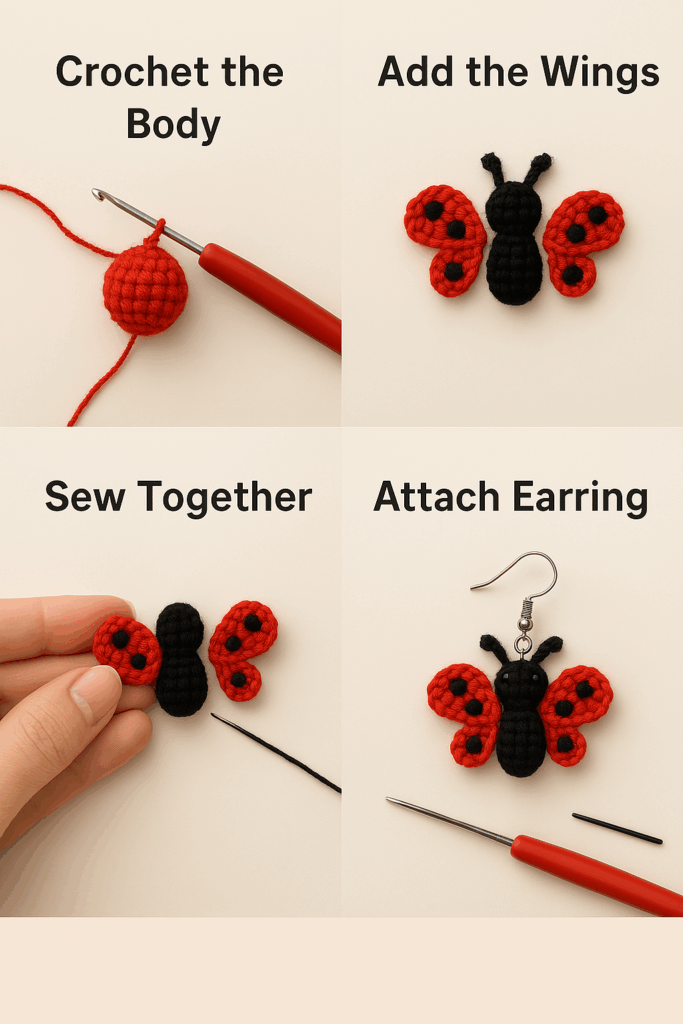
Step 1: Start the Body
Begin with a magic ring using red yarn. Crochet 6 single crochets (sc) into the ring. Continue increasing each round evenly to form a round dome, around 4 cm wide. Once halfway, switch to black yarn to shape the underside. This contrast mimics the ladybug’s natural beauty.
Step 2: Add Wings
Using red yarn, crochet two small teardrop shapes separately. Embroider black spots with a tapestry needle or attach felt circles. Slightly curve and sew the wings onto the body — keep them slightly open for that playful, lifelike look.
Step 3: Finishing Touches
Lightly stuff the body and close it securely. Stitch the earring hook onto the top center, ensuring it’s balanced and firm. Optional: reinforce with invisible thread or glue.
💡 Design Inspiration
This ladybug design is rooted in nature’s color palette — vibrant reds, soft blacks, and organic round shapes. It resonates strongly with spring and summer aesthetics, making it ideal for seasonal Pins, Reels, or TikTok posts.
Looking to align your visuals with your personal style? Try:
- Pastel backgrounds for spring launches
- Linen textures for rustic appeal
- Wooden props or dried flowers for cozy, cottagecore vibes
- Handwritten tags with “Amyliva Handmade” for brand recognition
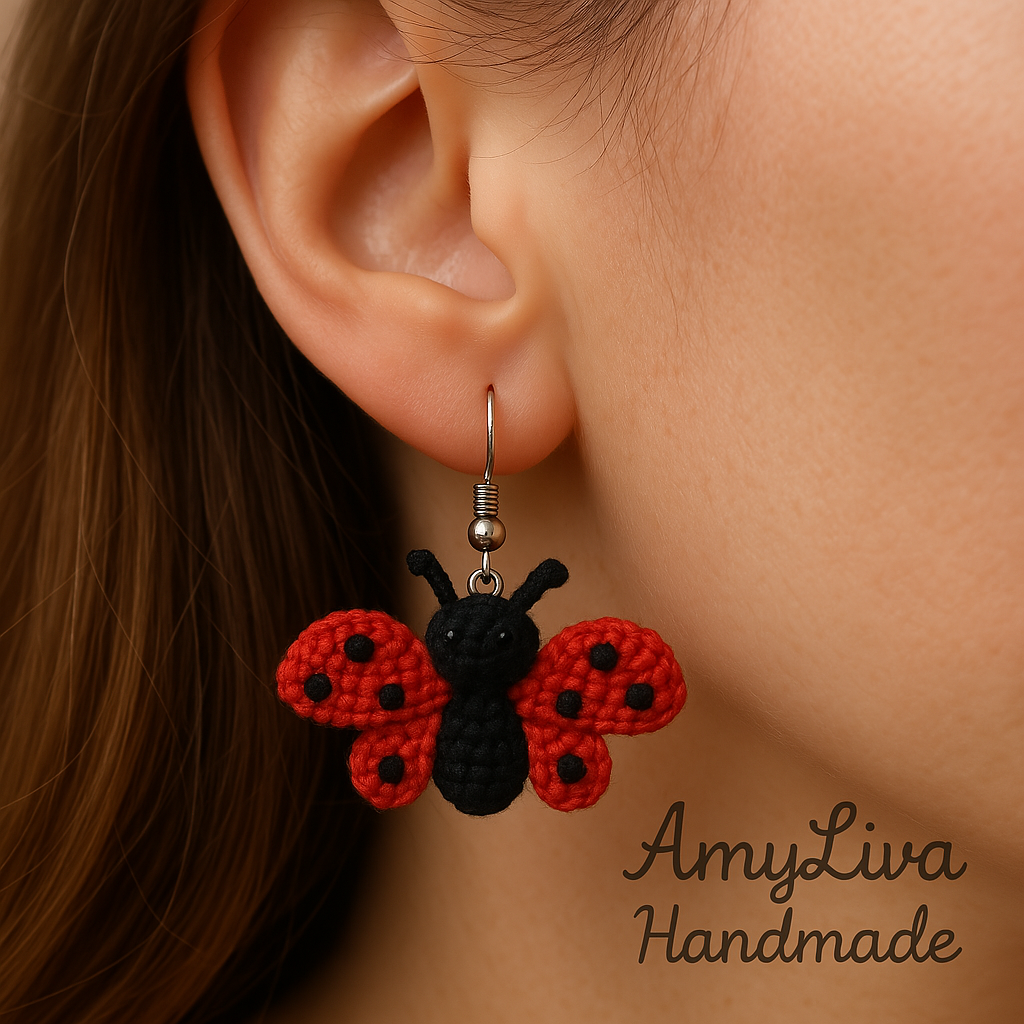
🌿 Seasonal Styling Tips
Crochet jewelry offers incredible flexibility across seasons:
Spring
Pair with floral dresses and neutral tones. The earrings pop beautifully against beige, cream, or blush fabrics.
Summer
Style with minimal makeup and breezy outfits. Think linen tops or picnic dresses — perfect for outdoor content.
Fall
Layer with knit scarves and deep hues. Shoot your content near foliage or vintage wood textures.
📌 Sharing Your Work Online
If you create these ladybug earrings, showcase them on your favorite platforms to build engagement and visibility. Tag @amyliva.handmade to be featured or connected with other creators. Here are suggested platforms and content ideas:
- Use hashtags like
#amigurumijewelry#crochetearrings#ladybughandmade - Try a reel showing the wing assembly with calming music
- Use natural lighting for authenticity
- Upload vertical Pins with neutral or seasonal backgrounds
- Optimize titles with keywords like “handmade ladybug earrings” or “crochet bug jewelry tutorial”
TikTok
- Film short DIY clips — e.g., magic ring in action or stuffing the body
- Add voiceovers explaining your process in English or Turkish
YouTube
- Share longer tutorials or showcase styling ideas with your earrings
- Link back to your blog for full instructions
🔗 Recommended Links
- Pinterest Board: Amyliva Handmade
- Instagram: @amyliva.handmade
- YouTube Channel: Amyliva Handmade
- TikTok: @amyliva.handmade
- Project Gallery on Your Website
📜 Usage Guidelines
You are welcome to sell earrings you’ve made using this tutorial, with the following conditions:
- Credit “Amyliva Handmade” as the original designer
- Do not resell or republish this pattern itself
- For reposts on public platforms, link to the original tutorial or tag the author
- Please do not use this tutorial for mass production — it’s designed for individual handmade crafting
❓ Frequently Asked Questions
Are these earrings safe for sensitive ears?
Yes, they are lightweight and use cotton yarn. However, consider using hypoallergenic hooks if needed.
How long does one pair take to make?
Around 2–2.5 hours, depending on your crochet experience.
Can I use thicker yarn?
You can, but the earrings will be larger and heavier — better suited as brooches or keychains.
Will these earrings work for kids?
Definitely! Just use safety-backed clips or studs designed for children.
✨ Final Thoughts
Ladybugs embody transformation — from hidden beetles to vibrant, fluttering symbols of luck. Your crochet earrings carry this same spirit. Each stitch isn’t just part of a tutorial — it’s part of your unique brand voice.
Whether you’re listing these in your shop, gifting them to a loved one, or wearing them proudly during a sunny walk in Istanbul, they’re a tiny reminder of handmade magic.
Stay inspired. Stay curious. And never stop creating 🧶🐞
Written and crafted by Amyliva Handmade | Handmade Elegance with Meaning
Yorum gönder