Crochet Flower Magnets – Free Crochet Pattern & Tutorial
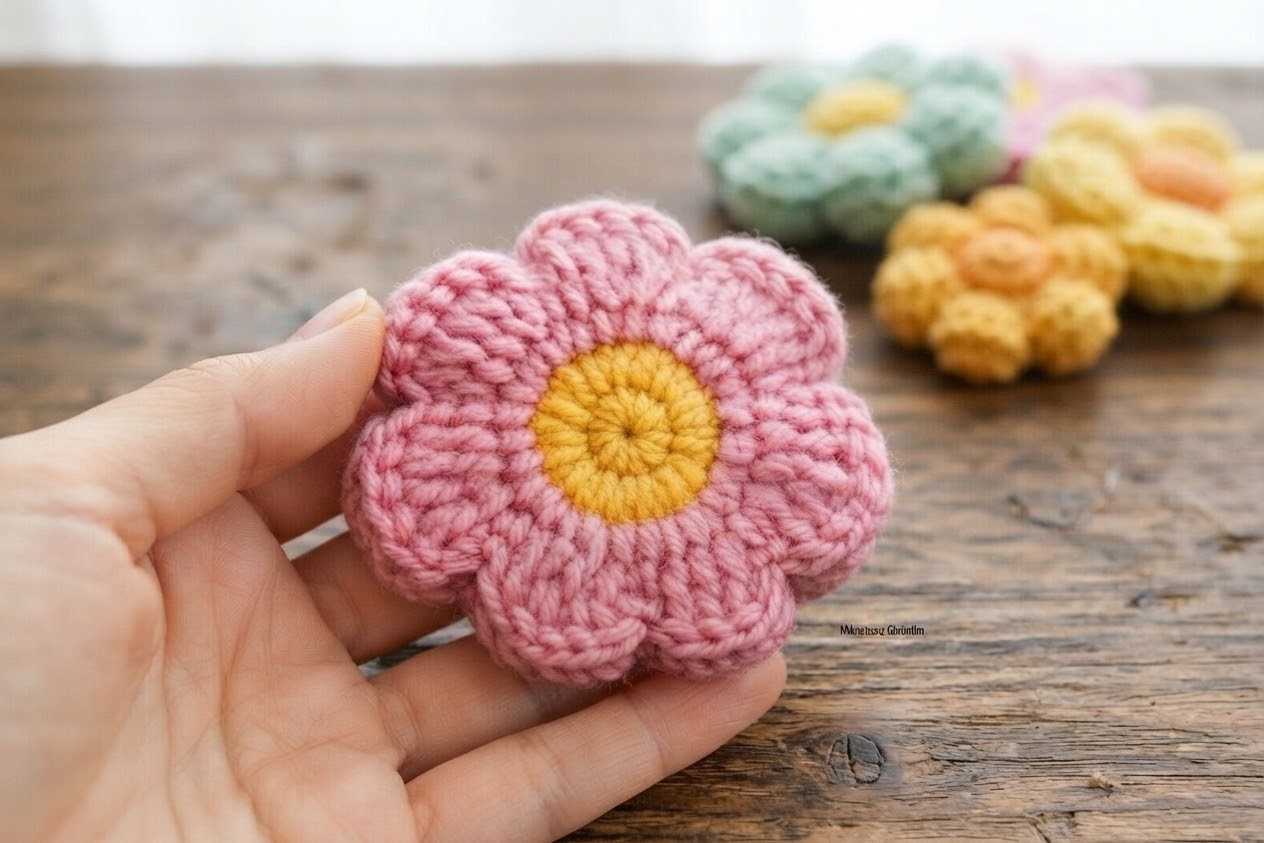
I enjoy making small crochet projects that use leftover yarn, and these flower magnets are a simple way to turn it into something useful. The flowers are worked with basic stitches and two colors of cotton yarn, then lightly stuffed to give them a soft 3D shape.
I like this project because the flowers are small enough to make in a short time, and they can be used in several different ways. They also work well for using up small amounts of leftover cotton yarn from other crochet projects.
Project Details
- Skill level: Easy
- Crochet terms: US terms
- Project type: Crochet flower magnet
- Crochet time: About 30–60 minutes per flower, depending on crochet speed
- Main techniques: Magic ring, single crochet, double crochet, increases, chains, slip stitches, joining, stuffing, and attaching a magnet
- Construction: 2 crocheted flower layers joined together with a small amount of fiberfill between them
What You’ll Need
- Cotton yarn in two contrasting colors (one for the center and one for the petals)
- 2.5 mm crochet hook
- Polyester fiberfill
- Small round magnets
- Yarn needle
- Scissors
- Hot glue or strong craft glue
Abbreviations
This pattern uses US crochet terms:
- MR — magic ring
- ch — chain
- sc — single crochet
- dc — double crochet
- inc — increase
- sl st — slip stitch
Crochet Flower Pattern
This pattern is worked in US crochet terms and uses basic stitches. It is suitable for beginners who are comfortable with working in the round and making simple increases.
Pattern Notes
- Make 2 identical crochet flowers for each finished magnet. The two layers are joined together during assembly to create a lightly padded flower.
- The center is worked in continuous rounds. Use a stitch marker if you find it difficult to keep track of the beginning of each round.
- The center has 18 stitches after Round 3. The petal section uses these stitches to create 6 evenly spaced petals.
- Keep your tension consistent when making both flower layers so they stay close in size and the petals line up during assembly.
- When making the petals, work each petal in the correct sequence around the center rather than skipping or adding extra stitches.
- Add only a small amount of fiberfill between the two layers. Too much stuffing can make the flower bulky and may make it difficult to join the edges evenly.
- Before attaching the magnet, check the back of the flower and make sure the two layers are securely joined.
- If using glue to attach the magnet, allow the glue to dry completely according to the product instructions before handling or using the finished magnet.
- The finished size may vary depending on your yarn, hook size, and crochet tension.
Center
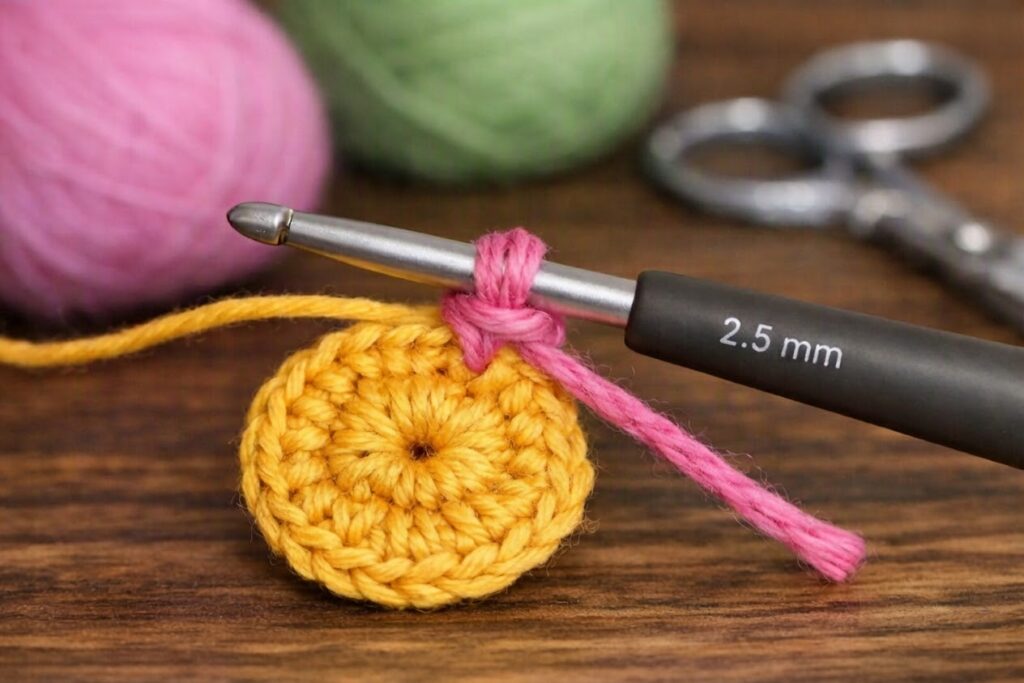
Use the first yarn color for the flower center.
Round 1: Make a magic ring and crochet 8 sc into the ring. (8 sts)
Round 2: Increase in each stitch around. (16 sts)
Fasten off, leaving a short yarn tail. Weave in the end securely before starting the petals.
You should now have a small, flat crochet circle with 16 stitches around the outer edge. These 16 stitches will be used to create 8 evenly spaced petals.
Petals
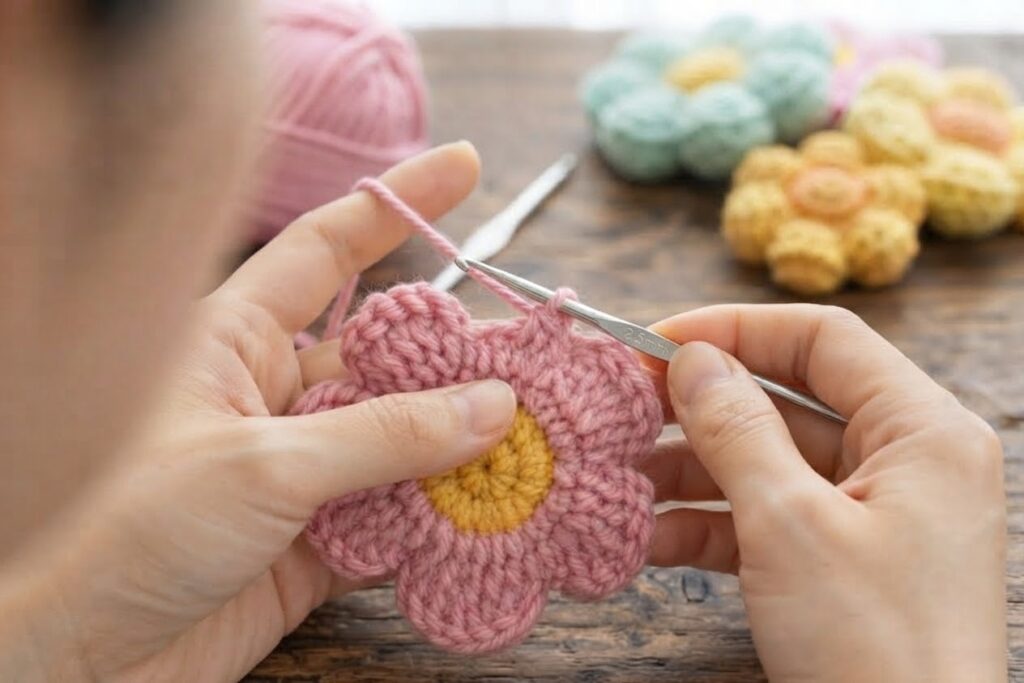
Use the second yarn color for the petals.
Join the petal color with a slip stitch in any stitch around the outer edge of the center.
The flower has 8 petals worked around the 16-stitch center.
Repeat the following sequence 8 times:
Work (2 dc, ch 2, 2 dc) in the next stitch, then sl st in the following stitch.
Continue around the center until all 8 petals are completed.
Fasten off and weave in the yarn ends.
Assembly
Make 2 identical crochet flowers before starting the assembly.
- Place the two flowers together with the right sides facing outward. Match the center and line up all 8 petals as closely as possible.
- Starting between two petals, join the two flower layers by working single crochet through both layers around the outside edge. Follow the shape of each petal and make sure you work through both layers evenly.
- As you join the layers, add a small amount of polyester fiberfill between them. Spread the stuffing toward the center and into the petals without overfilling the flower.
- Continue joining around the entire flower, adding small amounts of fiberfill as needed. Keep the petals aligned as you work.
- When the two layers are completely joined, fasten off and weave in the yarn end securely. Check the edge and make sure there are no large gaps between the layers.
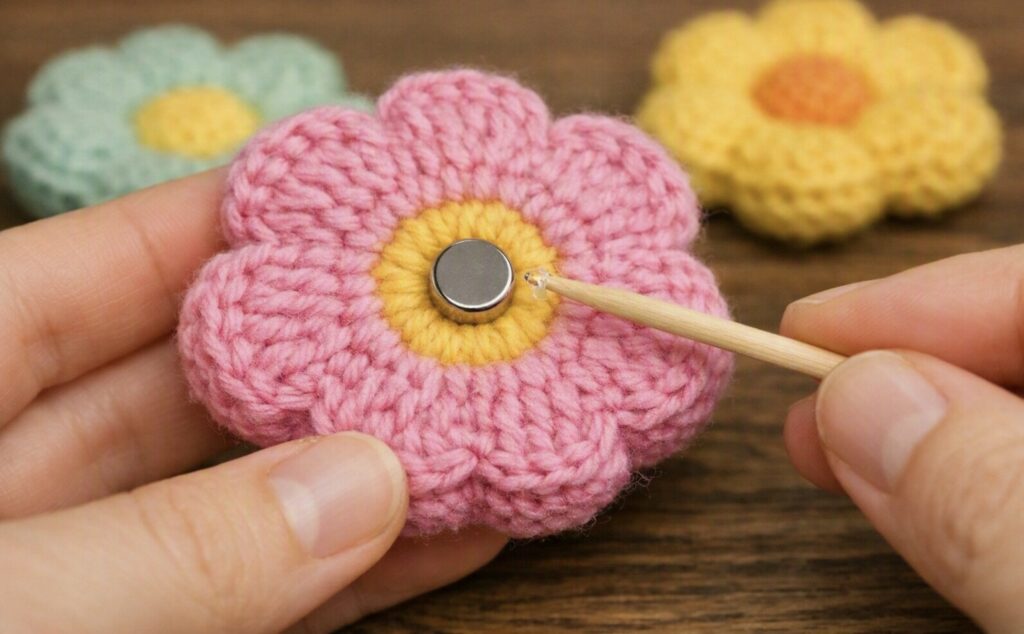
- Turn the flower over and position the small round magnet in the center of the back. Apply a small amount of strong craft glue or hot glue to the magnet and press it firmly against the crochet fabric.
- Allow the glue to dry completely according to the product instructions before using the flower. Gently test the magnet and its attachment before placing the finished flower on a magnetic surface.
The finished flower should have a lightly padded center and clearly defined, rounded petals.
Safety Note
These flower magnets contain small parts and magnets, which can be a choking hazard if swallowed.
Keep them away from young children and pets. Magnets can also be dangerous if swallowed, so store finished magnets safely when they are not in use.
Use these crochet flowers as decorative magnets and keep them away from medical devices that may be affected by magnets.
Ways to Use Your Crochet Flower Magnets
These small crochet flowers can be used in several simple ways around the home or as handmade gifts.
- Fridge decoration: Use them to add a small handmade detail to your refrigerator or other suitable magnetic surface.
- Office decoration: Attach a flower to a magnetic board or other compatible surface to brighten up a workspace.
- Small handmade gifts: Make a few flowers in different colors and give them as small handmade presents.
- Party favors: Crochet several flowers in colors that match a celebration or event and use them as simple handmade favors.
- Gift wrapping: Attach a flower magnet to a wrapped gift as an extra decorative detail. The recipient can use it afterward as a magnet.
- Seasonal decorations: Change the yarn colors to create flowers for spring, summer, birthdays, or other occasions.
Beginner Tips
- Use a stitch marker at the beginning of each continuous round so you do not lose your place.
- Count the stitches after each round. The center should have 18 stitches before you start the petals.
- Keep your tension consistent when making the two flower layers. If one layer is noticeably larger, the petals may not line up during assembly.
- When working the petals, count them as you go. You should have 6 petals around the center.
- If your petals look uneven, check that you are following the same stitch sequence for each petal.
- Add the fiberfill a little at a time. Small amounts are easier to spread evenly between the two layers.
- Before gluing the magnet, make sure the back of the flower is completely assembled and the edge is securely closed.
- If you are using hot glue, handle the glue carefully and allow it to cool and set before testing the magnet.
- Try making the center and petals in different color combinations. Small amounts of leftover cotton yarn work especially well for this project.
Frequently Asked Questions
Can I make these flower magnets with a different yarn?
Yes. Cotton yarn works well because it gives the flower a firm stitch definition, but you can use another yarn weight if you prefer. Keep in mind that the finished flower may be larger or smaller. Adjust the hook size if needed to suit your yarn.
Can I make the flower without stuffing?
Yes. The flower can be made without fiberfill, but the two layers will be flatter. Adding a small amount of stuffing gives the flower a slightly raised, soft shape.
Can I use a different size magnet?
Yes. You can use a different magnet size as long as it fits securely on the back of the flower. A magnet that is too large or heavy may make the flower difficult to keep in place.
How many flowers can I make from one skein of yarn?
The number will depend on the yarn weight, skein size, and how much yarn you use for each flower. Because these flowers are small, they are a useful project for using leftover yarn.
Can I make the flowers in different colors?
Yes. You can use different colors for the center and petals or make each flower a different combination. This is an easy way to create a set of flowers for different seasons or occasions.
Can I make the flower without a magnet?
Yes. Simply leave out the magnet and use the finished crochet flower as a small decoration, gift embellishment, or craft project.
Terms of Use
This crochet pattern and the photographs on this page are the original work of Amyliva Handmade.
You may make finished crochet flower magnets for personal use, as gifts, or for sale in small quantities. If you share or sell a finished flower magnet, please credit Amyliva Handmade as the designer.
Please do not copy, repost, translate, redistribute, or publish this pattern or the photographs as your own. Do not reproduce the written instructions on another website, social media page, or in a video.
If you would like to share this pattern with others, please share the original Amyliva Handmade link instead of copying the instructions or photographs.

Yorum gönder