AMIGURUMI PATTERNS
amigurumi, amigurumi animals, amigurumi cat, amigurumi keychain, AmyLiva Handmade, beginner crochet project, cat amigurumi tutorial, crochet cat keychain, crochet for beginners, DIY amigurumi, diy cat keychain, easy crochet gift, free amigurumi pattern, free crochet pattern, handmade keychain, kawaii crochet
Amy
2 Yorumlar
Amigurumi Cat Keychain – Free Crochet Pattern
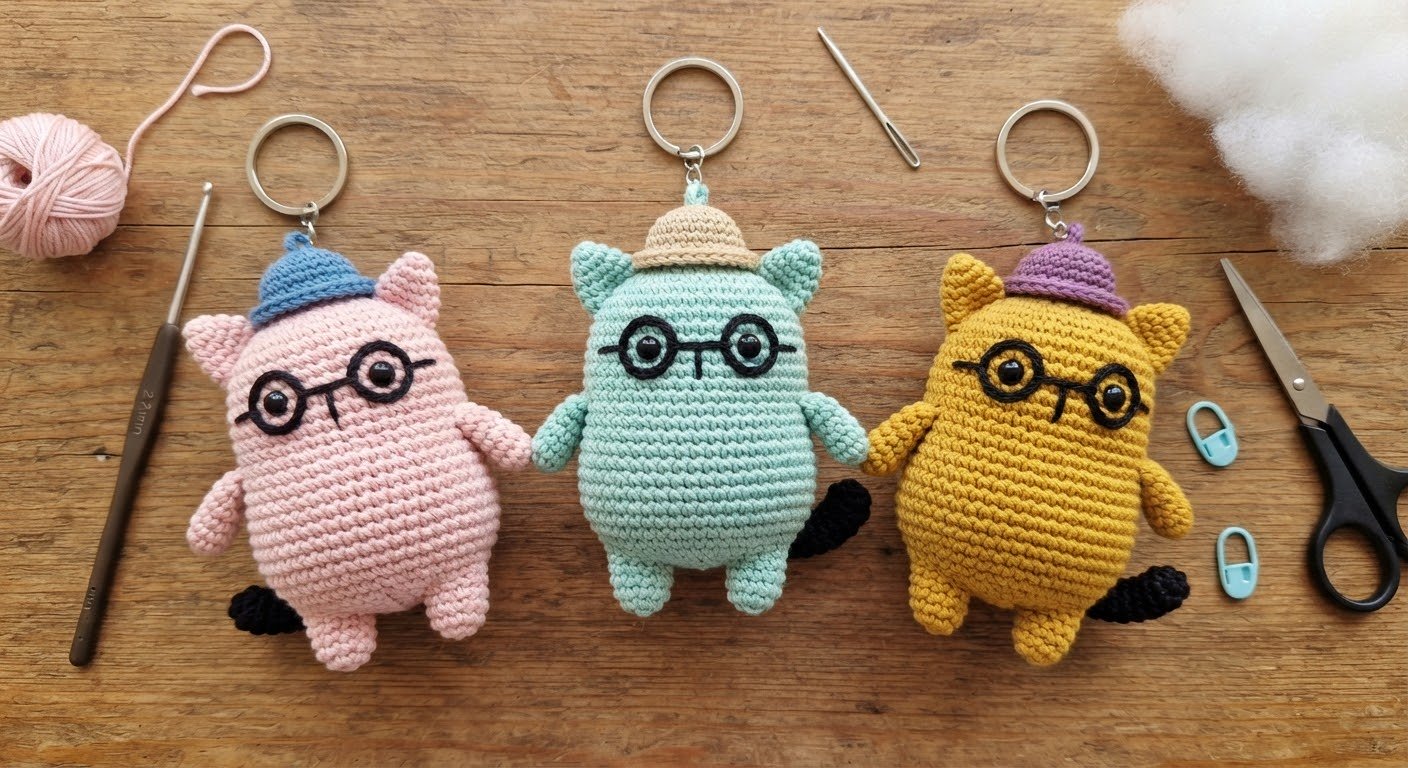
This amigurumi cat keychain is a small crochet project made with simple shapes and colorful details. Each cat can be made with a different yarn color and decorated with a tiny hat, glasses, and tail.
I designed these little cats as lightweight accessories that can be attached to a keyring, backpack, or bag. They are also a fun way to use small amounts of leftover yarn.
In this free crochet pattern, I’ll show you how to make the cat pieces, add the small details, and assemble everything into a finished keychain.
Materials
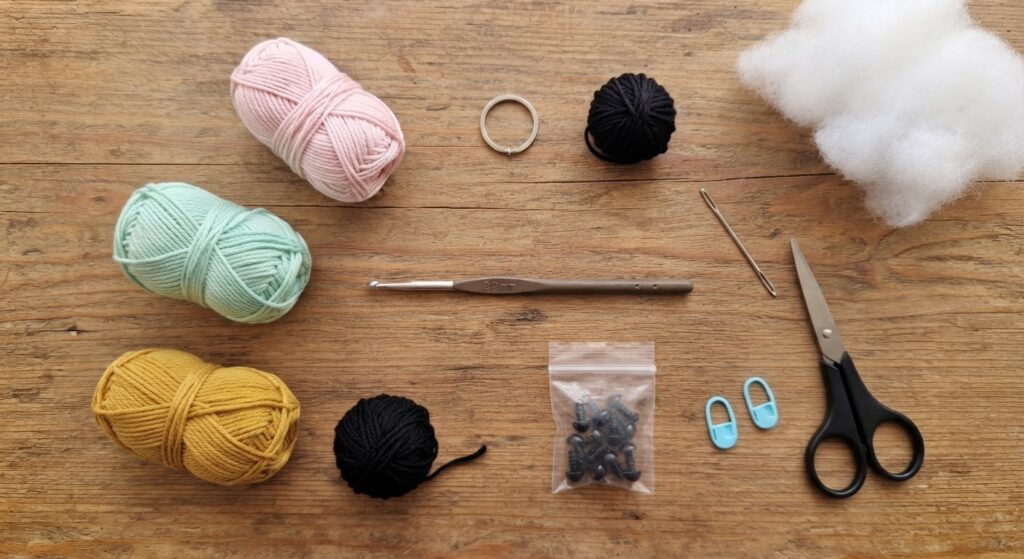
- Cotton yarn in your chosen colors
- Black yarn for the tail and glasses
- 2.2 mm crochet hook
- Polyester fiberfill
- Yarn needle
- Scissors
- Stitch marker
- Keychain ring
- Safety eyes or black embroidery thread for the face
You can use different colors for each cat and choose your own colors for the hats. Cotton yarn works well for this project because it keeps the small pieces neat and makes the stitches easy to see.
Abbreviations
- MR – Magic ring
- sc – Single crochet
- inc – Increase
- dec – Decrease
- sl st – Slip stitch
- ch – Chain
- st(s) – Stitch(es)
- FO – Fasten off
Body
Make 3.
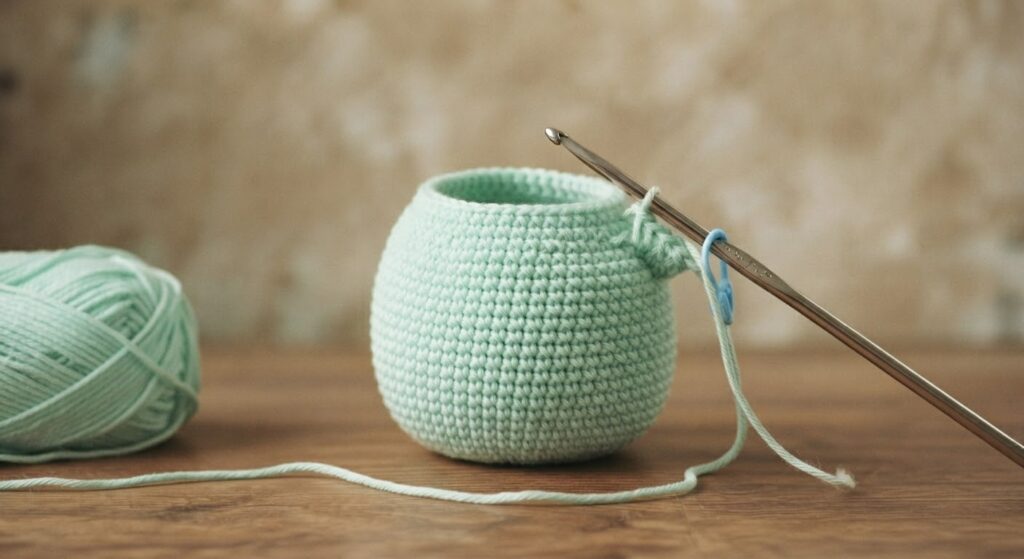
Work in continuous rounds. Use a stitch marker to mark the beginning of each round.
Round 1: 6 sc in a magic ring (6)
Round 2: Inc in each stitch around (12)
Round 3: (1 sc, inc) repeat around (18)
Round 4: (2 sc, inc) repeat around (24)
Round 5: (3 sc, inc) repeat around (30)
Round 6–10: Sc around (30)
Round 11: (3 sc, dec) repeat around (24)
Round 12: (2 sc, dec) repeat around (18)
Add fiberfill and continue stuffing gradually as you crochet.
Round 13: (1 sc, dec) repeat around (12)
Round 14: Dec around (6)
Fasten off, leaving a long yarn tail. Close the opening and weave in the end.
The finished body should have a small, rounded shape. Avoid overstuffing so the body keeps its soft shape.
Arms
Make 2 for each cat.
Round 1: 6 sc in a magic ring (6)
Round 2–3: Sc around (6)
Do not stuff the arms. Flatten each piece slightly and fasten off, leaving a long yarn tail for sewing.
Sew the arms securely to the sides of the body, keeping them at an even height.
Legs
Make 2 for each cat.
Round 1: 6 sc in a magic ring (6)
Round 2: Inc in each stitch around (12)
Round 3–4: Sc around (12)
Add a small amount of fiberfill.
Round 5: (2 sc, dec) repeat around (9)
Round 6: Sc around (9)
Fasten off, leaving a long yarn tail for sewing.
Sew the legs securely to the lower part of the body, keeping them evenly positioned.
Ears
Make 2 for each cat.
Round 1: 6 sc in a magic ring (6)
Round 2: (1 sc, inc) repeat around (9)
Round 3: (2 sc, inc) repeat around (12)
Round 4–5: Sc around (12)
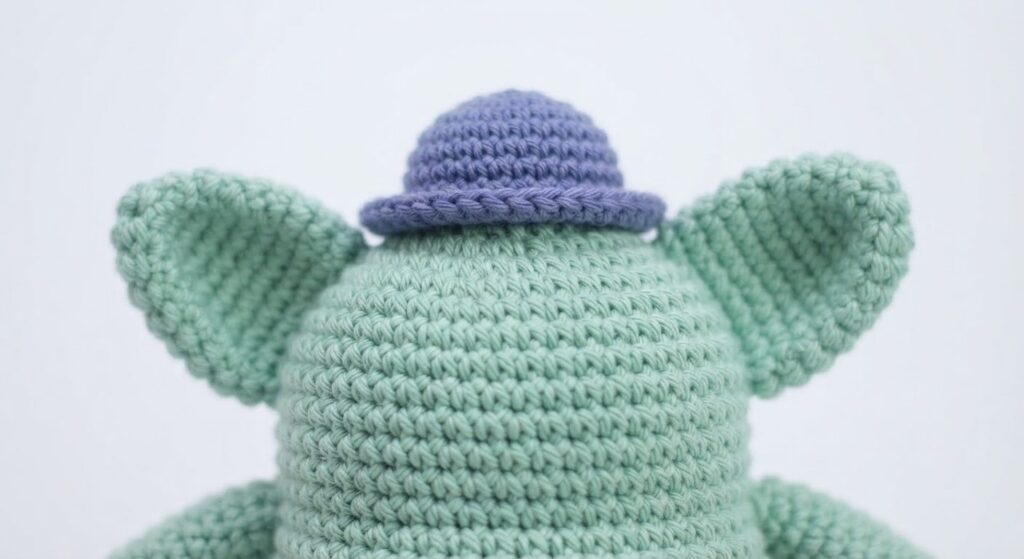
Do not stuff the ears. Flatten each ear slightly and fasten off, leaving a long yarn tail for sewing.
Sew the ears securely to the top of the body, positioning them evenly on both sides.
Tail
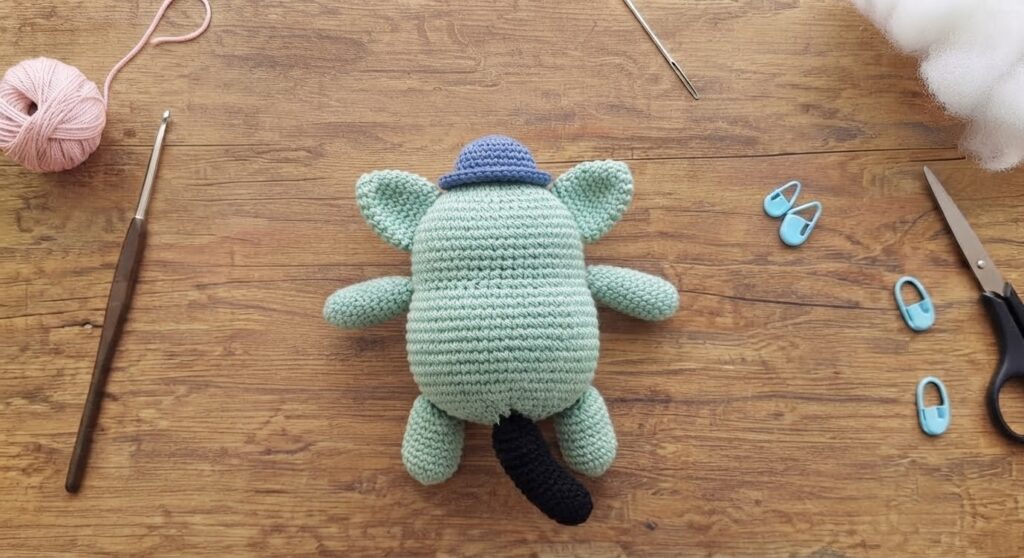
Make 1 for each cat.
Chain 8.
Starting in the second chain from the hook, slip stitch back along the chain.
Fasten off, leaving a long yarn tail for sewing.
Sew the tail securely to the back of the body and position it slightly to one side for a playful look.
Hat
Make 1 for each cat.
Round 1: 6 sc in a magic ring (6)
Round 2: (1 sc, inc) repeat around (9)
Round 3: (2 sc, inc) repeat around (12)
Round 4: (3 sc, inc) repeat around (15)
Round 5–7: Sc around (15)
Fasten off, leaving a long yarn tail for sewing.
Place the hat on the cat’s head and sew it securely in place. You can position it slightly to one side for a playful look.
Glasses
Make 2 small rings for each cat.
For each ring:
Chain 8 and join with a slip stitch to form a ring.
Round 1: Sc around the chain (8)
Fasten off, leaving a long yarn tail for sewing.
Place the two rings side by side on the cat’s face and sew them securely in place. Use a small piece of black yarn to connect the two rings across the center.
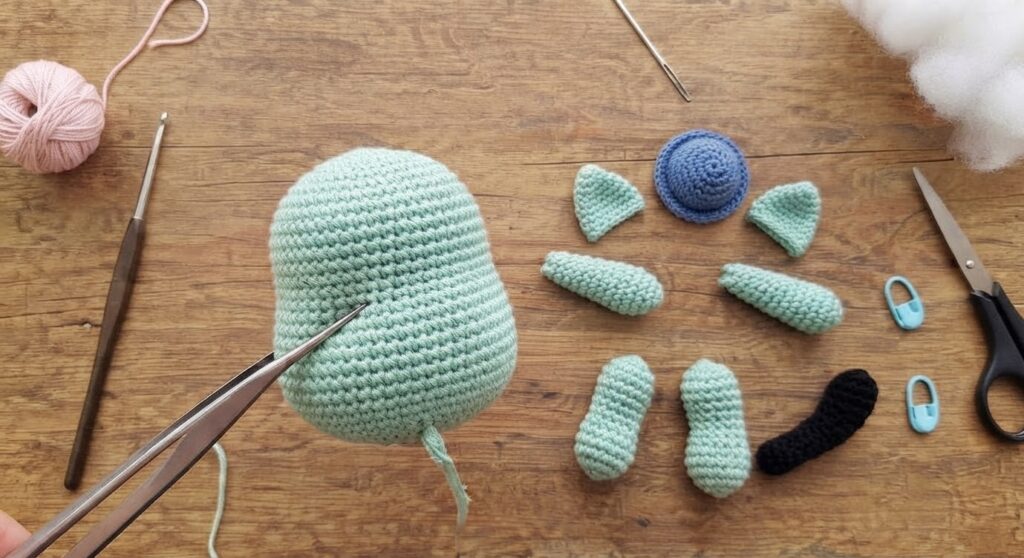
Assembly
- Sew the ears securely to the top of the body, keeping them evenly positioned.
- Sew the arms to the sides of the body.
- Attach the legs to the lower part of the body.
- Sew the tail to the back of the body.
- Place the hat on the head and sew it securely in place.
- Position the crocheted glasses on the face and sew them securely.
- Add the eyes and any small facial details using safety eyes or embroidery thread.
- Attach the keychain ring securely to the top of the cat.
- Weave in and trim all remaining yarn ends.
- Check every sewn connection before using the finished keychain.
Safety
This keychain contains small parts that may present a choking hazard.
- Keep safety eyes and other small parts away from young children and pets.
- Check the keychain ring, seams, glasses, hat, and other attached pieces regularly.
- Do not use the keychain if any part becomes loose or damaged.
- Make sure all yarn ends are securely woven in before use.
Beginner Tips
- Use a stitch marker when working in continuous rounds.
- Count your stitches at the end of each round.
- Keep your crochet tension consistent so the small pieces keep their shape.
- Add stuffing gradually to avoid making the body too firm.
- Sew each piece securely and check the placement before trimming the yarn.
- Take your time when attaching the small glasses and hat.
Care and Use
This crochet cat keychain is designed as a small decorative accessory for bags, backpacks, or keys.
- Avoid pulling the hat, glasses, tail, or other small parts.
- Check the keychain ring and sewn connections regularly.
- Keep the keychain away from excessive moisture and heat.
- If any part becomes loose or damaged, repair it before using the keychain again.
Frequently Asked Questions
Can I use different colors for each cat?
Yes. You can choose a different body color for each cat and use any colors you like for the hats and details.
Can I make the cat without glasses?
Yes. You can leave out the glasses and add simple embroidered facial details instead.
Can I use a different yarn weight?
Yes, but the finished size will change. You may also need to adjust the hook size to match your yarn.
Can I use embroidered eyes instead of safety eyes?
Yes. Embroidered eyes are an alternative to safety eyes. Make sure the embroidery is secure and that no loose threads remain.
Can I sell the finished cat keychains?
You may sell finished items made from this pattern in small quantities with credit to Amyliva Handmade. Please do not sell or redistribute the pattern itself.
Copyright and Terms of Use
This crochet pattern is an original design by Amyliva Handmade.
You may make finished cat keychains for personal use or sell finished items in small quantities with credit to Amyliva Handmade.
Please do not copy, repost, translate, or publish this pattern or the accompanying photos as your own. If you would like to share the pattern, please share the link to this original post instead.




2 comments