How to Crochet a Frog Keychain – Free Amigurumi Pattern
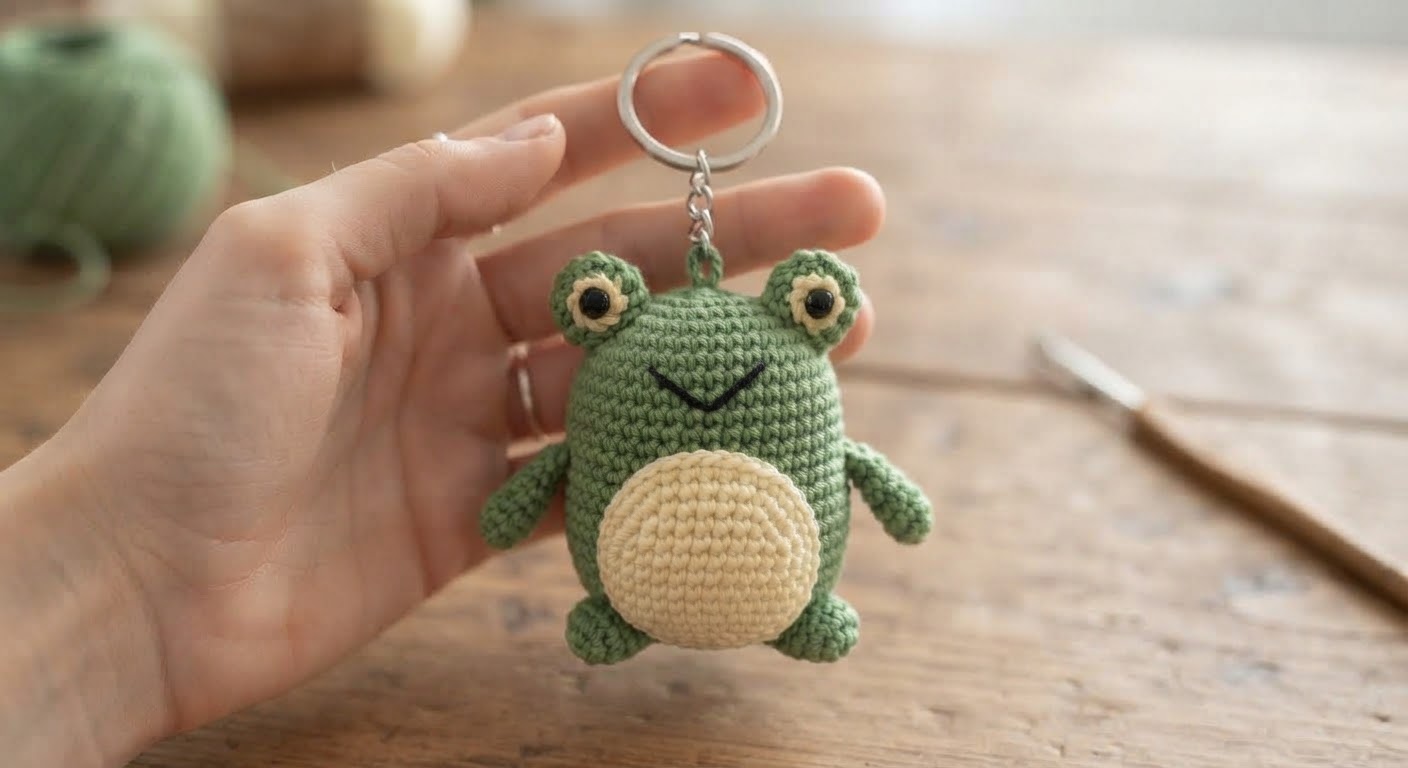
This little frog keychain is a quick amigurumi project made with basic stitches. The frog has a rounded body, raised eyes, a small belly, and simple arms and feet. It is small enough to use as a keychain or bag charm and does not require a large amount of yarn.
The body is worked in continuous rounds. The eyes, belly, arms, and feet are made separately and sewn onto the finished body.
Materials
- Green cotton yarn, small amount
- Light yellow or cream cotton yarn, small amount
- Black embroidery thread
- 2.0 mm crochet hook
- Small amount of polyester fiberfill
- Yarn needle
- Stitch marker
- Scissors
- Small keychain ring
I recommend a smooth cotton yarn for this project because the small stitches stay defined. A similar sport or DK weight yarn can also be used, but the finished size may change.
Finished Size
Approximately 5–6 cm (2–2.4 in) tall, not including the keychain ring.
The size will depend on your yarn, hook, and tension.
Difficulty
Beginner
You should know how to make a magic ring, single crochet, increases, decreases, and basic sewing.
Abbreviations
US crochet terms:
- MR – magic ring
- sc – single crochet
- inc – increase
- dec – decrease
- sl st – slip stitch
- ch – chain
- st – stitch
Work the body in continuous rounds. Use a stitch marker to mark the beginning of each round.
Frog Body
Using green yarn:
Round 1: 6 sc in MR. [6]
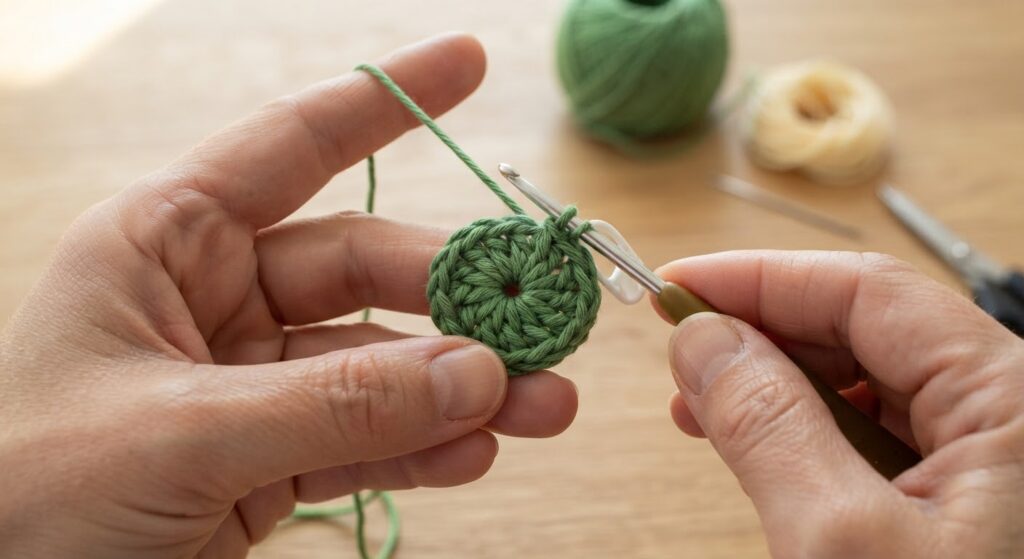
Round 2: Inc in each st around. [12]
Round 3: (1 sc, inc) × 6. [18]
Round 4: (2 sc, inc) × 6. [24]
Round 5: (3 sc, inc) × 6. [30]
Rounds 6–9: Sc around. [30]
The body should now have a rounded shape.
Round 10: (3 sc, dec) × 6. [24]
Round 11: (2 sc, dec) × 6. [18]
Begin adding fiberfill. Add a small amount at a time and shape the body with your fingers as you work.
Round 12: (1 sc, dec) × 6. [12]
Round 13: Dec around. [6]
Fasten off, leaving a tail. Use a yarn needle to close the remaining opening. Weave the end inside the body.
Do not overstuff the frog. The fabric should remain smooth without the stitches being stretched open.
Eye Pieces
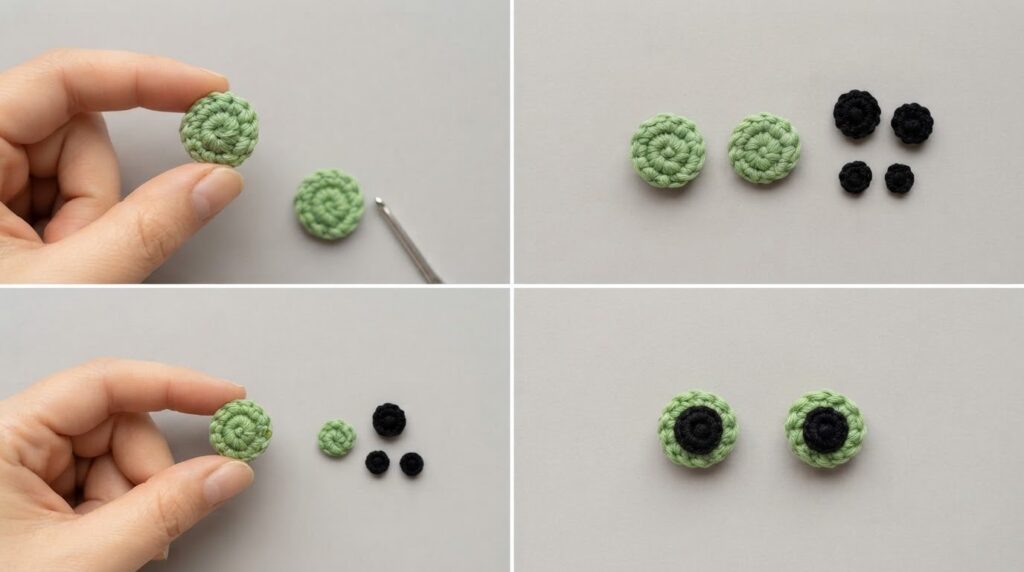
Make two.
Using green yarn:
Round 1: 6 sc in MR. [6]
Round 2: Inc in each st around. [12]
Round 3: Sc around. [12]
Fasten off, leaving a long tail for sewing.
Place the two pieces next to each other at the top of the body. Sew them securely, checking the position from the front before finishing the stitches.
Eyes
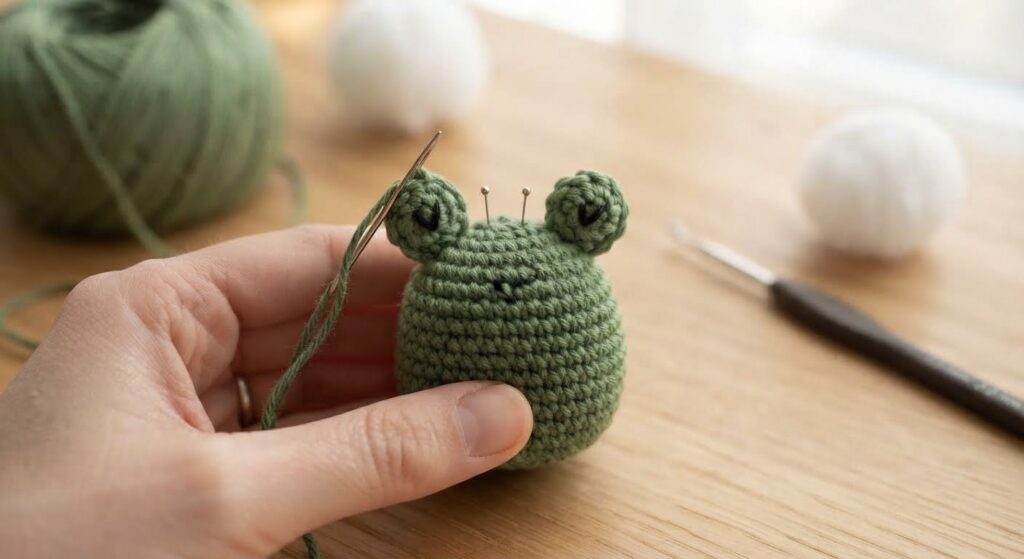
Use black embroidery thread to make a small black eye on the front of each raised eye piece.
If you prefer to use safety eyes, attach them securely before sewing the eye pieces onto the body.
For a keychain intended for a young child, embroidered eyes are preferable to detachable safety eyes or beads because small parts can present a choking hazard.
Belly
Using light yellow or cream yarn:
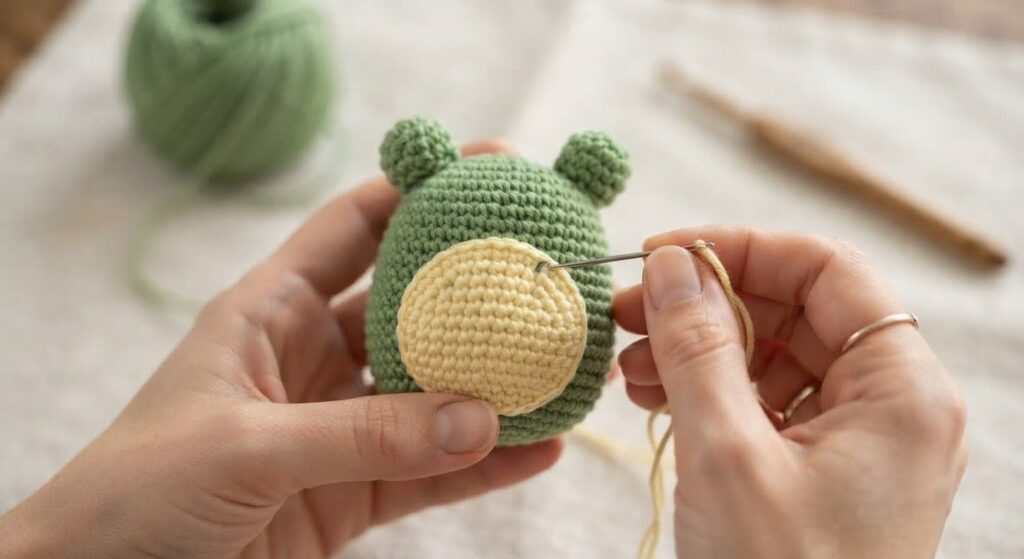
Round 1: 6 sc in MR. [6]
Round 2: Inc in each st around. [12]
Round 3: (1 sc, inc) × 6. [18]
Fasten off, leaving a long tail.
Place the belly on the front of the frog, below the eyes. Pin it in place first, then sew around the edge with small stitches.
The belly should sit flat against the body rather than pulling tightly on the crochet fabric.
Arms
Make two.
Using green yarn, ch 5.
Starting in the second chain from the hook, sc in the next 4 ch.
Fasten off and leave a sewing tail.
Fold each arm slightly and sew one to each side of the body. Position them just below the eye area and check that they are at the same height before sewing them firmly.
The arms do not need stuffing.
Feet
Make two.
Using green yarn:
Round 1: 6 sc in MR. [6]
Round 2: (1 sc, inc) × 3. [9]
Fasten off and leave a long tail.
Sew the feet to the lower front of the body. Place them far enough apart for the frog to sit upright.
You can slightly flatten the feet while sewing them on so they sit neatly against the body.
Mouth
Using black embroidery thread, stitch a small curved smile between the eyes and belly.
Make a few small stitches rather than one long stitch. This gives you more control over the curve and makes it easier to keep the mouth centered.
Keychain Attachment
For the keychain loop, use green yarn and make a chain of 8.
Fold the chain into a loop and sew both ends securely to the top center of the frog. Reinforce the attachment with several stitches before adding the metal keyring.
Give the loop a gentle pull before using the finished frog. The attachment should not move away from the body.
Assembly Check
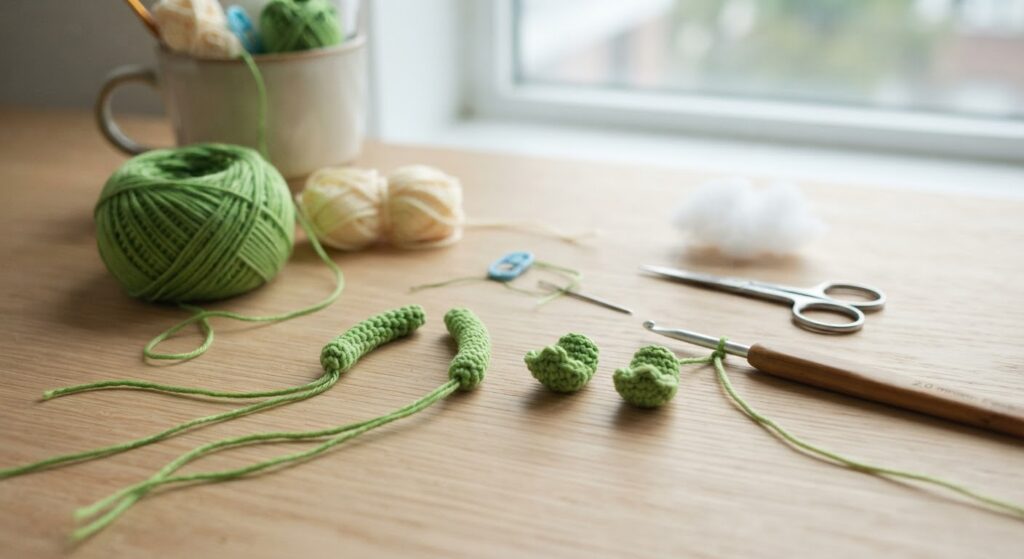
Before finishing the project, check the frog from the front.
The two eye pieces should be at the same height, the belly should be centered, and the feet should be positioned evenly. If something looks slightly off, it is much easier to correct before the sewing ends are woven in.
Weave in any remaining yarn ends securely.
Helpful Notes
The most important part of making this small frog is keeping the tension consistent. Loose stitches can make the body look uneven and may allow the stuffing to show.
When stuffing the body, add small amounts and press the filling into the corners with the blunt end of your crochet hook or a stuffing tool. Avoid using the pointed end of the hook.
If your frog is noticeably larger or smaller than 5–6 cm, this is usually caused by yarn weight, hook size, or tension rather than an error in the pattern.
Frequently Asked Questions
Can I use a different yarn?
Yes. A similar cotton or cotton-blend yarn can be used. Keep in mind that changing the yarn weight will change the finished size.
Why does my frog look larger than the stated size?
Finished size depends on yarn weight, hook size, and individual tension. The 5–6 cm measurement is an approximate finished size rather than a fixed measurement.
How do I keep the frog’s face symmetrical?
Before sewing the eyes and belly permanently, place the pieces on the body and look at the frog from the front. Adjust their position until both sides look even.
Can I make the frog without a keychain?
Yes. Simply leave off the keychain loop and ring. The finished frog can be used as a small amigurumi decoration instead.
Can I sell finished frogs made from this pattern?
Yes. You may sell finished items made from this pattern in small quantities. Please credit AmyLiva Handmade as the pattern designer.
The pattern itself may not be copied, redistributed, translated, or resold.
Pattern Usage & Copyright
This pattern is designed and written by AmyLiva Handmade.
You may make finished frog keychains for yourself, as gifts, or for small-scale sale. When selling finished items, please credit AmyLiva Handmade as the pattern designer.
You may not copy, reproduce, translate, redistribute, publish, or resell this written pattern or its photographs, either in whole or in part, as your own.
Thank you for respecting the original pattern and the work involved in creating it.



1 yorum