CROCHET ACCESSORIES AND HOME
amigurumi, amigurumi flower hairpin, amigurumi pattern, AmyLiva Handmade, crochet for beginners, Crochet Gift Ideas, crochet hair accessories, crochet tutorial, floral crochet DIY, flower hair clip crochet, free crochet pattern, handmade flower clip, kawaii crochet, spring crochet project, wedding hair accessory
admin
0 Yorumlar
How to Crochet an Amigurumi Flower Hairpin: A Handmade Touch of Elegance
Handmade accessories are making a strong comeback, and amigurumi flower hairpins are leading the way. These cute and functional crochet items combine elegance with creativity, offering a perfect project for beginners and experienced crafters alike. Whether you’re crafting for personal use, gifts, or your handmade brand like AmyLiva Handmade, this guide will walk you through how to crochet a beautiful amigurumi flower hairpin step by step.
✨ What Is an Amigurumi Flower Hairpin?
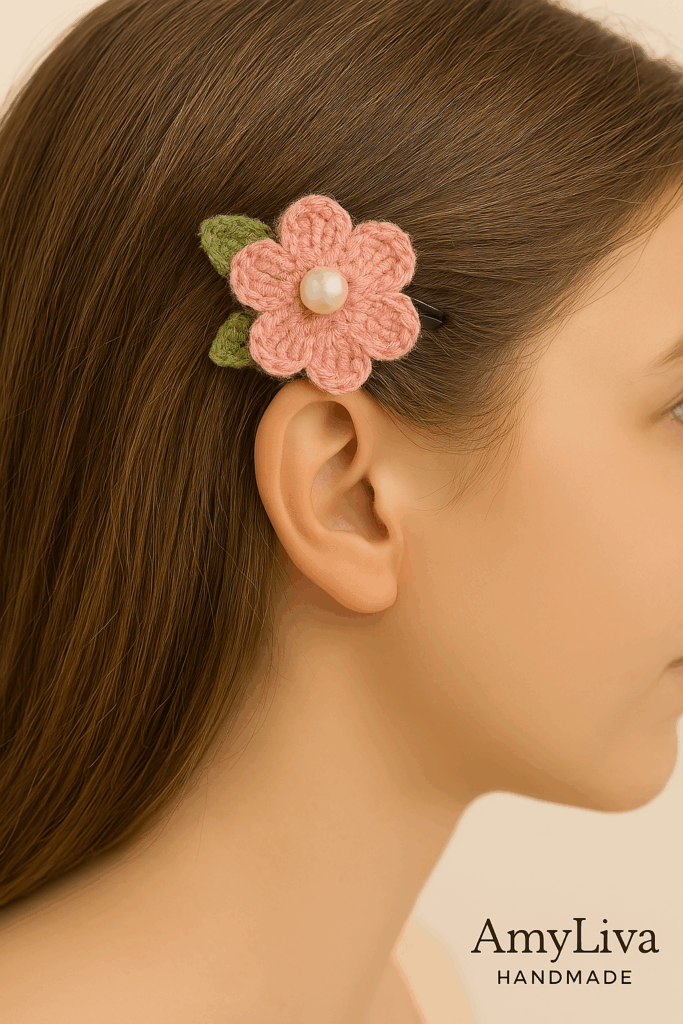
Amigurumi is the Japanese art of crocheting small stuffed toys, but it has expanded into accessories, decor, and fashion. When applied to hair accessories, it results in soft, textured, and whimsical flower motifs that can be attached to bobby pins, clips, or elastics. These pins are ideal for kids, weddings, or simply adding a handmade touch to daily wear.
🧵 Materials You’ll Need
Before you begin, gather the following materials:
- Cotton yarn in three shades (e.g., yellow for center, pink for petals, green for leaves)
- 2.5 mm crochet hook
- Tapestry needle
- Hairpin base (snap clip, elastic band, or bobby pin)
- Small pearl or decorative bead (optional)
- Scissors
💡 Tip: Cotton yarn provides better shape retention and is perfect for hair accessories.
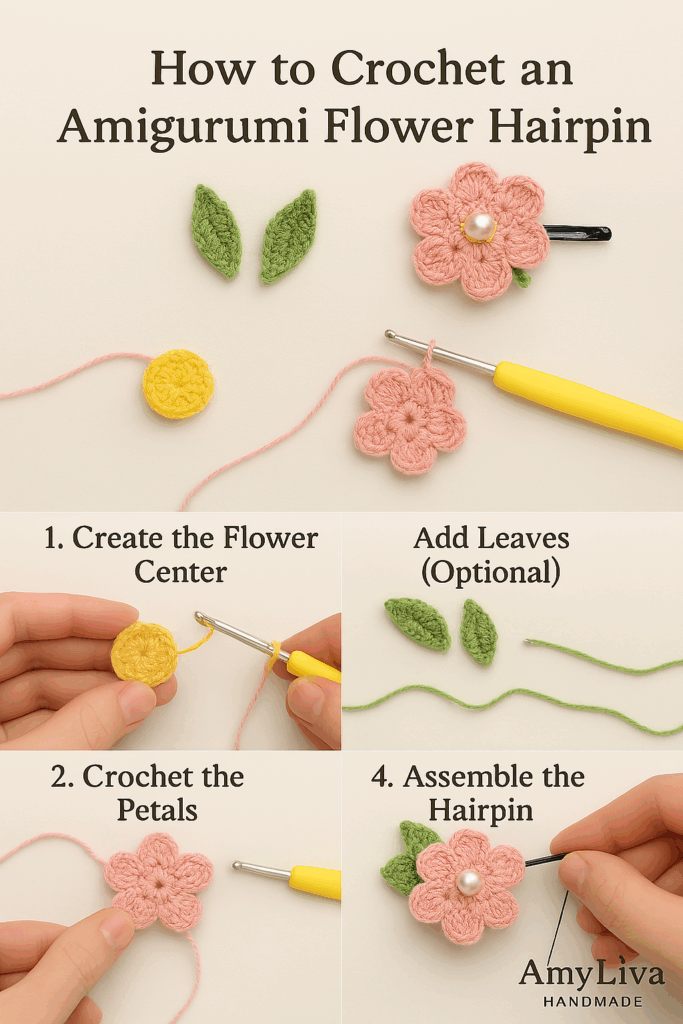
🌼 Step-by-Step Crochet Instructions
1. Create the Flower Center
Using yellow yarn:
- Start with a magic ring
- Crochet 12 single crochets (sc) into the ring
- Pull the ring tight and slip stitch to close
- Fasten off
This forms the base of your flower.
2. Crochet the Petals
Switch to pink yarn:
- Attach the yarn to any stitch on the flower center
- For each stitch around (repeat 6–8 times):
- Chain 10
- Into the chain, work:
- 8 double crochets (dc)
- Chain 1
- 8 more dc
- Slip stitch into the next stitch on the center
Repeat the process for each petal around the center.
3. Add Optional Leaves
Using green yarn:
- Chain 7
- Work into the chain:
- 1 slip stitch
- 1 single crochet (sc)
- 2 half double crochets (hdc)
- 3 double crochets (dc)
- Turn and repeat the same stitches on the opposite side of the chain
Make 2–3 leaves, and sew them behind the flower for a fresh, leafy effect.
4. Assemble the Hairpin
- Using a tapestry needle, sew the finished flower onto your chosen hairpin base
- Optionally, add a pearl or bead to the center of the flower for elegance
- Use a hot glue gun for extra security, especially on metal clips
5. Final Touches
- Shape the petals gently with your fingers
- For long-lasting form, lightly steam-block the flower (hover a steam iron without touching directly)
Your amigurumi flower hairpin is now ready to wear or gift!
📸 Styling Ideas
For Kids
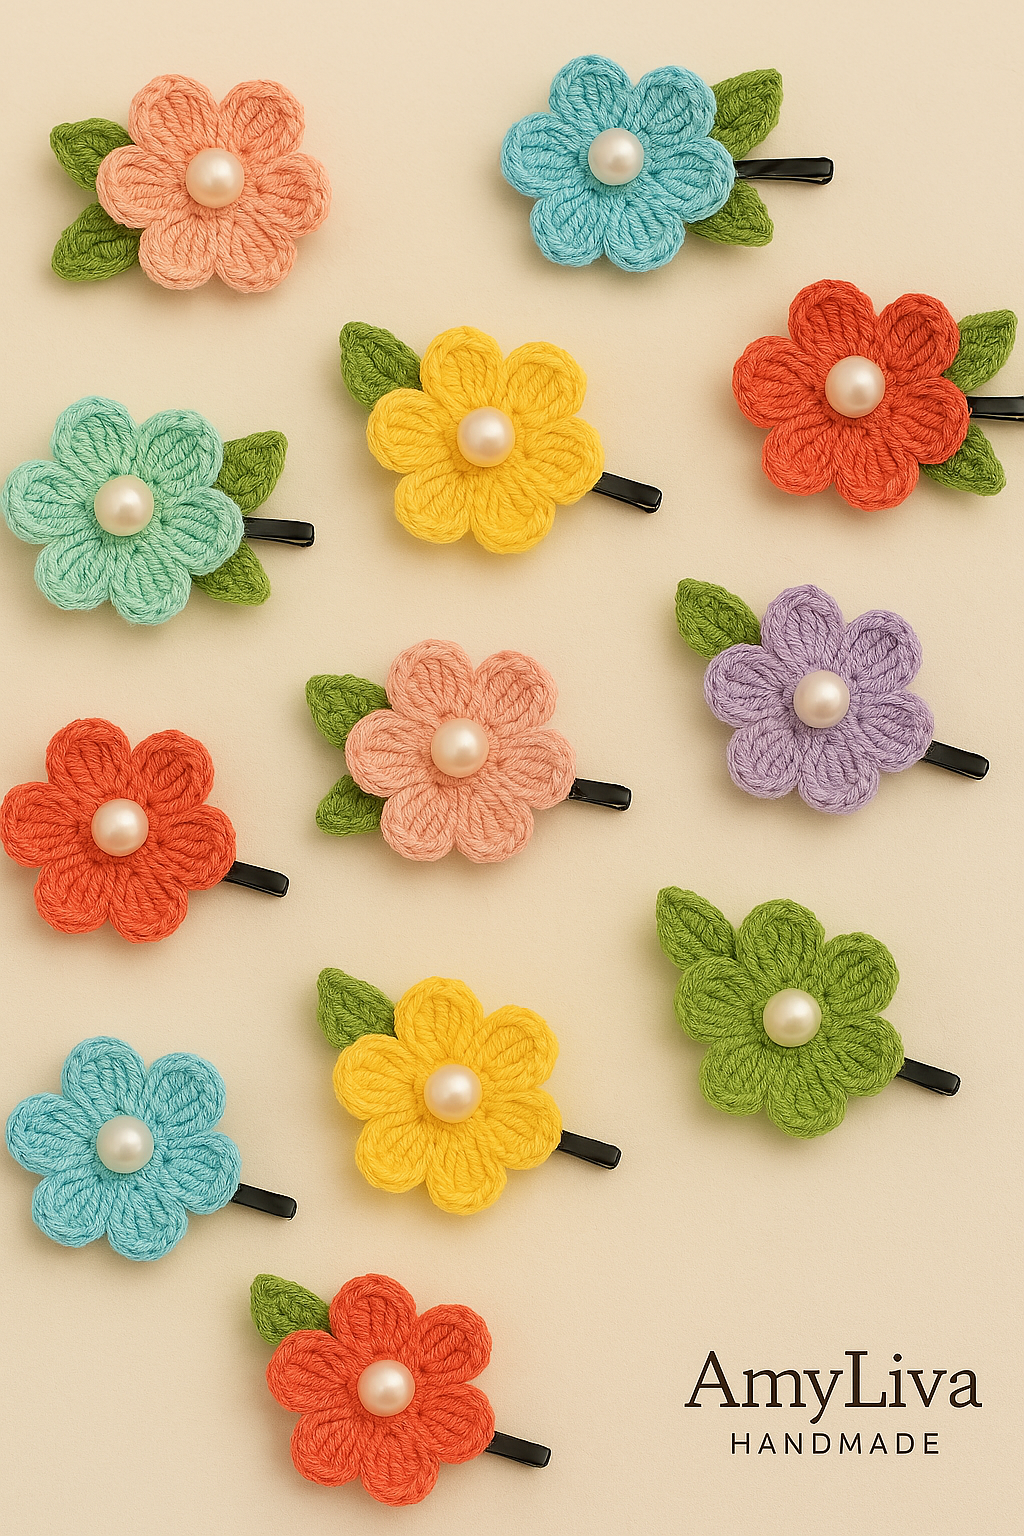
Use bright, cheerful colors. Attach to soft elastic bands for ponytails and pigtails. Fun and playful!
For Brides
Choose ivory, white, or blush tones. Mount on silver pins for elegant bridal looks.
For Everyday Wear
Pick soft pastels or earthy colors. A perfect handmade touch for minimalistic styles.
As Handmade Gifts
Wrap in a small kraft box with your AmyLiva Handmade tag. Ideal for birthdays, baby showers, and holidays
Yorum gönder