Easy Amigurumi Snowman Ornament – Complete Crochet Guide for Beginners

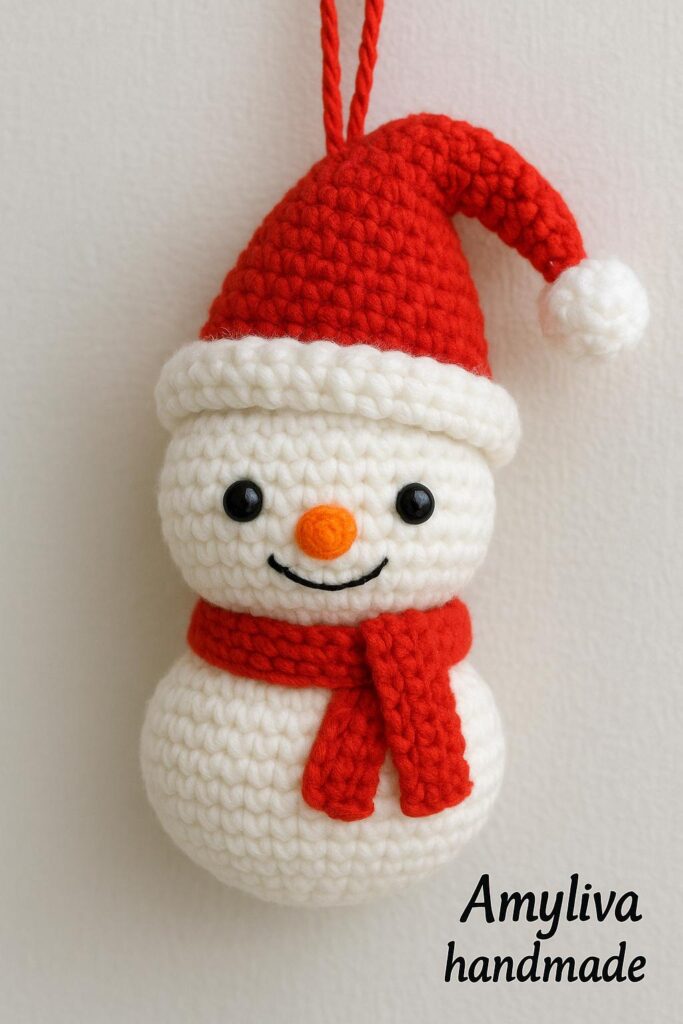
If you’re looking for a cute, quick, and festive crochet project for the holiday season, this Easy Amigurumi Snowman Ornament is the perfect choice. Ideal for beginners and experienced crocheters alike, this mini snowman adds warmth and charm to any Christmas tree. With its soft shape, bright colors, and adorable face, it’s a wonderful decoration that also makes a thoughtful handmade gift.
https://youtube.com/shorts/MhhoCIaDtHU?si=yIVYskTleXJ3Z2Uf
In this detailed guide, you will learn everything you need to create this adorable crochet snowman ornament—from materials and stitches to step-by-step instructions, stuffing tips, assembly, and finishing details. This blog post is designed to be SEO friendly, Adsense-optimized, and rich in content for your readers who love amigurumi, Christmas crafts, and DIY holiday decorations.
Why This Amigurumi Snowman Ornament Is Perfect for Christmas
Crocheting your own Christmas ornaments is a wonderful way to add handmade charm to your home. This ornament is especially popular because:
✔ Beginner-Friendly Design
The pattern uses basic amigurumi stitches:
- Magic ring
- Single crochet (sc)
- Increase (inc)
- Decrease (dec)
- Working in spiral rounds
Even if you’ve never crocheted an amigurumi before, this project is approachable and easy to complete.
✔ Quick to Make
Each snowman takes about 1–2 hours, making it ideal for:
- Last-minute Christmas gifts
- Handmade market preparation
- Etsy shop inventory
- Classroom or office decorations
✔ Affordable Materials
You only need small amounts of yarn. This makes it a great stash-busting project.
✔ Customizable
You can easily change:
- Hat color
- Scarf style
- Eye size
- Expression (smile, blush, eyebrows)
- Add glitter thread for a frosty effect
Materials You Will Need
Before you begin, gather the following supplies:
Yarn
- White yarn (DK or worsted)
- Red yarn (for hat and scarf)
- A small amount of orange yarn (for the carrot nose)
- Optional: black embroidery thread for the smile
Hook
- 2.0 mm or 2.5 mm crochet hook
Using a smaller hook helps you achieve tight stitches, which is important for amigurumi.
Tools
- Fiberfill stuffing
- 6 mm or 8 mm safety eyes
- Yarn needle
- Stitch marker
- Scissors
Optional Extras
- Sparkle yarn
- Ribbon for hanging
- Mini Christmas bells
- Hot glue gun (for attaching accessories)
Crochet Techniques Used (Explained Clearly)
Magic Ring (MR)
The foundation ring for most amigurumi pieces.
Allows the starting hole to close tightly.
Single Crochet (sc)
The main stitch used in amigurumi.
Creates a dense fabric that holds stuffing well.
Increase (inc)
Two single crochets in the same stitch.
Used to expand the shape.
Decrease (dec)
Crochet two stitches together.
Used to narrow or close the shape.
Working in a Spiral
Amigurumi is crocheted continuously in circles—without joining at the end of each round.
Use a stitch marker to mark the first stitch of each round.
Step-by-Step Amigurumi Snowman Pattern
A simple and clean pattern you can follow easily.
Head & Body (Worked as One Piece)
Head
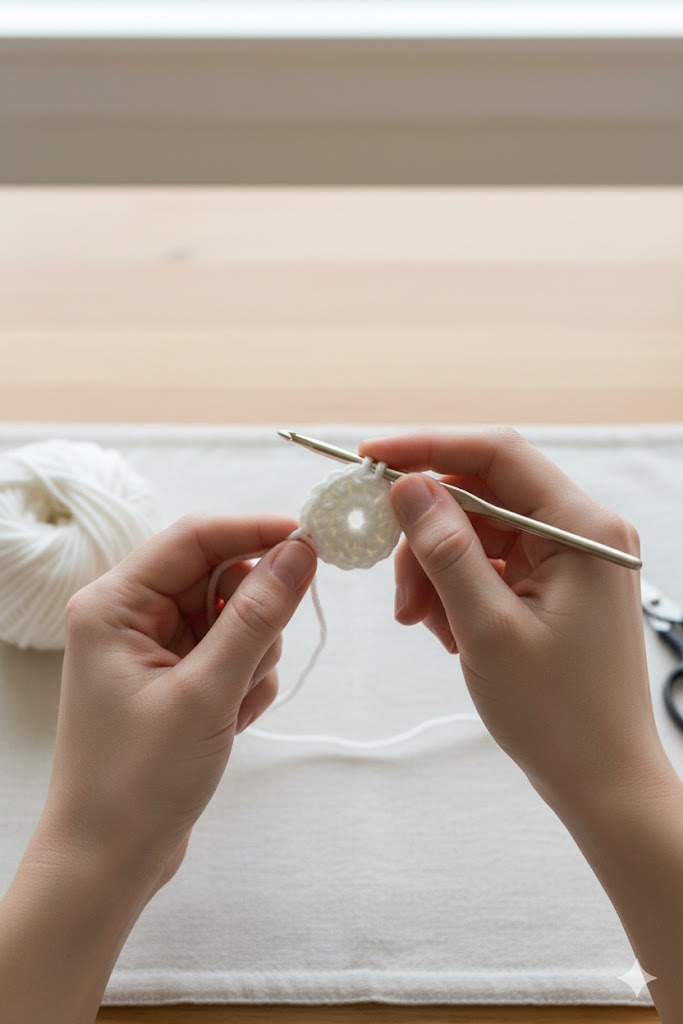
- Round 1: MR, 6 sc
- Round 2: 6 inc (12)
- Round 3: (1 sc, inc) × 6 (18)
- Round 4: (2 sc, inc) × 6 (24)
- Round 5: (3 sc, inc) × 6 (30)
- Round 6–10: 30 sc (5 rounds)
- Insert safety eyes between Round 8–9
- Round 11: (3 sc, dec) × 6 (24)
- Round 12: (2 sc, dec) × 6 (18)
- Round 13: (1 sc, dec) × 6 (12)
Stuff the head firmly before continuing.
Body
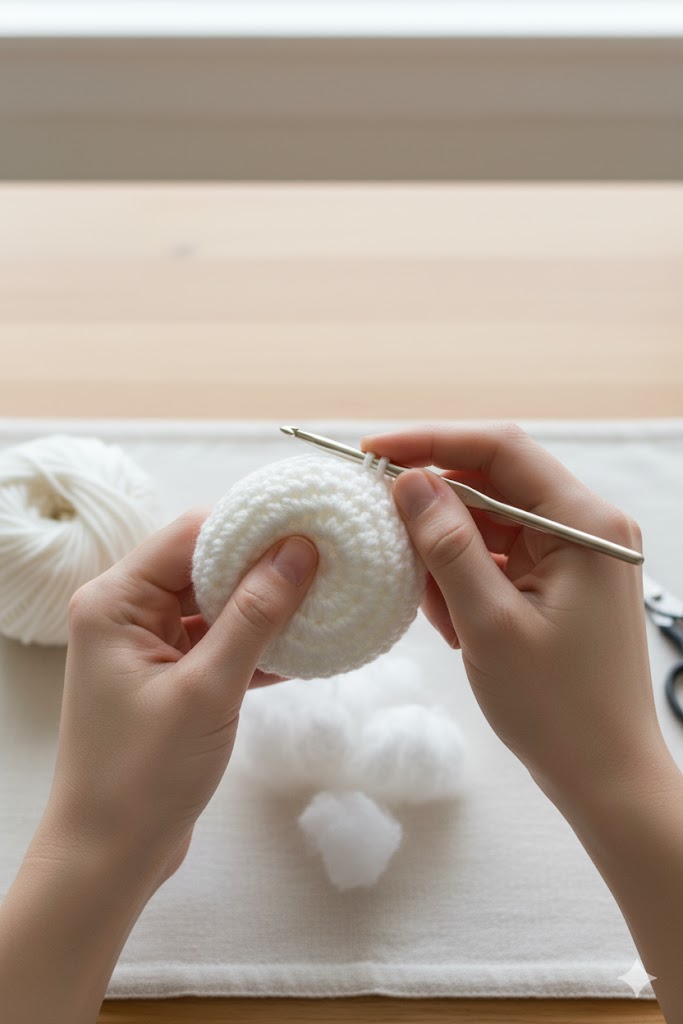
- Round 14: (1 sc, inc) × 6 (18)
- Round 15: (2 sc, inc) × 6 (24)
- Round 16: (3 sc, inc) × 6 (30)
- Round 17–20: 30 sc (4 rounds)
- Round 21: (3 sc, dec) × 6 (24)
- Round 22: (2 sc, dec) × 6 (18)
- Round 23: (1 sc, dec) × 6 (12)
- Round 24: 6 dec (6)
Finish stuffing and close the piece tightly.
Crochet the Snowman’s Hat
Red Hat
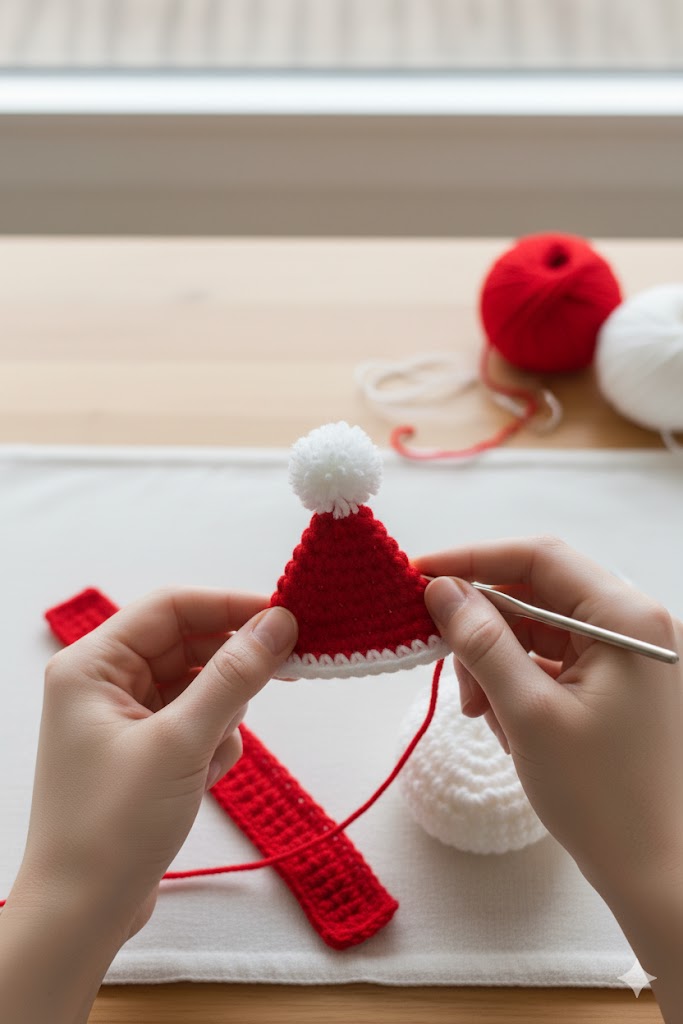
- MR, 6 sc
- 6 inc (12)
- (1 sc, inc) × 6 = 18
- (2 sc, inc) × 6 = 24
- Crochet 7–9 rounds of 24 sc
- Add a fluffy pompom or crochet ball at the tip
The hat should be slightly slouchy for a cute look.
Scarf
Using red yarn:
- Chain 45
- Row 1: 44 sc
- Fasten off
Wrap around the snowman’s neck and secure lightly.
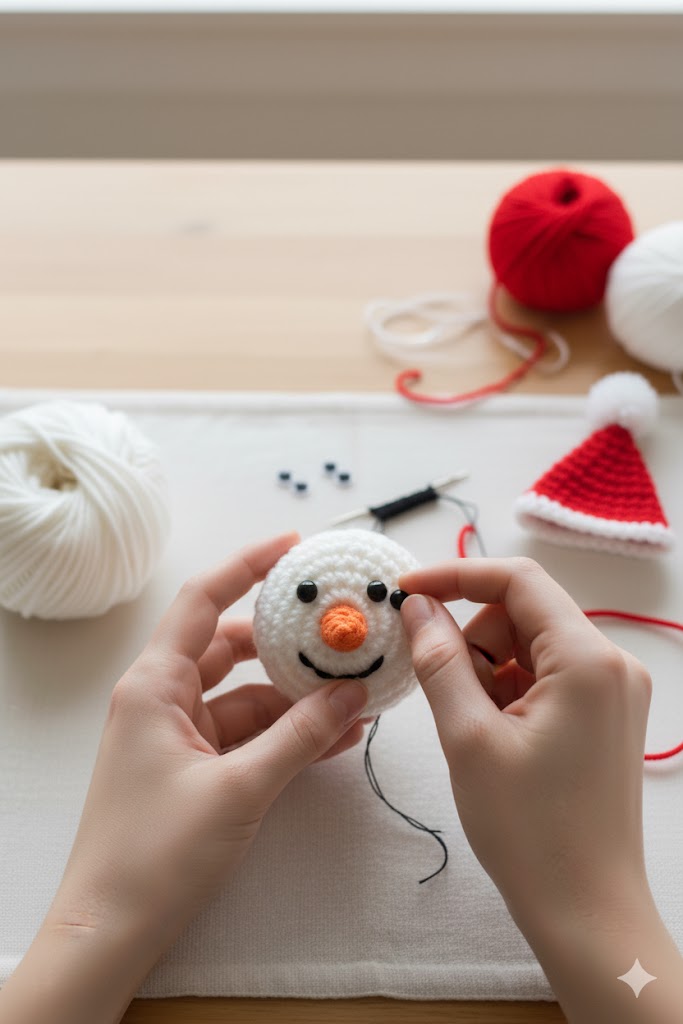
Nose & Facial Details
Carrot Nose
With orange yarn:
- MR, 4 sc
- 4 sc
- Close the tiny cone
- Sew onto the face
Eyes & Smile
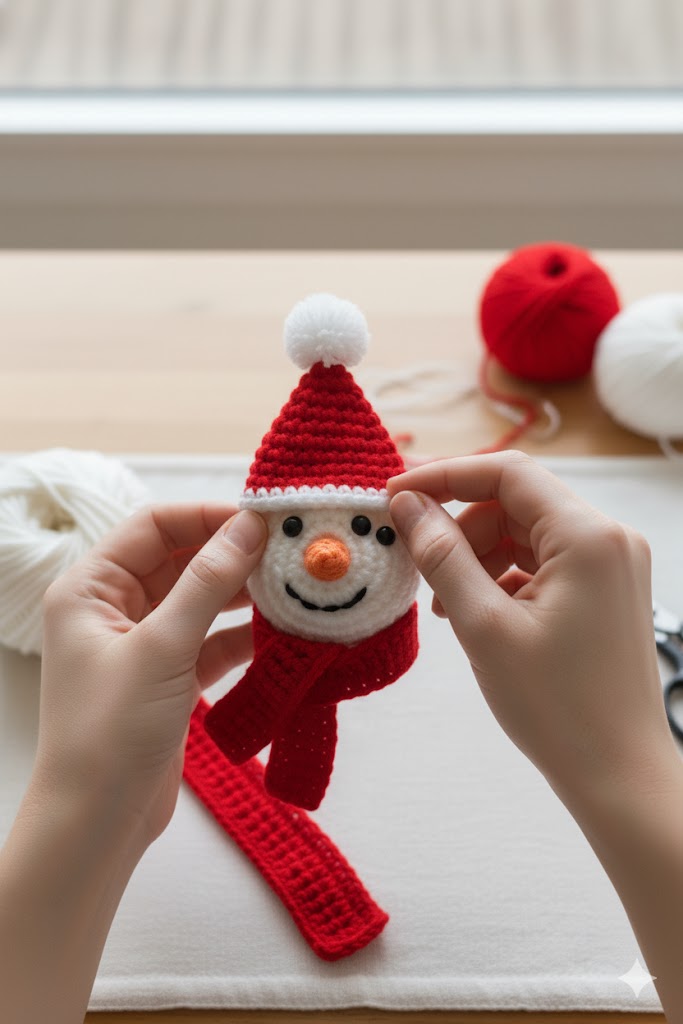
- Insert safety eyes before stuffing
- Embroider a small smile with black yarn
- Add optional blush with fabric paint or soft pastel
Assembly Instructions
- Sew the hat onto the head slightly tilted
- Attach the scarf around the neck
- Secure the nose tightly
- Embroider the smile
- Add a hanging loop using red yarn
Tips for a Professional Finish
Use Tight Stitches
Loose stitches will show stuffing.
Amigurumi always looks better with firm tension.
Stuff Gradually
Add small amounts of stuffing to avoid lumps.
Shape While Stuffing
Press gently to form a smooth round shape.
Block the Scarf Lightly
Makes it lie flat and look neat.
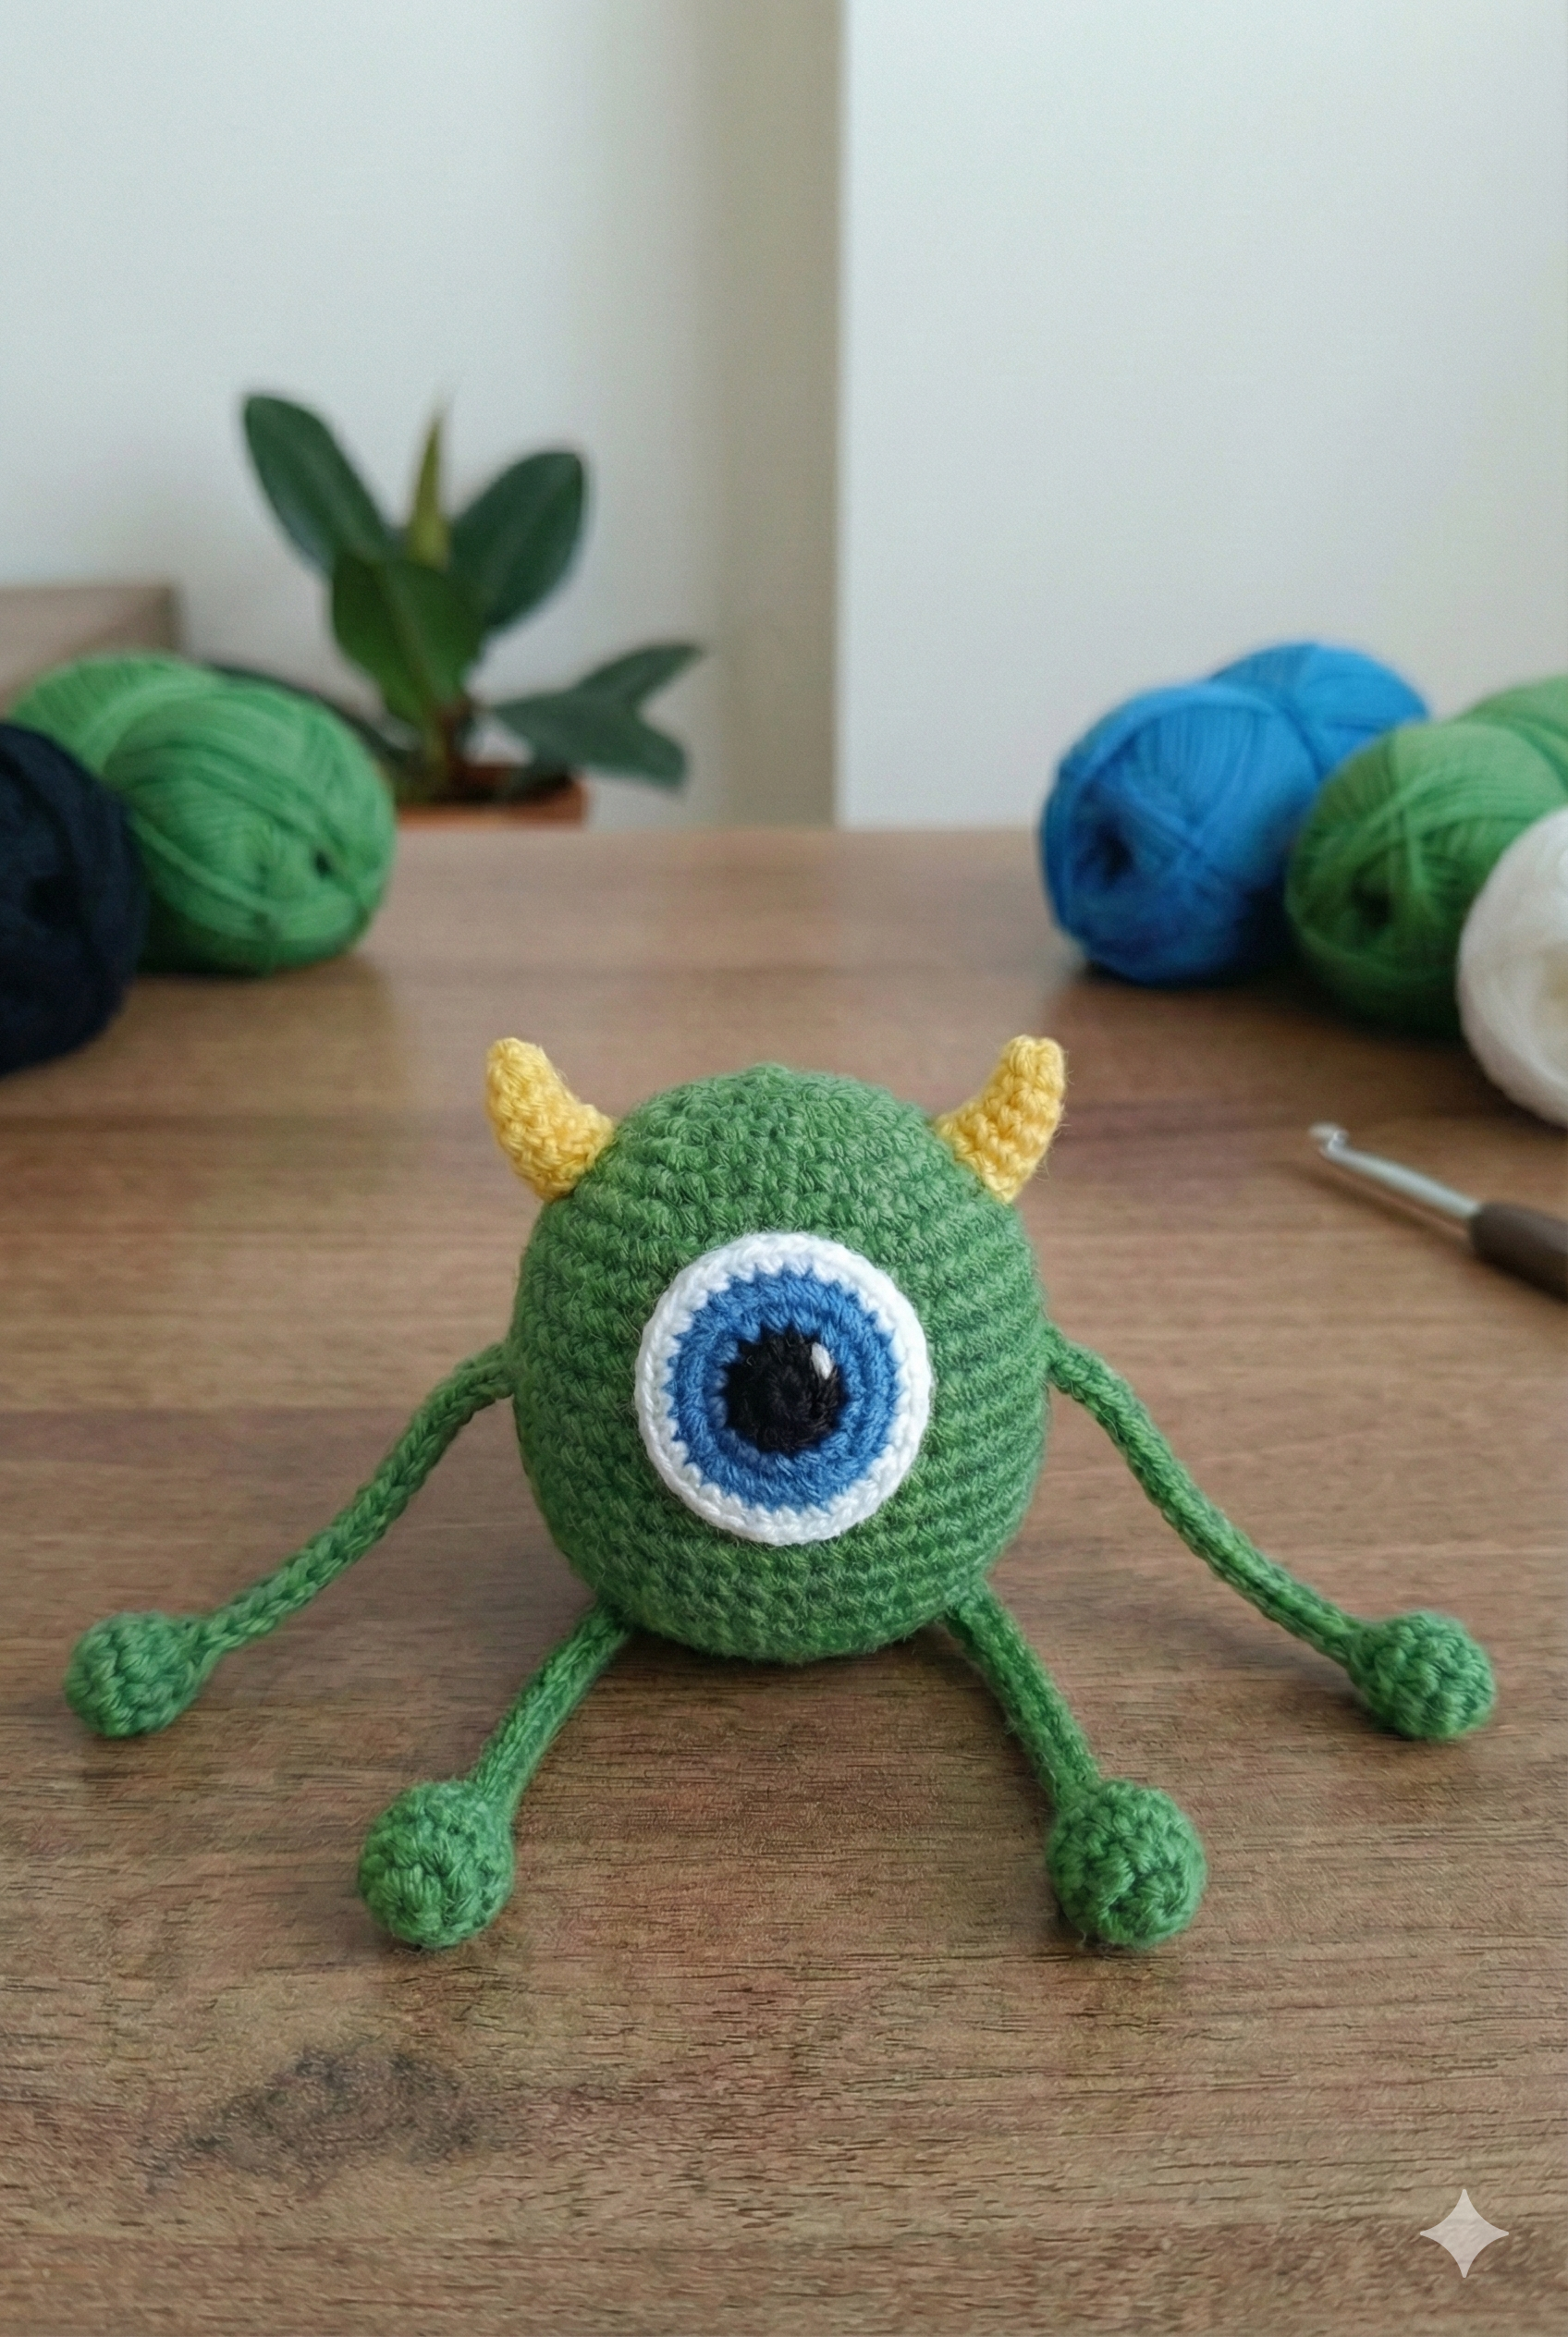
How to Customize Your Snowman
You can create multiple variations:
- Add a green hat
- Use striped yarn for the scarf
- Add tiny beads as buttons
- Glue a miniature Christmas tree in its hand
- Add snowflake patches
This makes the ornament ideal for sets and gift packs.
Frequently Asked Questions
Is this pattern beginner-friendly?
Yes! The entire pattern uses basic stitches suitable for beginners.
How long does it take?
About 1–2 hours depending on your speed.
Can I sell the finished products?
Yes, absolutely—especially during Christmas season.
What yarn works best?
Soft acrylic yarn is ideal for lightweight ornaments.
Conclusion
This Easy Amigurumi Snowman Ornament is one of the cutest and simplest holiday crochet patterns you can make. It’s quick, affordable, and perfect for adding a handmade touch to your home décor. Whether you’re making it for yourself, gifting it to a friend, or selling at holiday markets, this snowman will bring joy and festive charm to any space.
Feel free to share your finished snowman and explore more patterns on amyliva.com ❤️
You can also follow AmyLiva Handmade on social media for new designs:
Pinterest: https://pin.it/5MVfmfUtW
YouTube: https://www.youtube.com/@Amyliva
Instagram: https://www.instagram.com/amylivahandmade?igsh=dTBjcnJiZHNqbWNy&utm_source=qr


Yorum gönder