Free Crochet Pattern: Amigurumi Bunny Newborn Keepsake Shadow Box Frame
Skill Level: Intermediate
Finished Size: Depends on the frame size and personalization options
Last Updated: November 2026
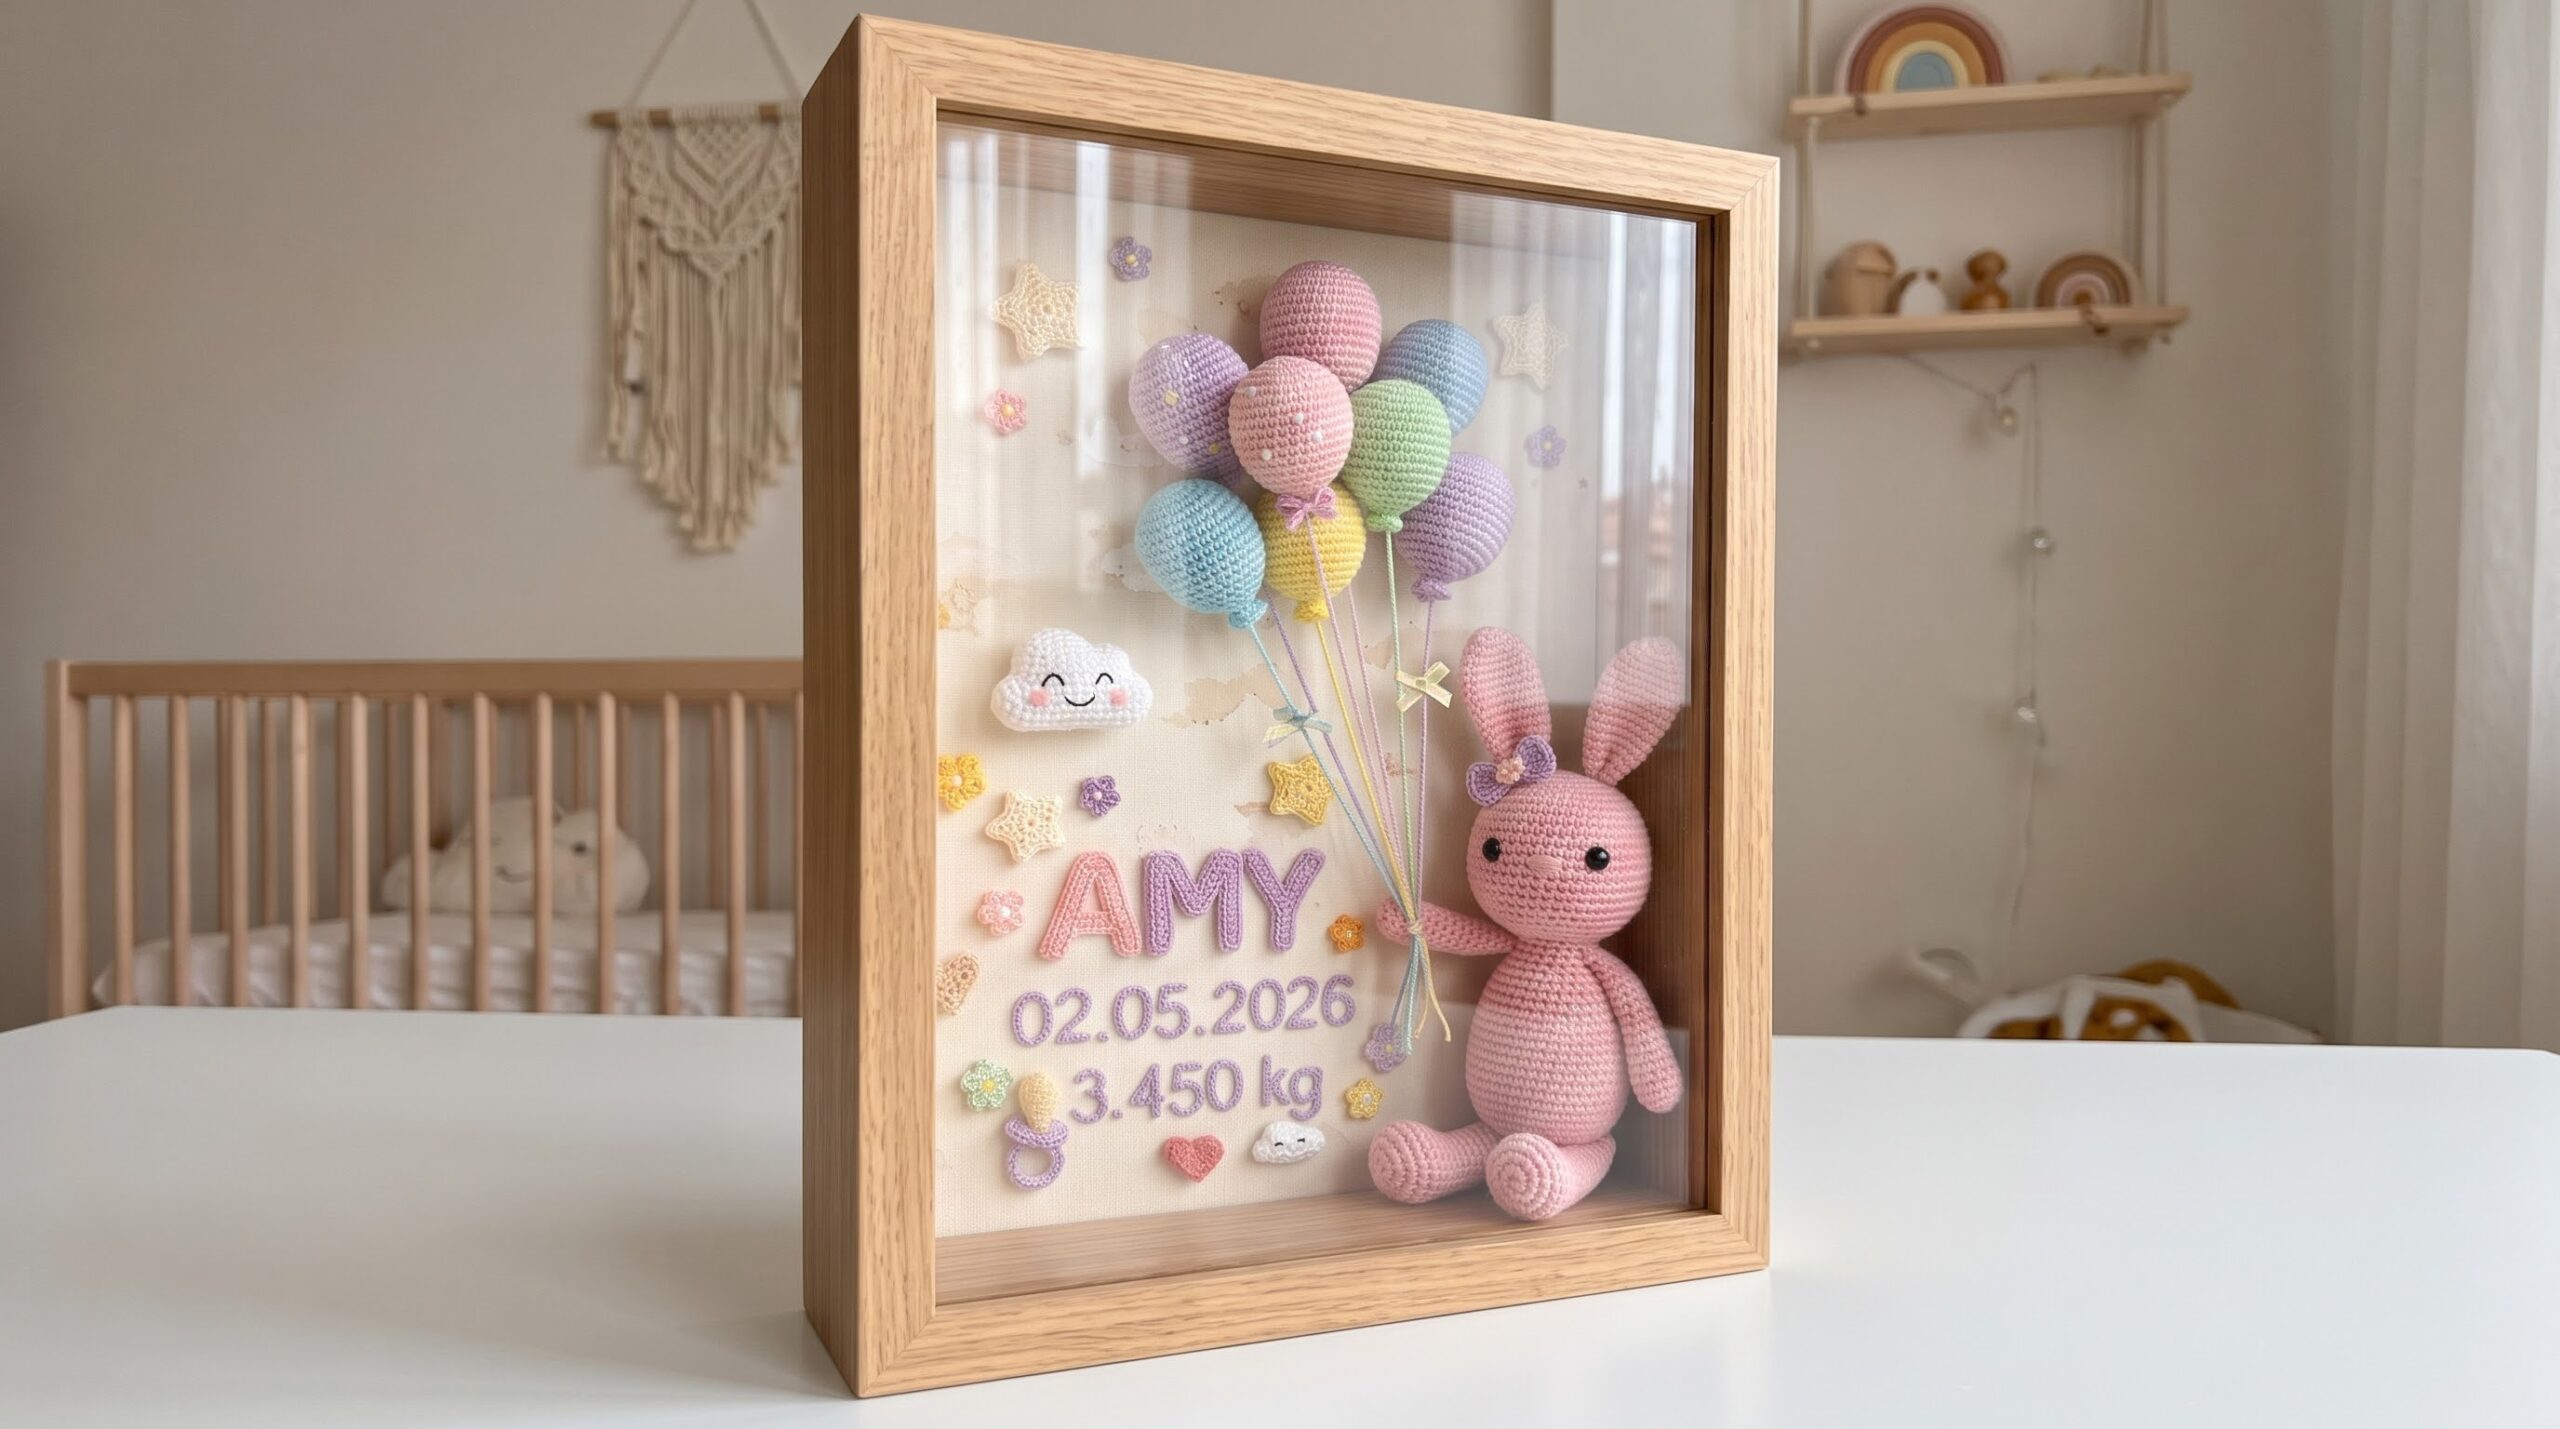
Preserve a baby’s most precious arrival details in a timeless, handmade piece of nursery decor. This personalized shadow box frame features a sweet crocheted pink bunny holding a bouquet of pastel balloons, paired with knitted lettering for the baby’s name, birth date, and birth weight. Whether you are getting ready for an upcoming baby shower or looking for a charming handmade gift for someone who loves personalized nursery keepsakes, this Amigurumi Bunny Shadow Box Frame is a delightful and memorable project to make.
Why You’ll Love This Project
• Creates a personalized baby keepsake
• Perfect for baby showers and newborn gifts
• Easy to customize with names and birth details
• Combines amigurumi with home décor
• Makes a meaningful handmade memory piece
Materials
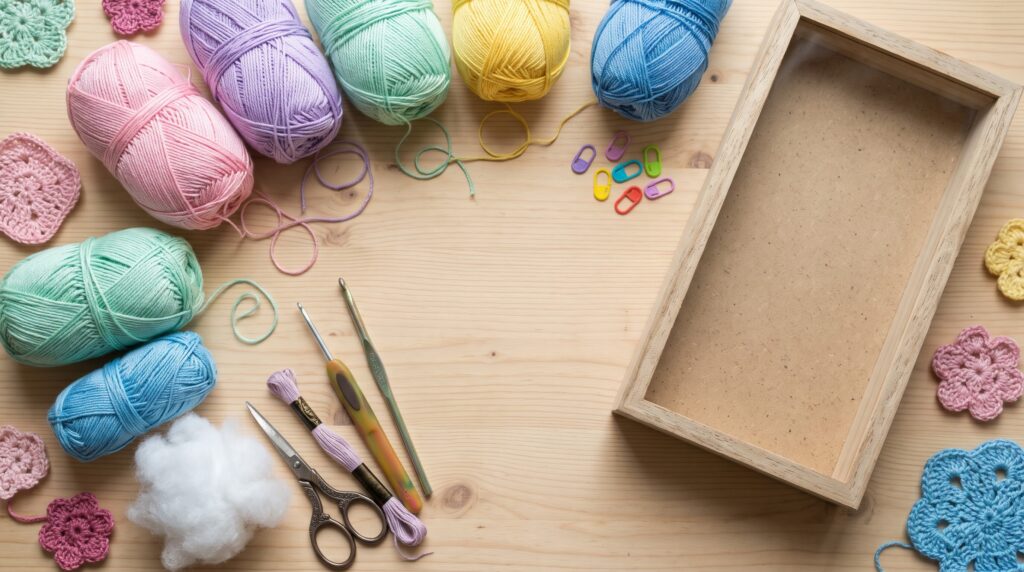
Yarn: 100% mercerized cotton yarn (Sport / Fine weight, e.g., YarnArt Jeans or Alize Cotton Gold) in Soft Pink (bunny body, letters, small hearts), Pastel Purple, Pastel Yellow, Mint Green, Sky Blue (balloons, small stars, flowers, bow, pacifier charm), Crisp White (smiling cloud), and Dark Brown or Black embroidery thread (nose and facial details).
Hook: 2.0 mm or 2.25 mm ergonomic crochet hook
Eyes: 6 mm black safety eyes (1 pair)
Frame: Deep wooden shadow box frame with a glass front (minimum interior depth of 3.5–4 cm / 1.5 inches)
Backing Fabric: Natural linen or beige canvas fabric cut to fit the frame backing board
Notions and Tools: Polyester fiberfill stuffing, yarn needle, stitch markers, scissors, fabric glue or hot glue gun, thin satin ribbons (optional for balloon bows)
Using a smooth mercerized cotton yarn helps keep the stitches neat, prevents fuzzing behind the glass, and gives the finished project a clean, professional finish.
Abbreviations (US Crochet Terms)
MR: Magic Ring
sc: Single crochet
inc: Increase (2 sc in the same stitch)
dec: Invisible decrease (sc 2 stitches together)
ch: Chain
sl st: Slip stitch
hdc: Half double crochet
dc: Double crochet
FLO: Front loop only
BLO: Back loop only
(…) x N: Repeat instructions in parentheses N times
[N]: Total stitch count at the end of the round
Pink Bunny Pattern
Head
Work in continuous rounds using Soft Pink yarn.
Round 1: 6 sc in MR [6]
Round 2: (inc) x 6 [12]
Round 3: (1 sc, inc) x 6 [18]
Round 4: (2 sc, inc) x 6 [24]
Round 5: (3 sc, inc) x 6 [30]
Round 6: (4 sc, inc) x 6 [36]
Rounds 7–11: 36 sc (5 rounds) [36]
Round 12: (4 sc, dec) x 6 [30]
Round 13: (3 sc, dec) x 6 [24]
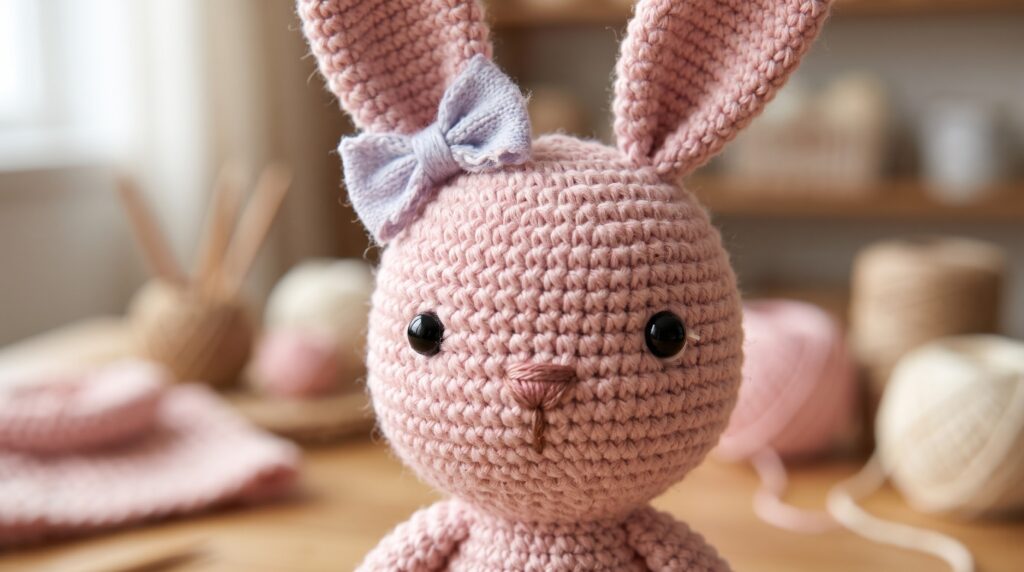
Insert 6 mm safety eyes between Rounds 9 and 10, spaced 7 stitches apart. Embroider a small pink or brown V-shaped nose between the eyes.
Round 14: (2 sc, dec) x 6 [18]
Stuff the head firmly with fiberfill.
Round 15: (1 sc, dec) x 6 [12]
Fasten off, leaving a long tail for sewing.
Body
Work in continuous rounds using Soft Pink yarn.
Round 1: 6 sc in MR [6]
Round 2: (inc) x 6 [12]
Round 3: (1 sc, inc) x 6 [18]
Round 4: (2 sc, inc) x 6 [24]
Round 5: (3 sc, inc) x 6 [30]
Rounds 6–10: 30 sc (5 rounds) [30]
Round 11: (3 sc, dec) x 6 [24]
Rounds 12–13: 24 sc (2 rounds) [24]
Round 14: (2 sc, dec) x 6 [18]
Round 15: 18 sc [18]
Stuff the body firmly.
Round 16: (1 sc, dec) x 6 [12]
Fasten off and weave in the end. Sew the head securely to the top of the body.
Ears (Make 2)
Work in continuous rounds using Soft Pink yarn. Do not stuff.
Round 1: 6 sc in MR [6]
Round 2: (1 sc, inc) x 3 [9]
Round 3: (2 sc, inc) x 3 [12]
Rounds 4–9: 12 sc (6 rounds) [12]
Round 10: (2 sc, dec) x 3 [9]
Round 11: 9 sc [9]
Flatten the opening and sc across 4 stitches to close. Fasten off, leaving a tail to sew onto the top of the head.
Arms (Make 2)
Work in continuous rounds using Soft Pink yarn. Stuff lightly at the bottom half only.
Round 1: 6 sc in MR [6]
Round 2: (1 sc, inc) x 3 [9]
Rounds 3–10: 9 sc (8 rounds) [9]
Flatten the opening and sc across 4 stitches to close. Fasten off, leaving a tail to sew onto the sides of the body just below the neck.
Legs (Make 2)
Work in continuous rounds using Soft Pink yarn. Stuff lightly.
Round 1: 6 sc in MR [6]
Round 2: (inc) x 6 [12]
Rounds 3–4: 12 sc (2 rounds) [12]
Round 5: (2 sc, dec) x 3 [9]
Rounds 6–11: 9 sc (6 rounds) [9]
Flatten the opening and sc across 4 stitches to close. Fasten off, leaving a tail to sew onto the bottom front of the body in a seated position.
Pastel Balloons (Make 7)
Make in assorted pastel shades (Pink, Purple, Yellow, Mint Green, Sky Blue). Stuff firmly as you go.
Round 1: 6 sc in MR [6]
Round 2: (inc) x 6 [12]
Round 3: (1 sc, inc) x 6 [18]
Round 4: (2 sc, inc) x 6 [24]
Rounds 5–8: 24 sc (4 rounds) [24]
Round 9: (2 sc, dec) x 6 [18]
Round 10: 18 sc [18]
Round 11: (1 sc, dec) x 6 [12]
Round 12: (dec) x 6 [6]
Round 13 (Balloon Knot): Working in FLO, (inc) x 6 [12]
Fasten off, weave the tail through the base of Round 12 to cinch the neck tight, and leave a 20 cm (8 inch) yarn tail on each balloon to serve as the balloon string.
Decorative Accents
Smiling Cloud
Using White yarn:
Row 1: Ch 8, starting in 2nd ch from hook: 6 sc, 3 sc in last ch. Rotate to work along the opposite side of the foundation chain: 5 sc, inc in last st [16]
Row 2: inc, 5 sc, (inc) x 3, 5 sc, (inc) x 2 [22]
Row 3: Sc in next st, (skip 1 st, 5 dc in next st, skip 1 st, sl st in next st) repeat around to form scalloped cloud puffs. Fasten off. Embroider two happy curved eyes and a tiny smile in black thread.
Mini Stars (Make 4–5)
Using Yellow and Cream yarn:
In a MR: (ch 3, sl st in 2nd ch from hook, sc in next ch, sl st into MR) repeat 5 times. Pull ring tight and fasten off.
Mini Flowers (Make 4–5)
Using Pastel Purple, Pink, and Cream yarn:
In a MR: (ch 2, 2 dc, ch 2, sl st into MR) repeat 5 times. Pull ring tight and fasten off.
Mini Heart
Using Soft Pink yarn:
In a MR: ch 2, 2 dc, 2 hdc, ch 1, 1 dc (bottom point), ch 1, 2 hdc, 2 dc, ch 2, sl st into MR. Pull tight and fasten off.
Bunny Ear Bow
Using Pastel Purple yarn:
In a MR: ch 2, 3 dc, ch 2, sl st into MR, ch 2, 3 dc, ch 2, sl st into MR. Pull ring tight, wrap yarn around the center 3 times, and sew near the base of the bunny’s right ear.
Custom Lettering and Birth Details
1. Knitted I-Cord Name (e.g., “AMY”): Knit or crochet a 3-stitch I-cord in Soft Pink yarn (or use pastel purple yarn to surface-crochet an outline around each letter). Insert a thin piece of floral wire inside the I-cord so you can easily bend and shape the letters into the baby’s name.
2. Birth Date and Weight ( (e.g., “02.05.2026” and “3.45 kg”): Use backstitch embroidery with 4-strand cotton yarn directly onto the linen backing fabric, or glue thin crocheted chains into the shape of the numbers.
Shadow Box Assembly
1. Prepare the Backing: Stretch your natural linen fabric tightly over the shadow box backing board and secure the edges on the back with glue or tape.
2. Arrange the Layout: Before gluing, place all pieces onto the fabric inside the open frame to check spacing and depth clearance so nothing presses against the glass.
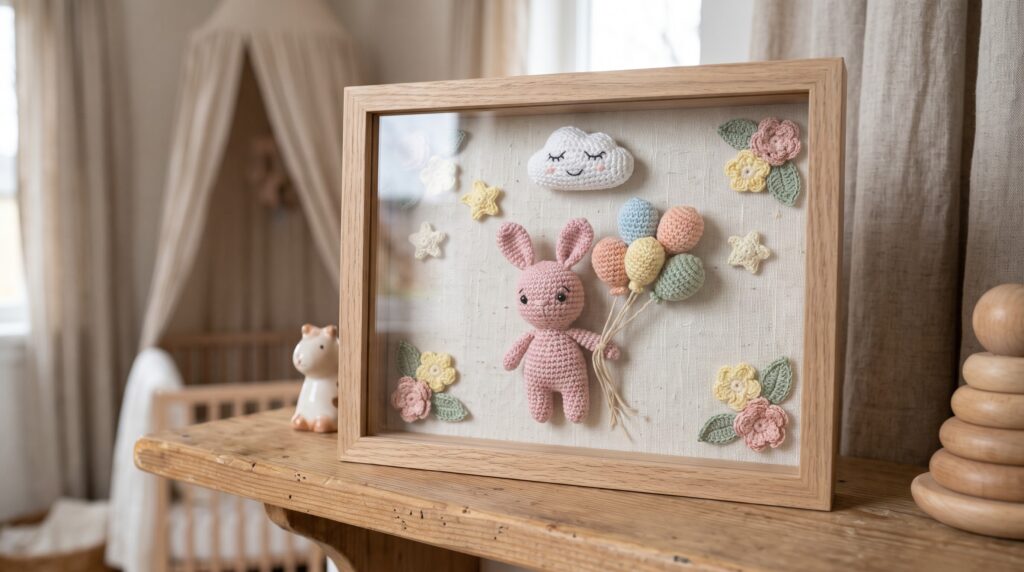
3. Secure the Bunny and Balloons: Glue the seated pink bunny to the bottom right corner. Arrange the 7 pastel balloons in an overlapping cluster at the upper center-right, gluing them down securely.
4. Attach the Strings: Gather all 7 balloon yarn tails downward, route them neatly through the bunny’s right paw, and tie tiny bows or secure them with a dot of glue.
5. Add Text and Details: Glue the I-cord name beneath the balloons on the left side, followed by the embroidered or chained birth date and weight. Scatter the stars, smiling cloud, flowers, and heart around the text.
6. Close the Frame: Allow all adhesive to dry completely, wipe the inside of the glass clean, and seal the backing board into the deep shadow box frame.
Frequently Asked Questions
Q: What depth shadow box frame do I need for this amigurumi project?
A: Choose a shadow box frame with an interior depth of at least 3.5 to 4 cm (1.5 inches). Using sport-weight cotton yarn with a 2.0 mm hook keeps the bunny and balloons compact enough to sit comfortably behind the glass without squishing.
Q: How can I customize this pattern for a baby boy or a gender-neutral nursery?
A: You can easily swap the pink bunny for a light beige, warm gray, or sky-blue bunny, and adjust the balloon palette to sage green, mustard yellow, dusty blue, and cream.
Q: Can I wash the finished Amigurumi Bunny Shadow Box Frame?
A: Spot cleaning or gentle hand washing of the individual crocheted pieces before assembly is recommended. Once assembled inside the wooden frame, avoid exposing the piece to water or prolonged moisture, as the combination of cotton yarn, fiberfill stuffing, fabric glue, and wood backing will not respond well to wetness. Dust the exterior glass with a soft, dry microfiber cloth.
Amy’s Tip
I love creating personalized shadow box projects because every finished piece tells a unique story. Soft pastel colors, simple details, and custom names help create a keepsake that families can treasure for many years.
Pattern Usage and Copyright
This pattern is designed and written by AmyLiva Handmade. You may make finished items from this pattern for personal use or to sell in small quantities. If you share the pattern online, please credit AmyLiva Handmade and link to amyliva.com. The pattern itself may not be copied, reproduced, or redistributed.
Safety Note
If this item is made for or used near young children, ensure all small parts, buttons, safety eyes, or accessories are securely attached or replaced with embroidered details to prevent choking hazards. Always choose materials and construction methods appropriate for the intended audience and environment.
About Amy
Hi, I’m Amy, the creator of AmyLiva Handmade.
I share free crochet patterns, amigurumi tutorials, crochet tips, and beginner-friendly guides to help makers create beautiful handmade projects with confidence.
Every tutorial and pattern published on AmyLiva Handmade is carefully written, tested, and updated to provide clear instructions and practical advice for crochet enthusiasts around the world.
My mission is to make crochet enjoyable, accessible, and inspiring for everyone, from complete beginners to experienced crocheters.
Thank you for visiting AmyLiva Handmade and being part of this creative crochet community.
Learn more about me on the About Me page.

Yorum gönder