How to Read Amigurumi Patterns: A Complete Beginner’s Guide
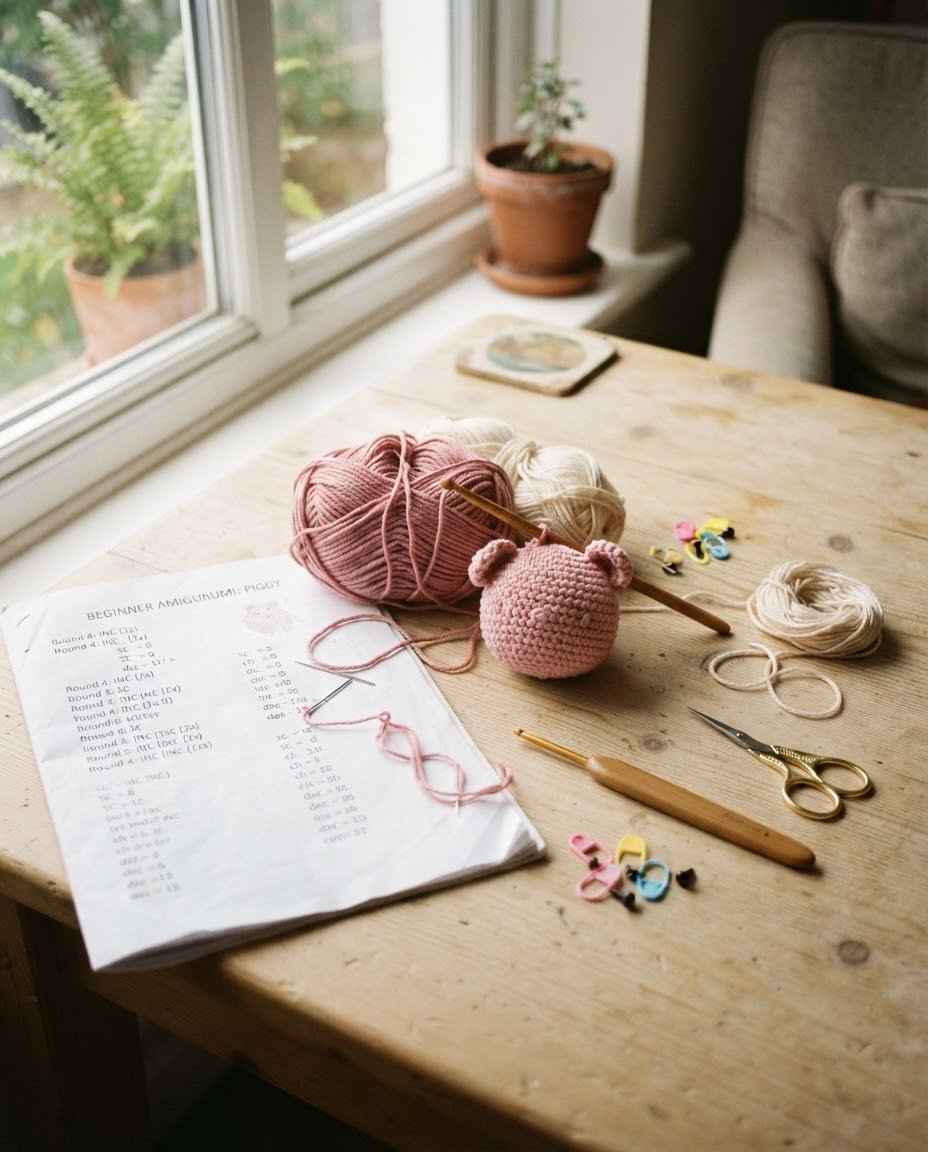
If you are new to amigurumi, crochet patterns can look confusing at first. Abbreviations such as sc, inc, and dec are used to keep the instructions short, so it can take some time to get used to them.
Once you understand the basic abbreviations, stitch counts, repeats, and round instructions, most amigurumi patterns become much easier to follow. You do not need to memorize every term before you start crocheting. Keeping a small abbreviation list nearby is often enough when you are learning.
In this guide, you will learn how to read common amigurumi pattern instructions, understand stitch counts and repeats, follow simple crochet charts, and keep track of your work as you crochet. The examples are based on the types of instructions commonly used in amigurumi patterns.
Why Learning to Read Patterns Matters
Amigurumi patterns break a project into small steps. Each round tells you which stitches to work, how many times to repeat them, and how many stitches you should have when the round is finished.
Learning how to read these instructions can help you:
- understand common crochet abbreviations
- keep track of rounds and stitch counts
- follow increases and decreases correctly
- find mistakes before they affect the shape
- understand how separate pieces are made and assembled
- make small changes to a pattern when you become more confident
You do not need to learn all of these terms at once. Start with the abbreviations you see most often and practice them while making a simple project. As you work through more patterns, the instructions will become easier to recognize.
Common Abbreviations in Amigurumi Patterns
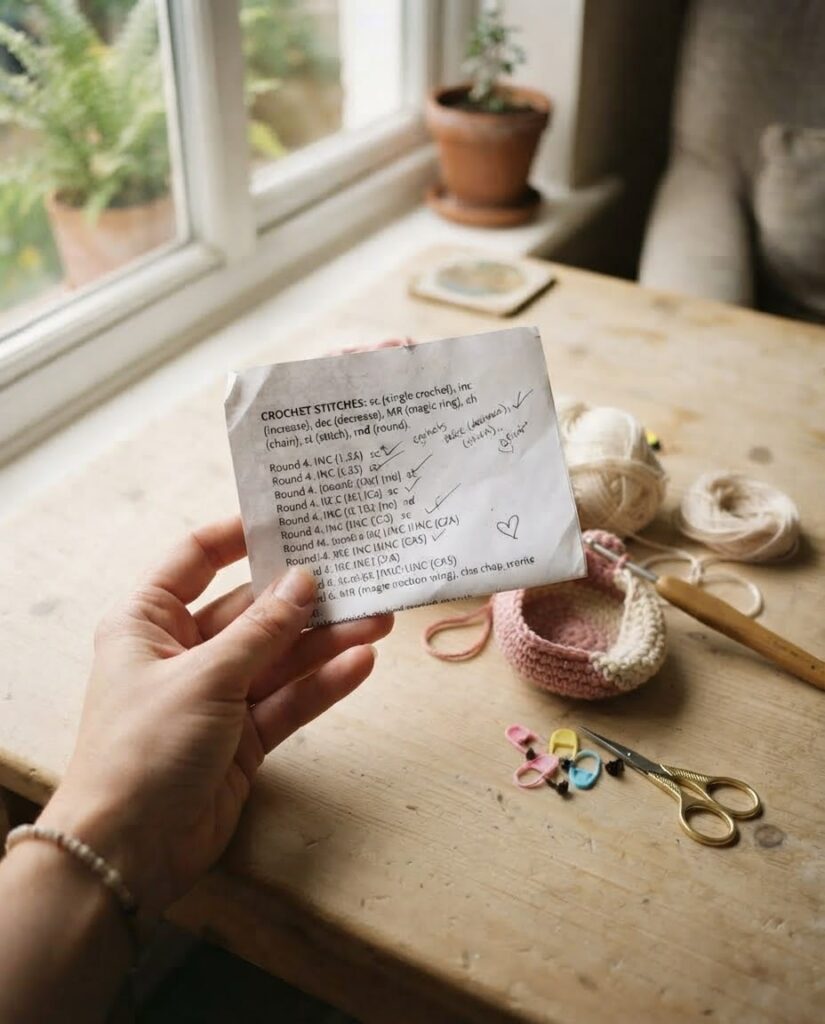
Crochet patterns use abbreviations to keep instructions short. The exact terms can vary between designers, so always check the abbreviation list included with a pattern before you begin.
Here are some common abbreviations used in amigurumi patterns:
| Abbreviation | Meaning | What it means |
| ch | chain | A basic crochet stitch often used to start or build a shape |
| sc | single crochet | A common stitch used throughout amigurumi |
| inc | increase | Work two single crochets into the same stitch |
| dec | decrease | Combine two stitches into one stitch |
| sl st | slip stitch | A short stitch used to join or move across stitches |
| MR | magic ring | An adjustable loop used to begin many amigurumi pieces |
| st / sts | stitch / stitches | Refers to one or more stitches |
For example, if a pattern says “6 sc in MR,” make a magic ring and work six single crochets into the ring. If it says “inc,” you work two single crochets into the same stitch.
Some designers may use different abbreviations or terms, especially in patterns translated from another language. When something looks unfamiliar, check the pattern’s instructions before assuming what it means.
Reading Rounds and Repetitions
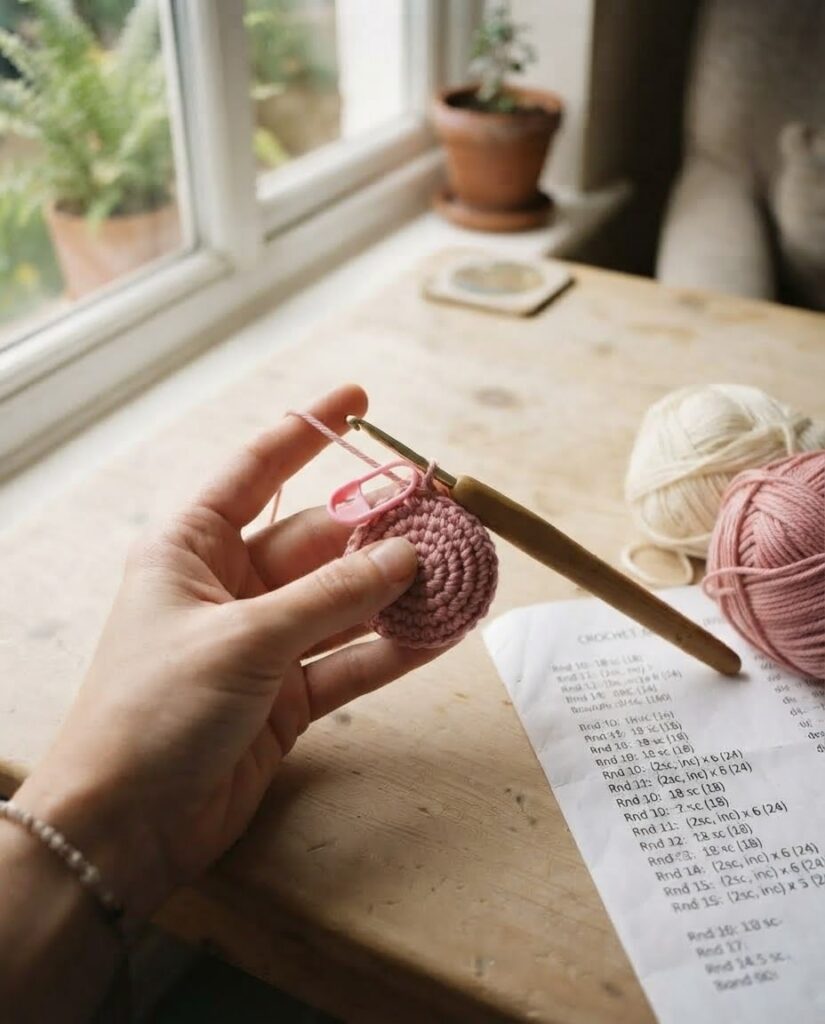
Most amigurumi pieces are worked in the round, often as a continuous spiral. A pattern usually gives you the round number, the stitches to work, any repeats, and the total number of stitches you should have at the end.
For example:
Rnd 5: (sc in next 2 sts, inc) × 6 — 24 sts
This instruction can be read step by step:
- Rnd 5 tells you that you are working the fifth round.
- “sc in next 2 sts” means work one single crochet into each of the next two stitches.
- “inc” means work two single crochets into the next stitch.
- The parentheses show the group of stitches that should be repeated.
- “× 6” means repeat that group six times.
- “24 sts” is the total number of stitches you should have when the round is complete.
The stitch count at the end of a round is useful for checking your work. If the pattern says you should have 24 stitches but you have 23 or 25, stop and check the round before continuing.
A stitch marker can also help you identify the beginning of each round. This is especially useful when working in a continuous spiral, where there is no slip stitch joining one round to the next.
Some patterns use different ways of writing repeats. For example, “(sc, inc) × 6” and “sc, inc repeat 6 times” can describe the same sequence. Always read the pattern’s notes or instructions first so you know how that particular designer writes repeats and stitch counts.
Symbols and Diagrams in Amigurumi Patterns
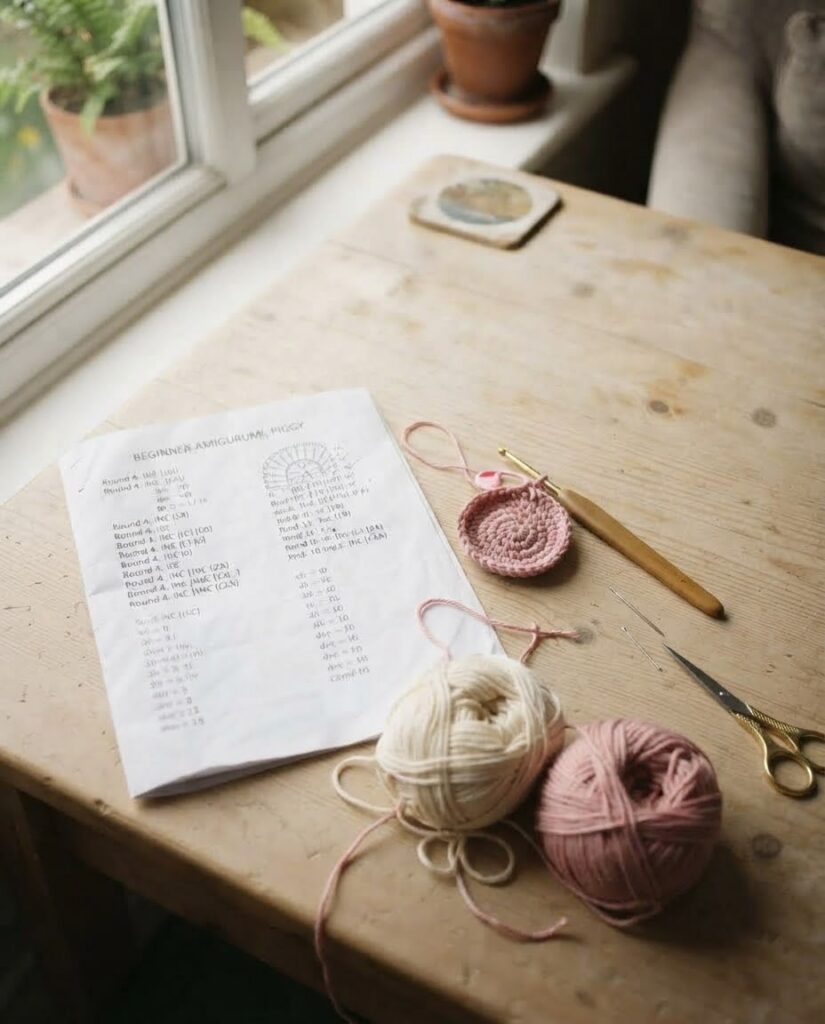
Some crochet patterns use symbols and diagrams instead of written instructions. This is common in some Japanese crochet patterns and can be useful when you want to see how the stitches are arranged visually.
The meaning of a symbol depends on the chart, so always check the symbol key provided with the pattern. Some amigurumi charts may use symbols such as:
- X – single crochet
- V – increase
- ∧ – decrease
These symbols are common in some amigurumi charts, but they are not universal crochet symbols. Another designer or pattern may use different symbols or a different chart style.
When reading a crochet diagram, start with the symbol key and identify where the first stitch or round begins. Then follow the chart in the direction indicated by the pattern. For circular amigurumi pieces, the rounds are often shown as circles or curved rows around the center.
If a chart seems difficult to follow, compare it with the written instructions if both are provided. The written pattern can help you understand each step, while the chart can make the overall shape easier to see.
Practice with Easy Amigurumi Patterns
If you are learning to read amigurumi patterns, a small project is a good place to practice. Choose a pattern that uses basic stitches and does not have too many separate pieces.
A simple keychain or small amigurumi can help you practice:
- reading round numbers
- following stitch abbreviations
- repeating an instruction
- checking stitch counts
- using increases and decreases
As you crochet, check the stitch count at the end of each round. If your count does not match the pattern, it is usually easier to find the mistake before starting the next round.
You can also mark each completed round on a printed pattern or keep track of your progress on your phone. The method does not matter as long as it helps you know where you stopped.
How to Read Pattern Sections
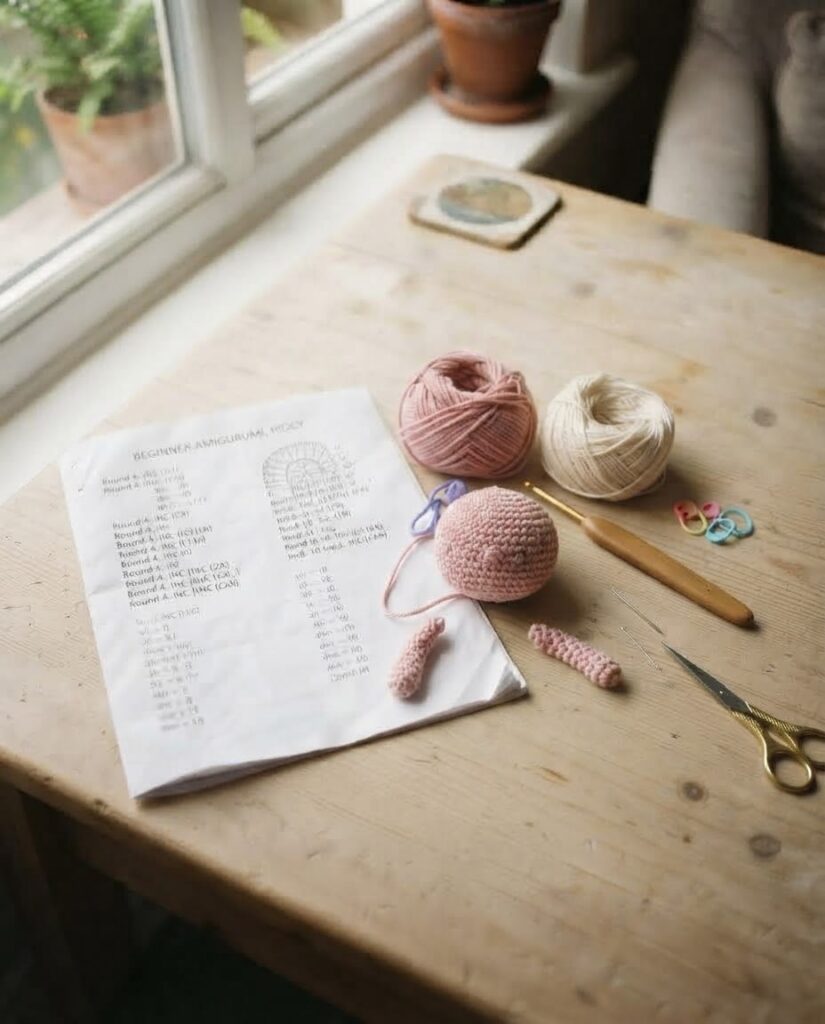
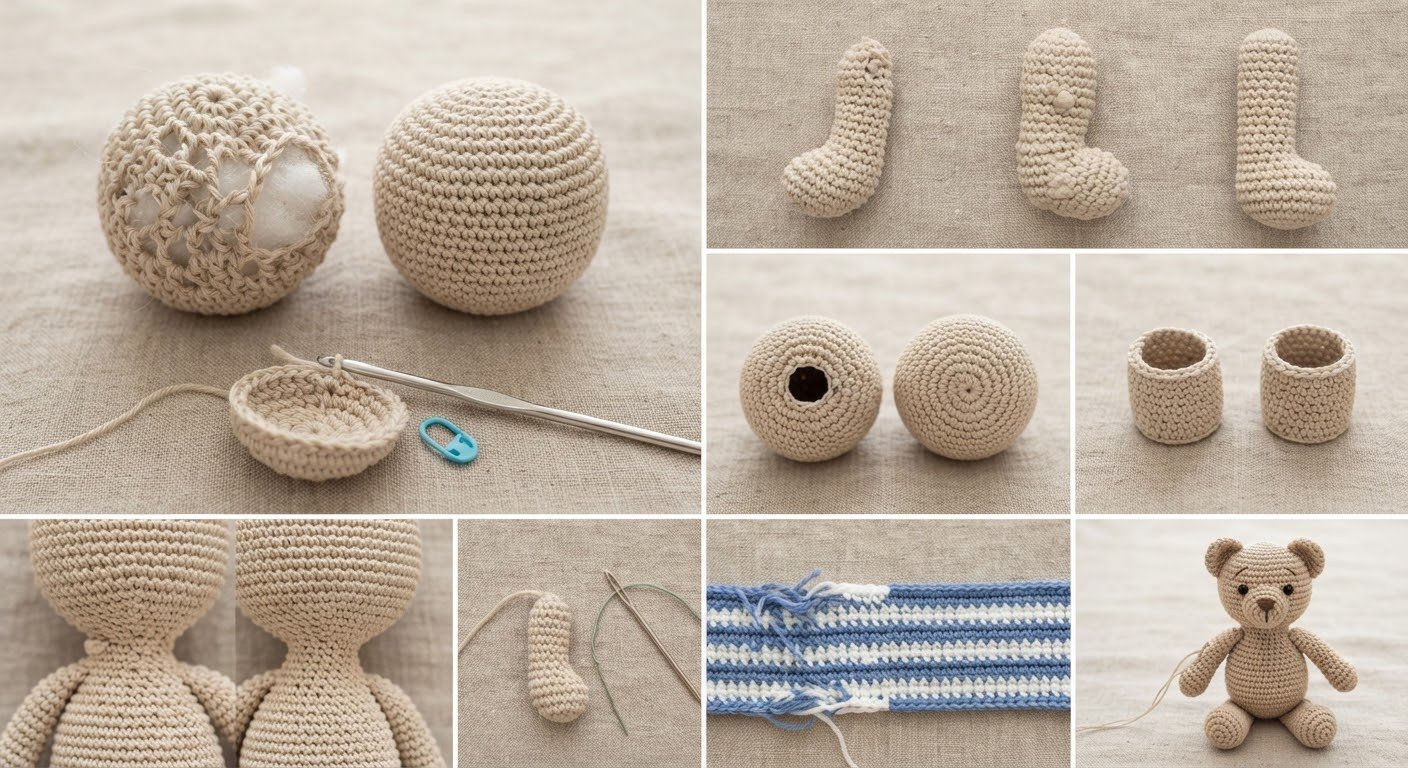
Amigurumi patterns are often divided into sections for each part of the project. You may see separate instructions for the head, body, arms, legs, ears, and other details. Reading one section at a time makes it easier to keep track of your work.
Head and Body
The head and body may be crocheted separately or as one piece. Many amigurumi pieces begin with a magic ring and use increases to make the shape wider.
For example:
Rnd 1: 6 sc in MR (6)
Rnd 2: inc × 6 (12)
Rnd 3: (sc, inc) × 6 (18)
The number in parentheses is the expected stitch count at the end of the round. In this example, the piece grows from 6 stitches to 12 and then to 18.
After the increase rounds, a pattern may work several rounds without increases to maintain the size before using decreases to shape the piece.
Arms, Legs, and Ears
Small parts such as arms, legs, and ears are usually written as separate sections. Check the stitch count for each piece and make sure you know how many pieces the pattern asks you to make.
If you need two identical pieces, the pattern may say “Make 2.” Complete the first piece before starting the second, and leave the recommended yarn tail if the pieces will be sewn onto the body.
Assembly
The assembly section explains where the separate pieces should be attached. It may also include instructions for positioning safety eyes, embroidering facial details, or adding other small parts.
Before sewing a piece permanently, place it against the body and check its position from the front and side. This is especially helpful when attaching ears, arms, legs, or facial features because a small change in position can affect the finished look.
Tips for Reading Complicated Instructions
Some amigurumi instructions may look complicated when you first read them. Instead of trying to understand the whole section at once, break the instruction into smaller parts.
These habits can make patterns easier to follow:
- Mark the round or row you are currently working on.
- Use a stitch marker to identify the beginning of a continuous round.
- Count your stitches before moving to the next round.
- If an instruction contains a repeat, work through the first repeat slowly before continuing.
- Write a short note if you need to remember where you stopped.
- Use photos or diagrams included with the pattern to check the shape and placement of your work.
Pay particular attention to instructions involving increases, decreases, color changes, or several stitches worked together. These steps can change the shape of an amigurumi piece, so checking the stitch count afterward can help you catch an error early.
Common Pattern Confusions (and How to Solve Them)
Even when you understand the basic abbreviations, some pattern instructions can still be confusing. Most problems become easier to solve when you stop and check the previous round or the pattern notes.
The Stitch Count Does Not Match
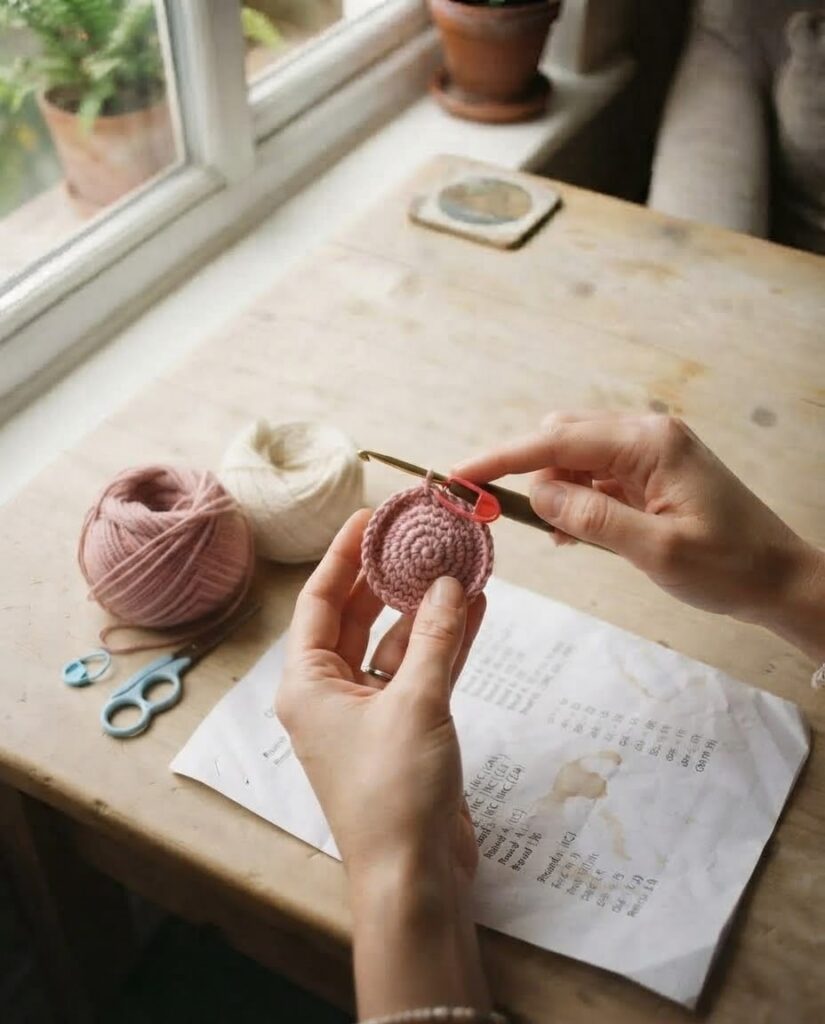
If your stitch count is different from the number given in the pattern, check the round you have just completed and then check the previous round if necessary.
Look for a missed increase, decrease, or stitch. Also check whether a repeat was worked the correct number of times. Correcting the mistake before starting another round is usually easier than trying to fix it later.
The Shape Looks Uneven
If an amigurumi piece looks uneven, first check your stitch count and make sure you are working into the correct stitches.
When working in a continuous spiral, make sure your stitch marker is still marking the beginning of the round. Losing track of the round start can shift increases and decreases and change the shape.
An Abbreviation Is Unfamiliar
Check the abbreviation list provided with the pattern first. Crochet abbreviations are not always identical between designers, and translated patterns may use different terms.
If the abbreviation is not explained, check a reliable crochet glossary or contact the pattern designer before continuing.
The Instructions Seem to Skip a Step
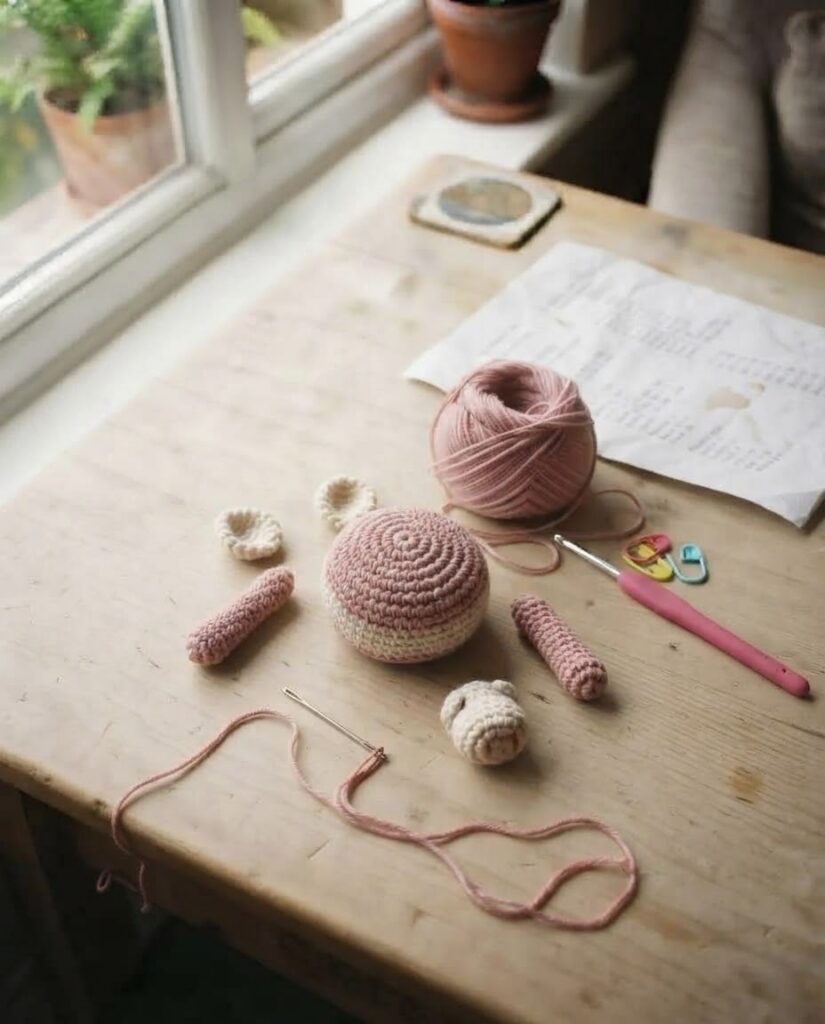
Sometimes a pattern assumes that you already know a basic technique, such as making a magic ring or working a single crochet. Check the pattern notes and any linked tutorials before guessing what to do.
If an important step appears to be missing from a pattern, it is better to clarify it before continuing. A small misunderstanding at the beginning of a piece can affect everything that follows.
Having to undo a few stitches is normal when learning amigurumi. Checking your work as you go will make these mistakes easier to find and correct.
Create Your Own Pattern Once You’re Ready
Once you are comfortable reading basic amigurumi patterns, you may want to experiment with your own ideas. You do not need to design a complete project right away.
Start with a simple shape you already understand. You can try changing one part of an existing project, such as making the ears longer, changing the colors, or adding a small detail.
It can also help to write down your changes as you make them. Record the number of stitches and rounds, where you add increases or decreases, and any changes you make to the original design.
This gives you a starting point for understanding how amigurumi shapes are built. With practice, you can learn how increases, decreases, and repeated rounds affect the size and shape of a piece and gradually develop your own patterns.
Frequently Asked Questions
What is the easiest way to learn to read amigurumi patterns?
Start with a small pattern that uses basic stitches such as single crochet, increases, and decreases. Read one round at a time and check the stitch count before moving on.
How do I read Japanese crochet charts?
Start by checking the symbol key provided with the chart. Learn the symbols used for the basic stitches, increases, and decreases, then follow the chart from the starting point indicated by the pattern. The symbols are not necessarily the same in every chart, so always use the designer’s key.
Can I use both written and charted instructions?
Yes. When a pattern provides both, the written instructions can help you follow each step while the chart can help you see how the stitches are arranged.
What should I do if I don’t understand an abbreviation?
Check the pattern’s abbreviation list first. If the term is not explained, look for a reliable crochet glossary or contact the pattern designer for clarification. Avoid guessing when the abbreviation affects the stitch count or shape.
Pattern Usage
This guide is for personal learning and reference. You may use the information in this guide to help you read and understand crochet patterns.
Please do not copy or republish this guide as your own content. If you would like to share it, please link to the original article on Amyliva Handmade.

Yorum gönder