AMIGURUMI PATTERNS
amigurumi assembly tips, amigurumi bee, amigurumi bee keychain, amigurumi tutorial, amigurumi wings tutorial, AmyLiva Handmade, amyliva pattern, bee crochet plush, beginner friendly crochet, chenille yarn amigurumi, craft fair best sellers, crochet animal pattern easy, crochet bee pattern, crochet for beginners, Crochet Gift Ideas, crochet keychain pattern, crochet pattern free, crochet plush bee, cute crochet ideas, free amigurumi pattern, handmade plush toys, invisible decrease amigurumi, kawaii amigurumi, mini crochet animals, quick crochet project, soft crochet toys, stuffed bee toy, yarn craft inspiration, yarn under technique crochet
admin
0 Yorumlar
The Ultimate Guide to Crocheting the Viral Amigurumi Bee: Free Pattern & Pro Tips
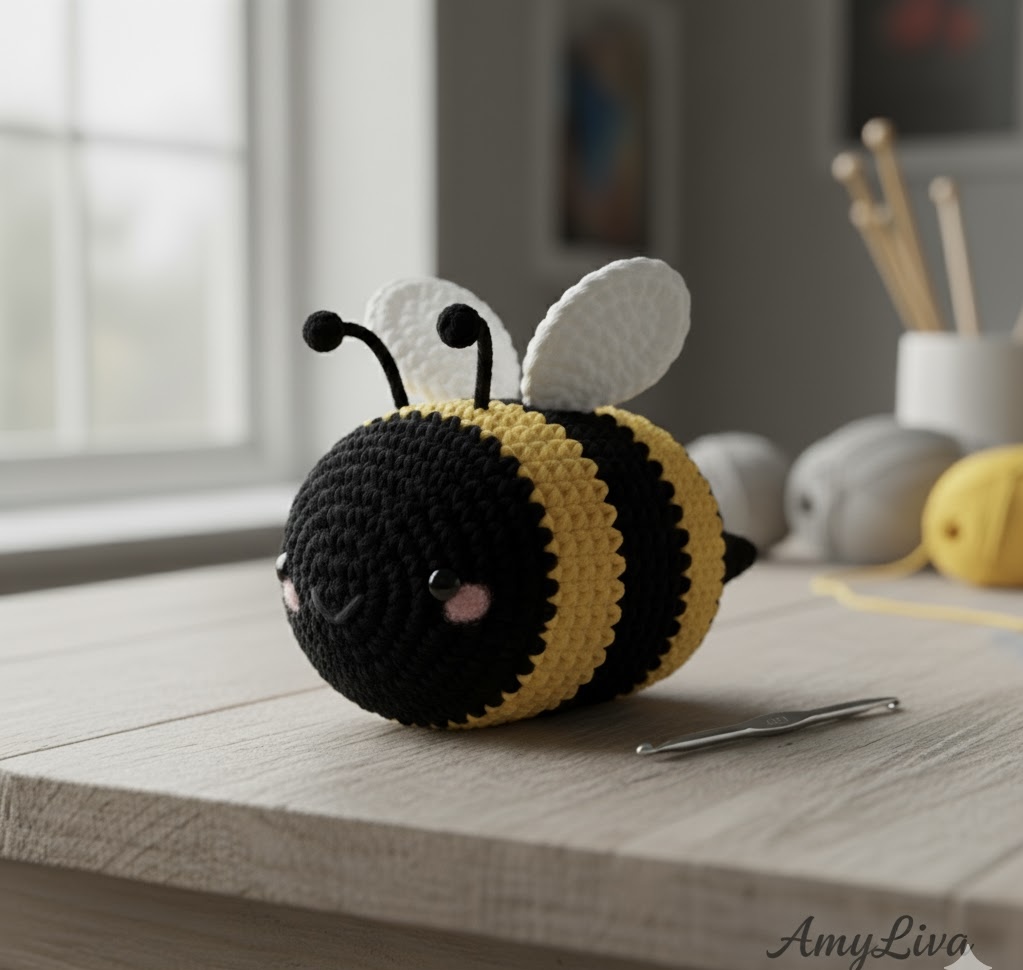
Have you seen the adorable, chubby crochet bee taking over TikTok, Pinterest, and Instagram? This tiny, delightful creature is more than just a passing trend; it’s a beginner-friendly amigurumi project that works up quickly, making it perfect for:
- Market prep items
- Thoughtful handmade gifts
- A fun start to your crochet journey
At AmyLiva.com, we’re excited to share our definitive guide, complete with a Free Crochet Bee Pattern, step-by-step instructions, advanced tips, and expert advice to create a flawless, buzzing friend.
Why the Crochet Bee is the Perfect Project Right Now
The simple, striped design of the amigurumi bee is universally appealing. It has become a favorite in the fiber art community for several reasons:
- Speed: Complete a whole bee in under an hour (depending on yarn and skill). Great for craft fairs!
- Skill Builder: Uses foundational amigurumi techniques: Magic Ring, Single Crochet, Increasing (Inc), and Decreasing (Dec).
- Versatility: By changing yarn weight (DK to Super Bulky), create tiny keychain charms or large huggable plushies.
- Gift Potential: Handmade bees make thoughtful gifts for birthdays, baby showers, or party favors.
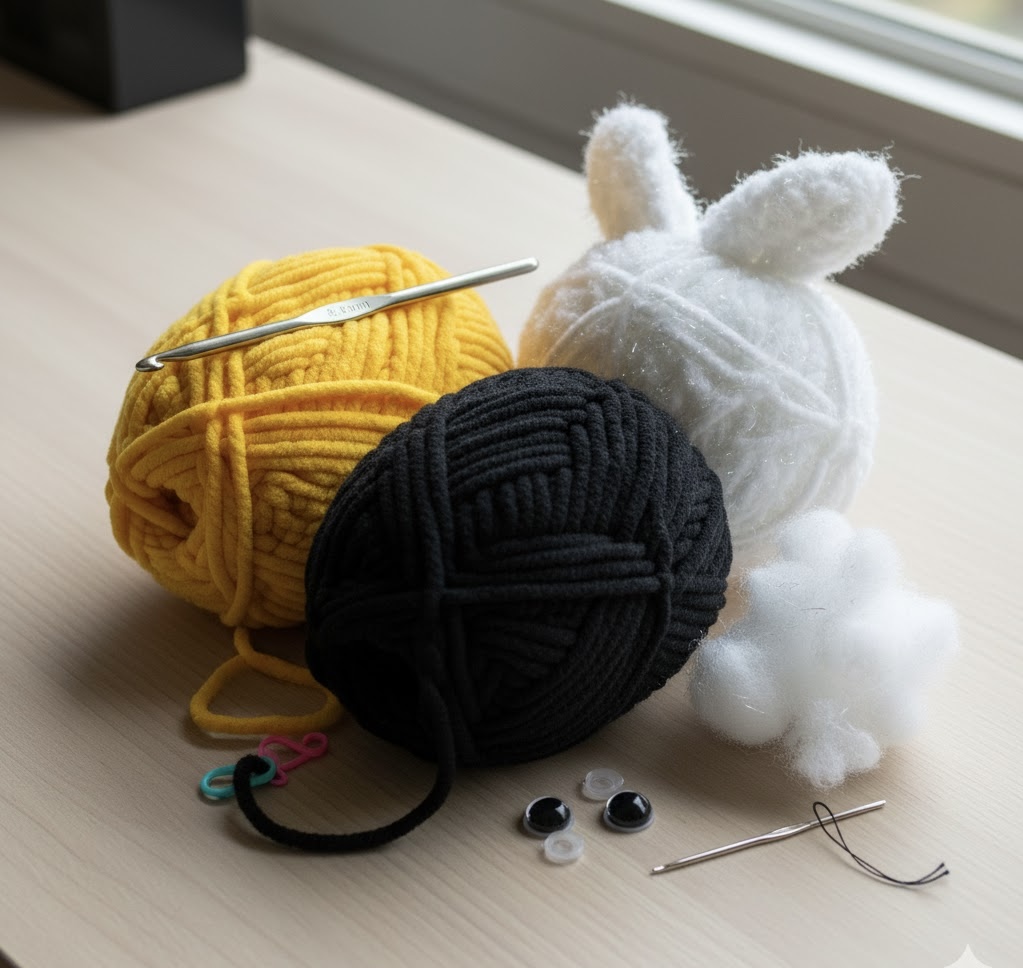
Essential Materials for Your Amigurumi Bee 🧶
| Material | Description & Tip |
| Yarn | Worsted Weight (Category 4) or Chenille/Velvet yarn for a soft finish. Colors: Black, Yellow, White/Ivory. |
| Crochet Hook | 3.5mm or 4.0mm recommended for Worsted Weight. Smaller hooks ensure tight stitches to hide stuffing. |
| Safety Eyes | 8–10mm for standard size. For children under 3, embroider eyes to prevent choking hazards. |
| Stuffing | Poly-Fil or polyester toy stuffing. |
| Tools | Tapestry needle, scissors, stitch marker. |
Pro Tip: Choosing a soft or slightly shiny yarn for wings adds a magical effect.
Mastering Amigurumi Basics
Magic Ring (MR / Magic Circle)
- Creates a tightly closed center.
- Pro Tip: Pull the tail tight after your first round of single crochet to avoid holes.
Single Crochet (SC) and Continuous Rounds
- Amigurumi is worked in spirals to prevent seams.
- Pro Tip: Use a stitch marker to keep track of rounds.
Seamless Color Change
- Switch from yellow to black for stripes by pulling the last yarn over of the old color with the new color.
- Pro Tip: Practice on a small swatch to make stripes clean and even.
Free Crochet Bee Pattern: Step-by-Step Tutorial
US Crochet Terms | Continuous Rounds
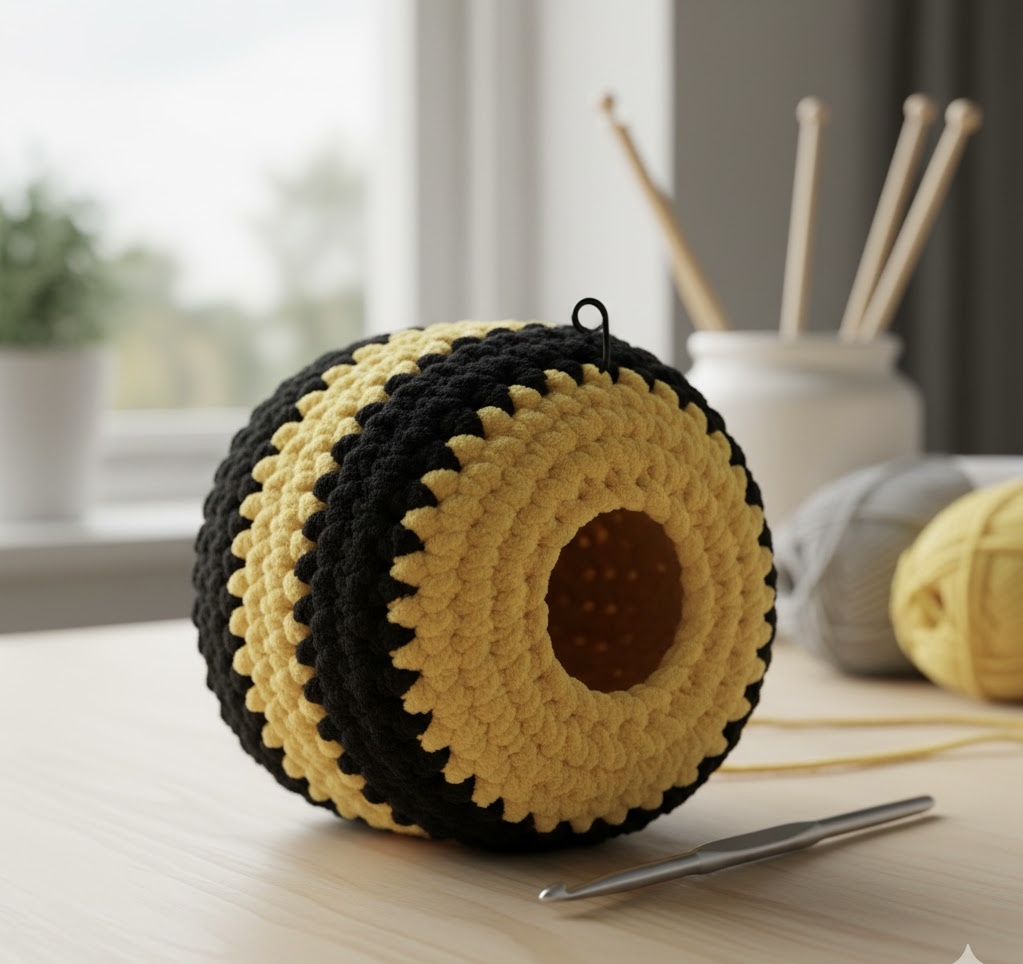
Part 1: The Bee Body (Yellow and Black Yarn)
| Round | Stitch Count | Instructions |
| R1 | 6 sts | Magic Ring, 6 SC. Pull tight. |
| R2 | 12 sts | INC in each stitch. |
| R3 | 18 sts | (SC next st, INC) × 6. |
| R4 | 24 sts | (SC next 2 sts, INC) × 6. |
| R5 | 24 sts | SC around. |
| R6 | 24 sts | SC around (change to Black in last stitch). |
| R7 | 24 sts | SC around. |
| R8 | 24 sts | SC around (change to Yellow). |
| R9 | 24 sts | SC around. |
| R10 | 24 sts | SC around (change to Black). |
| R11 | 24 sts | SC around. |
Attaching Eyes and Stuffing
- Safety Eyes: Insert between R4–R5 or R5–R6, 5–7 stitches apart.
- Facial Details (Optional): Embroider a small smile or “V” shape with black thread.
- Stuffing: Firmly stuff the body as you continue to decrease.
| Round | Stitch Count | Instructions |
| R12 | 18 sts | (SC next 2 sts, DEC) × 6 (change to Yellow last stitch). |
| R13 | 12 sts | (SC next st, DEC) × 6. |
| R14 | 6 sts | DEC around. Cut yarn, thread tail through front loops, pull tight, knot, and weave tail. |
Part 2: Wings (White/Ivory Yarn) – Make Two
| Round | Stitch Count | Instructions |
| R1 | 5 sts | Magic Ring, 5 SC. Pull tight. |
| R2 | 10 sts | (SC next st, INC) × 5. |
| R3 | 15 sts | (SC next 2 sts, INC) × 5. |
Slip Stitch to join, fasten off. Leave long tail for sewing.
Part 3: Antennae (Black Yarn) – Make Two
- Chain 5, Sl St into 2nd chain from hook, Sl St remaining chains. Fasten off.
- Optional: Tiny knot at tip for small ball effect.
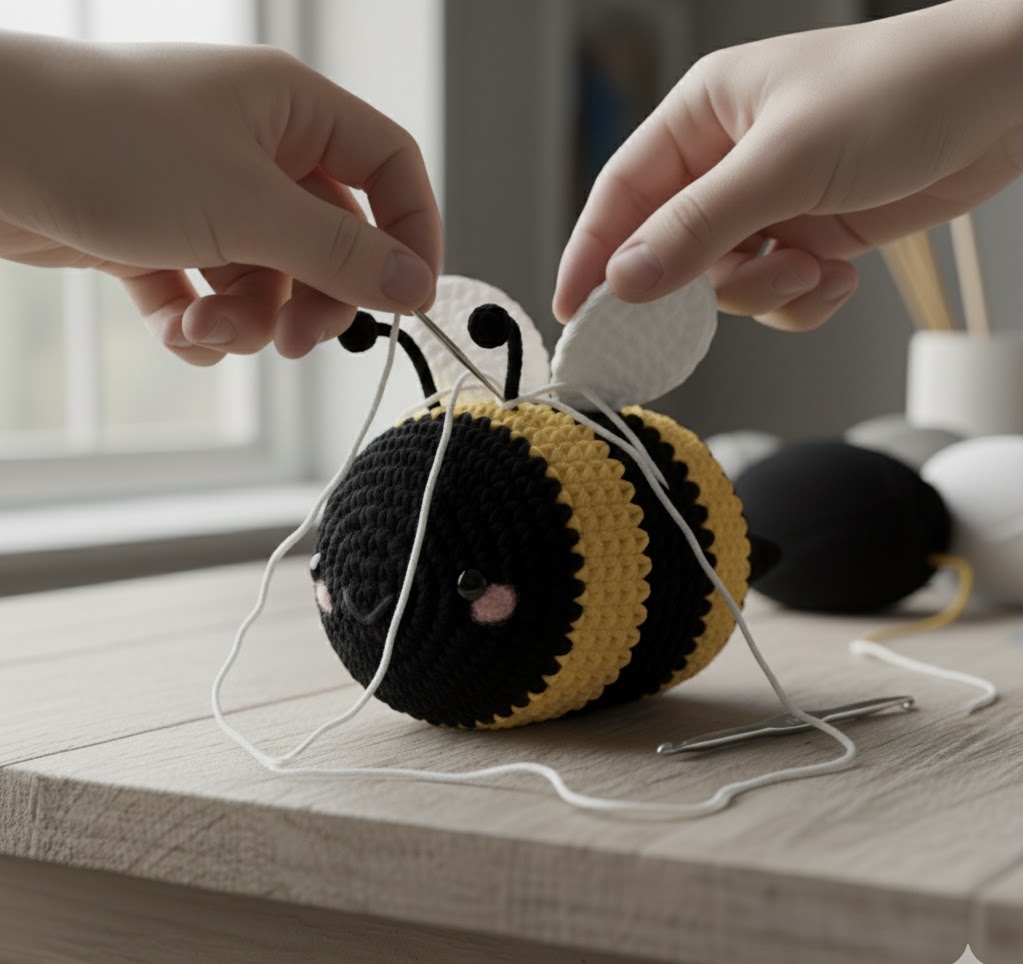
Part 4: Final Assembly
- Attach Wings: Center top of back, slightly touching in the middle.
- Attach Antennae: Center top of head, near Magic Ring. Knot tails inside head.
- Final Stuffing Check: Ensure firm and huggable.
(Image 3: Finished bee showing wings and antennae – Alt text: “Completed amigurumi bee with wings and antennae attached”)
Advanced Tips for an Amigurumi Masterpiece
- Invisible Decrease (InvDec): Crochet through front loops only for smoother shaping.
- Yarn Under Technique: Produces tighter X-shaped stitches; cleaner color changes, prevents stuffing from peeking.
- Blush Effect: Use pink embroidery floss or pastel under eyes for rosy cheeks.
- Size Variation: Use DK yarn for keychains, Super Bulky for huggable plush.
Sales and Gift Tips
- Package bees in small organza bags or gift boxes for sale.
- Perfect for craft fairs, online shops, or baby shower favors.
- Use your brand tag to increase recognition if selling.
Frequently Asked Questions (FAQ)
Q: My bee looks lopsided!
A: Shape firmly with hands after finishing; amigurumi benefits from aggressive shaping.
Q: What hook size for chunky yarn?
A: Super Bulky/Chenille: 5–5.5mm hook recommended.
Q: Can I sell these bees?
A: Yes! Credit the pattern: “Pattern by AmyLiva.com”.
Internal and External Links
Internal:
External:
Terms of Use
- You may create and sell finished products.
- Do not redistribute or sell the pattern itself.
- Credit AmyLiva.com in product listings.
- Toys with safety eyes are not suitable for children under 3.
- Crochet at your own risk; follow safety guidelines.
Conclusion: Start Your Buzzing Adventure Today!
The crocheted bee is more than a toy—it’s a symbol of joy and creativity. Whether this is your first bee or your hundredth, this guide gives you the confidence to create a beautiful piece.
Watch our video tutorial on TikTok/Instagram and share your finished #AmyLivaBee!
➡️ Click here for the full printer-friendly pattern.


Yorum gönder