Step by Step Amigurumi
amigurumi, amigurumi baby patterns, amigurumi designs, AmyLiva Handmade, crochet baby clothes, crochet baby romper, custom amigurumi, DIY amigurumi, handcrafted art, handmade baby toys, handmade crochet dolls, knitting baby outfits, realistic amigurumi, soft baby doll, storytelling amigurumi
admin
0 Yorumlar
Tips for a Perfect Amigurumi Bear
Your Complete Guide to Making a Cute, Neat, and Professional Crochet Toy
Amigurumi bears are timeless, adorable creations loved by crafters of all ages. Whether you’re a beginner learning the basics of crochet or an experienced maker looking to perfect your techniques, this detailed guide will help you create the perfect amigurumi bear — soft, symmetrical, and full of character.
In this post, we’ll go through the essential tools, best yarn choices, step-by-step shaping tips, and professional finishing secrets that make your handmade bear truly stand out.
🧶 What Is Amigurumi?
The word amigurumi comes from Japanese — ami meaning “crocheted or knitted,” and nuigurumi meaning “stuffed doll.” Together, they describe the art of crocheting or knitting small, stuffed toys.
Amigurumi combines creativity and craftsmanship — it’s not just about making a toy, but about giving life and personality to yarn. Each little bear you make can express joy, coziness, or nostalgia, depending on your colors, stitches, and details.
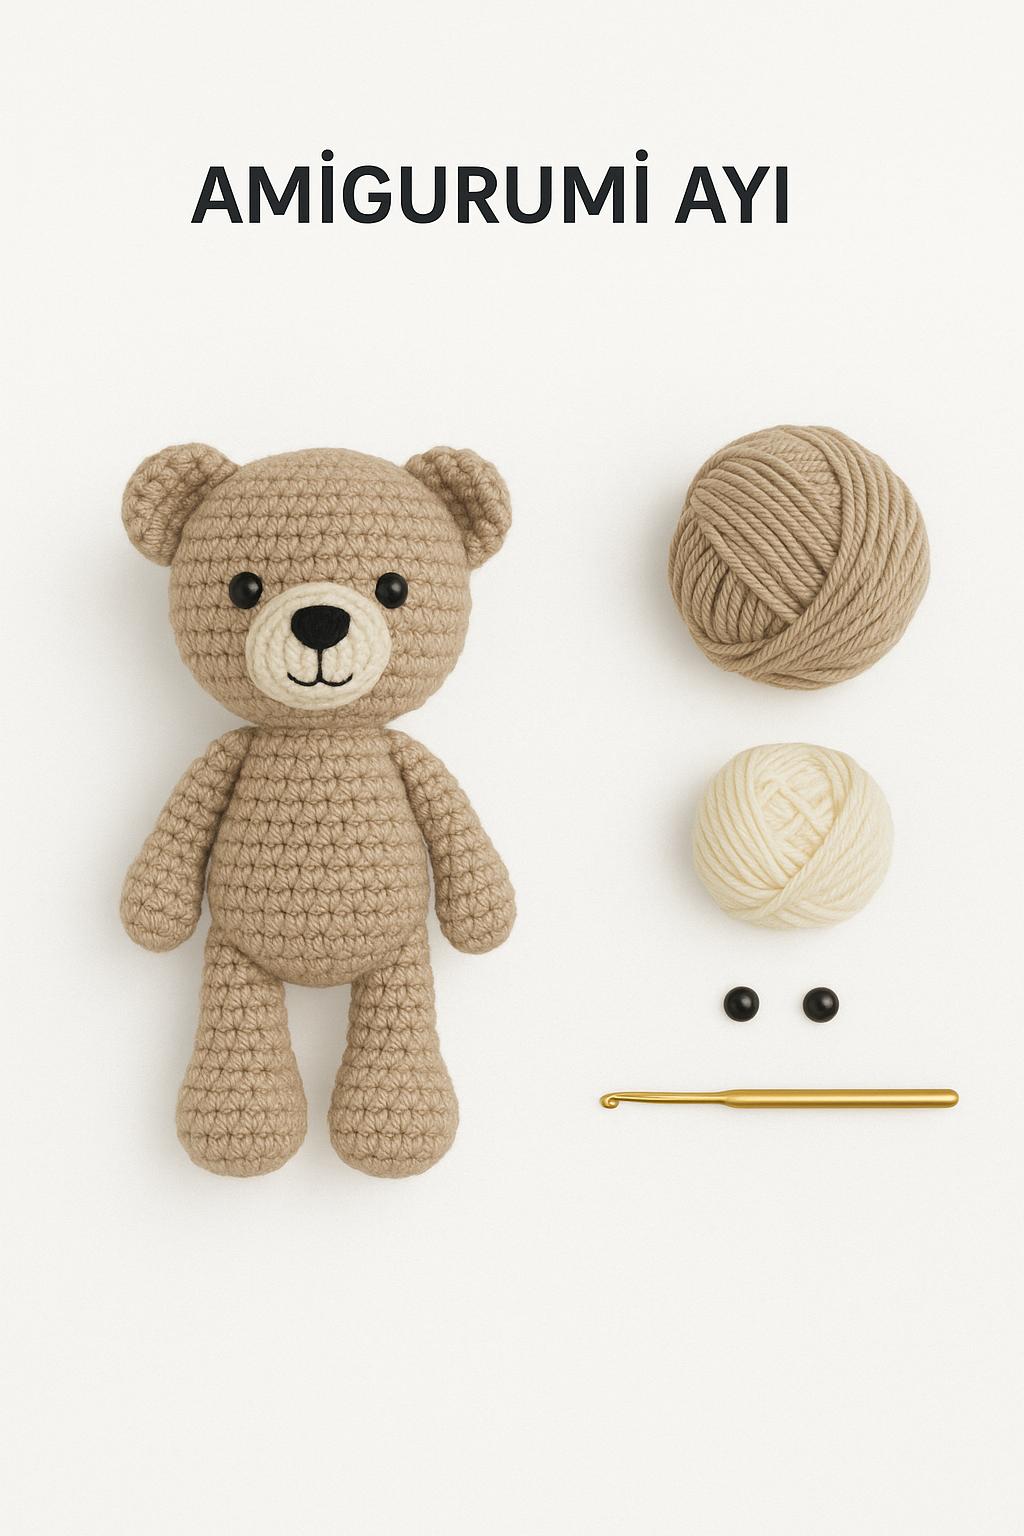
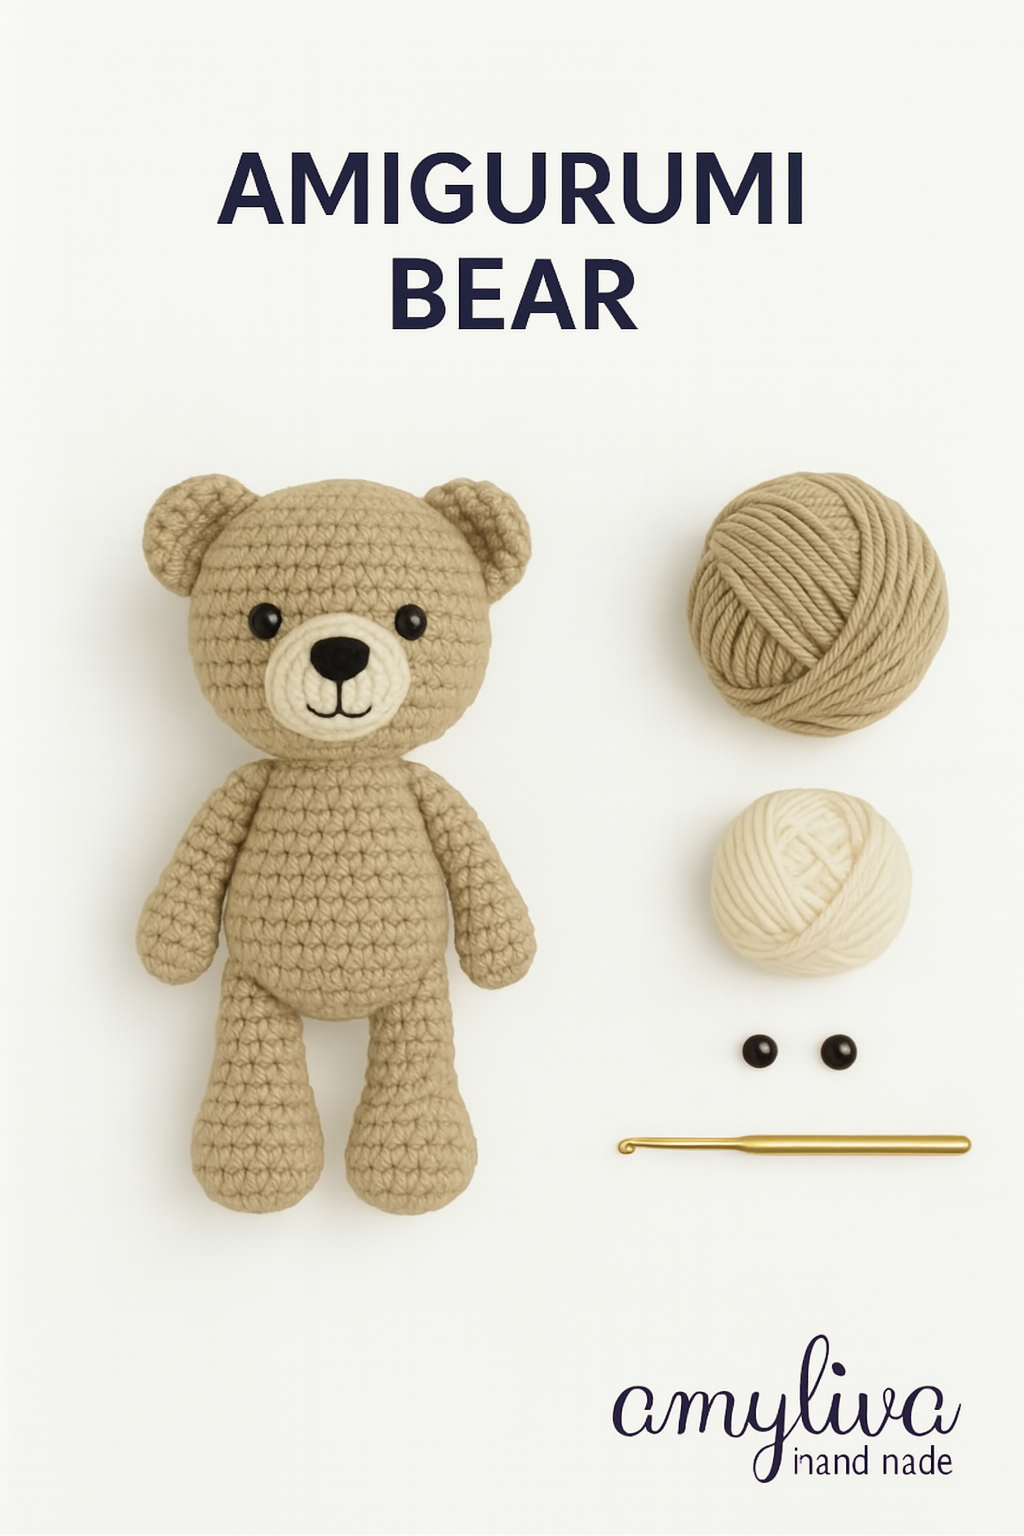
✨ Materials You’ll Need
Before you begin, prepare your crochet space and gather these essentials:
- Yarn: 100% cotton or soft acrylic yarn (in beige, brown, or pastel colors)
- Hook: Use a size that matches your yarn thickness (commonly 2.5 mm – 3 mm)
- Safety eyes or black embroidery thread for the facial details
- Stuffing: Polyester fiberfill for a fluffy and firm shape
- Yarn needle for sewing the pieces together
- Stitch marker to keep track of your rounds
- Scissors
🪡 Step-by-Step: How to Crochet a Perfect Bear
Let’s make your crochet bear step by step. You can adjust the size by changing the yarn thickness or hook size.
1. The Head
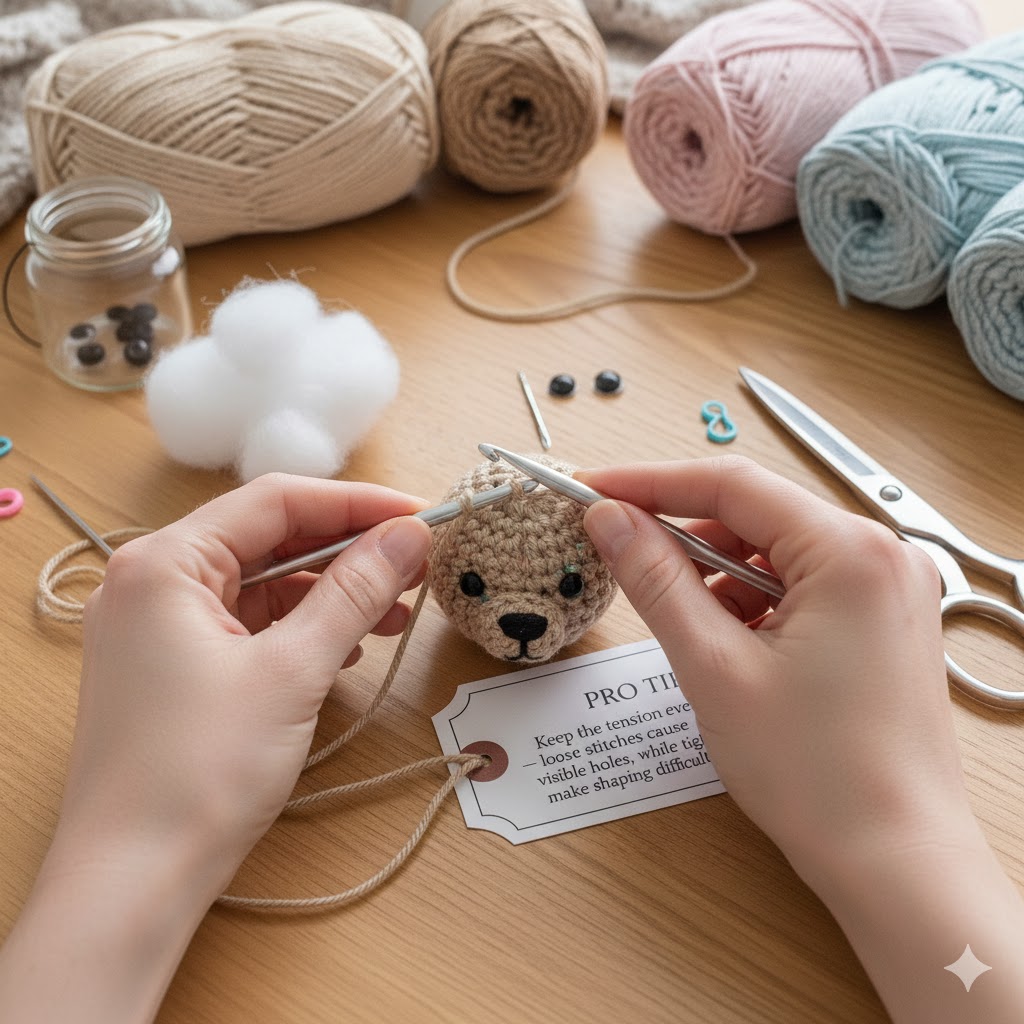
The head is usually crocheted in a round (spiral) form.
- Start with a magic ring and make 6 single crochets (sc).
- Increase evenly until you reach about 36 stitches around.
- Continue crocheting several rounds without increases to form the spherical shape.
- Insert safety eyes between rounds 8–9 (or later embroider them).
- Stuff the head with fiberfill and close it neatly.
👉 Keep the tension even — loose stitches cause visible holes, while tight ones make shaping difficult.
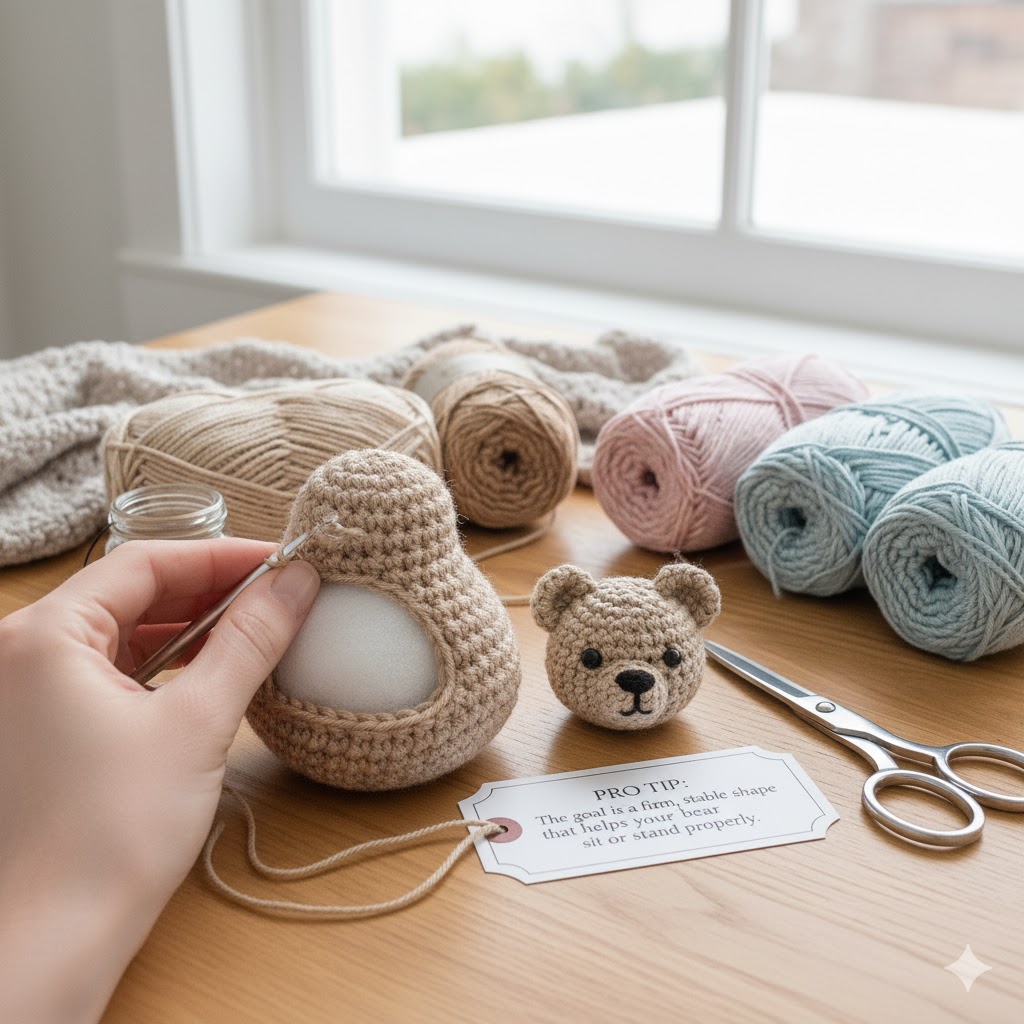
2. The Body
- Again, start with a magic ring of 6 sc.
- Increase every round until you reach your desired width (usually 40–42 sc).
- Crochet evenly for several rounds to create the torso.
- Stuff as you go to ensure the bear’s balance.
- Decrease slowly toward the top to close the body.
The goal is a firm, stable shape that helps your bear sit or stand properly.
3. The Ears
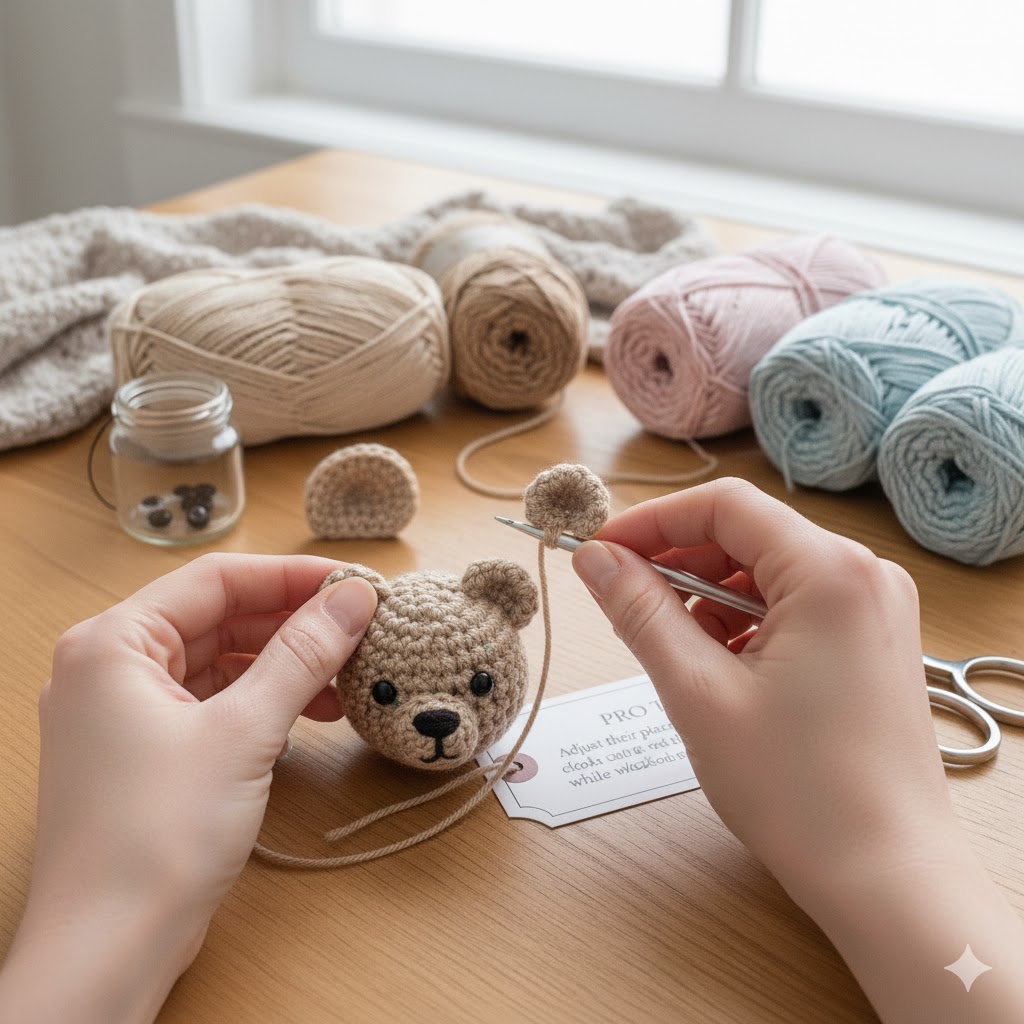
Ears give your bear its personality!
- Crochet two small circles or half circles.
- Flatten slightly and sew symmetrically to both sides of the head.
- Adjust their placement — closer ears look cuter and more baby-like, while wider ears look more playful.
4. The Arms and Legs
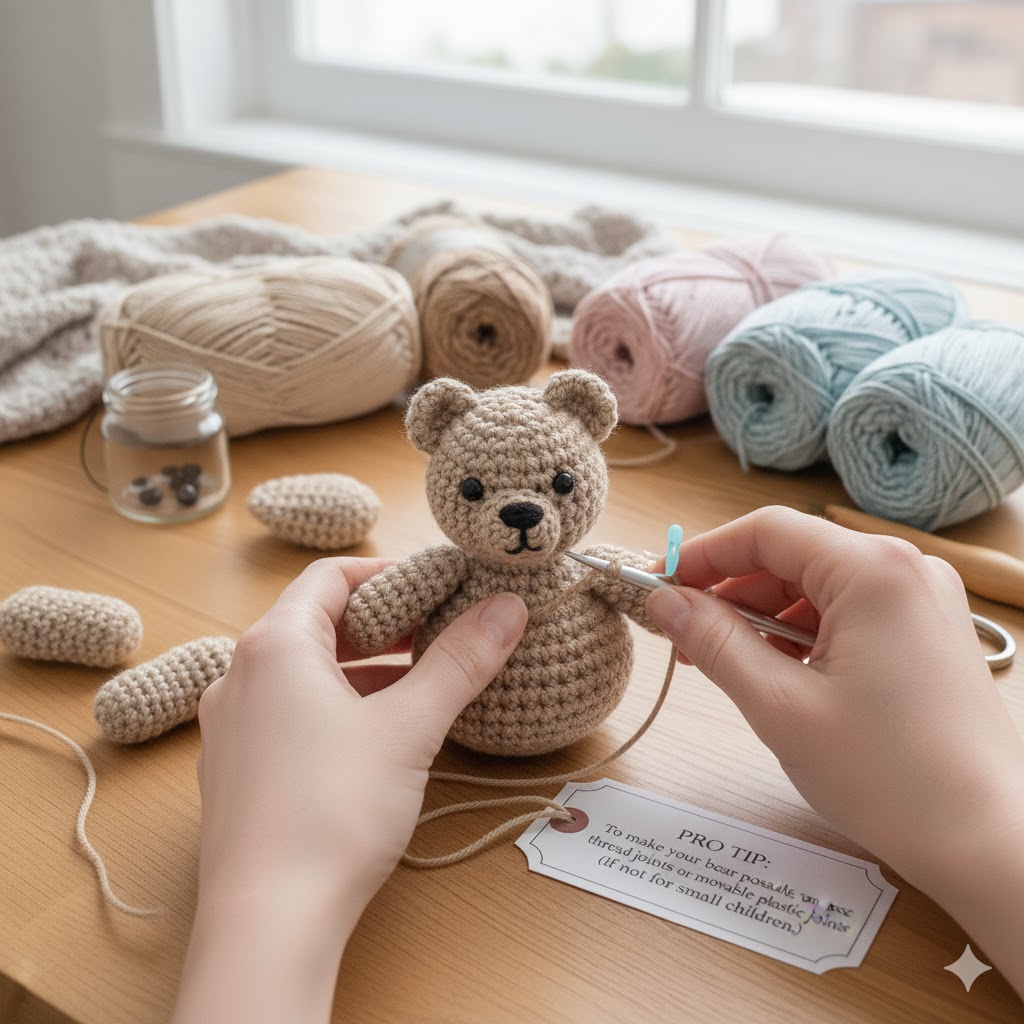
- Start with a small magic ring and gradually increase to 18 stitches.
- Crochet evenly for several rounds.
- Lightly stuff the limbs — too much stuffing may distort the joints.
- Sew the arms slightly below the head and legs at the bottom sides of the body.
✅ Tip: To make your bear posable, you can use thread joints or movable plastic joints (if not for small children).
5. The Face: Expression Matters!
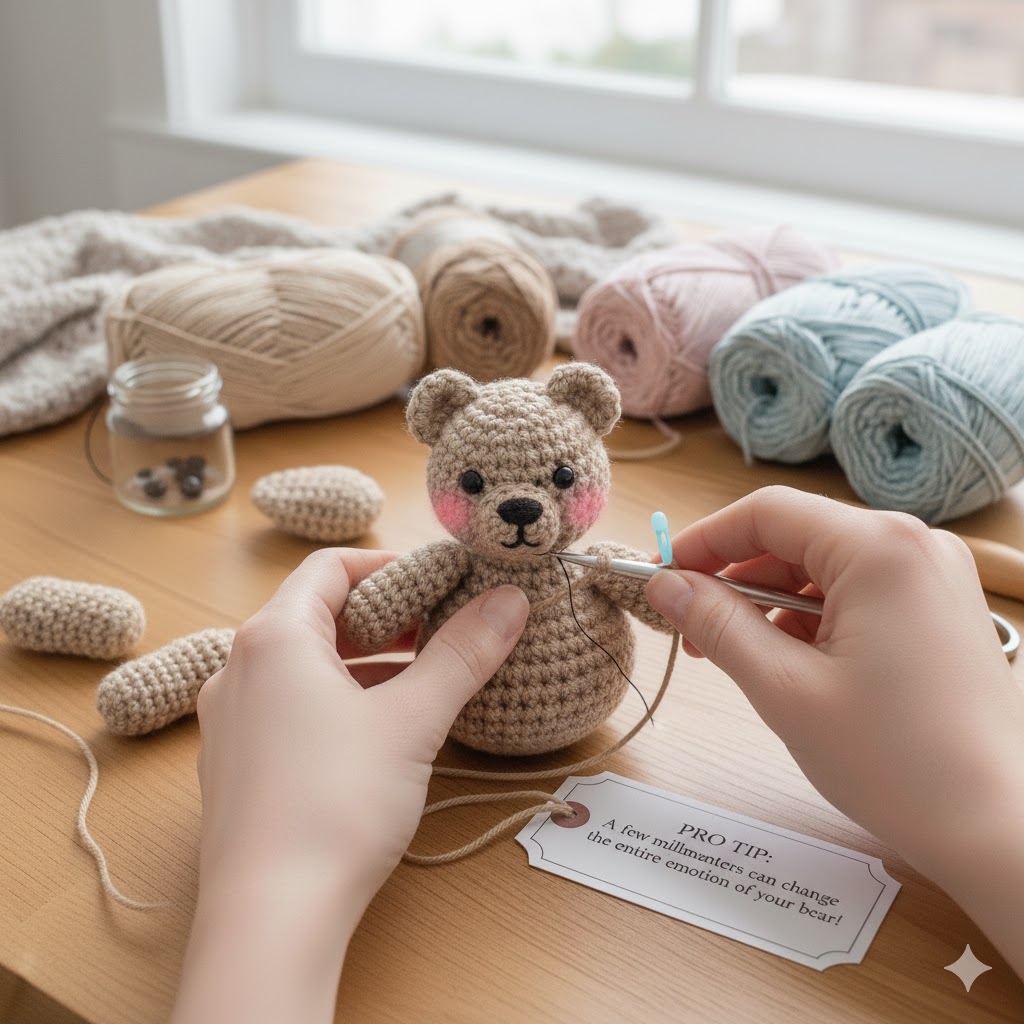
Your bear’s charm comes from its facial expression.
Use black embroidery thread to create a tiny nose and smile. Add a soft blush to the cheeks using pink yarn, pastel powder, or textile paint.
Don’t rush this part — a few millimeters can change the entire emotion of your bear!
🧵 Finishing Touches for a Professional Look
Here are a few expert tips to make your bear look polished and high-quality:
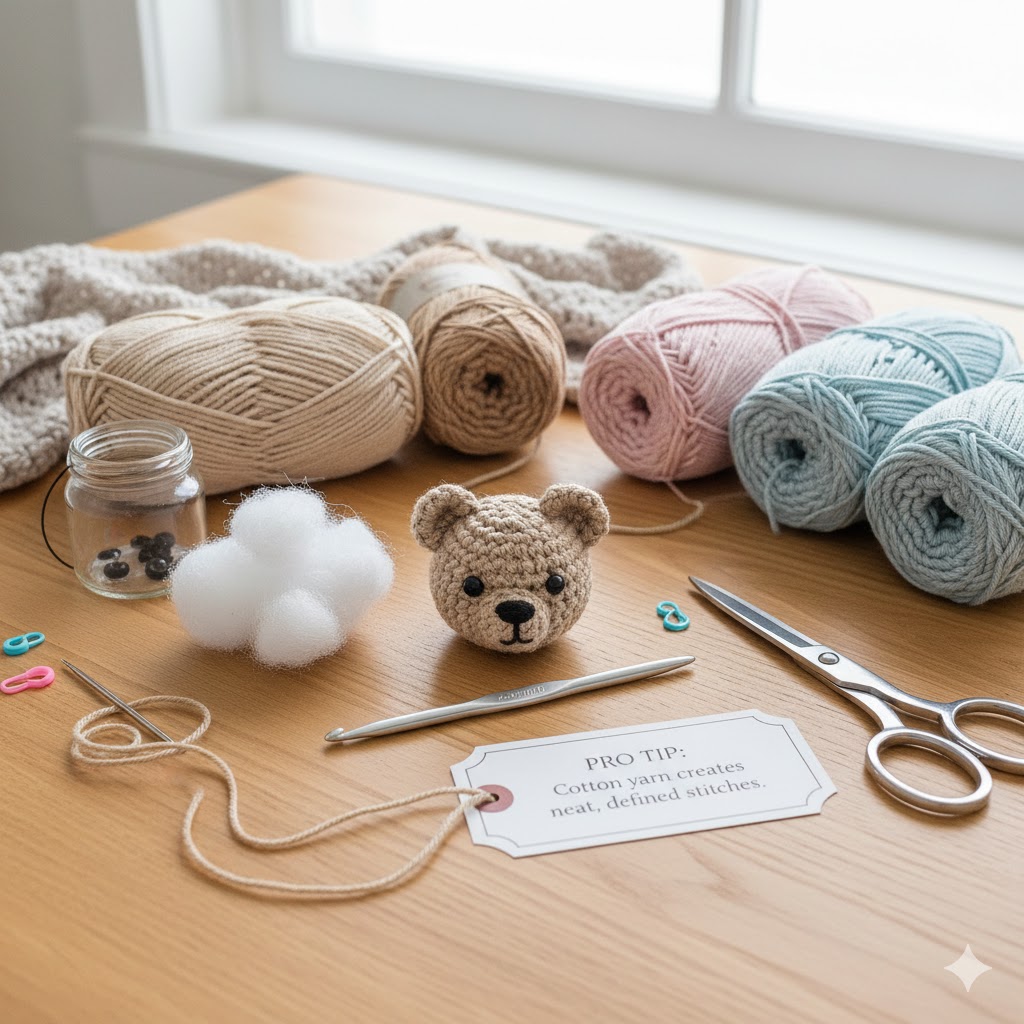
1. Use Cotton Yarn for Clean Lines
Cotton yarn keeps stitches tight and smooth, giving your toy a clean, premium look.
2. Maintain Consistent Tension
Inconsistent tension creates uneven surfaces. Keep your hands relaxed but controlled.
3. Hide Your Seams Neatly
When sewing the limbs, insert your needle through hidden loops. Avoid bulky knots.
4. Balance the Stuffing
Distribute the fiberfill evenly. Push small bits of stuffing into corners using a chopstick or pencil.
5. Secure All Ends
Use a tapestry needle to hide yarn tails inside the body — never cut them too short.
6. Add Accessories
A small scarf, bow tie, or tiny hat can instantly make your amigurumi bear unique!
📸 If You Plan to Share Your Work Online
Many crafters love to showcase their bears on social media or sell them online.
Here’s how to make your creations stand out:
- Use natural light when photographing.
- Keep the background simple — plain wood or white fabric works best.
- Add your brand watermark (like amyliva.com or AmyLiva Handmade).
- Write SEO-friendly captions such as:
“Free Crochet Bear Pattern for Beginners – Step-by-Step Amigurumi Tutorial”
Include hashtags like
#amigurumi #crochetbear #handmadegifts #freepattern #amylivahandmade
🧠 Common Mistakes (and How to Avoid Them)
| Mistake | Why It Happens | Solution |
| Uneven shape | Irregular stitch count | Use a stitch marker for every round |
| Visible stuffing | Loose stitches | Tighten tension slightly |
| Crooked limbs | Asymmetrical sewing | Pin before sewing |
| Gaps between parts | Wrong joining method | Use invisible stitches |
| Lopsided head | Uneven stuffing | Fill gradually and adjust frequently |
🧸 Design Variations You Can Try
Once you master the basic amigurumi bear, explore these creative options:
- Baby Bear: Use pastel yarns and smaller hook for a mini version.
- Polar Bear: Try white yarn and embroider small black eyes and nose.
- Teddy Couple: Make two bears holding hands — perfect gift idea.
- Rainbow Bear: Change yarn color every few rounds for a cheerful look.
Each variation allows you to express creativity and practice color transitions.
💡 SEO Optimization for Craft Bloggers
If you run a crochet website like amyliva.com, use these SEO tips:
- Use focus keywords such as amigurumi bear pattern, crochet bear tutorial, free amigurumi pattern throughout the article.
- Add internal links to related tutorials (e.g., “How to Crochet Amigurumi Bunny”).
- Include outbound links to trusted craft sources like Ravelry or Yarnspirations.
- Write an excerpt (meta description) like:
“Learn how to crochet a perfect amigurumi bear with these step-by-step tips. Free pattern, materials, and beginner-friendly guide!” - Optimize your Pinterest image size (1000 x 1500 px) with your logo at the corner.
🧸 Final Thoughts
Crocheting an amigurumi bear is more than a craft — it’s an act of patience, creativity, and love.
Every stitch tells a story, and the result is something soft, comforting, and handmade with care.
Whether you make it as a gift, keepsake, or decor item, your amigurumi bear will always carry your signature touch.
So grab your yarn, hook, and a cozy cup of tea — it’s time to bring your perfect little bear to life!
💬 FAQ – Frequently Asked Questions
1. What’s the best yarn for amigurumi bears?
Cotton yarn gives the cleanest result, but soft acrylic works well for larger toys.
2. Can beginners make a bear?
Absolutely! Start with simple shapes — circles, tubes, and spheres — and join them together.
3. How long does it take to make one?
For beginners, about 4–6 hours depending on the size.
4. Can I sell my finished bears?
Yes, if it’s your own handmade work. Always include care instructions and your brand label.
5. How do I clean amigurumi toys?
Hand wash gently with mild soap, then air-dry completely.
🔗 Useful Links
- Visit 👉 amyliva.com for free crochet patterns and beginner tutorials.
- Watch full step-by-step videos on YouTube: AmyLiva Handmade
- Follow on Pinterest for inspiration: @amylivahandmade
Amy Liva

Yorum gönder