10 Common Amigurumi Mistakes and How to Fix Them
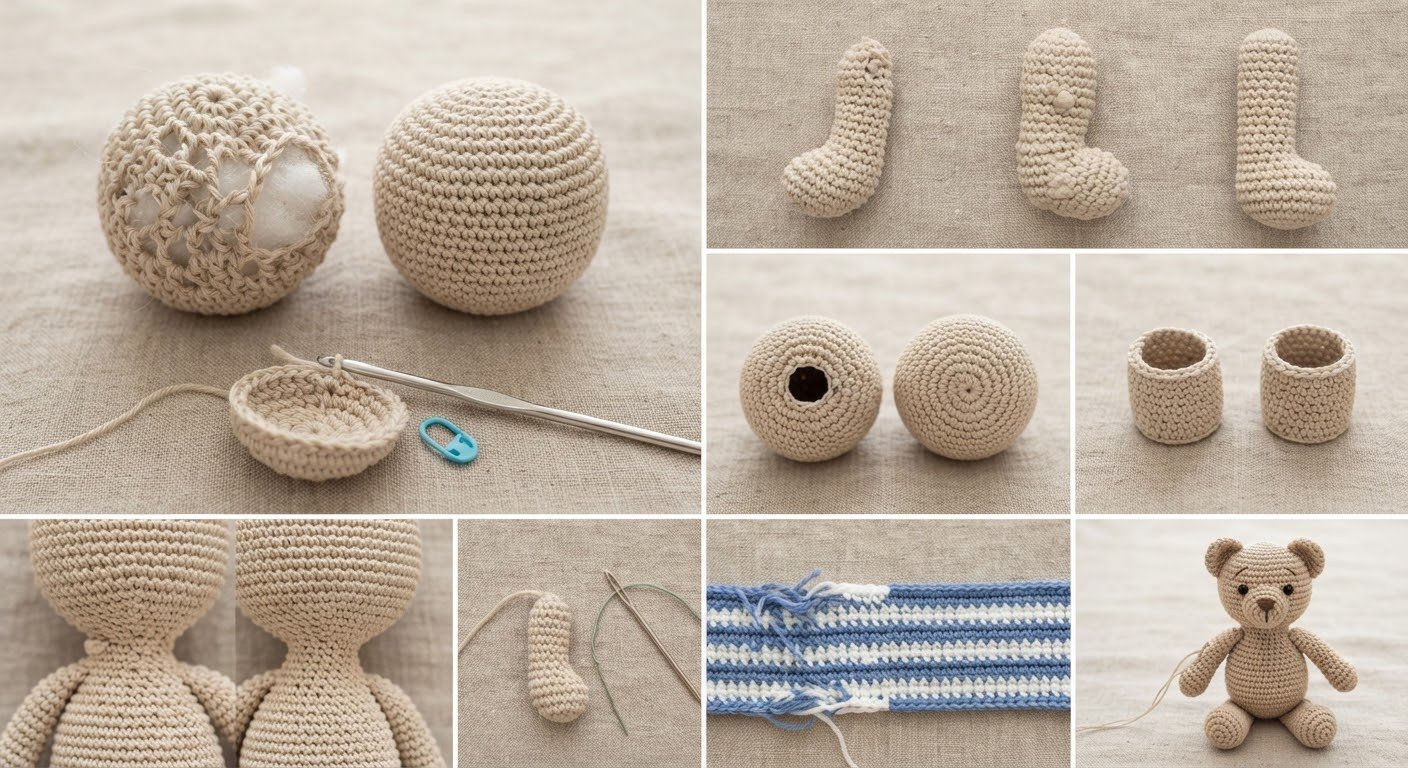
If you are new to amigurumi, small mistakes can sometimes make a big difference in the finished toy. A slightly loose stitch, uneven stuffing, or a missed increase can make your project look different from the shape you had in mind. Don’t worry—these are common problems, and most of them are easy to fix with a little practice.
These tips can help you get cleaner stitches, better shaping, and more secure finished amigurumi projects.
Mistake 1: Using the Wrong Hook Size
Using a crochet hook that is too large can leave your amigurumi stitches loose and create small gaps in the fabric. This can make the stuffing visible and affect the shape of the finished toy.
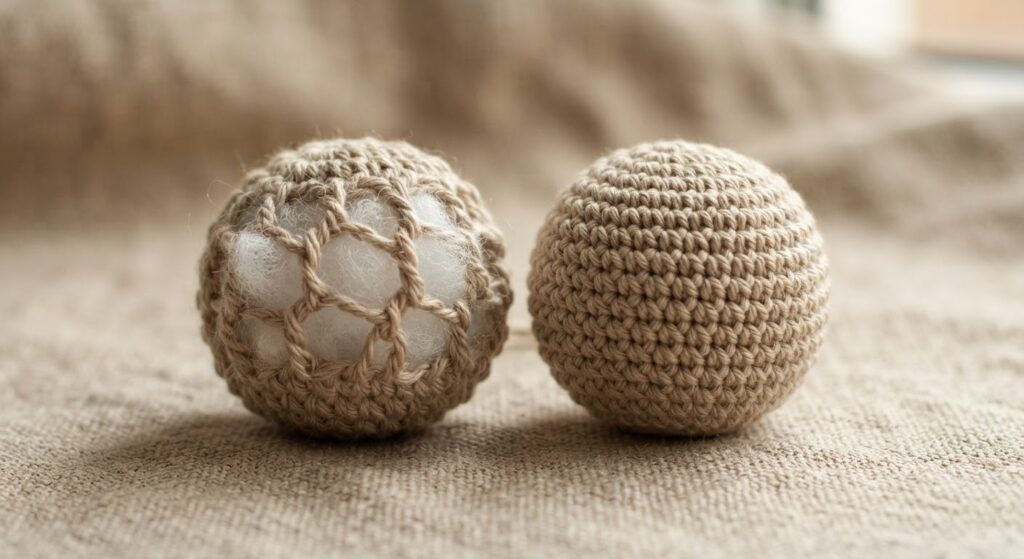
How to Fix It
For amigurumi, choose a hook size that gives you firm, tight stitches without visible gaps.
Try a smaller hook and check your stitches as you work.
If you are unsure, hold the crocheted piece up to the light. Large visible gaps usually mean you need a smaller hook or tighter tension.
Mistake 2: Using Too Much or Too Little Stuffing
The amount of stuffing can greatly affect the shape of an amigurumi. Too little stuffing can make a toy look flat or floppy, while too much can stretch the stitches and make the shape uneven.
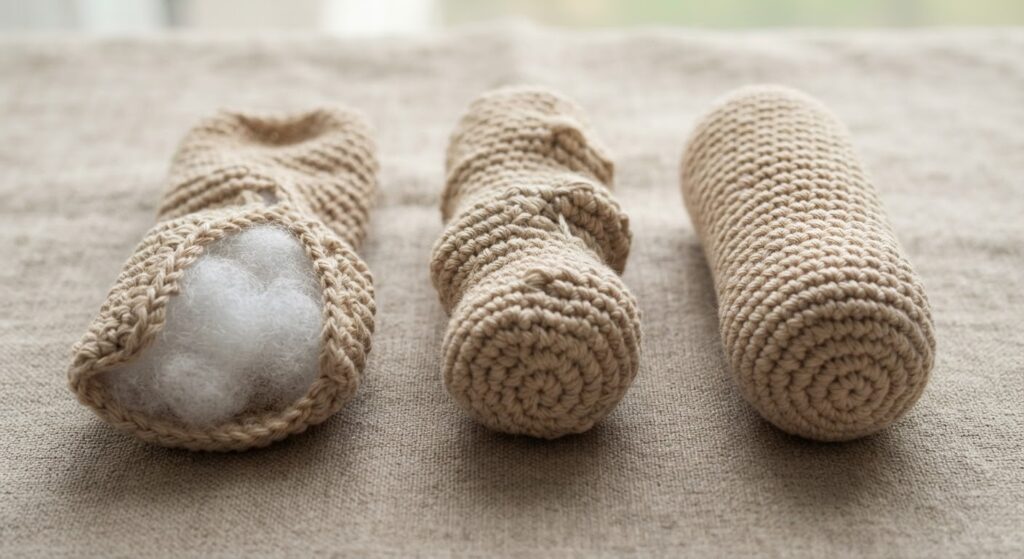
How to Fix It
Add small amounts of polyester fiberfill gradually as you crochet. Spread the stuffing evenly instead of pushing in one large piece at once.
Use the blunt end of a crochet hook or a stuffing tool to gently reach small areas such as hands, feet, and narrow parts of the body.
The finished piece should feel firm and hold its shape without making the stitches look stretched.
Mistake 3: Miscounting Stitches and Rounds
A missed increase, decrease, or extra stitch can quickly change the shape of an amigurumi piece. If your project starts looking wider, narrower, or uneven, check your stitch count before continuing.
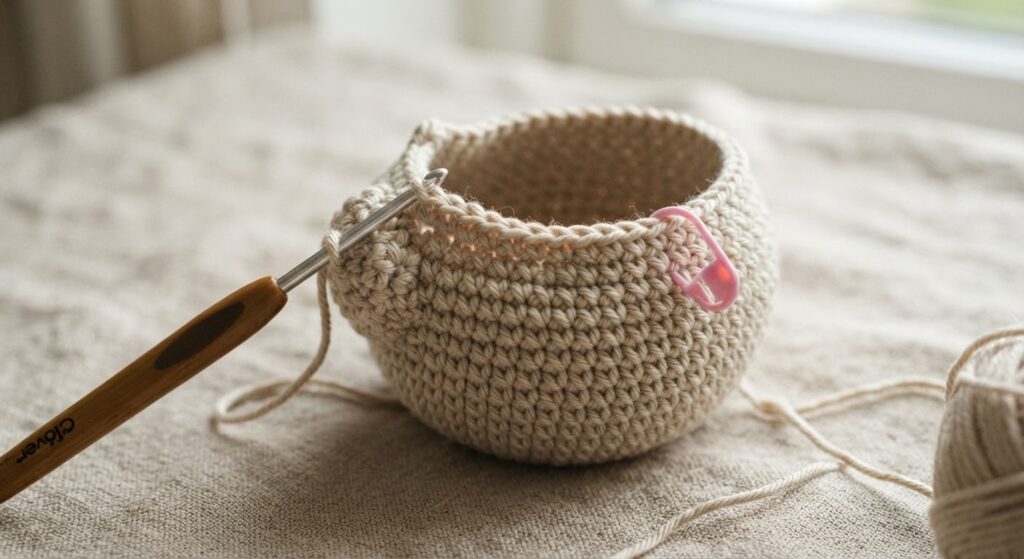
How to Fix It
Use a stitch marker to mark the beginning of each round, especially when working in continuous rounds.
At the end of each round, check that your stitch count matches the number listed in the pattern.
Keeping track of your rounds and stitch counts makes amigurumi patterns easier to follow.
Mistake 4: Leaving a Gap in the Magic Ring
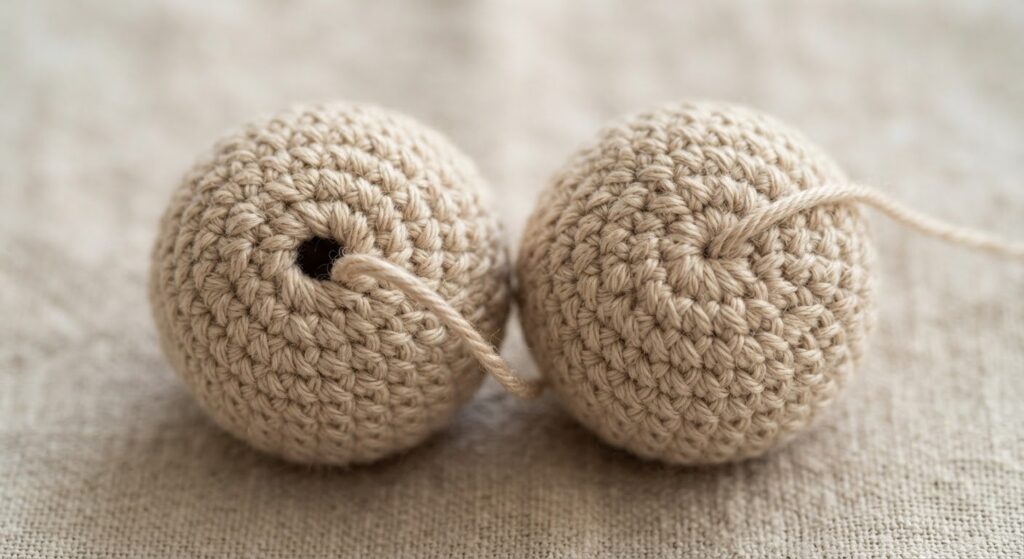
A loose magic ring can leave a small hole in the center of your amigurumi. This becomes especially noticeable when the piece is stuffed.
How to Fix It
After completing the first round, pull the yarn tail firmly to close the center of the magic ring.
For extra security, weave the yarn tail through several stitches with a yarn needle before trimming it.
If you find the magic ring difficult to make, you can start with a chain and work the first round into it.
Mistake 5: Crocheting Inside Out
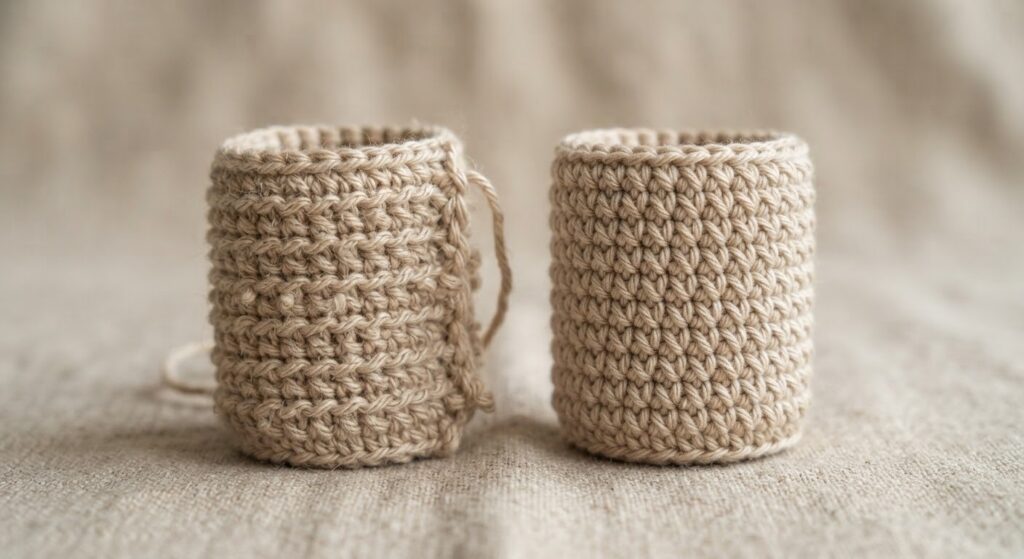
When working in continuous rounds, it is easy to accidentally crochet with the wrong side facing outward. This can make the stitches look less even and change the texture of the finished piece.
How to Fix It
As you work, check the direction of your stitches. The right side of single crochet usually has clear V-shaped stitches, while the wrong side has a bumpier appearance.
If you notice that the wrong side is facing outward, gently turn the piece so the smoother side faces outward before continuing.
Once you have identified the right side, keep the same side facing outward throughout the project.
Mistake 6: Creating Uneven Seams
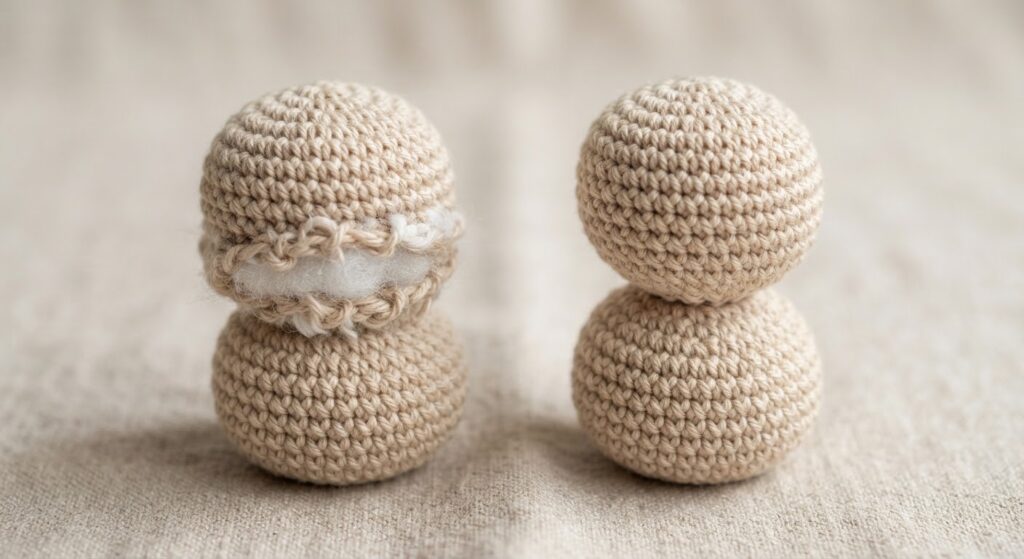
Joining every round with a slip stitch can create a visible seam or a slight step in the shape of your amigurumi. This can be noticeable when you want a smooth, rounded finish.
How to Fix It
Many amigurumi patterns are worked in continuous rounds, often called spiral rounds., also called spiral rounds. Unless the pattern calls for joined rounds, continue crocheting directly into the next stitch instead of joining each round with a slip stitch.
Use a stitch marker to show where each round begins. This helps you keep track of your rounds without creating a visible seam.
Always follow the instructions of your specific pattern, as some designs are intentionally worked in joined rounds.
Mistake 7: Using Bulky Decreases
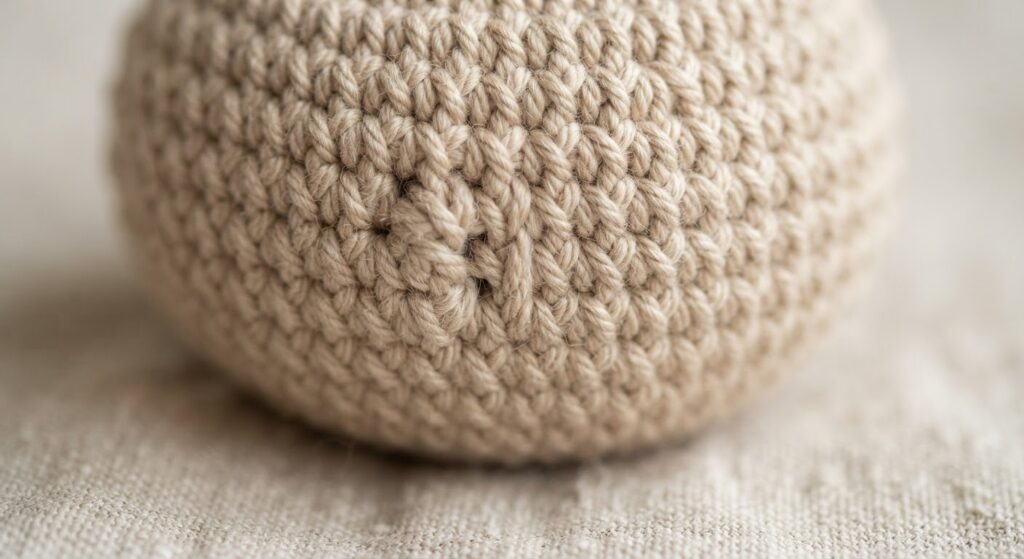
Regular decreases can sometimes leave small gaps or bumps, especially when several decreases are worked close together. This can make the surface of an amigurumi look uneven.
How to Fix It
Try an invisible decrease when the pattern allows it.
To make an invisible decrease, insert your hook through the front loop only of the next two stitches. Yarn over and pull through both front loops, then yarn over and pull through the two loops remaining on your hook.
This creates a neater decrease and can help keep the surface of your amigurumi smooth.
Mistake 8: Attaching Parts Too Loosely
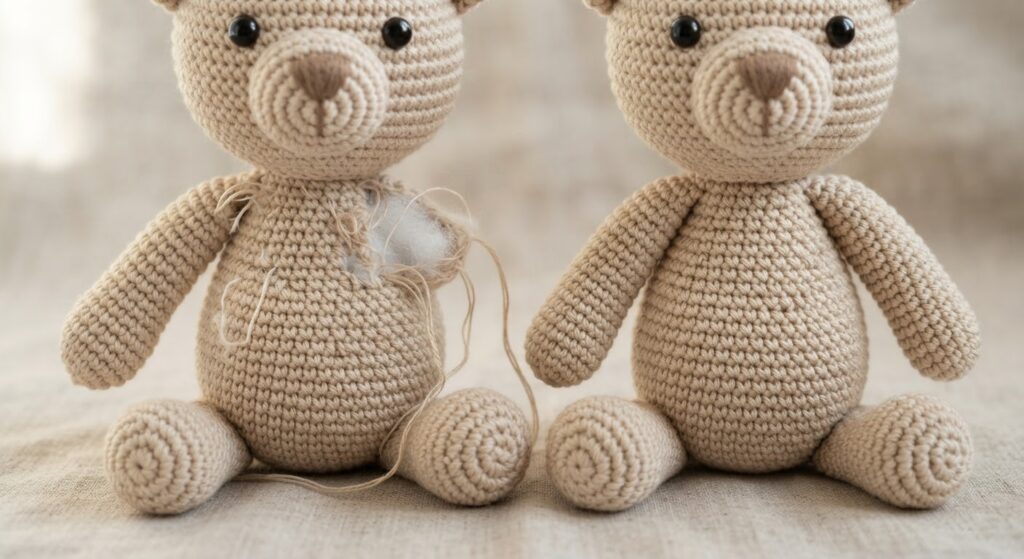
Arms, legs, ears, tails, and other small pieces need to be attached securely. If they are only sewn through a small area, they can become loose or sit unevenly.
How to Fix It
Before sewing a piece permanently, use pins or stitch markers to check its position and alignment.
Sew through several stitches on both the attached piece and the main body.Take your time and make several passes with the yarn needle to create a secure connection.
For pieces that need extra support, add a small amount of stuffing before closing and attaching them.
Mistake 9: Cutting Yarn Tails Too Short
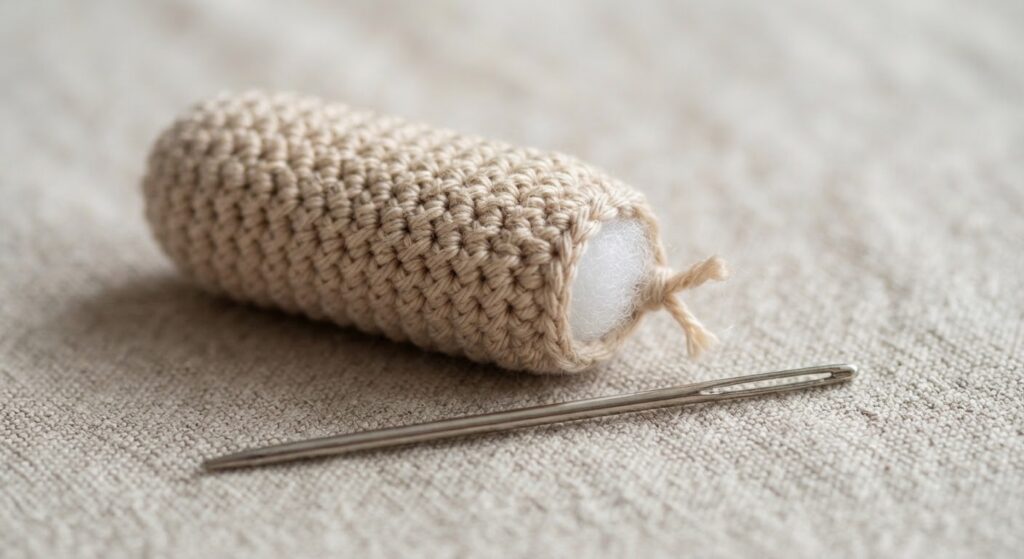
Short yarn tails can make assembly and finishing much more difficult. There may not be enough yarn left to sew a piece securely or weave the end into the stitches.
How to Fix It
When you finish a piece that will be sewn onto another part, leave a long enough yarn tail for assembly. For small amigurumi pieces, leaving around 20–30 cm is often enough for sewing and finishing.
For simple color changes or ends that only need to be woven in, leave enough yarn to weave securely through several stitches before trimming.
It is always easier to trim an extra-long tail than to work with one that is too short.
Mistake 10: Uneven Color Changes
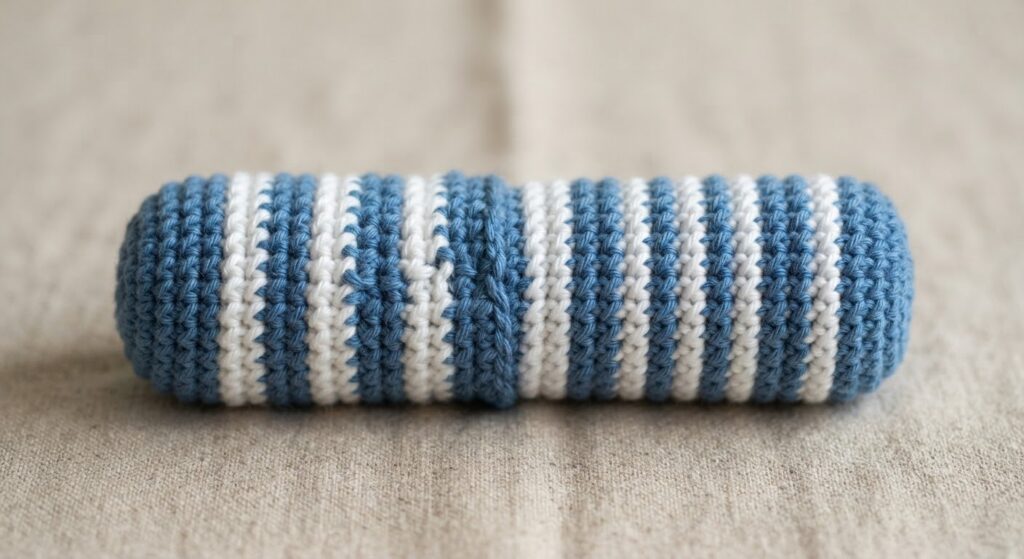
Changing yarn colors in the middle of a round can sometimes create a small step or uneven line, especially when working in continuous rounds.
How to Fix It
When changing colors, work the last single crochet of the old color until two loops remain on your hook. Use the new color to complete the stitch.
Continue crocheting with the new color. This helps create a cleaner transition between the two colors.
Frequently Asked Questions
Why can I see the stuffing through my amigurumi?
Your hook may be too large, or your stitches may be too loose. Try a smaller hook or adjust your tension to create tighter stitches.
Why does my amigurumi look uneven?
Check your stitch count and make sure you are following each increase and decrease correctly. Uneven stuffing can also affect the shape, so add fiberfill gradually and evenly.
Should I use US or UK crochet terms?
Check the pattern before starting and make sure you know which terminology it uses. US and UK crochet terms are different, so using the wrong terms can lead to incorrect stitch counts and shapes.
How do I make my amigurumi firmer?
Add small amounts of fiberfill as you crochet and distribute it evenly. The piece should be firm enough to hold its shape without stretching the stitches.
Pattern Usage & Copyright
This guide is written by Amyliva Handmade.
You may use the information in this guide for your own amigurumi projects. Finished items made using these techniques may be kept, gifted, or sold.
Please do not copy, reproduce, translate, publish, redistribute, or sell this article or its photographs as your own. You may share the link to the original article instead.

Yorum gönder