Amigurumi Reindeer – Free Crochet Pattern
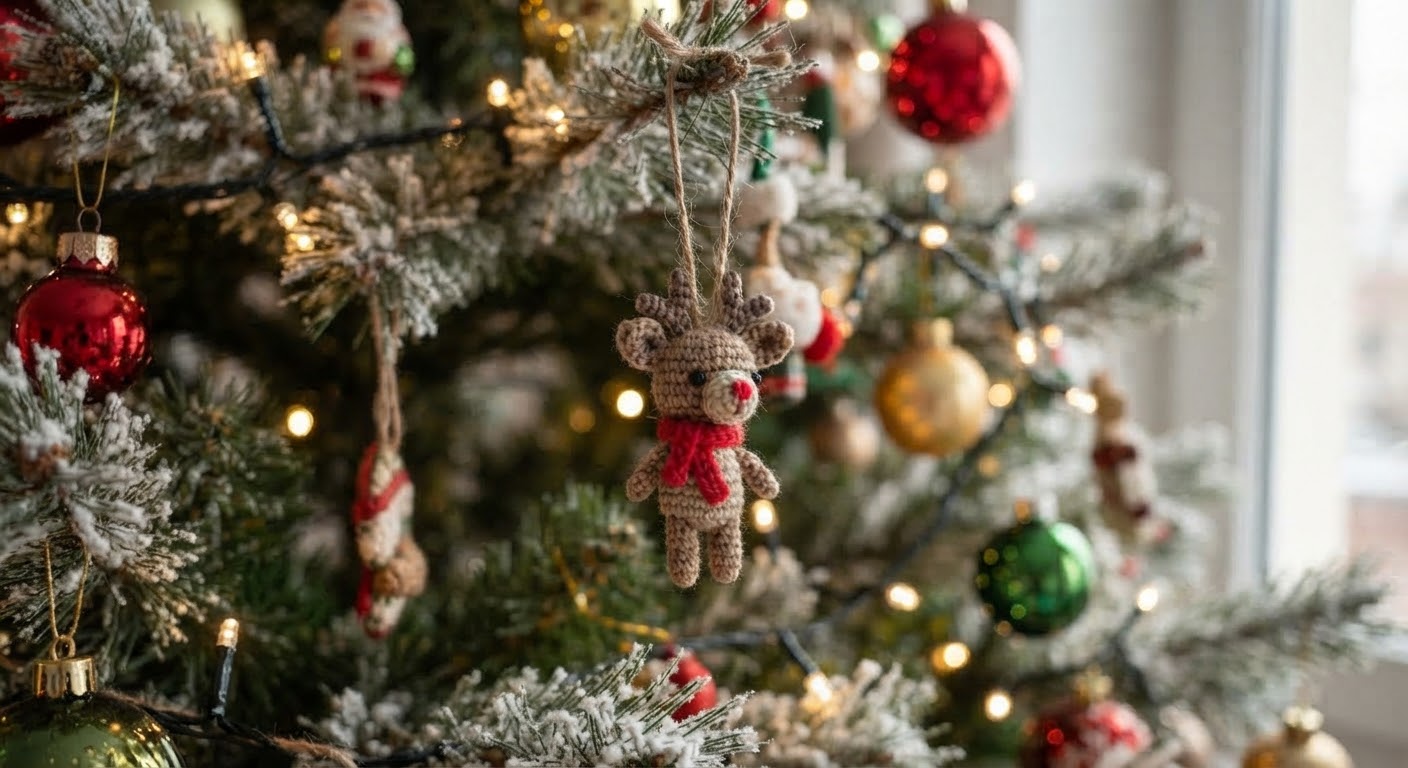
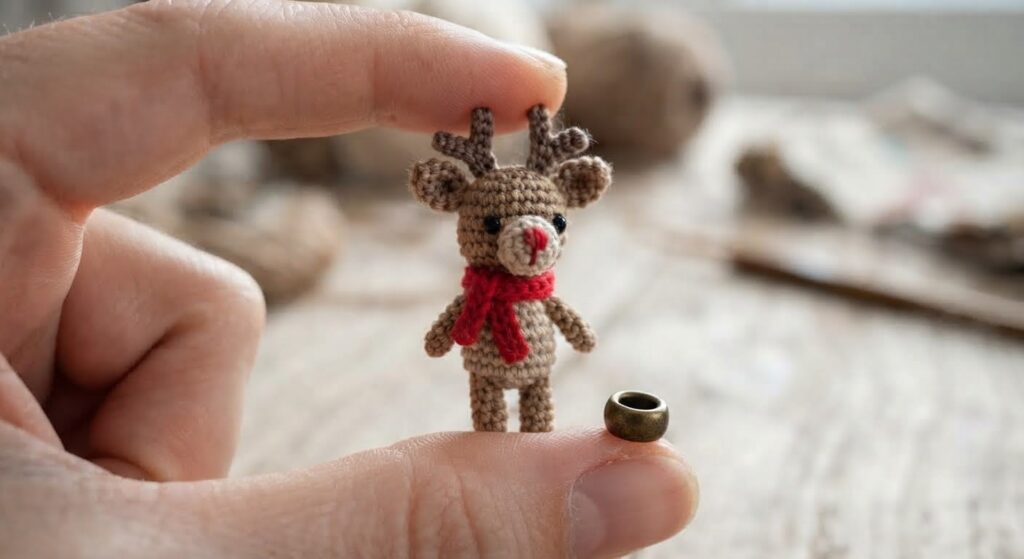
This crochet reindeer is a small amigurumi project made in separate pieces and joined together at the end. The pattern includes the head and body, snout, ears, antlers, arms, legs, and a simple scarf.
It can be made as a Christmas decoration, tree ornament, or small handmade gift. The pattern uses basic stitches and simple shaping, with stuffing added gradually as you work.
Materials You’ll Need
- Worsted-weight yarn in brown, beige, red, and a small amount of black
- 3.0–3.5 mm crochet hook
- Polyester fiberfill
- 6–8 mm safety eyes or black embroidery thread
- Tapestry needle
- Scissors
- Stitch marker
- Optional: thin craft wire for the antlers
Abbreviations
- MR – Magic Ring
- sc – Single Crochet
- inc – Increase
- dec – Decrease
- st – Stitch
- sl st – Slip Stitch
- ch – Chain
- R – Round
Pattern Notes
- The pattern is worked in continuous rounds unless otherwise stated.
- Use a stitch marker to mark the beginning of each round.
- Keep your stitches firm so the stuffing does not easily show through.
- Add stuffing gradually as you work. Avoid overstuffing, especially around decreases.
- Stitch counts are given in brackets at the end of each round.
The AmyLiva Handmade Amigurumi Reindeer Pattern
Head and Body
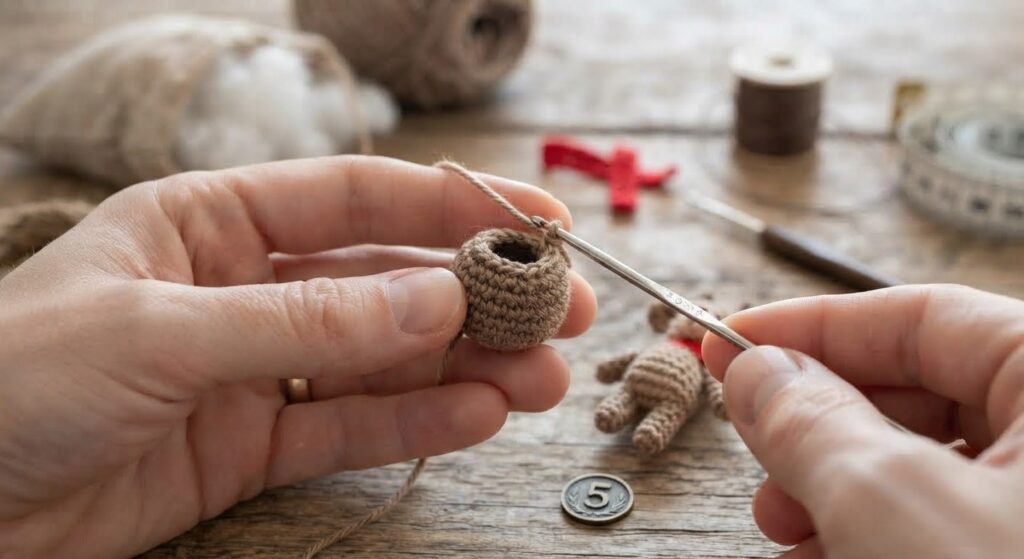
Round 1: MR 6 sc [6]
Round 2: inc x 6 [12]
Round 3: (sc, inc) x 6 [18]
Round 4: (2 sc, inc) x 6 [24]
Round 5: (3 sc, inc) x 6 [30]
Round 6: (4 sc, inc) x 6 [36]
Round 7: sc in each st around [36]
Round 8: sc in each st around [36]
Round 9: sc in each st around [36]
Round 10: sc in each st around [36]
Round 11: sc in each st around [36]
Round 12: sc in each st around [36]
Round 13: (4 sc, dec) x 6 [30]
Round 14: (3 sc, dec) x 6 [24]
Insert the safety eyes between Rounds 9 and 10, about 6–8 stitches apart. If you are embroidering the eyes, add them after the piece is finished.
Begin stuffing the head, adding small amounts at a time.
Round 15: (2 sc, dec) x 6 [18]
Round 16: (sc, dec) x 6 [12]
Continue stuffing as you go.
Round 17: dec x 6 [6]
Do not FO. Continue directly to the body.
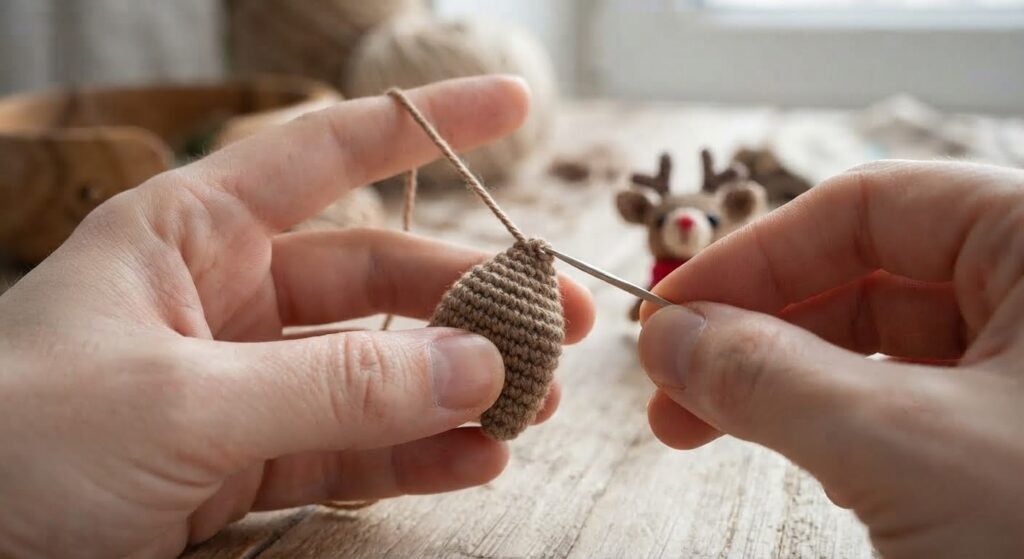
Round 18: inc x 6 [12]
Round 19: (sc, inc) x 6 [18]
Round 20: (2 sc, inc) x 6 [24]
Round 21: (3 sc, inc) x 6 [30]
Round 22: sc in each st around [30]
Round 23: sc in each st around [30]
Round 24: sc in each st around [30]
Round 25: (3 sc, dec) x 6 [24]
Round 26: (2 sc, dec) x 6 [18]
Stuff the body firmly.
Round 27: (sc, dec) x 6 [12]
Round 28: dec x 6 [6]
FO, leaving a long tail. Weave the tail through the remaining stitches and pull tight to close. Weave in the end.
Snout
Round 1: MR 6 sc [6]
Round 2: inc x 6 [12]
Round 3: (sc, inc) x 6 [18]
Round 4: sc in each st around [18]
FO, leaving a long tail for sewing. Lightly stuff the snout and sew it to the face, centered below the eyes.
Embroider the nose with red yarn. Then add a short vertical line below the nose for the mouth.
Ears
Make 2 – Brown Yarn
Round 1: MR 4 sc [4]
Round 2: (sc, inc) x 2 [6]
Round 3: (2 sc, inc) x 2 [8]
Round 4: sc in each st around [8]
FO, leaving a long tail for sewing. Pinch the bottom edges together and sew the ears to the top of the head, between Rounds 4–6, about 8–10 stitches apart.
Antlers
Make 2 – Brown Yarn
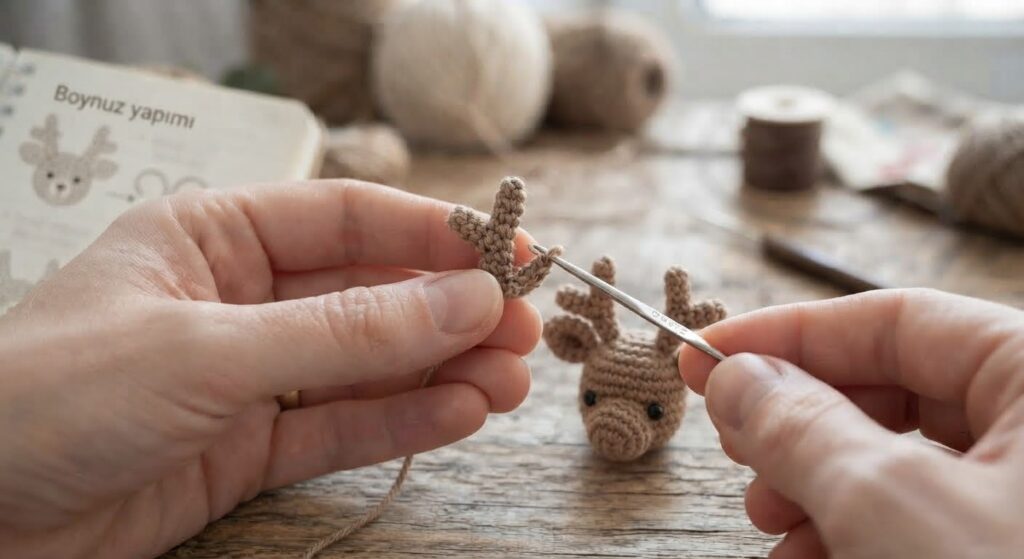
- Chain 5. Slip stitch into the 2nd chain from the hook, then single crochet in the next chain.
- Chain 3. Slip stitch into the 2nd chain from the hook, then single crochet in the next chain. Repeat this once more to create the small branches.
- Continue single crocheting along the remaining chains of the main chain.
FO, leaving a long tail for sewing. Sew the antlers securely to the top of the head, slightly behind the ears.
Arms
Make 2 – Brown Yarn
Round 1: MR 6 sc [6]
Round 2: (sc, inc) x 3 [9]
Round 3: sc in each st around [9]
Round 4: sc in each st around [9]
Round 5: dec, 7 sc [8]
Round 6: sc in each st around [8]
Round 7: sc in each st around [8]
Lightly stuff the bottom half of the arm.
Round 8: dec, 6 sc [7]
Round 9: sc in each st around [7]
FO, leaving a long tail. Flatten the opening and sew the arms to the sides of the body, just below the neck.
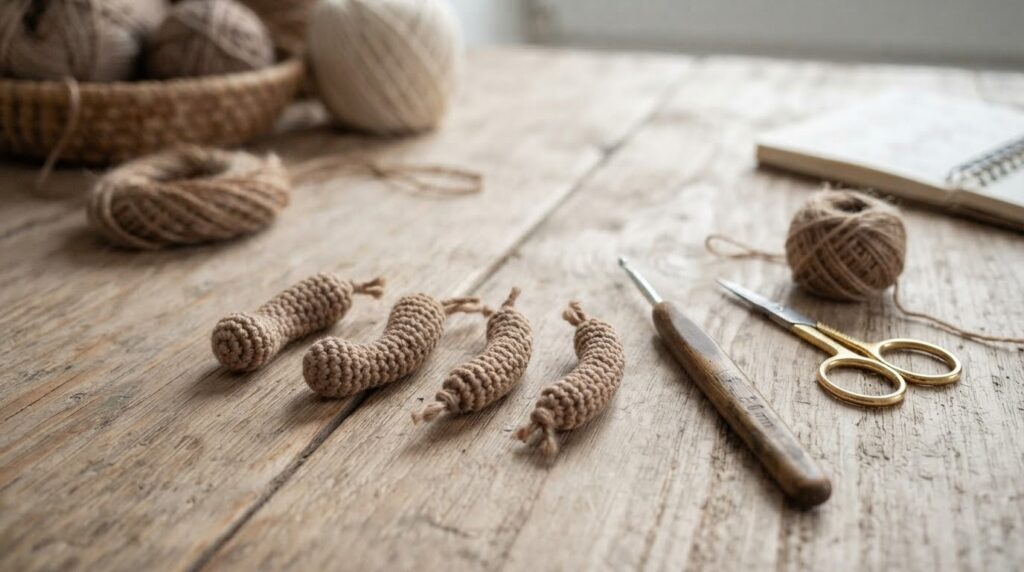
Legs
Make 2 – Brown Yarn
Round 1: MR 6 sc [6]
Round 2: inc x 6 [12]
Round 3: (sc, inc) x 6 [18]
Round 4: sc in each st around [18]
Round 5: sc in each st around [18]
Round 6: (sc, dec) x 6 [12]
Stuff the foot part firmly.
Round 7: sc in each st around [12]
Round 8: sc in each st around [12]
Round 9: dec x 6 [6]
Continue stuffing the leg as you go.
Round 10: sc in each st around [6]
FO, leaving a long tail. Flatten the opening and sew the legs securely to the bottom of the body.
Scarf
Use red or green yarn.
- Chain 40–50, or adjust the length so the scarf fits comfortably around the reindeer’s neck.
- Starting in the 2nd chain from the hook, single crochet in each chain across.
FO and weave in the ends. Tie the scarf around the reindeer’s neck. If desired, add a few short fringes to the ends.
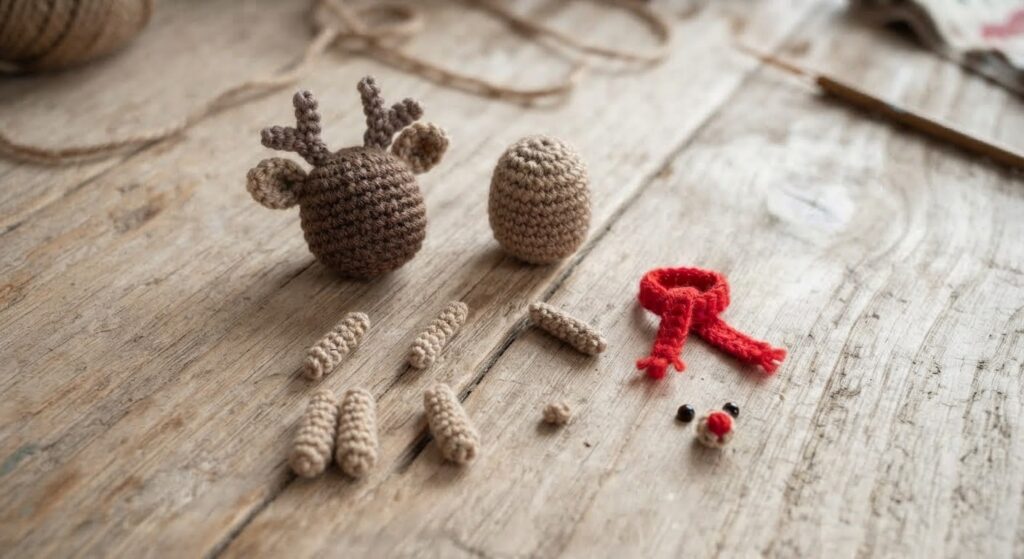
Assembly
- Sew the snout to the face, centered below the eyes. Make sure it is securely attached before weaving in the ends.
- Sew the ears to the top of the head, positioning them evenly on both sides.
- Sew the antlers to the top of the head, slightly behind the ears. Make several passes with the yarn to secure them.
- Sew the arms to the sides of the body, just below the neck.
- Sew the legs to the bottom of the body. Position them evenly so the reindeer can sit upright.
- If you are using embroidered eyes, add them after the main pieces are assembled. Add the red nose and mouth details to the snout if you have not already done so.
- Wrap the scarf around the neck and adjust it to the desired position.
- If you want to use the reindeer as an ornament, attach a small yarn loop securely to the top of the head.
Finishing Touches
- Check that the snout, ears, antlers, arms, and legs are securely sewn in place.
- If you used embroidered eyes, check that the stitches are secure and evenly positioned.
- Add the red nose and mouth details if you have not already done so.
- If using the reindeer as an ornament, attach a small yarn loop securely to the top of the head.
- Wrap the scarf around the neck and adjust the length or position as needed.
Crochet Tips
- Keep your stitches firm so the stuffing does not easily show through.
- Use a stitch marker to keep track of the beginning of each continuous round.
- Add small amounts of stuffing as you work rather than filling the piece all at once.
- Check your stitch count at the end of each round, especially after increases and decreases.
- If you notice a mistake, undo the stitches back to the incorrect round and continue from there.
Pattern Usage
This pattern is designed and written by AmyLiva Handmade. You may make finished reindeer for personal use, as gifts, or for small-quantity sale.
If you sell or share finished items made from this pattern, please credit AmyLiva Handmade as the pattern designer and include a link to amyliva.com when possible.
The pattern itself may not be copied, reproduced, translated, redistributed, or resold, in whole or in part.
Frequently Asked Questions
What kind of yarn should I use for this reindeer?
Worsted-weight yarn works well for this pattern. You can also use another yarn weight, but the finished size and appearance will change.
Can I use different colors?
Yes. You can change the body, scarf, or other colors to create a different look. Keep the same yarn weight when possible for a similar finished size.
Is this pattern suitable for beginners?
This pattern uses basic amigurumi stitches, including single crochet, increases, and decreases. If you are comfortable with these stitches and working in continuous rounds, you should be able to follow the pattern.
How long does it take to make?
The time depends on your crochet speed and experience. It may take a few hours to complete, including crocheting and assembly.
Can I make this reindeer for a child?
If the reindeer is intended for a young child, embroider the eyes and other facial details instead of using safety eyes or other small parts. Make sure all sewn components are securely attached. Always consider the child’s age when choosing materials and finished items.
Can I sell finished reindeer made from this pattern?
Yes. You may sell finished items made from this pattern in small quantities. Please credit AmyLiva Handmade as the pattern designer and include a link to amyliva.com when possible.
Safety Note
If this reindeer is made for a young child, use embroidered eyes and facial details instead of safety eyes or other small parts that may present a choking hazard. Make sure all sewn pieces are securely attached.
Safety eyes are not recommended for toys intended for babies or very young children. Always choose materials and construction methods appropriate for the intended age group.



Yorum gönder