Patrick Star Amigurumi Keychain – Free Crochet Pattern
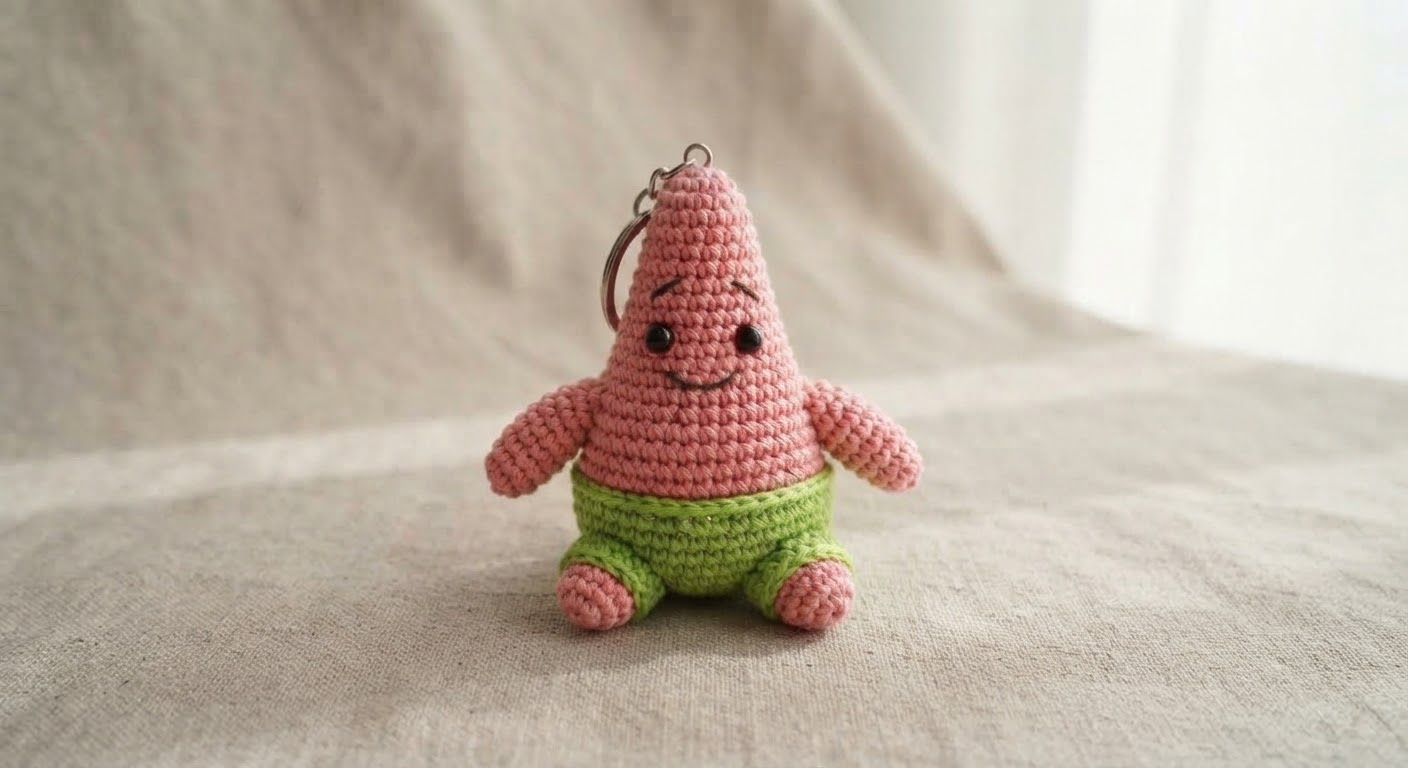
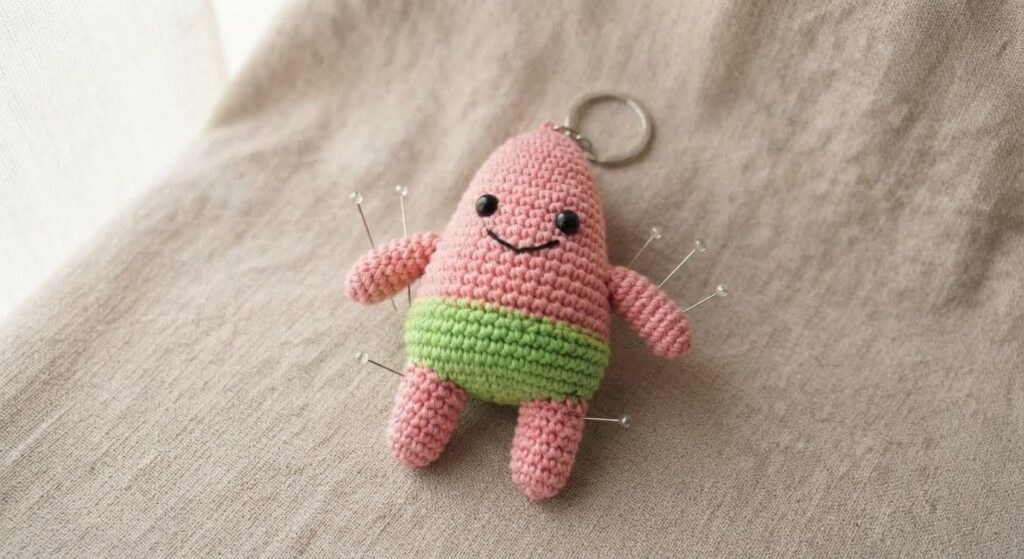
This Patrick Star amigurumi keychain is a small crochet project made with pink and green yarn. The body is worked in continuous rounds, with separate arms and legs added during assembly.
The pattern uses basic amigurumi techniques, including single crochet, increases, decreases, stuffing, color changes, and simple sewing. The finished piece can be used as a keychain or a small bag or backpack accessory.
In this pattern, you’ll find the materials, crochet abbreviations, complete round-by-round instructions, assembly steps, and tips for finishing the keychain.
Please note: This is an unofficial, fan-made crochet pattern inspired by Patrick Star. Patrick Star and SpongeBob SquarePants are copyrighted and trademarked characters of their respective owners. This pattern is not affiliated with or endorsed by the rights holders.
Materials
Before you begin, prepare the following materials:
- Pink yarn
- Bright green yarn
- Small amounts of black and white yarn
- 3–3.5 mm crochet hook, or a size that gives you firm stitches
- Polyester fiberfill
- 6–8 mm safety eyes
- Small metal keychain ring or split ring
- Tapestry needle
- Scissors
- Stitch marker
The finished size will depend on the yarn, hook size, and your crochet tension.
For amigurumi, use a hook that creates firm stitches without making the fabric difficult to crochet. If you can see gaps between the stitches, try a smaller hook.
You can also use thinner yarn and a smaller hook to make a smaller version. Keep in mind that changing the yarn and hook size will change the finished size.
If the keychain is intended for a young child, use embroidered eyes instead of plastic safety eyes and make sure all attached parts are securely sewn.
Crochet Abbreviations
This pattern uses standard US crochet terms.
- MR – Magic Ring
- sc – Single Crochet
- inc – Increase: work 2 sc in the same stitch
- dec – Decrease: crochet 2 stitches together
- st / sts – Stitch / Stitches
- FO – Fasten Off
- dc – Double Crochet
- ( ) × 6 – Repeat the instructions inside the parentheses 6 times
The number at the end of each round shows the total number of stitches you should have after completing that round.
Body
Start with pink yarn and work in continuous rounds.
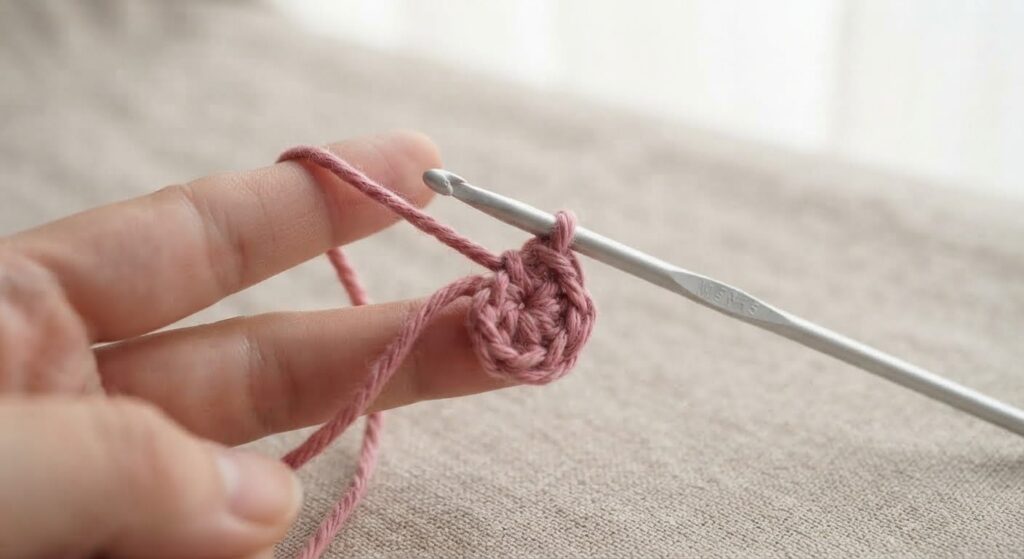
R1: 6 sc in a magic ring. (6)
R2: inc in each stitch around. (12)
R3: (sc, inc) × 6. (18)
R4: (2 sc, inc) × 6. (24)
R5–R8: sc around. (24)
R9: (2 sc, dec) × 6. (18)
R10: sc around. (18)
Insert the safety eyes between R7 and R8, leaving approximately 5 stitches between them.
Begin adding fiberfill gradually as you work. Use enough stuffing to give the body a firm shape, but do not overfill it.
Change to Green
Change from pink to green at the end of R10.
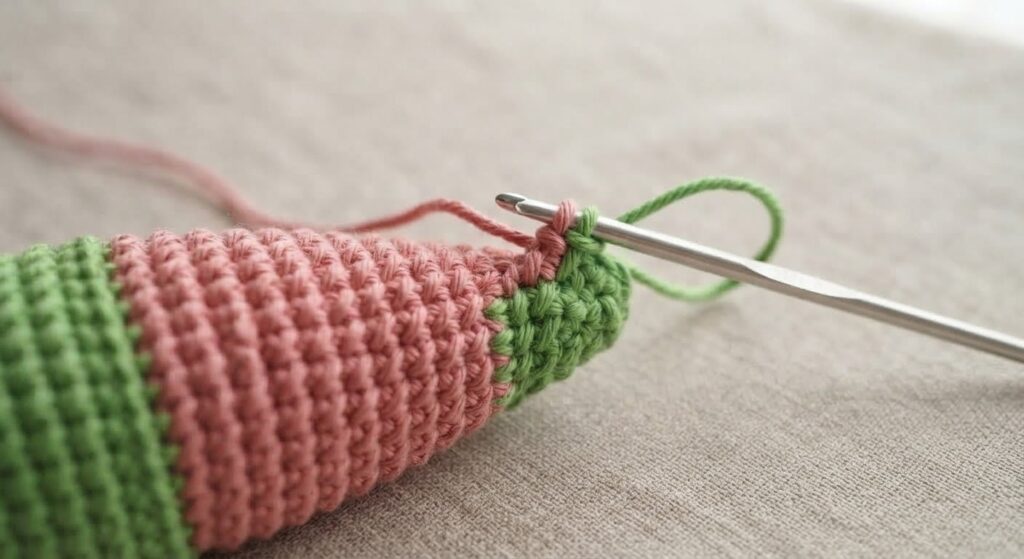
R11: (2 sc, inc) × 6. (24)
R12–R13: sc around. (24)
R14: (2 sc, dec) × 6. (18)
R15: (sc, dec) × 6. (12)
R16: dec × 6. (6)
Continue adding small amounts of stuffing as you work through the green section.
Fasten off after R16. Using a tapestry needle, weave the yarn tail through the front loops of the remaining 6 stitches and gently pull to close the opening. Secure and weave in the end.
For a cleaner color change, complete the final stitch of R10 with the green yarn, then begin R11 in green.
Arms (Make 2)
Using pink yarn:
R1: 4 sc in a magic ring. (4)
R2: (sc, inc) × 2. (6)
R3–R4: sc around. (6)
Fasten off after R4, leaving a long yarn tail for sewing.
The arms can be left unstuffed. If you want them to have a little more shape, add only a small amount of fiberfill before sewing them to the body.
Do not overstuff the arms, as they are small and need to remain easy to attach.
Legs (Make 2)
Using pink yarn:
R1: 6 sc in a magic ring. (6)
R2: (sc, inc) × 3. (9)
R3–R4: sc around. (9)
Fasten off after R4, leaving a long yarn tail for sewing.
Add a small amount of fiberfill to each leg if you want them to hold their shape. Do not overstuff the legs.
Before sewing them to the body, check that both legs are positioned at a similar height and distance from the center.
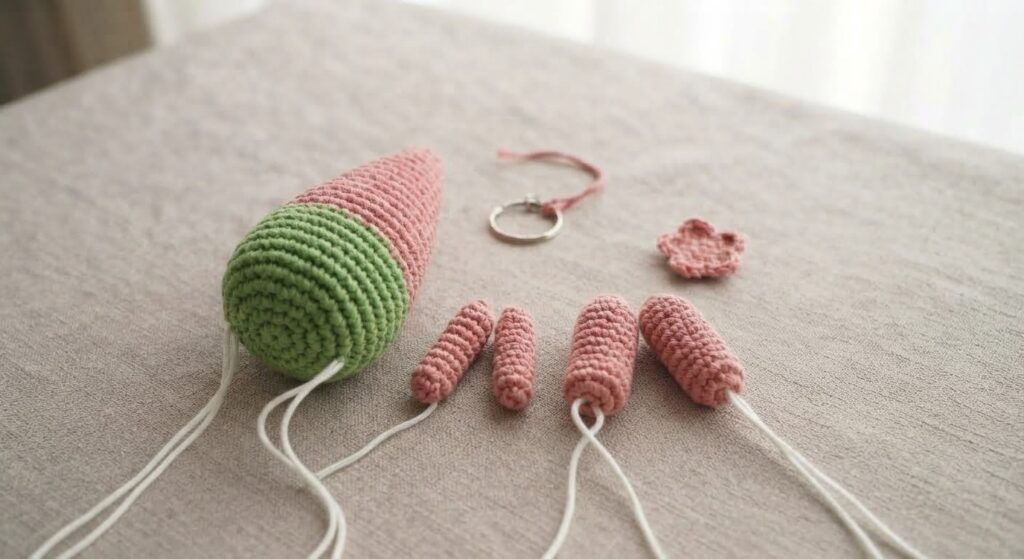
Assembly and Finishing
Before sewing the pieces in place, arrange the arms and legs on the body and check their position from the front and side.
Attach the Arms
Sew the arms to the sides of the body, just below the pink section around R8. Keep them at a similar height on both sides.
Attach the Legs
Sew the legs to the lower part of the green section around R13–R14. Position them evenly so the finished keychain hangs or sits straight.
Weave in the remaining yarn ends and trim any excess yarn.
Add the Facial Details
Use black yarn or embroidery thread to embroider a curved smile below the eyes.
Add two small curved eyebrows above the eyes.
Check the position of the facial details before securing the embroidery.
Attach the Keychain Ring
Attach a small metal keychain ring securely to the top of the body.
You can sew the ring directly to the top stitches or make a small yarn loop and attach the ring to the loop.
Check the attachment carefully before using the finished piece. It should be firmly connected and able to withstand regular handling.
Helpful Crochet Tips
Invisible Decrease
An invisible decrease can give the amigurumi a smoother finish. If you are comfortable with regular decreases, you can use them instead.
To make an invisible decrease, work through the front loops of the next two stitches, then complete the decrease as usual.
Keep Your Stitches Firm
Use a hook size that gives you firm, even stitches. Small gaps can allow the stuffing to show through.
If you crochet loosely, try a slightly smaller hook. Avoid making your stitches so tight that they become difficult to work.
Use a Stitch Marker
The body is worked in continuous rounds, so use a stitch marker to mark the first stitch of each round. Move the marker up as you complete each round.
Add Stuffing Gradually
Add small amounts of fiberfill as you work instead of filling the body all at once. This helps you control the shape and avoid overfilling.
Check the Placement
Before sewing the arms and legs permanently, place them on the body and check that they are evenly positioned.
Take a moment to check the overall shape before adding the final facial details.
Frequently Asked Questions
Can a beginner crochet this amigurumi?
Yes. The pattern uses basic amigurumi stitches, including single crochet, increases, decreases, and a magic ring. Some experience with working in continuous rounds is helpful.
What yarn works well for a small amigurumi keychain?
Cotton yarn is a good choice because it gives clear stitch definition and helps the finished piece keep its shape. You can also use acrylic yarn. The finished size will vary with the yarn, hook size, and crochet tension.
Can I use different colors?
Yes. You can change the yarn colors without changing the stitch counts. Different colors will give the finished piece a different appearance.
Can I make the keychain without sewing?
The body is worked in one piece, but the arms and legs are crocheted separately and need to be sewn onto the body.
How do I attach the keychain ring?
Attach the ring securely to the top of the body, either directly through the stitches or using a small yarn loop. Check the connection before regular use.
Pattern Usage
This crochet pattern is provided for personal use and learning.
You may make items from this pattern for yourself or as gifts. Please do not copy, reproduce, translate, or republish the pattern or its instructions as your own. If you would like to share the pattern with others, please share a link to the original article on Amyliva Handmade.
Photos and written instructions on this page may not be used on other websites or social media as your own content.
Pattern Usage
This crochet pattern is provided for personal use and learning.
You may make items from this pattern for yourself or as gifts. Please do not copy, reproduce, translate, or republish the pattern or its instructions as your own. If you would like to share the pattern with others, please share a link to the original article on Amyliva Handmade.
Photos and written instructions on this page may not be used on other websites or social media as your own content.



Yorum gönder