How to Crochet Amigurumi: Beginner Guide with Tips & Techniques
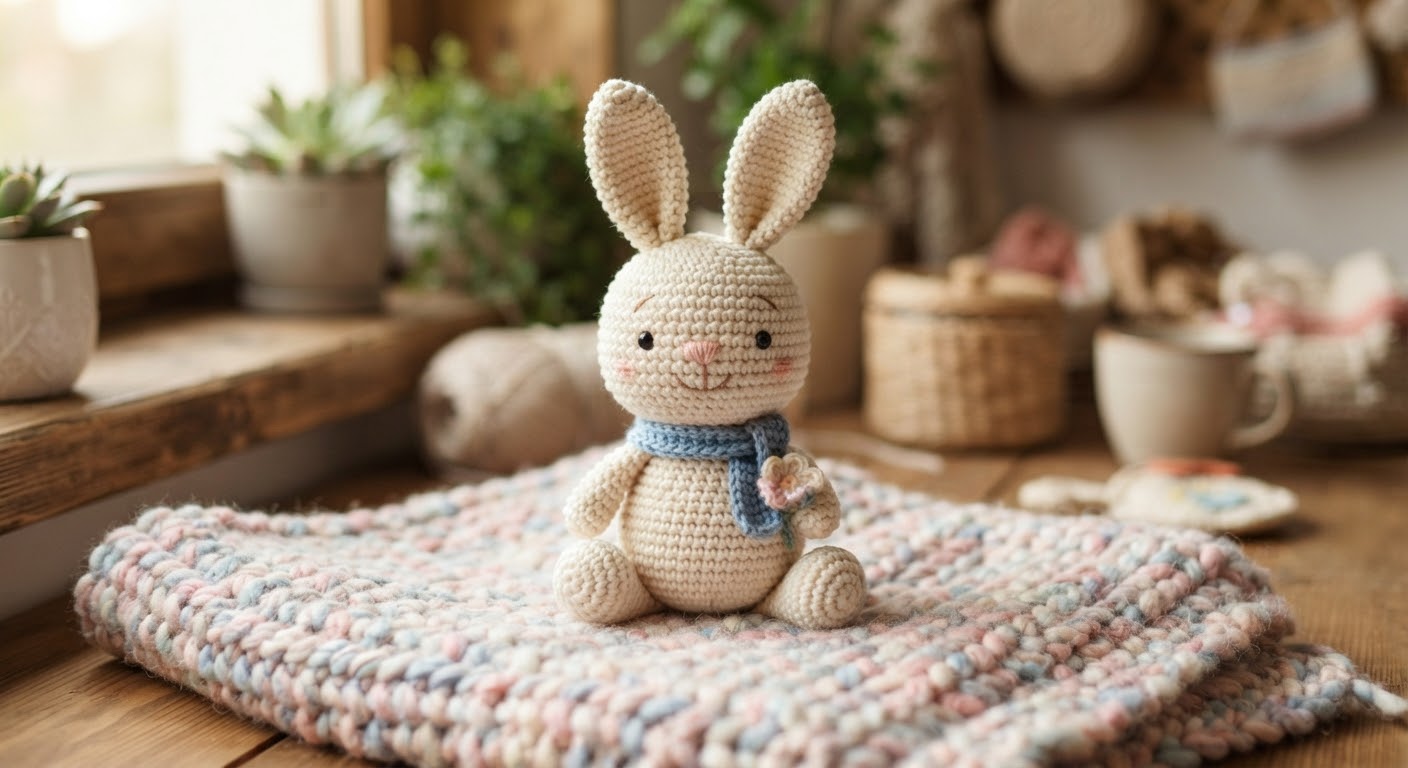
If you are new to amigurumi, the first few projects can feel a little different from regular crochet. You are working with a smaller hook, keeping your stitches fairly tight, counting rounds, and shaping the piece with increases and decreases. Then there is the stuffing and sewing, which can also change the final result.
The good thing is that you do not need to learn a long list of complicated crochet techniques before you begin. Most amigurumi patterns are built from a small group of basic stitches and techniques.
Once you understand how those techniques work together, a pattern that initially looks confusing becomes much easier to follow.
In this guide, I’ll explain the materials, basic stitches, pattern terms, shaping, color changes, stuffing, sewing, and finishing techniques that are useful when making amigurumi. I’ll also go through some common problems that beginners run into and a simple checklist you can use for your first project.
What Do You Need to Make Amigurumi?
You do not need a large collection of crochet supplies to get started.
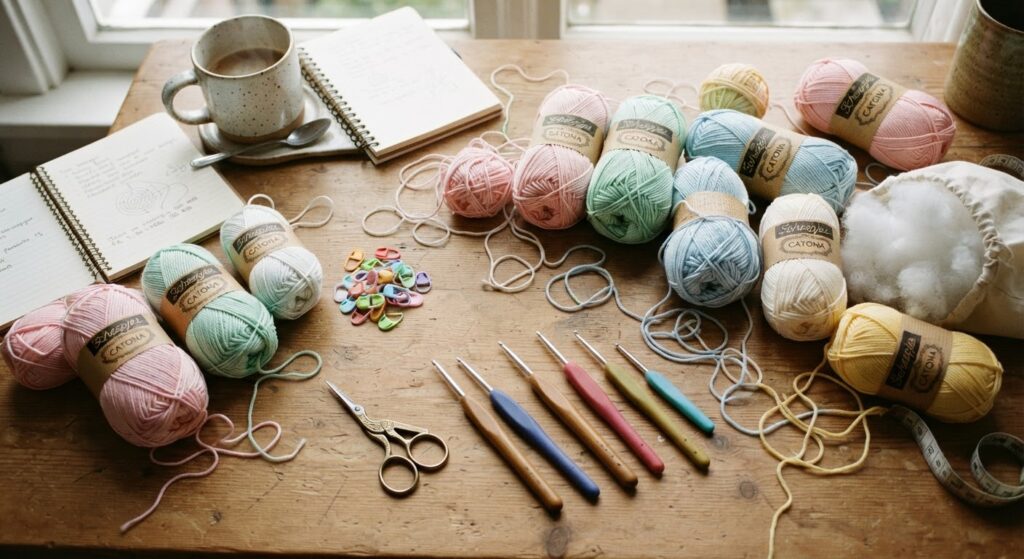
For most small amigurumi projects, you will need:
- Yarn
- A crochet hook
- Polyester fiberfill
- A stitch marker
- A yarn or tapestry needle
- Small scissors
- Safety eyes or embroidery thread
The exact yarn and hook size will depend on the pattern.
You may also use pins when attaching pieces, embroidery thread for facial details, and small amounts of different colored yarn for decorations.
If you are just learning, it is better to start with a simple project and a few basic supplies rather than buying everything at once.
Choosing Yarn for Amigurumi
For your first amigurumi projects, choose a smooth cotton or acrylic yarn in a light or medium color. Smooth yarn makes it easier to see individual stitches, count rounds, and spot mistakes. Chenille and velvet yarns create a soft, plush finish, but their texture can make stitches harder to identify.
The best yarn depends on the size and style of your project. If you need help comparing yarn types, weights, and textures, read my detailed guide to the best yarns for amigurumi.
Choosing the Crochet Hook
Your crochet hook affects how tight or loose your stitches become. For amigurumi, aim for a firm fabric with no large gaps through which the stuffing can show.
Start with the hook recommended in your pattern, then check your first few rounds. If the stitches are too loose, try a smaller hook. If they are extremely difficult to work, try a slightly larger one. Your tension matters, so the same hook size may produce different results for different crocheters.
Understanding the Basic Amigurumi Shape
One of the most useful things to understand about amigurumi is that many pieces are built by crocheting around a starting point and gradually changing the number of stitches.
A simple rounded piece often starts with a small number of stitches in a magic ring or another circular starting method.
Then increases are added to make the circle wider.
After several rounds, you may crochet a number of rounds without increases to create the middle of the shape.
Finally, decreases are used to make the opening smaller.
This basic idea can create many different shapes. The exact number and placement of increases and decreases will depend on the pattern.
Understanding this makes it easier to see why the stitch counts in an amigurumi pattern matter.
Basic Amigurumi Stitches and Techniques
Magic Ring
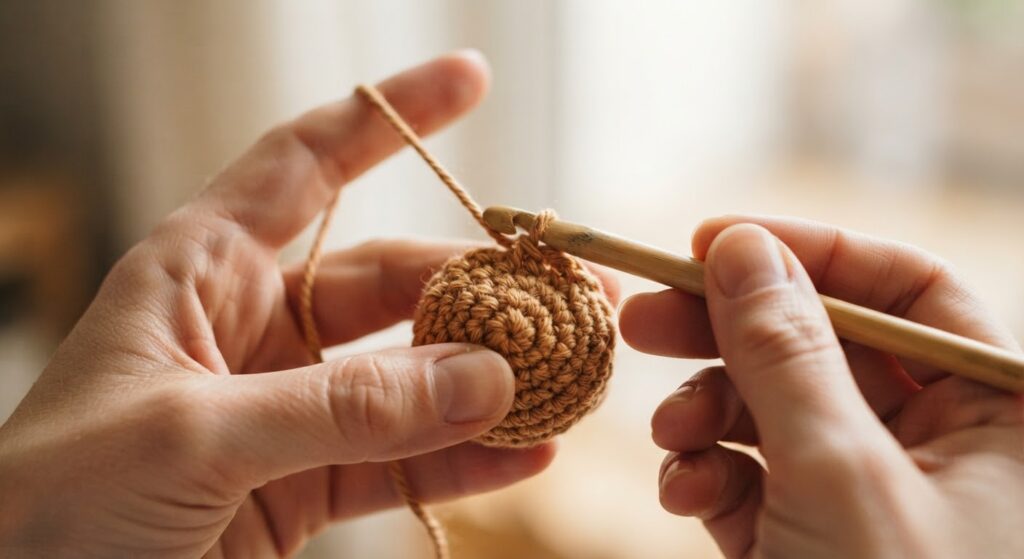
A magic ring, also called a magic circle, is a common way to begin a round piece.
You create an adjustable loop, crochet the first stitches into the loop, and then pull the yarn tail to close the center.
One advantage of the magic ring is that it can close the center of the first round without leaving a large hole.
If you are new to the magic ring, it may take a few tries to get used to holding the yarn and keeping the loop under control.
An Alternative to the Magic Ring
You do not always have to use a magic ring. Some patterns start with a short chain instead.
A simple chain-start method is:
- Make 2 chain stitches.
- Insert your hook into the second chain from the hook.
- Work the number of single crochet stitches specified by the pattern into that chain.
- Continue with the next round.
For example, if a pattern says to start with 6 single crochet using the chain method, you would make 2 chains and work 6 single crochet into the second chain from the hook.
The center may not close as tightly as a magic ring, so this method is not suitable for every design. However, it can be a useful alternative if you are still learning the magic ring.
Always follow the starting method given in the pattern when one is specified.
Single Crochet
Single crochet is one of the most frequently used stitches in amigurumi.
It creates a relatively dense fabric, which helps keep the stuffing inside the finished piece.
When crocheting amigurumi, try to keep your tension reasonably consistent. You do not need to pull every stitch extremely tight.
Very tight stitches can make it difficult to insert your hook into the next round and may make your hands tired.
Increase
An increase adds a stitch to the round.
The most common amigurumi increase is:
inc = 2 single crochet in the same stitch
For example, if a round has 6 stitches and the pattern says to increase in every stitch, the next round will have 12 stitches.
Increasing around a circle makes the piece wider.
Decrease
A decrease removes a stitch from the round.
The decrease is used when the pattern needs to make the piece narrower or close an opening.
You may see:
dec = decrease
or
sc2tog = single crochet two together
Many amigurumi patterns use an invisible decrease because it can create a smoother surface and reduce visible gaps.
When using an invisible decrease, the hook is worked through parts of the next two stitches before completing them as one stitch.
Working Through the Front or Back Loop
You may sometimes see FLO or BLO in an amigurumi pattern.
FLO means Front Loop Only.
BLO means Back Loop Only.
A normal single crochet is usually worked through both loops at the top of the stitch. When a pattern tells you to work in FLO or BLO, you insert the hook through only the specified loop.
These techniques can be used to create details such as a fold, a ridge, a flat base, or a change in texture. They are also sometimes used when making clothing or other parts that need a particular shape.
Always check which loop the pattern specifies because using both loops instead can change the shape of the piece.
Continuous Rounds
Amigurumi is often worked in continuous rounds, also called spiral rounds.
This means you normally do not join the end of one round to the beginning with a slip stitch. Instead, you continue directly into the next stitch.
A stitch marker helps you remember where each round starts.
Because there is no joined seam, the finished piece can have a smoother appearance. The downside is that it is easier to lose your place if you are not counting your stitches.
How to Read an Amigurumi Pattern
Pattern abbreviations can look confusing when you see them for the first time, but there are only a few that you will use again and again.
Common abbreviations include:
- sc – single crochet
- inc – increase
- dec – decrease
- sl st – slip stitch
- ch – chain
- st / sts – stitch / stitches
- R – round
- FLO – front loop only
- BLO – back loop only
You may also see instructions inside brackets or parentheses.
For example:
R3: (sc 1, inc) x 6 (18)
This means:
- Work 1 single crochet.
- Work 1 increase.
- Repeat those two instructions 6 times.
- You should have 18 stitches when the round is complete.
The x 6 tells you how many times to repeat the instructions inside the parentheses.
The (18) at the end is the expected stitch count for the completed round.
The number in parentheses is worth checking before moving to the next round.
If your stitch count is different, it is usually easier to find the mistake immediately rather than continuing and trying to correct the shape later.
Counting Stitches and Rounds
Counting is one of the most important parts of amigurumi.
A small difference in stitch count can change the shape of the finished piece.
When working in continuous rounds, place a stitch marker in the first stitch. At the end of each round, count your stitches and compare the result with the pattern.
If the pattern says 24 stitches and you have 23 or 25, stop and check the previous round.
Common reasons for a wrong stitch count include:
- Missing an increase
- Adding an extra stitch
- Accidentally crocheting into the wrong stitch
- Losing track of the beginning of the round
- Counting a stitch incorrectly
Taking a few seconds to check your count can save much more time later.
The Right Side of Amigurumi
When working in continuous rounds, it is possible to accidentally turn the piece inside out.
The outside of the amigurumi generally has a more even, slightly textured appearance, while the inside can look different.
This becomes easier to recognize after you have made a few projects.
If you are unsure which side is the outside, compare your piece with the photos in the pattern and check the direction of your stitches.
This is especially important when using techniques such as an invisible decrease because the appearance of the decrease depends on which side is facing outward.
How to Keep Your Stitches Tight Enough
Amigurumi usually needs a firmer fabric than many flat crochet projects.
You want the stitches to sit close enough together that the stuffing does not easily show through.
However, tighter is not always better.
If you pull every stitch as tightly as possible, your hands may become uncomfortable and it can be difficult to insert the hook into the next stitch.
Instead, try to develop a steady tension.
If your stitches are consistently loose, a smaller hook may help.
If the stitches are very difficult to work into, try relaxing your tension or choosing a slightly larger hook.
Changing Colors in Amigurumi
Color changes are useful when making stripes, clothes, paws, faces, or other two-color details.
For a clean color change, the new color is usually introduced at the end of the stitch before the color change.
When working a single crochet, insert the hook and pull up a loop as usual. Instead of completing the final yarn over and pull-through with the old color, use the new color to complete the stitch.
The new color is then ready for the next stitch.
The exact method can vary between patterns, so follow the instructions if the designer gives a specific color-change method.
When changing colors in continuous rounds, keep an eye on your tension. Pulling the new yarn too tightly can make the fabric pucker.
If you are making stripes, check the beginning of each round carefully so the color change stays where the pattern expects it.
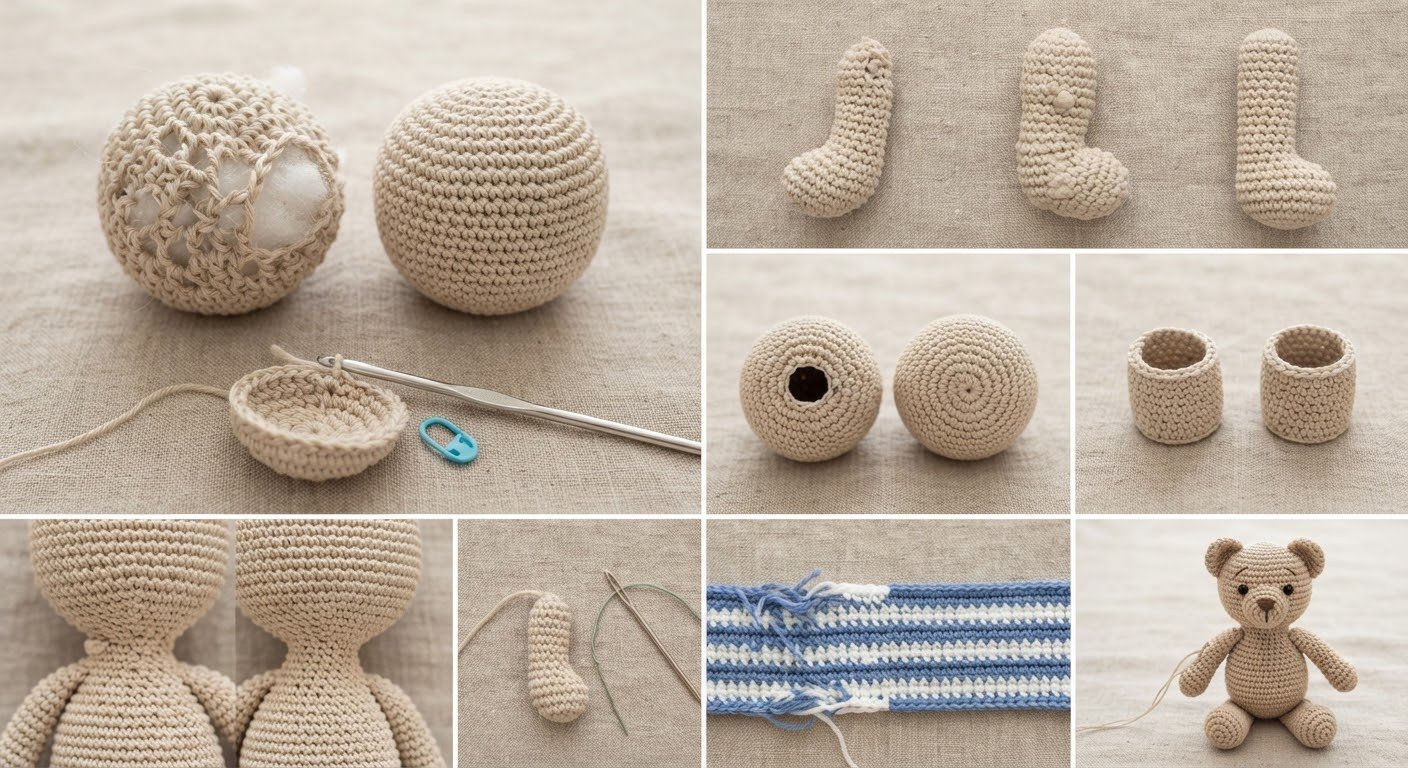
How to Stuff Amigurumi
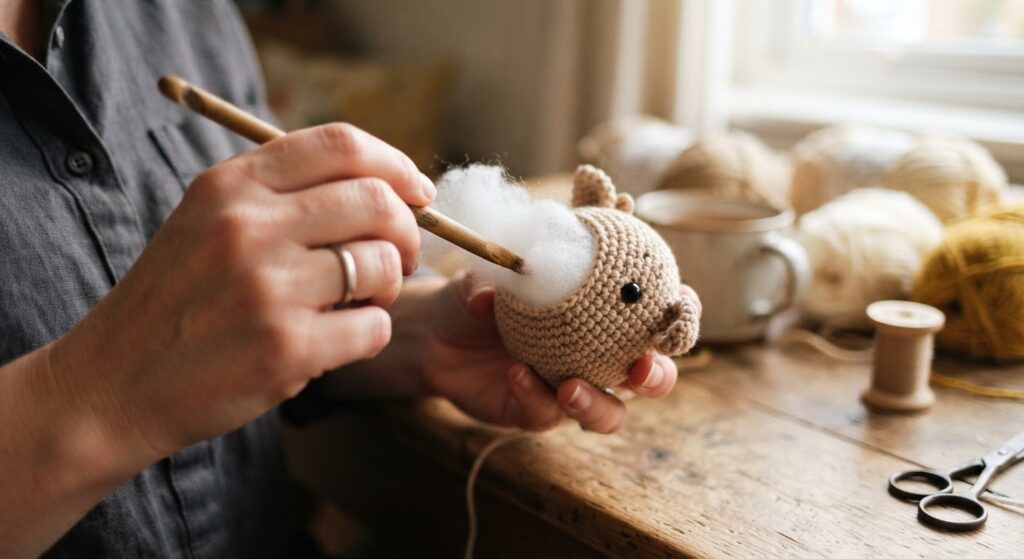
Stuffing changes both the shape and firmness of an amigurumi.
Start adding polyester fiberfill once the piece is large enough to reach inside.
Add small amounts rather than putting a large amount of stuffing into the opening at once.
Use your fingers to move the fiberfill into corners and narrow sections.
For very small areas, the blunt end of a crochet hook can help push the stuffing into place, but be careful not to stretch or damage the stitches.
Turn the piece as you stuff it so the filling is distributed evenly.
The goal is usually a firm shape that holds its form without stretching the crochet fabric.
If you can see the stuffing between the stitches, remove a little or redistribute it before adding more.
Shaping the Finished Piece
Stuffing is not only about making an amigurumi firm. It also helps determine its final shape.
After adding some fiberfill, gently press and shape the piece with your fingers.
If one side looks fuller than the other, move some of the stuffing instead of simply adding more.
For a sitting animal, pay particular attention to the bottom of the body.
The base may need to be flatter than the rest of the piece so the amigurumi can sit without tipping over.
Do the final shaping before closing the opening because it becomes much harder to adjust the stuffing afterward.
Attaching Safety Eyes and Facial Details
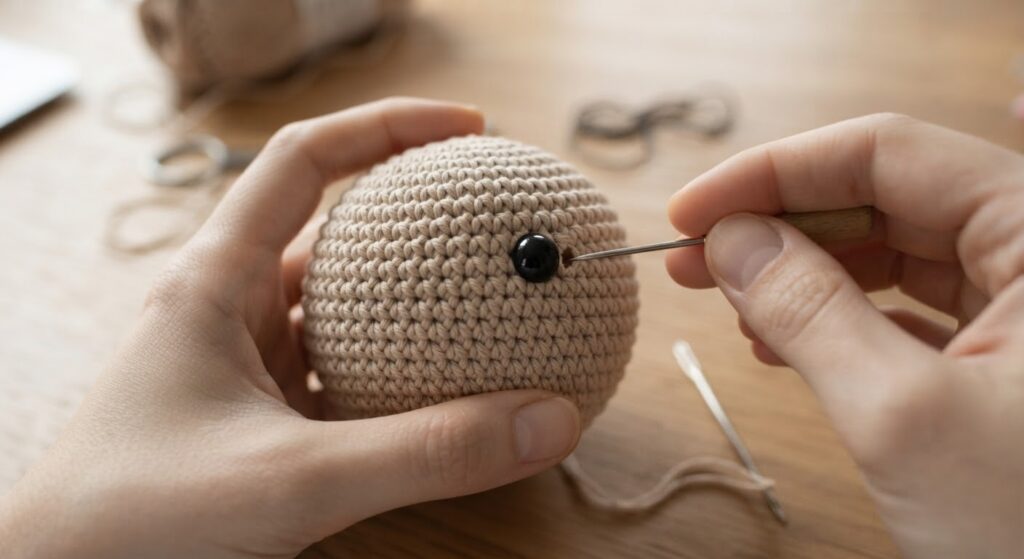
The position of the eyes can change the whole expression of an amigurumi.
Before attaching safety eyes, place them in the approximate position and look at the face from the front.
Check the distance between the eyes and compare their height.
If you are using safety eyes, make sure the backs are properly secured.
For projects intended for young children, small detachable parts can present a choking hazard. Embroidered eyes and facial details are an alternative that does not use plastic safety eyes.
You can also embroider noses, mouths, eyebrows, eyelashes, and other details with embroidery thread.
Take a moment to check the face before weaving in the ends. It is much easier to make an adjustment before the yarn is completely secured.
Sewing Amigurumi Pieces Together
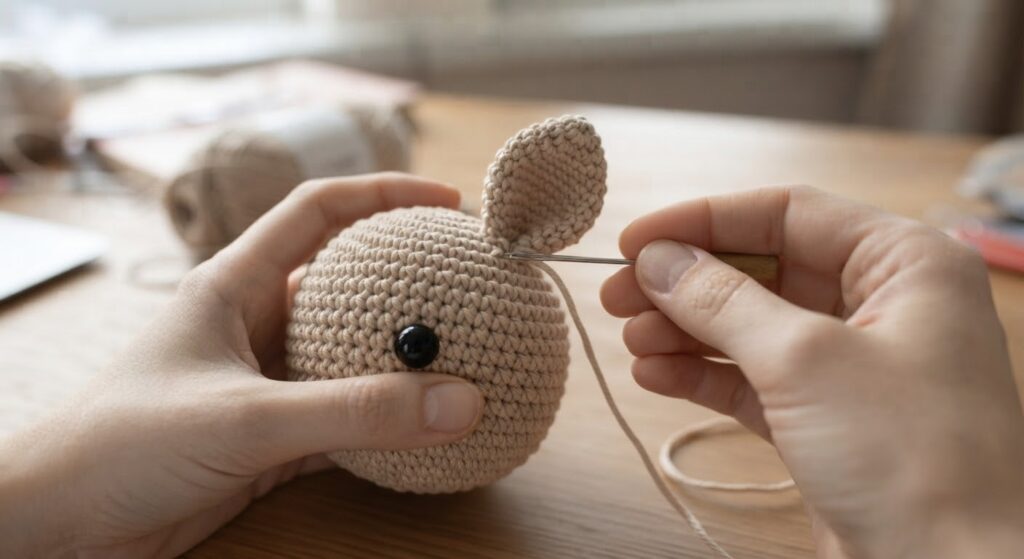
Many amigurumi have separate pieces such as arms, legs, ears, tails, wings, or horns.
Before sewing a piece permanently, hold it against the body and check the position from several angles.
Pins can help hold the piece in place while you decide where it should go.
When two pieces need to be symmetrical, compare their height and distance from the center of the body.
Use a yarn needle and the yarn tail from the crocheted piece whenever possible.
Sew through the piece and the body several times to make the attachment secure.
Try to keep the stitches neat and close together so they do not become very noticeable on the outside.
After sewing, weave the remaining yarn tail into the inside of the amigurumi and trim the excess.
Fasten Off and Secure the Yarn
When you reach the end of a crocheted piece, the yarn needs to be secured before you cut it.
A basic fasten off usually involves cutting the yarn, leaving a tail long enough for sewing or weaving in, and pulling the yarn through the final loop.
Do not simply cut the yarn right next to the piece and leave the final loop unsecured. The stitches can loosen and the piece may start to unravel.
For pieces that will be sewn onto another part, leave a longer yarn tail so you can use it for assembly.
Some patterns also use an invisible fasten off. This technique can make the final edge look smoother, especially when finishing a visible round.
The exact invisible fasten-off method can vary depending on the type of piece and the pattern, so follow the pattern instructions when a specific finishing method is given.
After fastening off, weave the yarn tail securely through several stitches on the inside of the piece.
Common Beginner Problems
Why can I see the stuffing?
The crochet fabric may be too loose, or the piece may be overstuffed.
Try a smaller hook if the stitches are consistently loose. If the stuffing is pushing against the stitches, remove a little and redistribute it.
Why does my amigurumi look uneven?
Check your stitch count first.
If the stitch count is correct, look at your tension and stuffing. Uneven tension or stuffing concentrated in one area can change the shape.
Why is there a hole after decreasing?
Loose decreases can leave small gaps.
An invisible decrease can help create a smoother finish. Also avoid pushing too much stuffing against the final rounds.
Why is my amigurumi a different size from the pattern?
The finished size depends on the yarn, hook, tension, stuffing, and sometimes even how the pieces are assembled.
If you use a different yarn weight or hook size from the pattern, the finished dimensions can change.
Why does my piece lean to one side?
Some leaning can happen naturally in continuous rounds, but first check that your stitch count is correct.
If the count is correct, gently adjust the stuffing and shape the piece with your fingers.
Why does my color change look uneven?
A color change can look uneven if the new yarn is pulled too tightly or if the color is changed at a different point from the pattern instructions.
Check where the pattern tells you to change colors and keep your tension consistent.
Finishing Your Amigurumi
Once all the pieces have been attached, take a few minutes to check the whole project.
Look for:
- Loose yarn ends
- Uneven stuffing
- Loose stitches
- Pieces that need repositioning
- Facial details that need adjustment
- Areas where the yarn needs to be secured
When finishing yarn ends, weave them securely into the inside of the piece rather than simply cutting them close to the surface.
If you have embroidered the face, check the stitches one more time before trimming the ends.
These small finishing steps can make a handmade amigurumi look much neater.
Caring for Handmade Amigurumi
Amigurumi can collect dust when displayed on shelves or other open surfaces.
For light dust, gently clean the surface with a soft brush.
If the yarn label includes washing instructions, follow those instructions rather than assuming that every crochet toy can be washed in the same way.
When washing is suitable, gentle hand washing can be easier to control.
Avoid twisting or wringing the piece because this can affect its shape.
Press out excess water gently and allow the amigurumi to dry completely before storing it.
Safety Notes for Amigurumi
Small parts such as safety eyes, buttons, beads, and other decorations can be choking hazards.
If you are making an amigurumi for a child under 3 years old, consider using embroidered eyes and securely sewn details instead of detachable plastic pieces.
Always check that attached parts are secure before giving a handmade item to a child.
Handmade toys should also be inspected regularly. If a piece becomes loose or damaged, repair it before the item is used again.
Follow the care and safety instructions provided with the materials you use, including yarn, safety eyes, stuffing, and other accessories.
Frequently Asked Questions
Is amigurumi suitable for beginners?
Yes. Many amigurumi patterns use a small group of basic techniques, including single crochet, increases, decreases, and continuous rounds.
A small, simple project is a good way to practice these techniques before moving on to more complicated designs.
What is the easiest yarn to use for amigurumi?
Smooth cotton or acrylic yarn is usually easier to see and work with than fuzzy yarn.
Cotton is especially popular because it gives clear stitch definition and a firm fabric.
What hook size is best for amigurumi?
There is no universal hook size.
Choose a hook that gives you a firm fabric without large gaps. Always consider the yarn and your individual crochet tension.
Do I have to use a magic ring?
No. A magic ring is a common way to start circular amigurumi pieces, but some patterns use a chain-based beginning instead.
The chain method can be useful if you are not comfortable with the magic ring yet. Always follow the starting method given in your pattern when one is specified.
What do FLO and BLO mean?
FLO means Front Loop Only and BLO means Back Loop Only.
These instructions tell you to work through only one of the two loops at the top of a stitch. They are commonly used to create ridges, folds, bases, or other details.
How do I change colors in amigurumi?
For many patterns, the new color is introduced when completing the stitch immediately before the color change.
The exact method can vary, so follow the pattern instructions if a specific color-change technique is provided.
Why do amigurumi patterns use continuous rounds?
Continuous rounds avoid a visible seam that can appear when every round is joined.
They also create a smooth spiral shape, although you need to pay closer attention to stitch counting.
How do I stop stuffing from showing?
Use a hook that creates a firm fabric and avoid overstuffing the piece.
Add fiberfill gradually and check the stitches as you go.
Should I stuff before closing the piece?
Yes, for most stuffed amigurumi pieces, the final stuffing is added before the opening is completely closed.
Leave enough room to adjust the filling and shape before finishing.
Why does my amigurumi not look like the photo?
Small differences are normal.
Your yarn, hook, tension, stuffing, and assembly can all affect the final result. The most important things are following the stitch counts and understanding how the shape is constructed.
First Amigurumi Project Checklist
Before you start, check that you have the yarn, hook, stuffing, stitch marker, scissors, and yarn needle you need.
While crocheting:
- Read the pattern before starting.
- Check the abbreviations used in the pattern.
- Mark the beginning of each continuous round.
- Count your stitches at the end of each round.
- Check increases and decreases carefully.
- Follow FLO or BLO instructions when they appear.
- Change colors where the pattern tells you to.
- Keep your tension as consistent as possible.
When assembling:
- Add stuffing gradually.
- Check the shape before closing the piece.
- Position the eyes before securing them permanently.
- Check the placement of arms, legs, ears, and other pieces.
- Fasten off securely.
- Weave in yarn ends.
- Check the finished amigurumi from different angles.
You do not have to get everything perfect on your first project. The checklist is simply there to help you remember the small things that are easy to miss when you are learning.
Before You Start Your Next Amigurumi
You do not need to know every crochet technique before making your first amigurumi.
Start with a simple pattern and concentrate on a few things: keeping track of your stitches, maintaining steady tension, making your increases and decreases correctly, and adding the stuffing gradually.
As you make more projects, you will start to recognize how a few basic stitches can create different shapes.
You may also find that small adjustments make a big difference. A slightly different hook size, a little less stuffing, or a small change in the position of the eyes can change the finished piece.
That is part of what makes amigurumi fun. Once the basics become familiar, you can start experimenting with different yarns, colors, shapes, and your own ideas.

Yorum gönder