Cute Dolphin Amigurumi Crochet Pattern – Free Beginner Tutorial
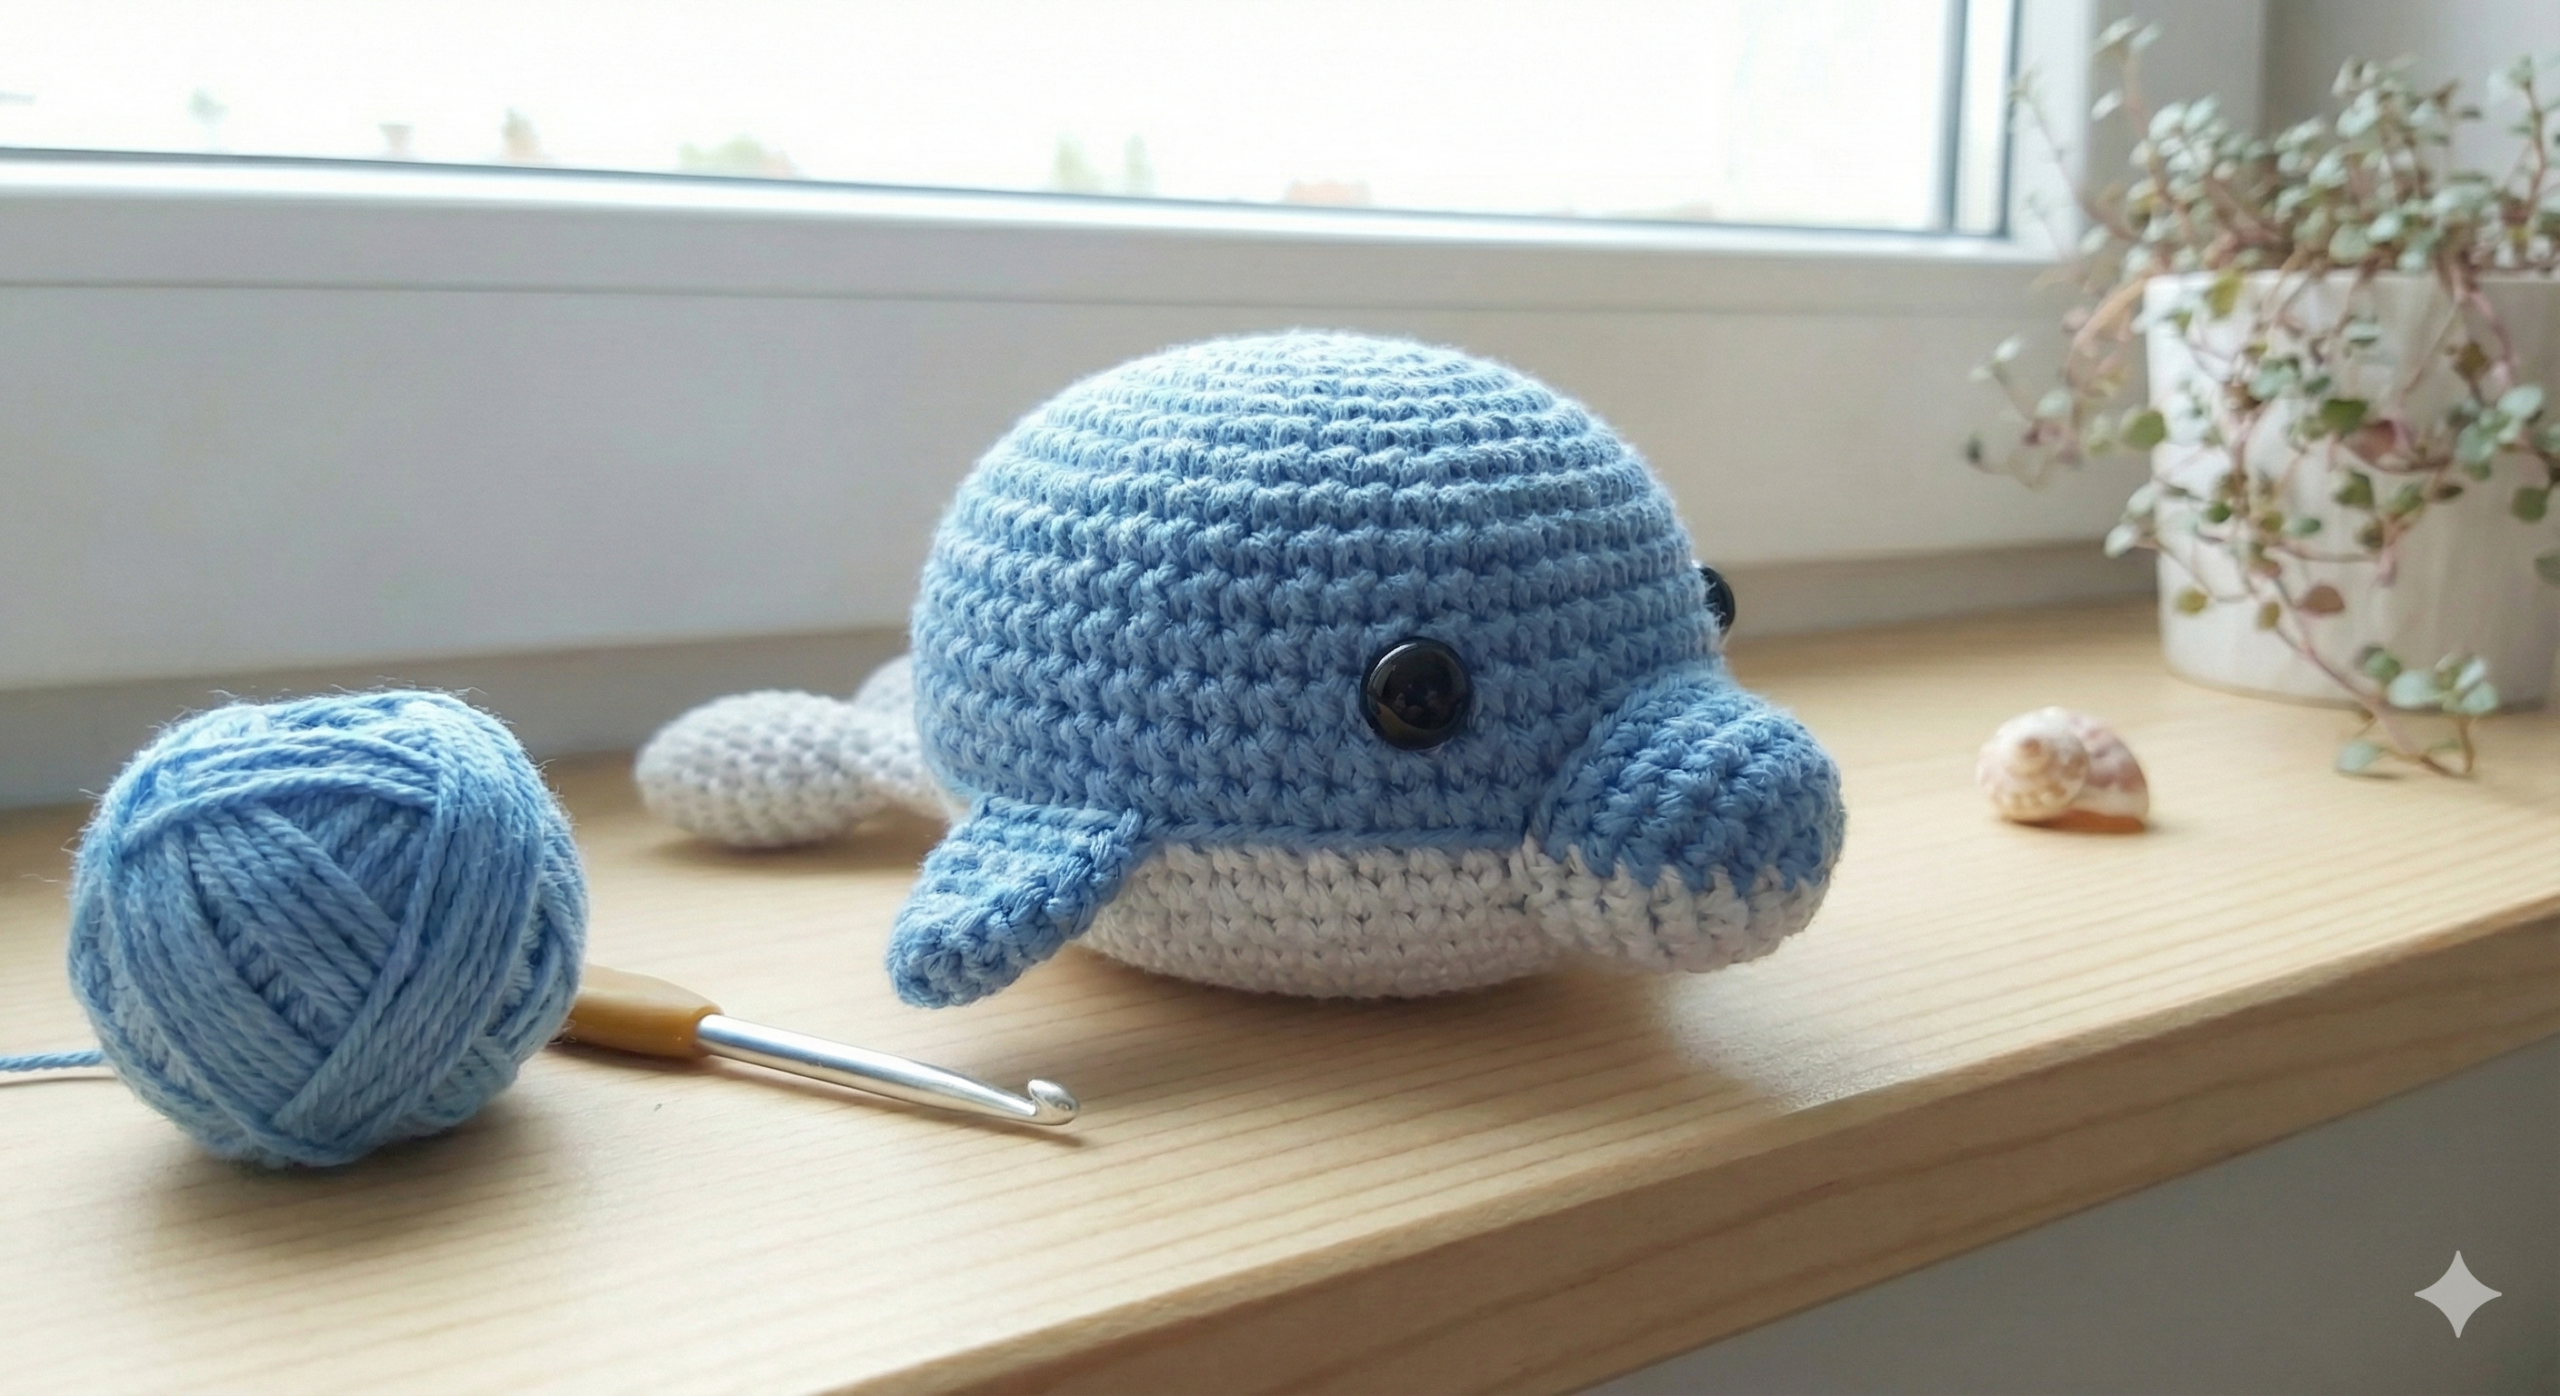
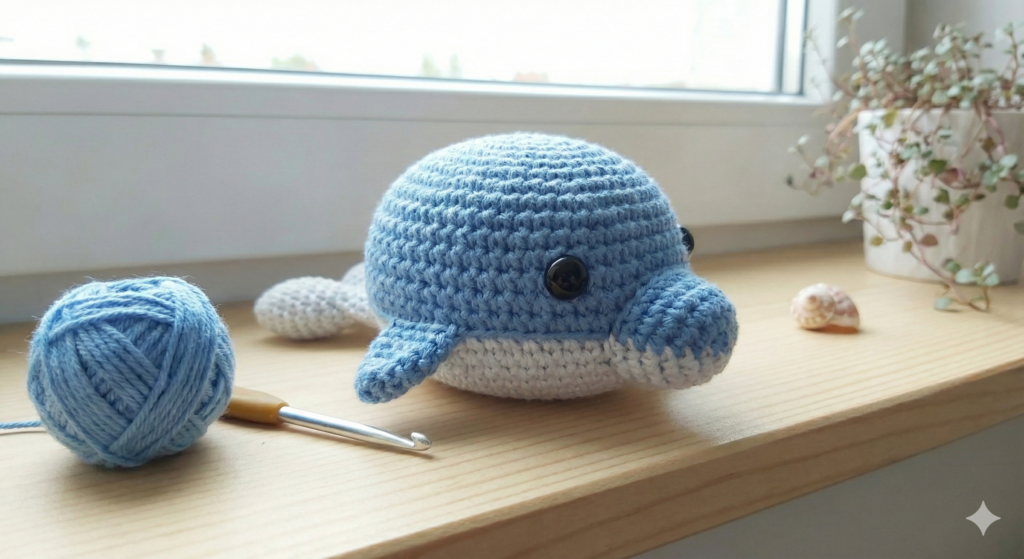
I love making small amigurumi projects that are cute, simple, and enjoyable to crochet, and this little dolphin is one of them. It has a rounded body, a small tail, and simple fins that give it a playful ocean-inspired look.
This dolphin amigurumi crochet pattern is suitable for beginners who are already comfortable with basic crochet stitches and working in the round. The project is fairly small, so it is also a nice choice when you want to make something without committing to a large amigurumi.
In this tutorial, I’ll show you how to crochet the body, shape the tail, add the fins, and finish your dolphin with the eyes and other small details. You can use cotton yarn for a more structured finish or try plush yarn if you prefer a softer, squishier dolphin.
Take your time with the shaping and stuffing, especially around the tail and fins. Small adjustments while you work can make a big difference in the final shape.
Why You’ll Love This Dolphin Amigurumi
This little dolphin is a quick and enjoyable project, especially if you like making small sea animals. The shape is simple, but the tail and fins give it a cute character once everything is put together.
Here are a few things you may enjoy about this pattern:
- Small enough to finish without a long crochet session
- Uses basic amigurumi stitches
- Easy to customize with different yarn colors
- Works well with both cotton and plush yarn
- Makes a cute handmade gift or decoration
- Can be added to a collection of crocheted sea animals
You can also experiment with the size by changing your yarn and hook. Just remember that your stitch tension will affect the final size and shape of the dolphin.
Skill Level
Beginner to Intermediate
This pattern is a good choice if you already know the basic amigurumi stitches and are comfortable crocheting in continuous rounds. You’ll need to know how to make a magic ring, single crochet, increases, and decreases.
The tail and fins require a little shaping, so beginners may want to take their time with these parts and check the photos as they work.
Finished Size
The finished dolphin is approximately 10–12 cm (4–5 inches) long.
The final size can vary depending on your yarn, hook size, and crochet tension. Using thicker yarn with a larger hook will make a larger dolphin, while thinner yarn and a smaller hook will result in a smaller one.
Materials Needed
- DK or Sport weight yarn
- 2.5–3.5 mm crochet hook, depending on your yarn
- Polyester fiberfill
- 6–8 mm safety eyes
- Yarn needle
- Scissors
- Stitch marker
Choosing Your Yarn and Hook
I recommend using a hook that gives you fairly tight stitches. This is important for amigurumi because loose stitches can leave small gaps where the stuffing may show through.
Cotton yarn gives the dolphin a neat and firm shape, while plush yarn creates a softer and slightly larger version. If you decide to use plush yarn, follow the hook recommendation on your yarn label and use a stitch marker to help keep track of your rounds.
If you are making the dolphin for a young child, consider embroidering the eyes instead of using safety eyes. Always make sure that any small parts are securely attached.
Abbreviations
This pattern uses standard US crochet terms.
- MR – Magic Ring
- sc – Single Crochet
- inc – Increase (2 sc in the same stitch)
- dec – Decrease (sc 2 stitches together)
- ch – Chain
- sl st – Slip Stitch
- hdc – Half Double Crochet
- dc – Double Crochet
- BLO – Back Loop Only
( ) – Repeat the instructions inside the parentheses as indicated.
× 6 – Repeat the sequence 6 times.
Number in parentheses – Total stitch count at the end of the round.
Free Dolphin Amigurumi Crochet Pattern
Body
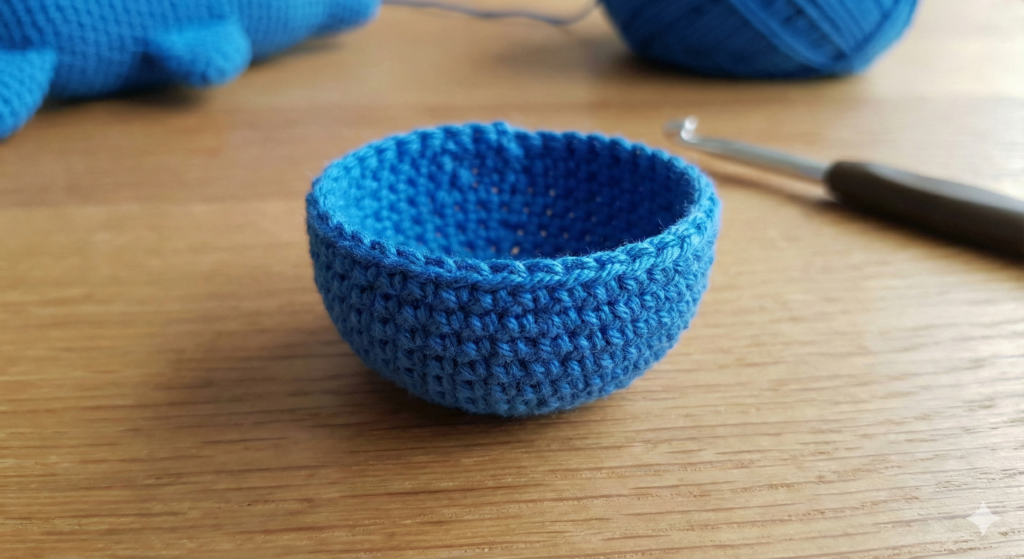
The dolphin’s body is crocheted in continuous rounds, so you do not need to join the rounds unless the pattern tells you to. Use a stitch marker to mark the beginning of each round.
Round 1: 6 sc in MR (6)
Round 2: inc around (12)
Round 3: (sc, inc) × 6 (18)
Round 4: (2 sc, inc) × 6 (24)
Rounds 5–8: sc around (24)
At the end of Round 8, you should have a small, rounded body. Before moving on, check that your stitches are even and that the shape looks symmetrical.
Do not fasten off. The yarn will be used to continue with the tail.
A Quick Shaping Check
At this stage, the body should be firm but not overly stretched. If you can see the stuffing through the stitches later on, try using a smaller hook or keeping your tension slightly tighter.
Tail
The dolphin’s tail is made from two small flukes worked from the end of the body. After completing Round 8, do not fasten off. Continue with the tail using the yarn already attached to the body.
First Fluke
Ch 5.
Starting in the second chain from the hook, work:
sc, hdc, dc, sc
Slip stitch back to the base of the chain to secure the first fluke to the body.
Second Fluke
Ch 5.
Starting in the second chain from the hook, work:
sc, hdc, dc, sc
Slip stitch back to the base of the chain to secure the second fluke.
Once both flukes are attached, gently spread them in opposite directions to create the shape of the dolphin’s tail.
Check the tail from both sides and adjust the position of the flukes if needed. Keep the stitches slightly flexible so the tail can be shaped naturally.
Do not continue crocheting the body from the tail itself. After completing the tail, return to the body and continue with Round 9 in BLO, as described in the next section.
Continue the Body
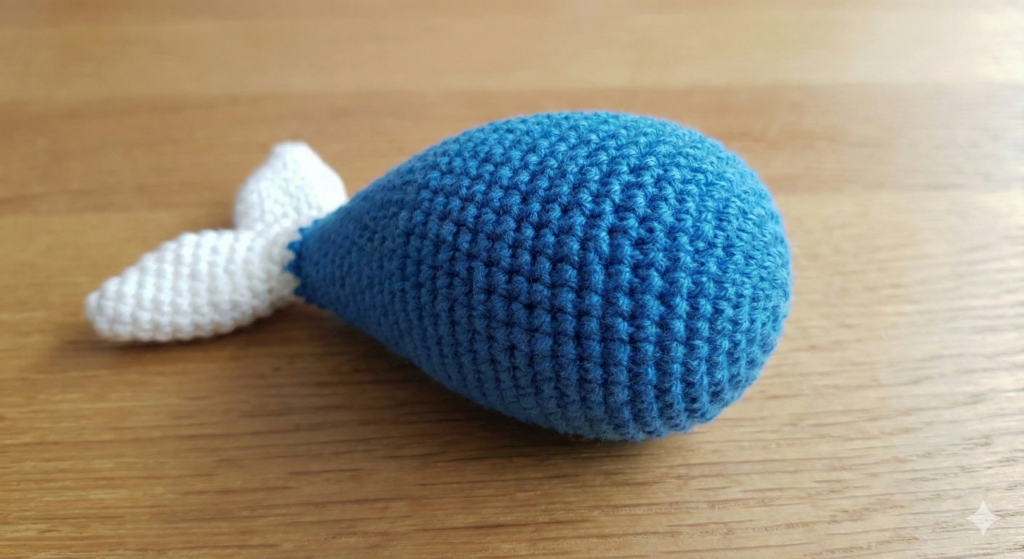
After finishing the tail, continue crocheting around the body. Keep your stitches neat and firm as you work.
Round 9: BLO – 24 sc (24)
Round 10: (2 sc, dec) × 6 (18)
Round 11: (sc, dec) × 6 (12)
Stuffing the Dolphin
Start adding the polyester fiberfill after Round 11.
Add the stuffing gradually rather than filling the entire body at once. Use a small amount at a time and gently push it into the rounded parts of the body.
The dolphin should feel firm and keep its shape, but avoid overstuffing it. Too much stuffing can stretch the stitches and make the surface uneven.
Once you are happy with the shape, continue with the final round.
Round 12: dec around (6)
Cut the yarn, leaving a long enough tail to close the opening. Using a yarn needle, weave the yarn through the front loops of the remaining stitches and pull gently until the opening closes.
Secure the yarn and hide the remaining end inside the body.
Shape Check
Before moving on to the fins, take a moment to look at your dolphin from the top, bottom, and sides. If one side looks fuller than the other, gently adjust the stuffing with your fingers.
Fins
The dolphin has two small fins, one on each side of the body. Take a moment to check their position before fastening the yarn, as placing them at the same height will help keep the dolphin symmetrical.
First Fin
Choose a position on one side of the body, slightly below the eye area.
Attach the yarn to the body and work:
ch 1, 5 sc, sl st
Fasten off and weave in the yarn end securely.
Second Fin
Repeat the same steps on the opposite side of the body.
Try to place the second fin at the same height and in a similar position to the first one. Look at the dolphin from the front and back before securing the yarn completely.
Tip: If the fins do not sit exactly the same, don’t worry. You can gently adjust their angle with your fingers before hiding the yarn ends.
Eyes Placement
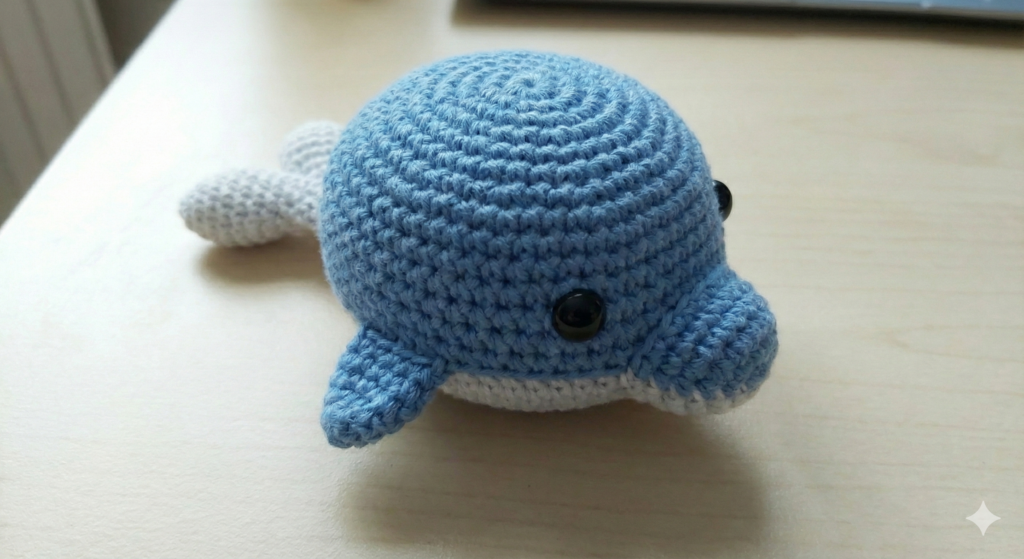
The eyes are placed on the sides of the dolphin’s head, slightly above the fins.
Before attaching the safety eyes, place them loosely and look at the dolphin from the front and both sides. This makes it easier to adjust their position before they are secured.
Try to keep both eyes at a similar height and leave roughly the same amount of space between each eye and its corresponding fin. Small differences in placement can change the expression of the finished dolphin, so take a moment to check the position before pushing the eyes into place.
If you are using safety eyes, press the backs securely into position.
Safety note: Safety eyes are small parts and are not suitable for babies or very young children. If the finished dolphin is intended for a young child, embroidered eyes are a safer option. Always make sure all facial details are securely attached.
Helpful Crochet Tips
A few small things can make a noticeable difference in the shape of your finished dolphin.
- Keep your stitches tight. Amigurumi looks neater when there are no large gaps between the stitches.
- Add stuffing gradually. Filling the body a little at a time makes it easier to control the shape.
- Check the shape as you go. Turn the dolphin in your hands occasionally and look at it from different angles.
- Take your time with the tail. The two flukes should spread naturally rather than being pulled tightly together.
- Check the fins before securing them. Place both fins first and compare their height and angle.
- Position the eyes before attaching them permanently. Even a small change can make the face look different.
- Use a stitch marker. This is especially helpful when working in continuous rounds.
- Don’t overstuff the body. Too much fiberfill can stretch the stitches and change the shape.
If you are using plush yarn, work slowly and feel for the stitches with your fingers if they are difficult to see. Keeping track of your stitch count is particularly helpful with fluffy yarn.
Ways to Use Your Dolphin Amigurumi
Once your little dolphin is finished, there are plenty of ways to enjoy it. Its small size makes it easy to display or include in a handmade gift.
You could use your finished dolphin as:
- A small handmade gift for someone who loves sea animals
- Ocean-themed nursery or room decor
- A shelf or desk decoration
- Part of a handmade sea-animal collection
- A cute addition to an ocean-themed gift basket
- A handmade item for a craft fair or market
You can also make several dolphins in different shades of blue, gray, or other colors and create your own little underwater collection.
If you enjoy making sea animals, this dolphin can be a fun starting point for adding other amigurumi creatures such as whales, turtles, fish, or octopuses.
Frequently Asked Questions (FAQ)
Can I use plush yarn for this dolphin?
Yes. Plush yarn can be used if you want a softer and larger dolphin. Keep your tension fairly tight and use a stitch marker, as it can be harder to see individual stitches with fluffy yarn.
Why can I see the stuffing through my stitches?
This usually means the stitches are too loose or the body has been stuffed too firmly. Try using a smaller hook or adding a little less stuffing.
How do I keep the fins even?
Before fastening the second fin, look at the dolphin from the front and back and compare its height and angle with the first fin. You can adjust the position before hiding the yarn ends.
Can I make the dolphin bigger or smaller?
Yes. The easiest way is to change the yarn weight and hook size. Keep in mind that changing the yarn will also affect the amount of stuffing you need and the final proportions.
Can I sell dolphins made from this pattern?
Yes. You may sell finished dolphins made from this tutorial. Credit to Amyliva Handmade is appreciated when sharing your finished work online.
Can I share the written pattern?
Please do not copy, translate, redistribute, or resell the written tutorial. If you would like to share it with someone, please share the original Amyliva Handmade tutorial page instead.
Usage Conditions & Copyright Notice
This crochet tutorial is provided for personal use and enjoyment.
You are welcome to sell finished items made from this tutorial. If you share your finished dolphin online, credit to Amyliva Handmade is appreciated.
Please do not copy, reproduce, translate, redistribute, or resell this written tutorial or publish it as your own. If you would like to share this pattern with someone, please share the original Amyliva Handmade page rather than copying the instructions.
Thank you for respecting the time and work that goes into creating and sharing original crochet patterns.
© Amyliva Handmade. All rights reserved.


Yorum gönder