How to Crochet a Cute Alpaca Amigurumi – Step-by-Step Handmade Toy Tutorial
by AmyLiva Handmade
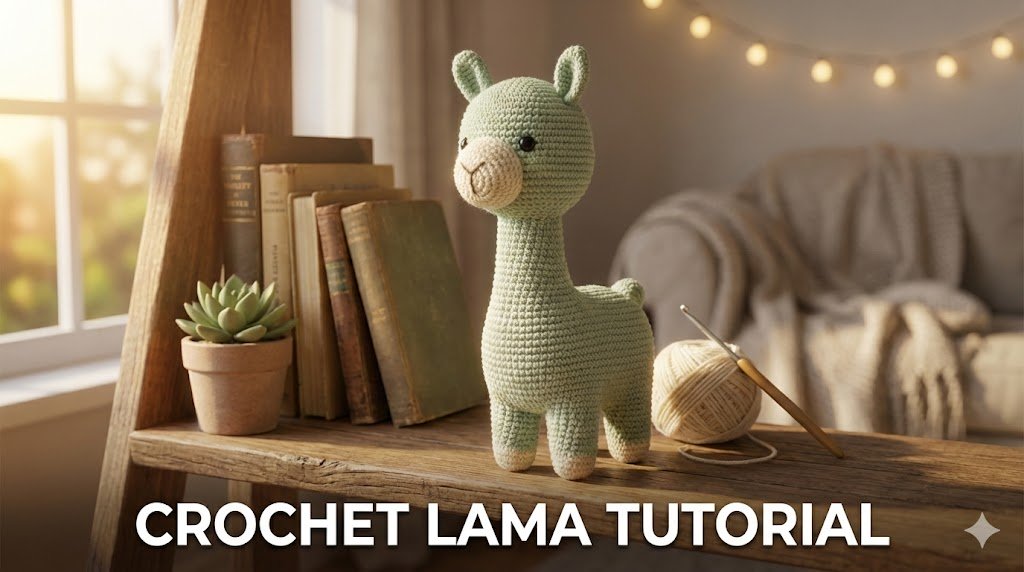
Crochet alpacas are such fun little amigurumi projects. With their simple shape, small ears, and cute face, they make lovely handmade decorations or gifts.
In this tutorial, you’ll find the materials, crochet abbreviations, step-by-step crochet pattern, and assembly instructions for making a small alpaca amigurumi.
The pattern uses basic amigurumi techniques such as single crochet, increases, decreases, and simple shaping. If you have made a few small amigurumi projects before, you should be able to follow the pattern comfortably.
📏 Finished Size of the Alpaca Amigurumi
The finished alpaca measures approximately 15–18 cm (6–7 inches) tall.
The final size may vary depending on the yarn weight, crochet hook, and your individual crochet tension.
🧵 Skill Level
Beginner to Intermediate
This pattern uses basic amigurumi techniques, including the magic ring, single crochet, increases, decreases, and simple shaping.
If you have made a few small amigurumi projects before, you should be able to follow the pattern comfortably.
🧶 Materials & Supplies
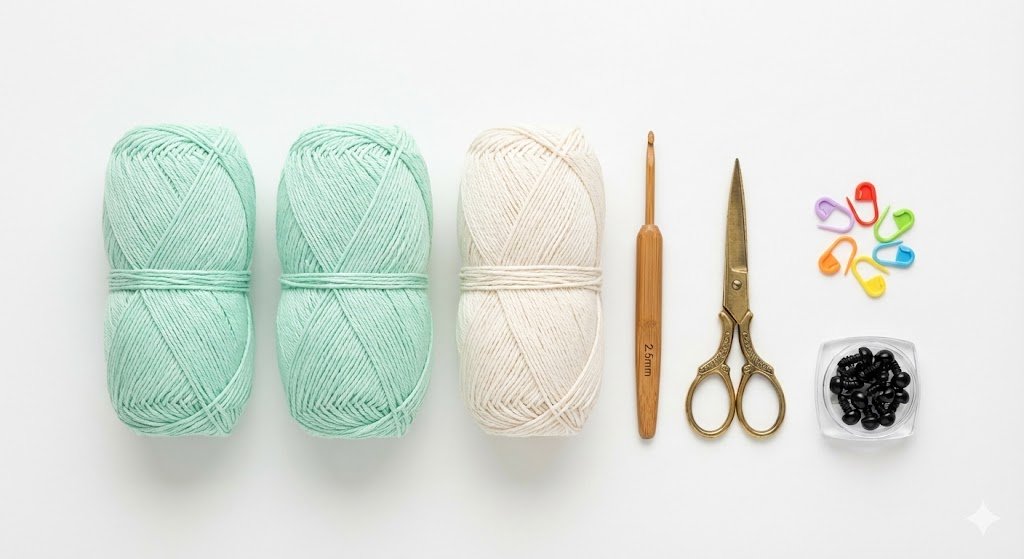
Yarn
- DK or Sport weight yarn in your chosen main color
- A small amount of white yarn for the details
Tools
- Crochet hook: 2.5–3.0 mm
- Stitch marker
- Yarn needle
- Scissors
Additional Supplies
- Polyester fiberfill stuffing
- 6–8 mm safety eyes or black embroidery thread
- Optional blush for the cheeks
📖 Crochet Abbreviations (US Terms)
- MR: Magic Ring
- sc: Single Crochet
- inc: Increase
- dec: Decrease
- ch: Chain
- sl st: Slip Stitch
- ( ) × n: Repeat the instructions inside the brackets the specified number of times
🦙 Alpaca Amigurumi Crochet Instructions
Main Body & Neck
R1: MR 6 sc
R2: 6 sc (6)
R3: (sc, inc) × 3 (9)
R4: (sc, inc, sc) × 3 (12)
R5–R10: 12 sc in each round (12)
R11: (sc, inc, sc) × 6 (18)
R12–R21: 18 sc
Head Shaping
R22: Ch 8. Starting in the 2nd chain from the hook, work 6 sc across the chain, then continue around the body with 18 sc, and work 6 sc along the opposite side of the chain. (30)
R23: (6 sc, 1 inc) × 4, 2 sc. (34)
R24: (7 sc, 1 inc) × 4, 2 sc. (38)
R25: (8 sc, 1 inc) × 4, 2 sc. (42)
Upper Body
R26–R30: 42 sc in each round (42)
Closing the Body
R31: (5 sc, 1 dec) × 6 (36)
R32: (4 sc, 1 dec) × 6 (30)
R33: (3 sc, 1 dec) × 6 (24)
R34: (2 sc, 1 dec) × 6 (18)
R35: (1 sc, 1 dec) × 6 (12)
R36: 6 dec (6)
Stuff the body firmly before closing. Fasten off, leaving a long yarn tail. Thread the yarn through the front loops of the remaining 6 stitches, pull tight to close, and weave in the end securely.
🦵 Legs (Make 4)
R1: MR, crochet 10 sc
R2: 10 sc
R3: 5 dec
Lightly stuff each leg, then fasten off and leave a small tail for sewing. Attach the four legs evenly to the bottom of the body.
👂 Ears (Make 2)
R1: MR 6 sc
R2: (inc, sc) × 3 (9 sc)
Flatten the ears slightly and sew them to the sides of the head, making sure they are evenly positioned.
🐾 Tail
- Chain 4
- Insert hook into 2nd chain from hook
- sc, sc, sl st
Fasten off, leaving a short yarn tail for sewing. Attach the tail to the back of the body.
✨ Assembly & Finishing Touches
- Sew the four legs evenly around the bottom of the body. Position them so the alpaca sits upright and the body remains balanced on a flat surface.
- Sew the ears symmetrically to the sides of the head, adjusting their position slightly before securing them in place.
- Insert the 6–8 mm safety eyes into the head before closing the final opening. Position them evenly on both sides of the face, checking that they are symmetrical before securing the backs.
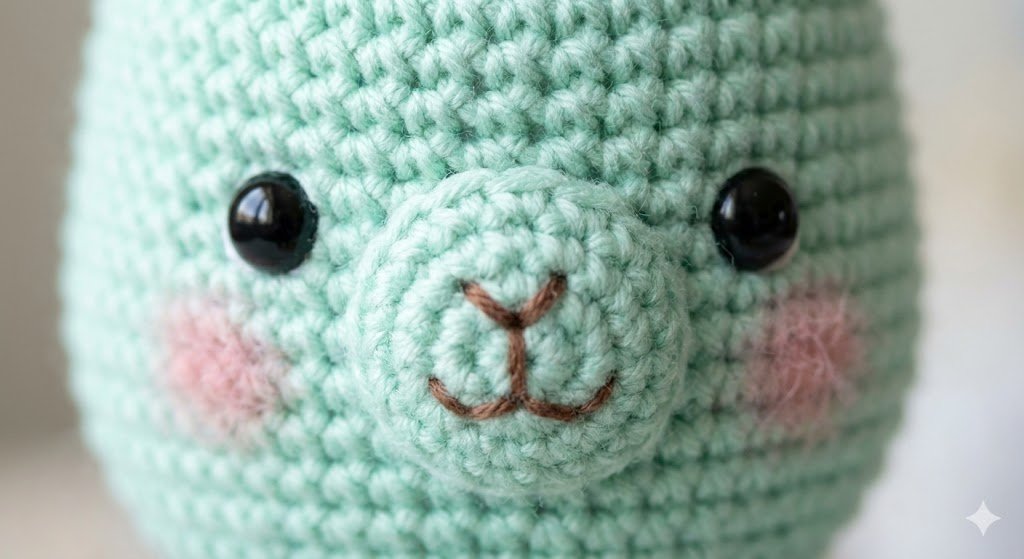
- Embroider a small nose and a simple curved mouth with black embroidery thread. Keep the stitches small and secure the ends inside the head.
- For a soft touch of color, lightly add a small amount of blush to the cheeks. This step is optional.
⚠️ Safety & Usage Notice
This crochet alpaca contains small parts, including safety eyes, that may pose a choking hazard.
It is not intended for children under 3 years of age. If given to a young child, adult supervision is recommended.
📌 Crochet Care Instructions
- Hand wash gently
- Use cold water
- Lay flat to dry
- Do not machine wash
🌱 Sustainability Note
Crocheting your own toys is a simple way to create something personal by hand. Each alpaca can be made in different colors and with small details to give it its own character.
❓ Frequently Asked Questions (FAQ)
Is this alpaca pattern beginner-friendly?
Yes. The pattern uses basic amigurumi techniques such as single crochet, increases, decreases, and simple shaping. Some experience with working in rounds will make it easier to follow.
Can I sell finished items?
Yes, you can sell finished handmade items made from this pattern on a small scale.
Please do not resell, copy, or redistribute the written pattern itself.
Can I change colors?
Absolutely. You can use pastel shades, neutral colors, or any combination you like. Changing the colors is an easy way to give your alpaca a different look.
Can I resize the alpaca?
Yes. You can change the finished size by using a different yarn weight and crochet hook.
For a larger alpaca, use thicker yarn with a suitable larger hook. For a smaller version, use finer yarn and a smaller hook.
Keep in mind that changing the yarn and hook size will also affect the amount of yarn needed and the final proportions.
Final Thoughts
This little alpaca is a simple project that combines basic crochet techniques with a cute handmade design.
Try different colors or small details to give your alpaca its own personality. Whether you make it as a gift or keep it as a decoration, I hope you enjoy making it.
Happy crocheting!

Yorum gönder