Mini Dumpling Bag Crochet Pattern – Free Bao Bag Drawstring Pouch Tutorial for Beginners
Introduction
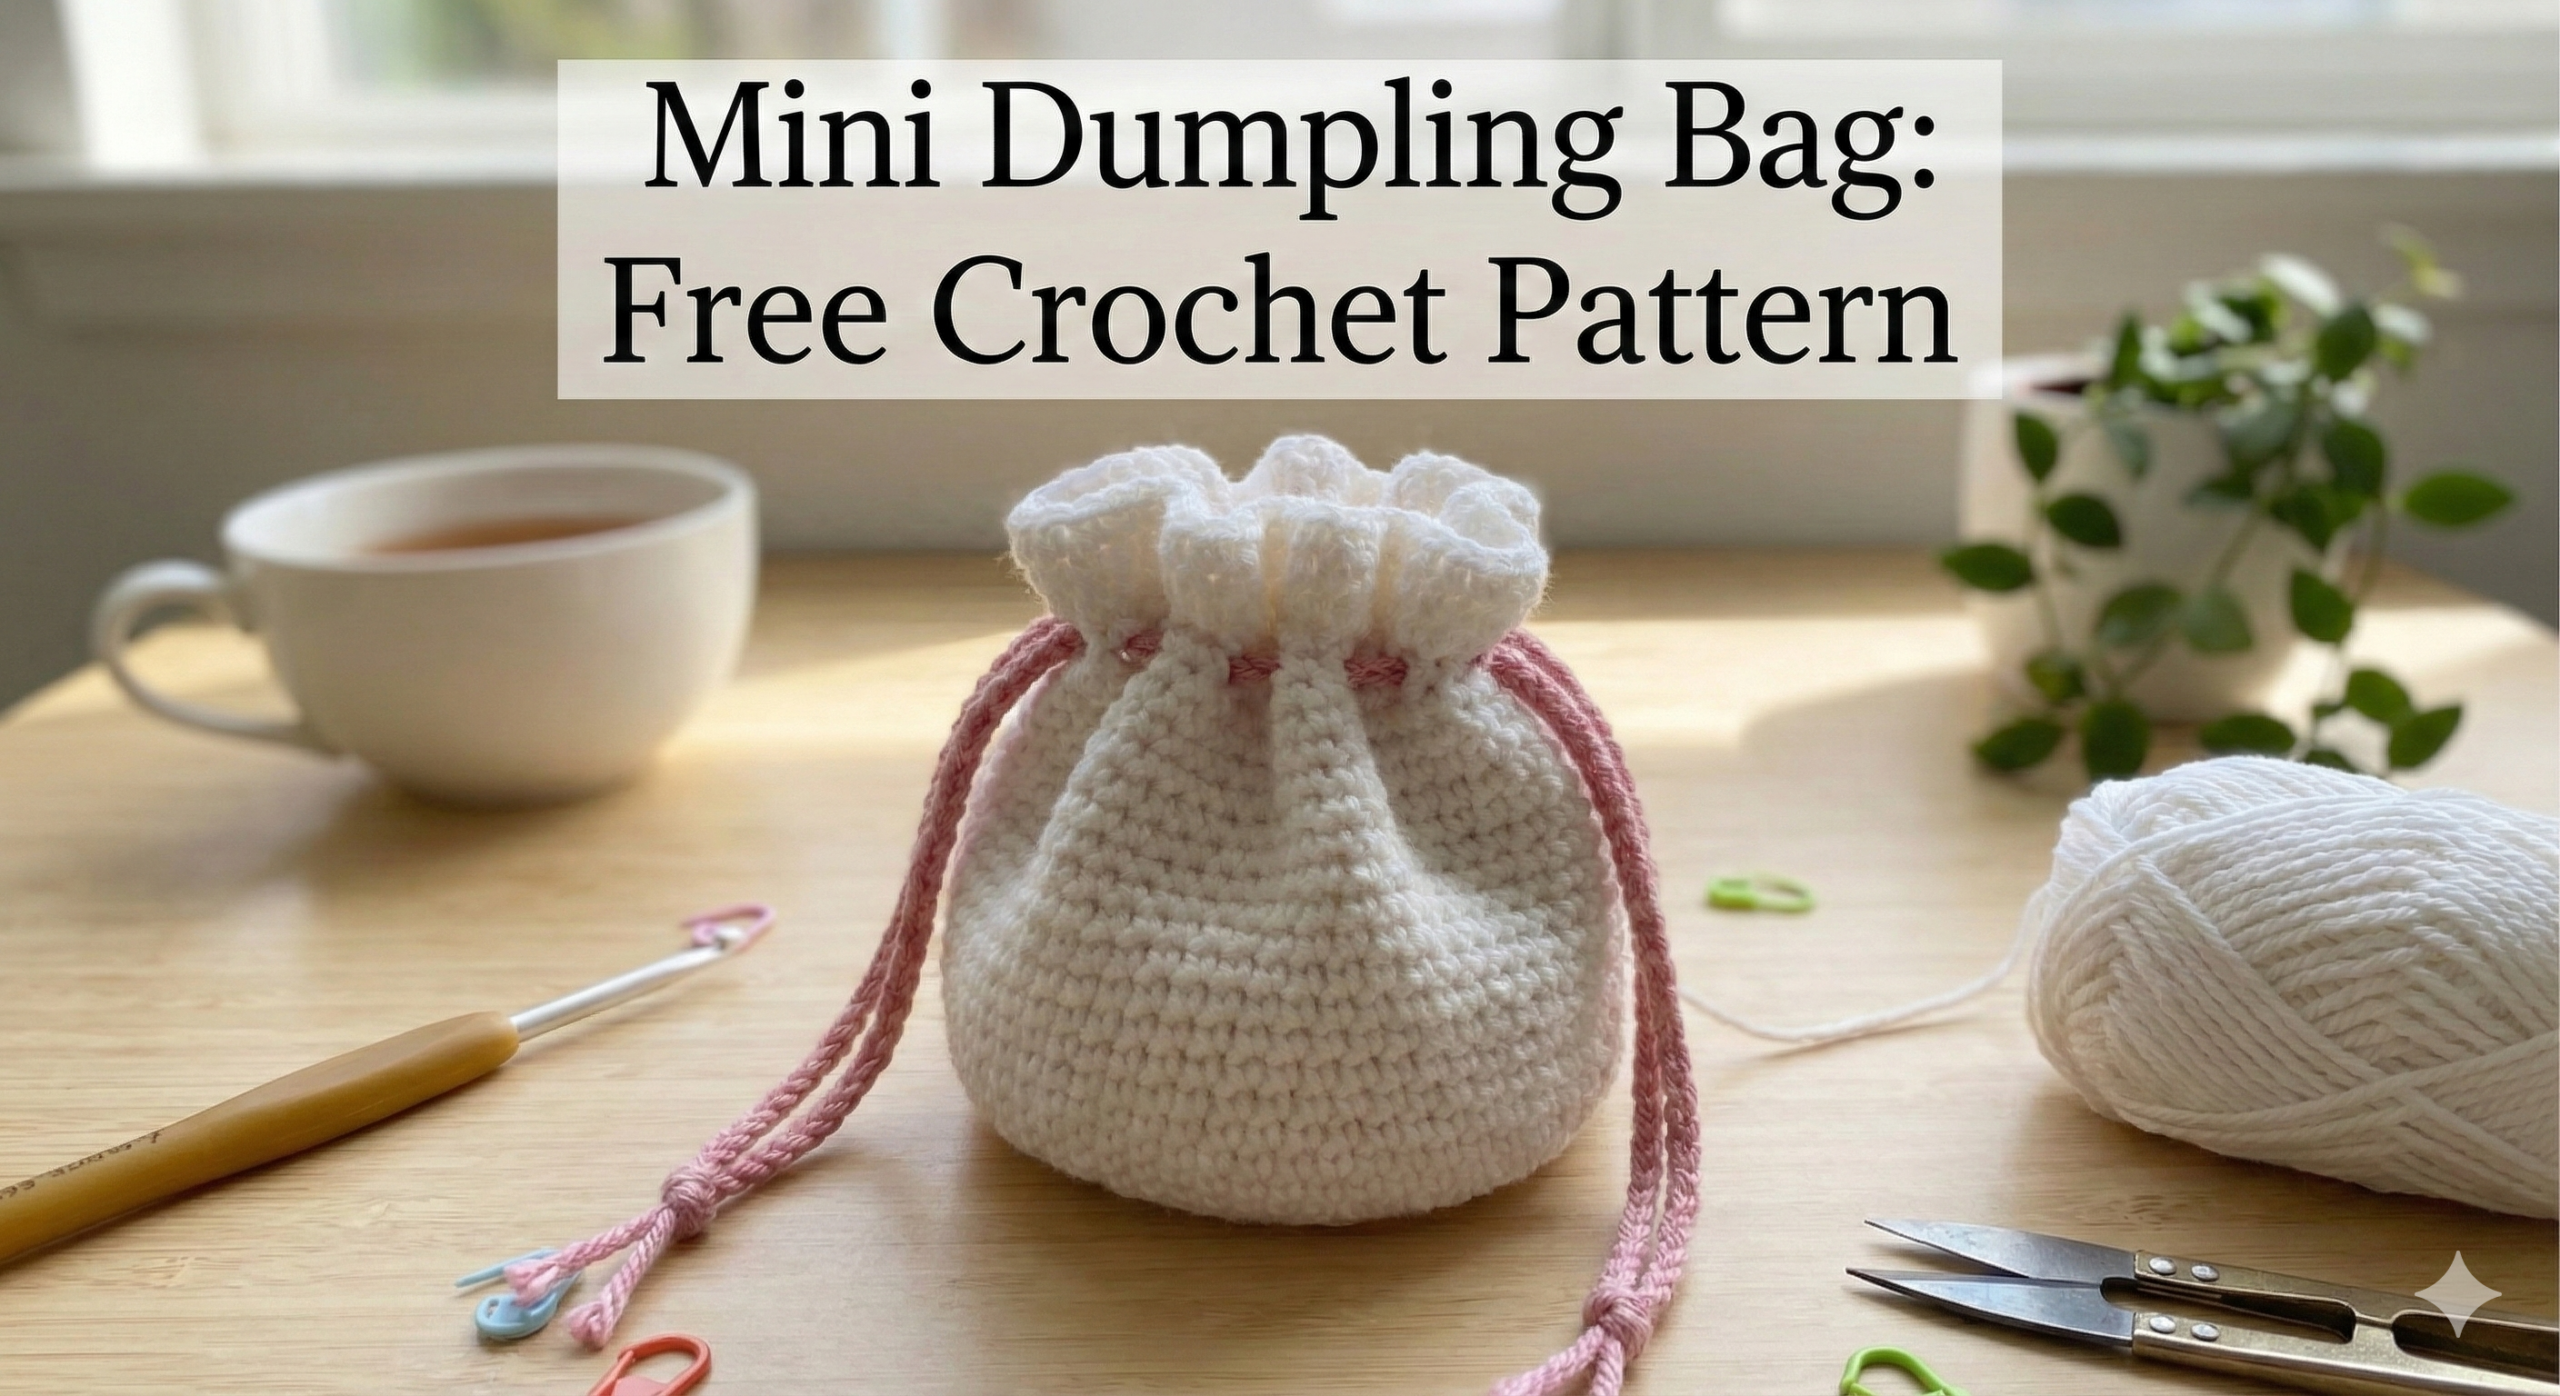
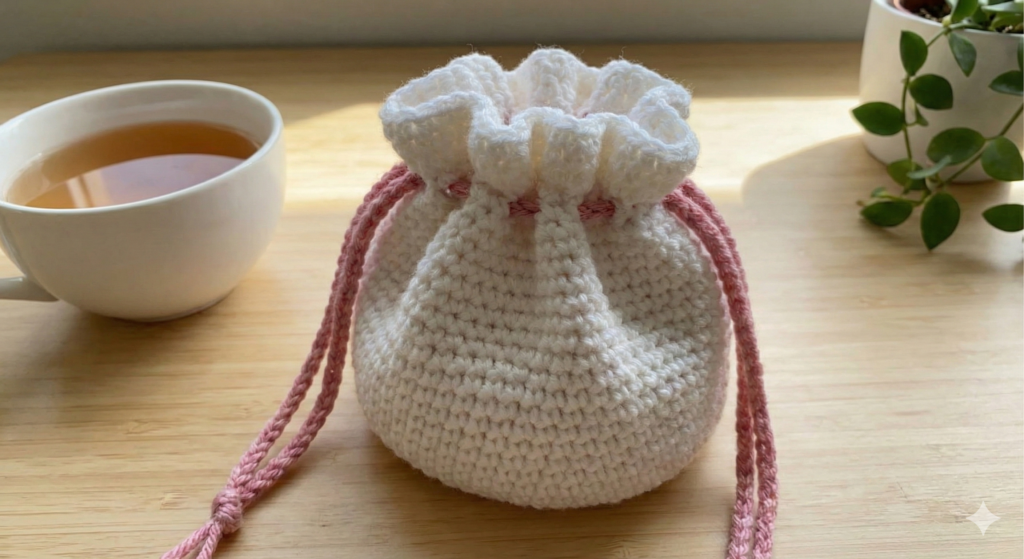
If you love small crochet projects that are both practical and cute, this mini dumpling bag is a fun project to add to your crochet list.
Inspired by the soft, gathered shape of traditional dumpling and bao-style pouches, this little drawstring bag is compact, useful, and easy to customize with your favorite yarn colors.
The pattern is suitable for confident beginners who are comfortable with single crochet, increases, working in continuous rounds, and basic crochet construction.
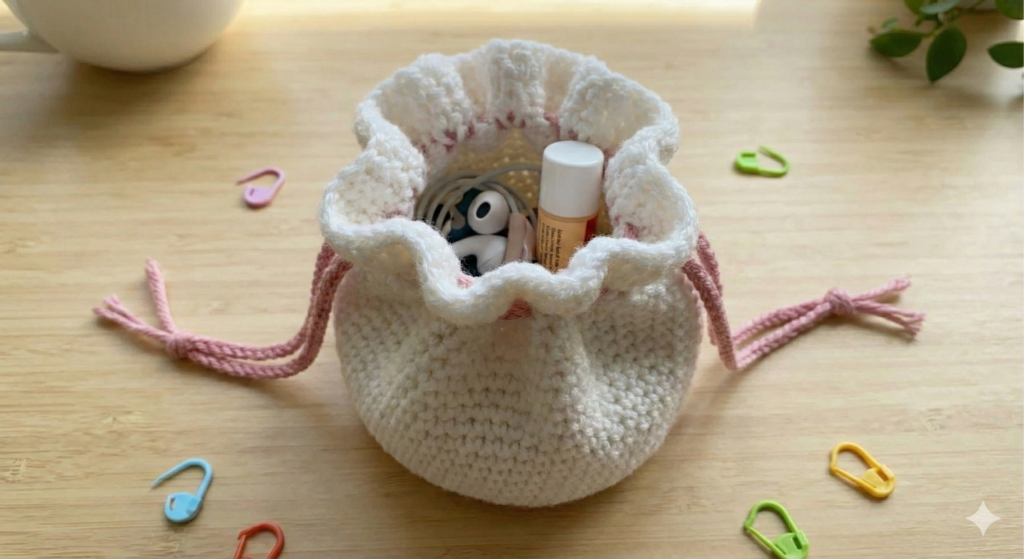
The finished pouch is a handy size for small everyday items such as lip balm, keys, coins, jewelry, or earbuds. It can also make a thoughtful handmade gift or a cute little gift pouch.
In this tutorial, you’ll learn how to crochet the rounded base, create the drawstring openings, add the ruffled top, and finish the bag with two simple drawstrings.
Note: This post may contain affiliate links. If you make a purchase through these links, I may earn a small commission at no extra cost to you.
Why You’ll Love Making This Mini Dumpling Bag
This small crochet pouch is a great project when you want to make something useful without committing to a large project.
- Uses a small amount of yarn
- Works well with cotton yarn
- Quick enough to finish in an afternoon
- Helps you practice working in continuous rounds
- Includes a simple drawstring closure
- The ruffled top adds a cute finishing detail
- Easy to customize with different colors and yarn weights
- Makes a practical handmade gift
You can use the finished pouch for small everyday items or make several in different colors for gifts and handmade markets.
Materials and Tools Needed
Yarn
- Sport weight (Category 2) or DK weight (Category 3) cotton yarn
- A small amount is enough for one mini bag
Cotton yarn is recommended because it provides good stitch definition and helps the pouch keep its shape. Mercerized cotton can also give the finished bag a subtle sheen.
Crochet Hook
- 3.0 mm hook for Sport weight yarn
- 4.0 mm hook for DK weight yarn
Choose a hook size that creates a firm fabric without making the stitches difficult to work.
Other Supplies
- Stitch marker
- Tapestry needle
- Scissors
- Optional: small beads for the ends of the drawstrings
💡 Tip: If your stitches look loose or the fabric feels too stretchy, try a smaller hook.
Pattern Notes and Abbreviations
Before starting, keep these notes in mind:
- This pattern uses US crochet terminology.
- The bag is worked in continuous rounds. Do not join rounds unless instructed.
- Use a stitch marker to identify the first stitch of each round.
- Gauge is not critical for this small project, but your stitches should be firm enough to create a stable fabric.
- The finished size may vary depending on your yarn, hook size, and crochet tension.
Abbreviations
- MR – Magic Ring
- sc – Single Crochet
- inc – Increase (2 sc in the same stitch)
- FLO – Front Loop Only
- ch – Chain
- sk – Skip
- st(s) – Stitch(es)
- x 6 – Repeat the instructions 6 times
The Mini Dumpling Bag Crochet Pattern
Part 1: Base and Body
The bag begins at the bottom center. The first rounds increase evenly to create a flat circular base, then the sides are worked without increases to form the body.
R1:
MR, 6 sc. Pull the ring closed. (6 sts)
Place a stitch marker in the first stitch of the next round.
R2:
6 inc. (12 sts)
R3:
[1 sc, inc] × 6. (18 sts)
R4:
[2 sc, inc] × 6. (24 sts)
R5:
[3 sc, inc] × 6. (30 sts)
R6:
[4 sc, inc] × 6. (36 sts)
R7:
[5 sc, inc] × 6. (42 sts)
R8:
[6 sc, inc] × 6. (48 sts)
R9:
[7 sc, inc] × 6. (54 sts)
R10:
[8 sc, inc] × 6. (60 sts)
Your base should now form a flat circle.
R11–R24:
sc in each stitch around. (60 sts per round)
At this point, the sides of the bag should have formed a small pouch shape.
💡 Customization Tip:
For a taller bag, add a few more rounds of sc before starting the drawstring holes. For a shorter pouch, work fewer rounds.
Part 2: Drawstring Holes and Ruffle Top
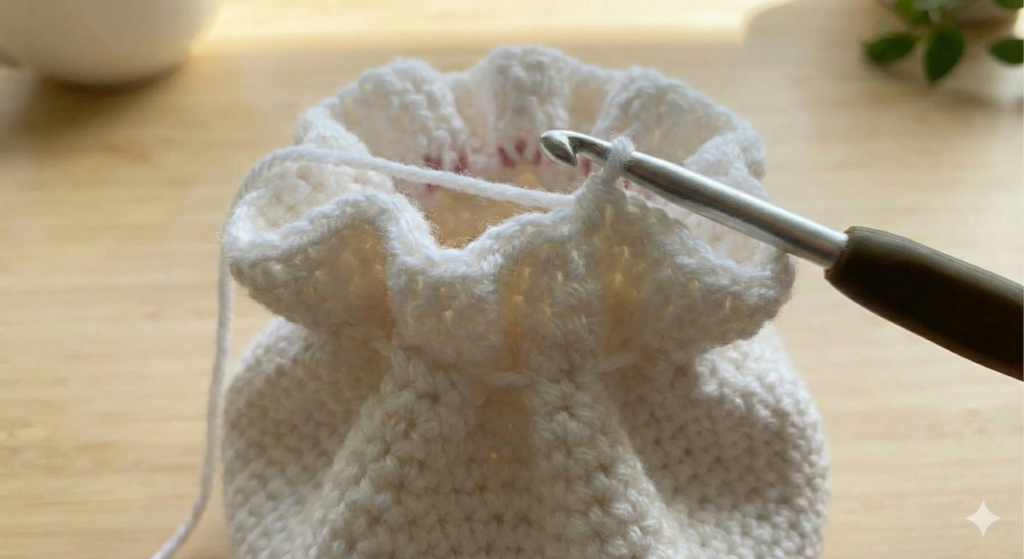
This section creates the openings for the drawstring and adds the gathered, ruffled edge that gives the pouch its characteristic dumpling shape.
R25 – Drawstring Holes
Repeat the following sequence around the entire round:
2 sc, ch 2, sk 2 sts
Repeat 15 times.
At the end of the round, you will have 30 sc and 15 ch-2 spaces.
The ch-2 spaces create the openings for the drawstrings.
R26 – Ruffle (FLO)
Working in the front loop only, work 2 sc in each stitch around, including the stitches worked into the ch-2 spaces from Round 25. (90 sts)
R27
Work 1 sc in each stitch around, working through both loops.
Fasten off and leave a yarn tail for weaving in. Weave in all ends securely on the inside of the pouch.
💡 Tip: If you want a more pronounced ruffle, gently shape the top edge with your fingers after completing the final round.
Part 3: Drawstrings and Assembly
1. Make the Drawstrings
Using the same yarn or a contrasting color:
- Chain approximately 90 chains for each drawstring
- Make two drawstrings of similar length.
- Fasten off and secure the ends.
- If desired, add a small bead to each end.
2. Thread the Drawstrings
Lay the pouch flat with the drawstring openings facing you.
Thread the first drawstring through the ch-2 spaces from Round 25, passing through each opening around the pouch.
Thread the second drawstring through the same row of openings, starting from the opposite side.
The two drawstrings should pass through the openings in opposite directions, allowing the top of the pouch to gather evenly when you pull the ends.
3. Finish the Bag
Pull the two drawstrings gently to gather the top of the pouch.
Adjust the gathers evenly around the opening. Tie the ends securely or add beads to help prevent the drawstrings from slipping back through the openings.
Trim any excess yarn if necessary.
💡 Tip: Before trimming the drawstrings, open and close the pouch several times to make sure the drawstrings move smoothly and the pouch closes comfortably.
Customization Ideas
There are several easy ways to personalize your mini dumpling bag.
Two-Tone Bao Bag
Change yarn color before starting Round 25 to create a contrasting ruffle and drawstring area.
Striped Version
Change colors every few rounds to create simple horizontal stripes.
Smaller Pouch
Stop the base increases earlier, such as after Round 8, then continue with several rounds of sc before adding the drawstring holes.
Taller Pouch
Work additional rounds of sc after Round 24 before beginning the drawstring holes.
Different Yarn Types
Try cotton for a structured pouch or a soft yarn for a more relaxed, cozy look. Keep in mind that changing yarn weight will also change the finished size.
💡 Tip: If you change the size of the base, adjust the number of stitches and drawstring openings so they are spaced evenly around the pouch.
Frequently Asked Questions
Why is my crochet bag base curling?
If your base is curling instead of lying flat, your tension may be too tight or the increases may not be evenly distributed. Try using a slightly larger hook and check that you have the correct stitch count at the end of each round.
Can I add a fabric lining?
Yes. A lightweight cotton lining can make the pouch more durable and help prevent small items from slipping through the stitches.
Can I use a different yarn weight?
Yes. You can experiment with different yarn weights, but keep in mind that the finished size and shape will change. Adjust your hook size accordingly.
How long should the drawstrings be?
The pattern uses approximately 90 chains for each drawstring. You can make them slightly longer or shorter depending on how much length you prefer for tying and opening the pouch.
How should I wash the finished bag?
For cotton yarn, gentle hand washing in cool or lukewarm water is recommended. Reshape the pouch and lay it flat to dry.
Can I sell finished bags made from this pattern?
Yes. You may sell finished items made from this pattern on a small scale. Credit to Amyliva Handmade is appreciated when sharing or selling your finished work.
Copyright Notice and Terms of Use
This crochet pattern is provided for personal use and enjoyment.
You may:
- Make this crochet bag for yourself or as a gift.
- Sell finished bags made from this pattern on a small scale.
- Share photos of your finished projects and tag Amyliva Handmade.
Please do not:
- Copy, reproduce, or redistribute the written pattern.
- Sell or claim the pattern as your own.
- Translate or republish the pattern on another website.
If you would like to share this pattern with someone else, please share the original Amyliva Handmade page rather than copying the instructions.
© Amyliva Handmade. All rights reserved.
Thank you for supporting Amyliva Handmade and independent crochet designers. 🧶💛


Yorum gönder