Step by Step Amigurumi
amigurumi, amigurumi crochet tutorial, amigurumi horse keychain crochet pattern, amigurumi horse pattern, Amigurumi Ideas, amigurumi keychain tutorial, AmyLiva Handmade, beginner crochet pattern, crochet accessories, crochet animal keychain, crochet horse keychain, crochet keychain pattern, cute crochet horse, DIY amigurumi, free amigurumi pattern, free crochet pattern, handmade crochet keychain, handmade keychain, HandmadeWithLove, kawaii crochet, small crochet projects, soft baby doll, storytelling amigurumi
admin
1 Yorumlar
Amigurumi Horse Keychain Crochet Pattern – Cute & Easy Step-by-Step Tutorial
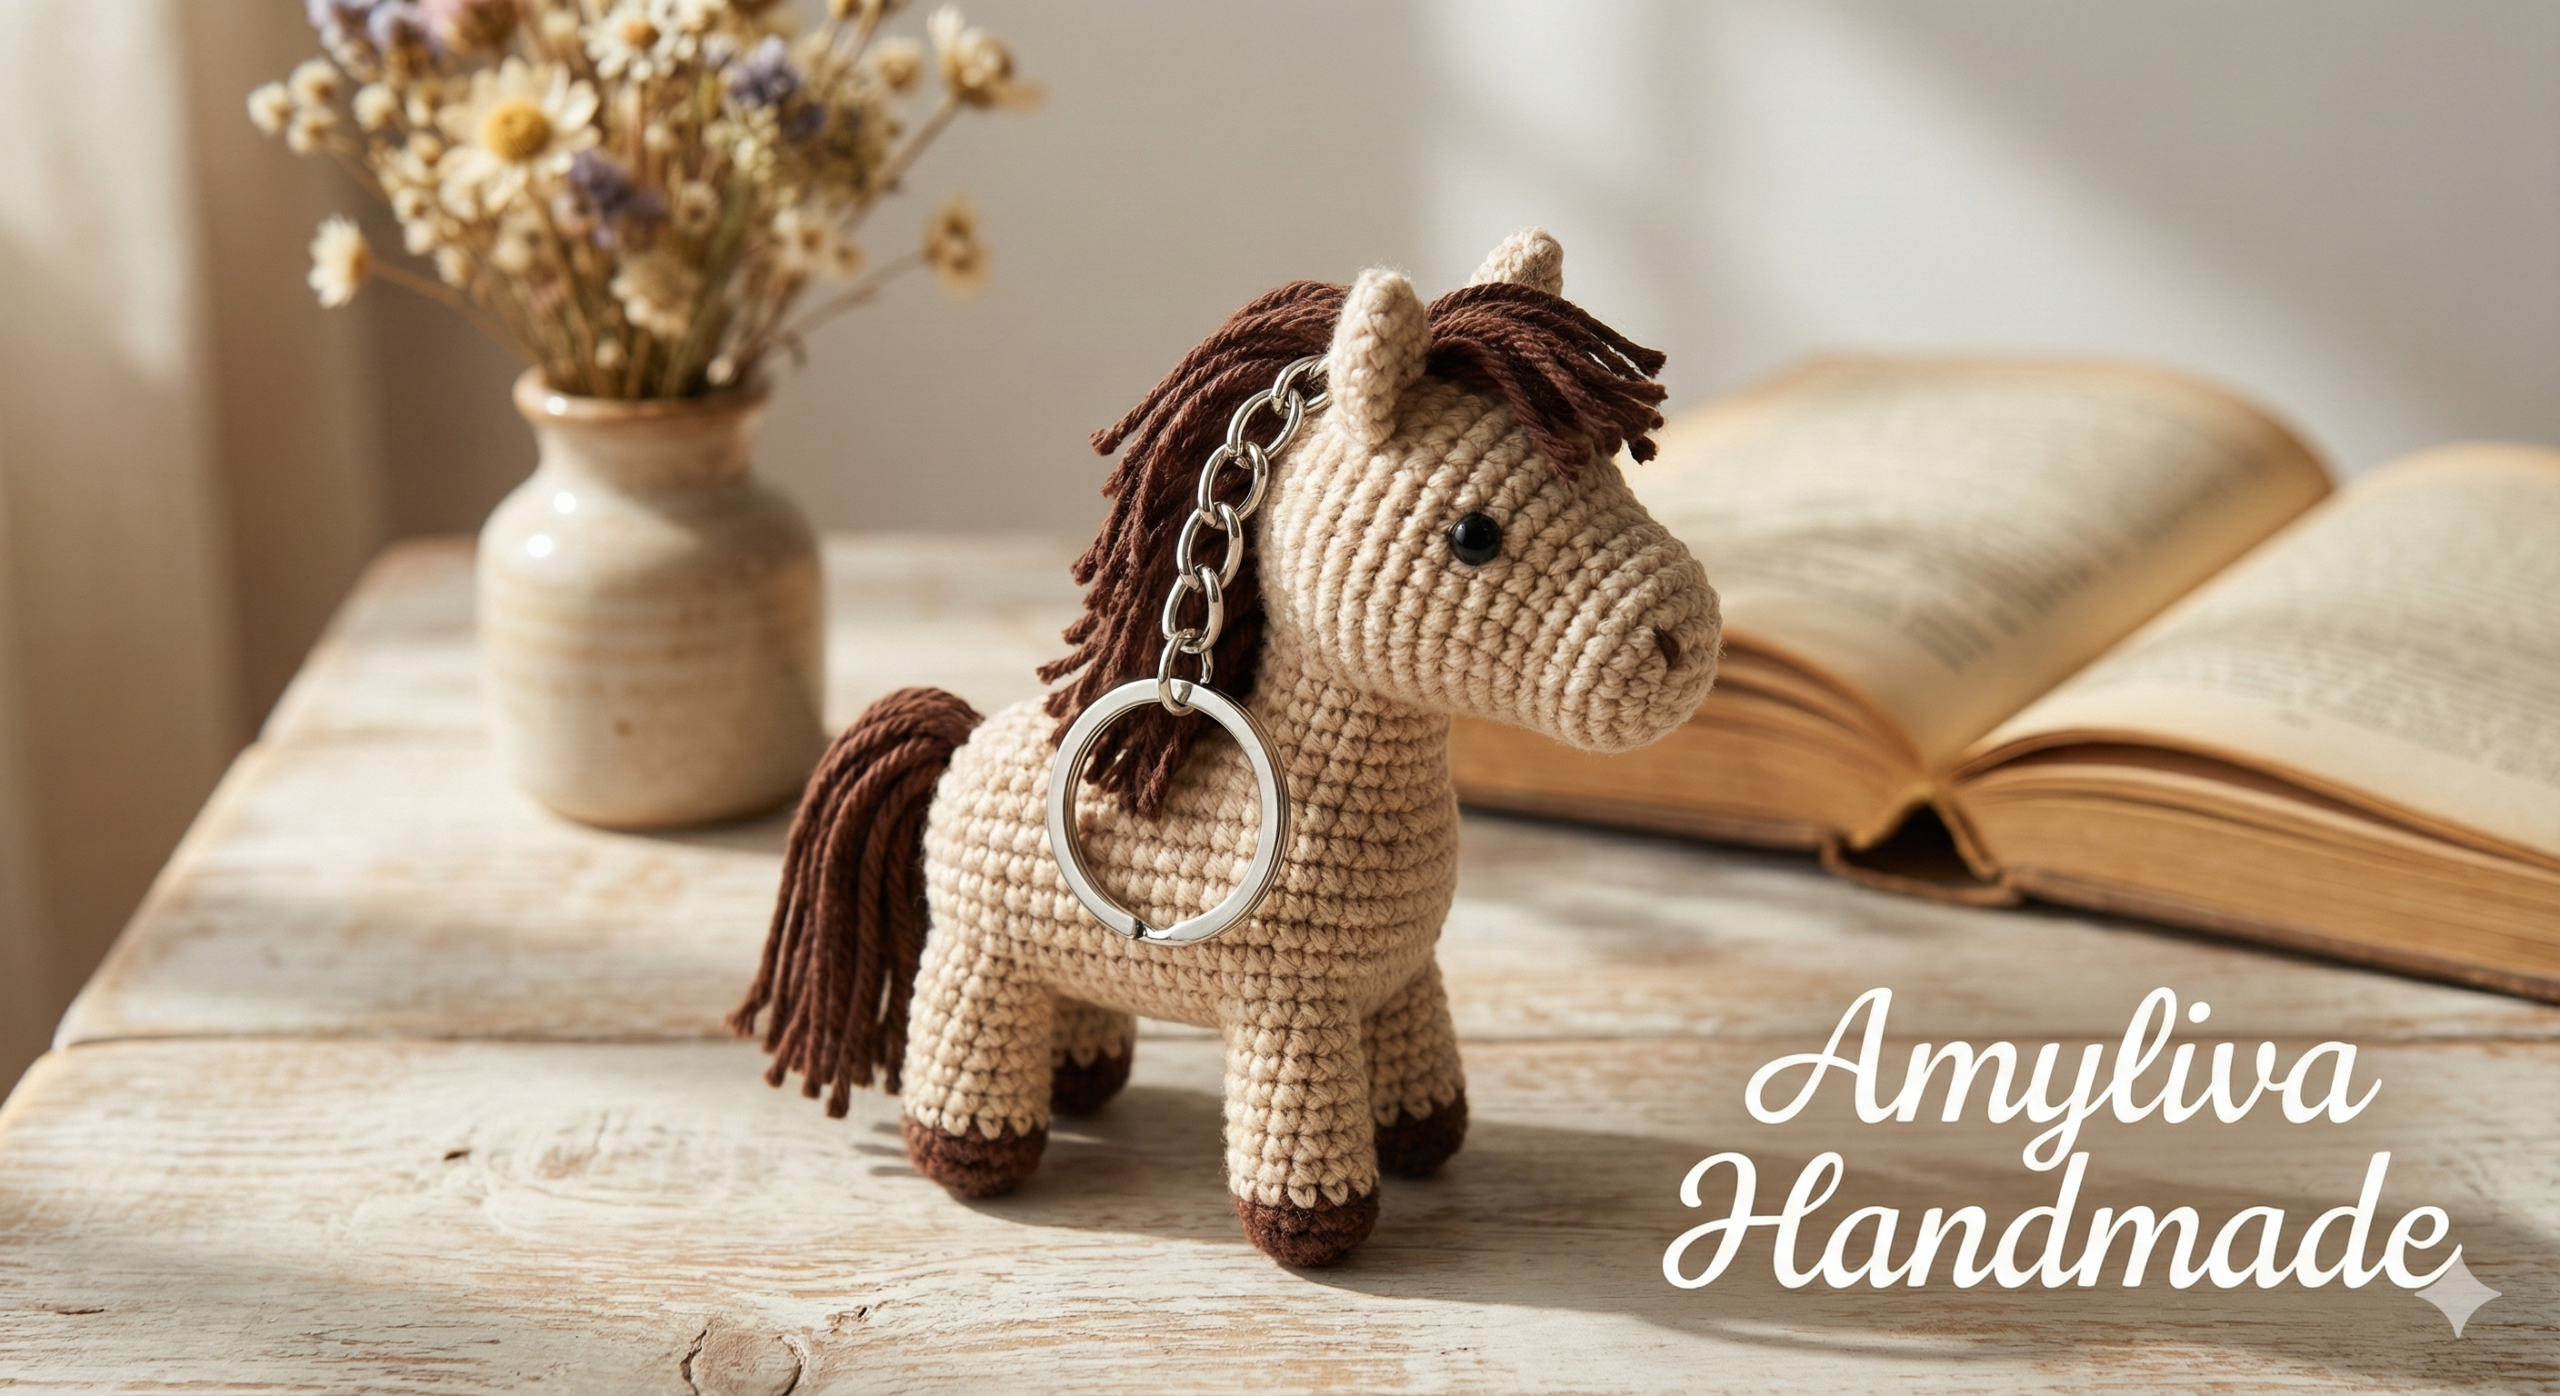

Creating small crochet accessories is one of the most satisfying parts of amigurumi. An amigurumi horse keychain is a perfect project: cute, practical, and beginner-friendly. In this detailed guide, you will learn the full step-by-step technique to crochet a horse-shaped amigurumi keychain using simple stitches and clear construction logic.
This tutorial is written for crochet lovers who want a complete handmade project, from shaping the legs to assembling the body and adding finishing details.
Why Make an Amigurumi Horse Keychain?
Amigurumi keychains are popular because they:
- Work up quickly
- Use small amounts of yarn
- Are ideal for gifts and selling
- Are easy to carry and display
The horse design adds charm and symbolic meaning, representing strength, freedom, and positivity.
Skill Level
Beginner to Intermediate
You should be familiar with:
- Single crochet (sc)
- Increase (inc)
- Decrease (dec)
- Chain stitch (ch)
- Slip stitch (slst)
Materials Needed
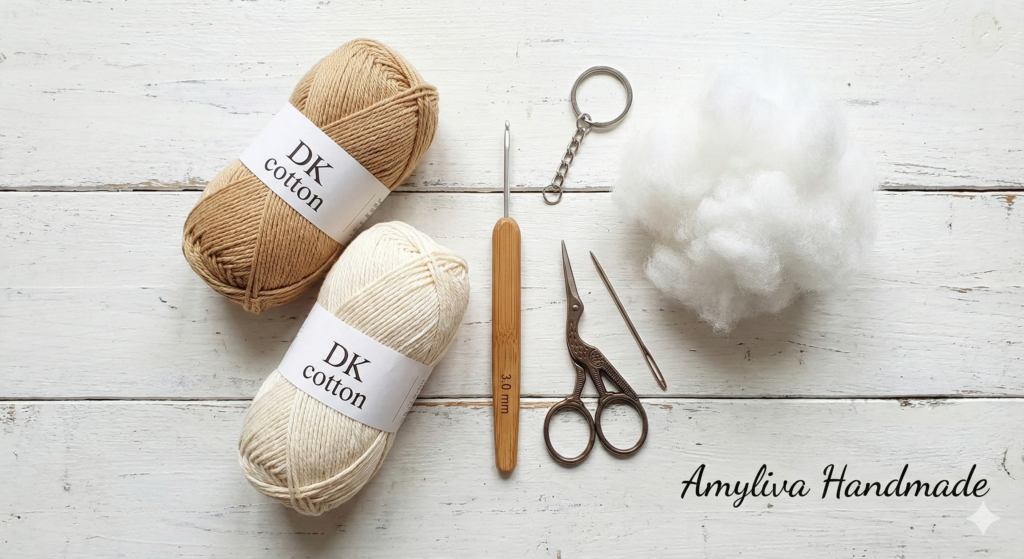
- Yarn: DK or sport weight cotton or cotton-blend yarn
- Crochet hook: 2.5–3.0 mm
- Fiberfill stuffing
- Yarn needle
- Stitch marker
- Scissors
- Safety eyes (optional) or embroidery thread
- Keychain ring with chain
Crochet Abbreviations (US Terms)
- ch – chain
- sc – single crochet
- inc – increase
- dec – decrease
- slst – slip stitch
- MR – magic ring
- ( ) – stitch count
Crochet Technique Overview
This horse keychain is made using turned rows, not continuous rounds.
After each row, work one turning chain, which does not count as a stitch.
👉 You will crochet two identical flat horse pieces, then join them together to create a slightly padded amigurumi keychain.
Step 1: Crochet the Legs
Row 1
Chain 5. (5)
Row 2
Turn. Starting in the second chain from the hook:
3 sc, increase in the last chain. (5)
Rows 3–4
Turn. Crochet 5 sc across each row. (5)
✔️ This forms one leg.
Repeat the same steps to make the second identical leg.
Step 2: Joining the Legs & Starting the Body
Now we connect both legs to shape the body.
Row 5
Crochet 4 sc, inc on the first leg.
Chain 6 to join the second leg.
Increase at the beginning of the second leg, then crochet 4 sc. (18)
Rows 6–11
Crochet 18 sc evenly across each row. (18)
This section forms the main body of the horse.
Step 3: Shaping the Body
Row 12
16 sc, dec. (17)
Row 13
Dec, 13 sc, dec. (16)
Row 14
6 sc, dec. (7)
At this point, the body begins to narrow toward the neck area.
Step 4: Crocheting the Head
Row 15
Dec, 5 sc, inc, chain 6. (14)
Row 16
Working along the chains:
5 sc, inc, 5 sc, dec. (13)
Row 17
Dec, 5 sc, inc, 5 sc. (13)
Row 18
5 sc, inc, 5 sc, dec. (13)
Row 19
Dec, 5 sc, inc, 5 sc. (13)
Row 20
6 sc, inc, 4 sc, dec. (13)
This repeated shaping creates a rounded horse head and snout.
Step 5: Crochet the Ears
Row 21
Dec, 4 sc, inc. (7)
Row 22
Dec, 2 sc, dec. (4)
Row 23
Dec twice. (2)
Fasten off and weave in ends.
Step 6: Make the Second Piece

Repeat all steps from beginning to end to crochet the second identical horse piece.
You should now have:
- Two flat horse shapes
- Matching size and stitch count
Step 7: Assemble the Amigurumi Horse
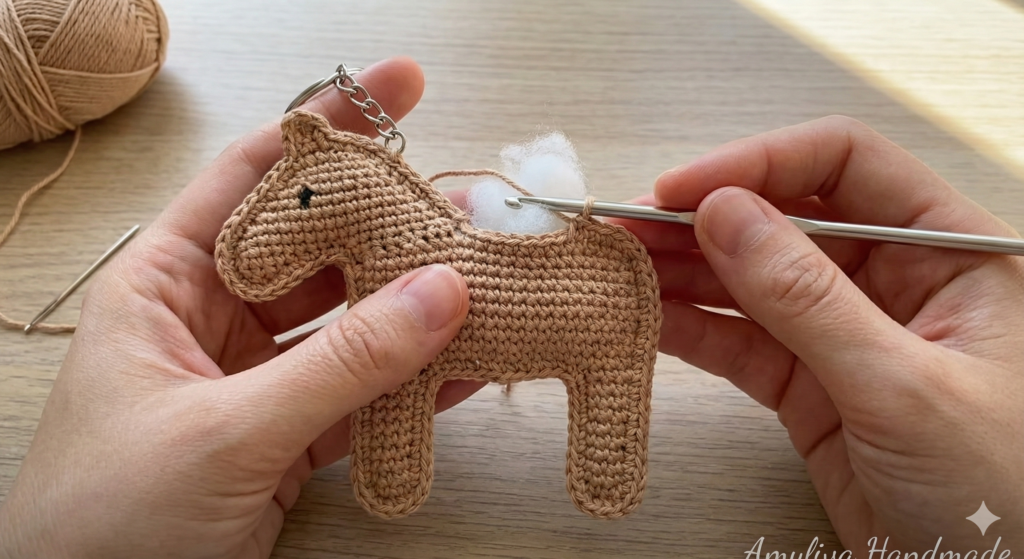
- Place both pieces together, wrong sides facing inward
- Join them using single crochet or whip stitch around the edges
- Lightly stuff with fiberfill before fully closing
Step 8: Attach the Keychain Ring
- Insert the keychain loop at the top of the head
- Secure tightly using yarn or metal ring
- Make sure it is firmly attached for daily use
Optional Decorations
You may add:
- Yarn mane and tail
- Embroidered eyes
- Small crocheted saddle (oval shape)
These details give your horse character and uniqueness.
Care Instructions
- Spot clean only
- Do not machine wash
- Avoid pulling on the keychain ring
- Keep away from small children
Internal Links
Learn more about us:
- About: https://amyliva.com/about
- Contact: https://amyliva.com/contact
- Terms & Conditions: https://amyliva.com/terms-and-conditions
- Privacy Policy: https://amyliva.com/privacy-policy
Safety Warning
⚠️ This item contains small parts.
Not suitable for children under 3 years old.
Frequently Asked Questions (FAQ)
Is this pattern beginner-friendly?
Yes, if you know basic crochet stitches.
Can I sell items made from this pattern?
Finished items may be sold. Pattern redistribution is not allowed.
What yarn works best?
Cotton or cotton-blend yarn gives the best stitch definition.
Can I resize the horse?
Yes, by changing hook size and yarn weight.
Final Thoughts
This amigurumi horse keychain crochet pattern is a charming, practical project that blends creativity with functionality. With clear steps and simple techniques, it’s perfect for handmade gifts, small business products, or personal collections.
For more crochet inspiration, visit
🌐 https://amyliva.com
Amy Liva


1 yorum