Step by Step Amigurumi
amigurumi cactus, amigurumi designs, amigurumi dinosaur, amigurumi pattern, amigurumi pattern free, AmyLiva Handmade, beginner amigurumi, colorful amigurumi, crochet cactus, crochet dinosaur gift, cute dino crochet, DIY amigurumi, diy crochet toy, easy amigurumi ideas, easy dinosaur pattern, free crochet pattern, handmade dinosaur toy, HandmadeWithLove amigurumi animals, mini crochet dinosaur, mini dino keychain, small dinosaur amigurumi
admin
0 Yorumlar
How to Make 4 Mini Amigurumi Toys – Free and Beginner-Friendly Patterns
Learn how to crochet 4 adorable mini amigurumi toys step by step!
These patterns are completely free, easy to follow, and designed especially for beginners. Whether you’re new to crochet or looking for a quick, fun project, these mini toys will bring joy to your craft table.
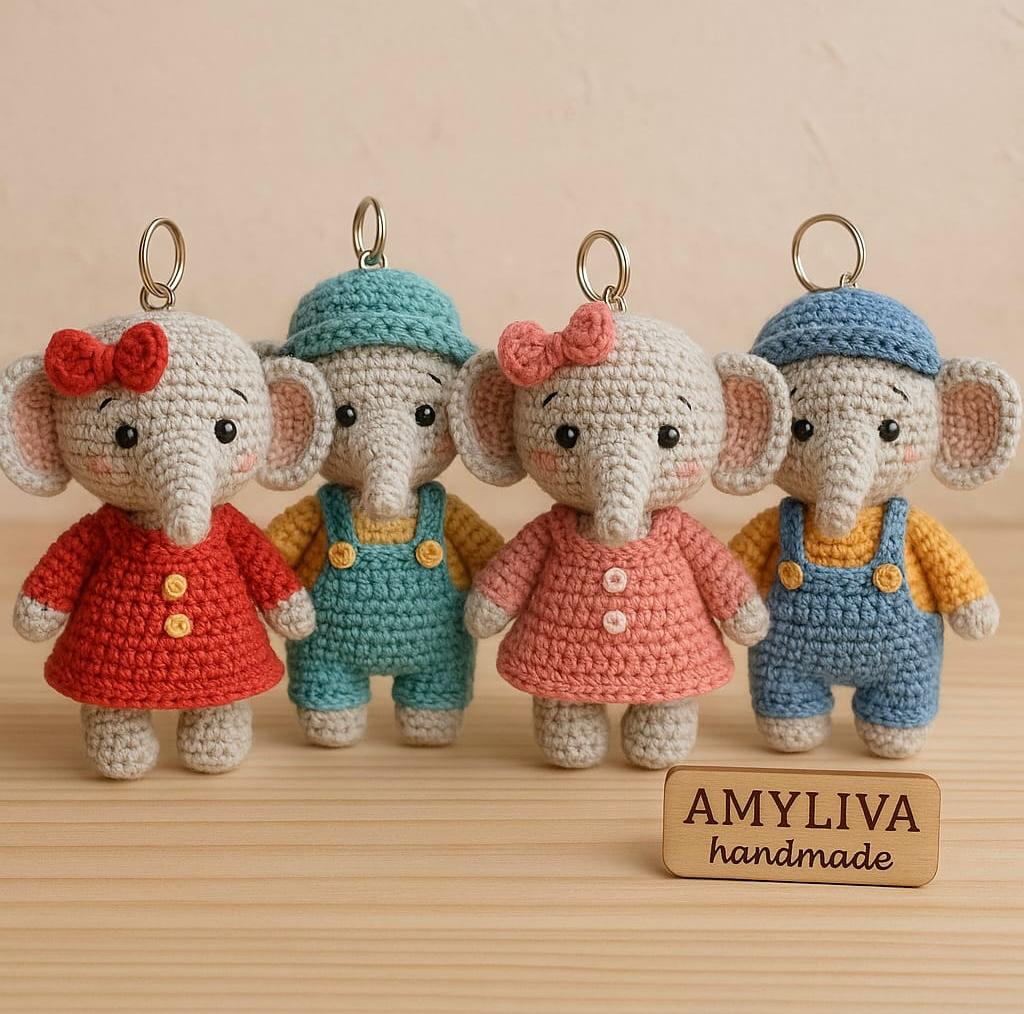
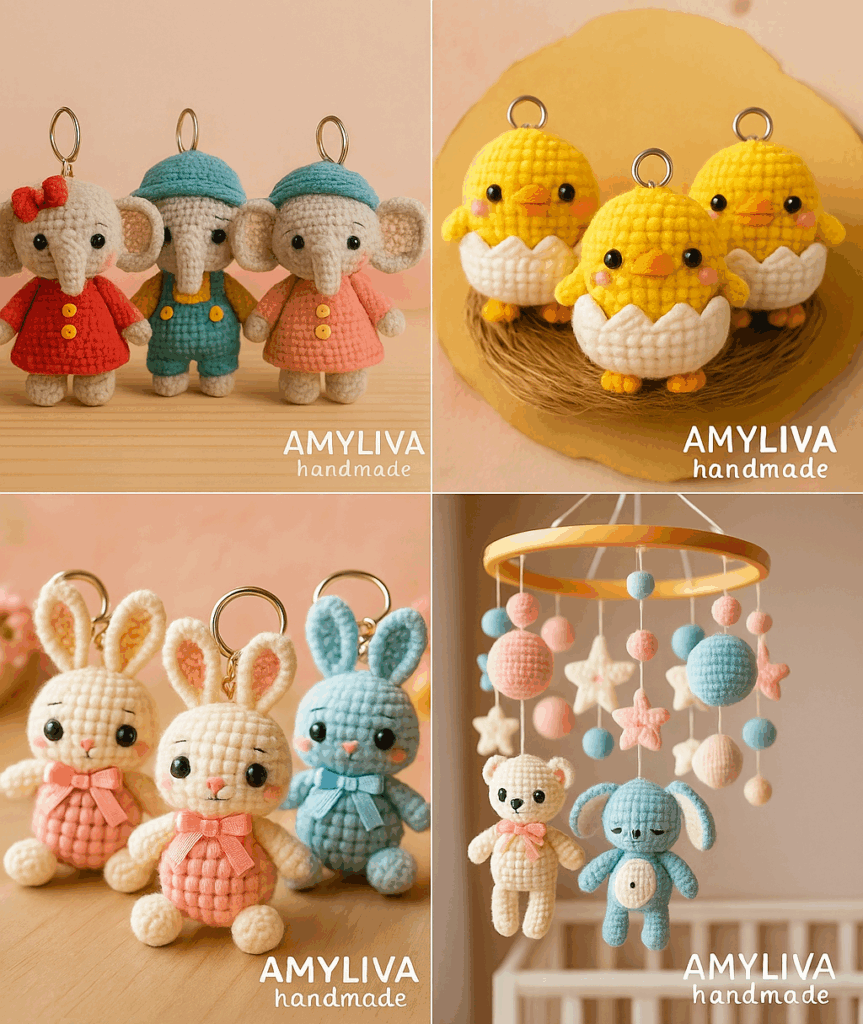
Are you ready to dive into the world of amigurumi? At AmyLiva Handmade, we’ve gathered the cutest mini amigurumi patterns to inspire your next crafting project! In this collage, you’ll discover how to create four different mini amigurumi models step by step. Whether you’re a beginner or an experienced crafter, these adorable and easy-to-make patterns are perfect for unleashing your creativity and having fun with crochet.
✨ Why You’ll Love These Mini Amigurumi Toys
Mini amigurumi projects are the perfect way to practice shaping and stitching without feeling overwhelmed.
They’re small, take little yarn, and can be finished in one sitting — making them perfect for gifts, keychains, or market sales.
Benefits of making mini amigurumi:
- Quick and relaxing crochet projects
- Great for leftover yarns
- Portable — perfect for travel
- Ideal for beginners learning increases and decreases
- Makes cute decorations or handmade gifts
💡 Tip: Add a keychain ring or safety pin to turn your mini toy into a bag charm!
🧵 Materials You’ll Need
Before you begin, make sure you have the following supplies ready:
| Material | Recommended Type |
| Yarn | Cotton or acrylic, light worsted / sport weight |
| Crochet hook | 2.0–2.5 mm (depending on yarn thickness) |
| Stuffing | Polyester fiberfill |
| Stitch marker | To keep track of rounds |
| Scissors | For trimming yarn ends |
| Yarn needle | For sewing pieces together |
| Safety eyes | Optional, 6 mm or smaller |
🐻 Mini Amigurumi Bear Pattern (Free)
Skill level: Beginner
Size: Approx. 5–6 cm tall
Instructions:
- Head & Body: Crochet in one piece using continuous rounds.
- Ears: Make two small circles and attach to the top of the head.
- Arms & Legs: Simple small tubes, lightly stuffed.
- Assembly: Sew arms and legs to the body, and embroider the nose and mouth.
🔗 See a detailed bear pattern tutorial here: Mini Amigurumi Bear Pattern
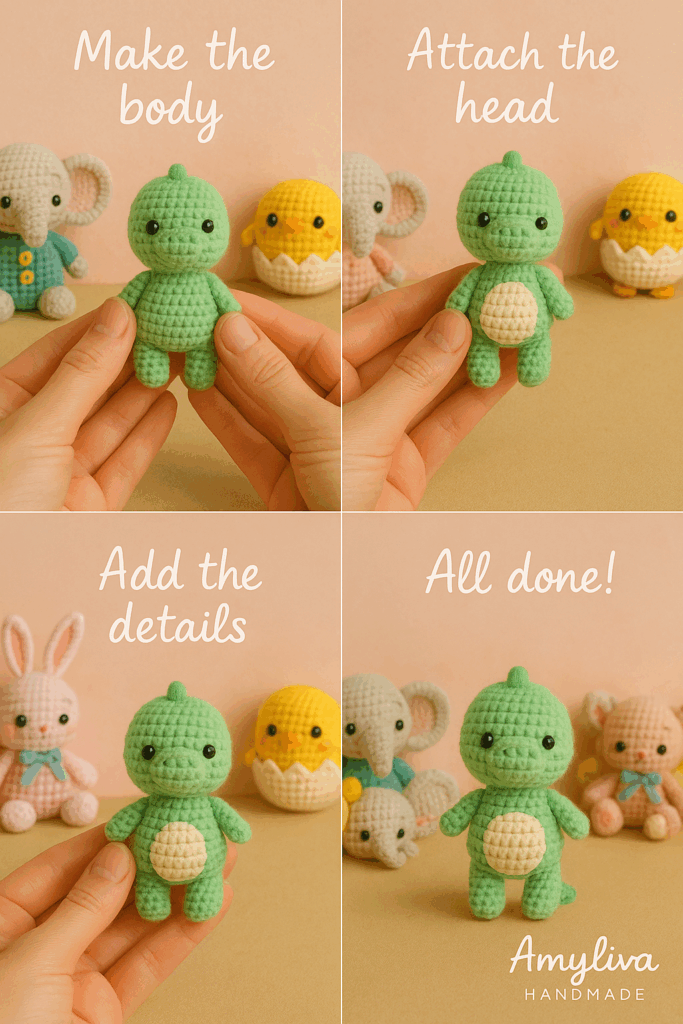
🐸 Mini Frog Keychain Pattern
Skill level: Easy
Estimated time: 1 hour
This tiny frog is a beginner favorite because of its round body and expressive eyes.
Use green yarn for the body and white + black yarn for the eyes.
Steps:
- Crochet the body in a single piece.
- Make two small white circles and add black stitches for eyes.
- Stitch the mouth with a simple curve for a happy look.
🧩 Add a small metal keyring to turn it into an adorable keychain!
🐰 Mini Bunny Amigurumi
Skill level: Beginner to intermediate
This tiny bunny works up quickly and makes the perfect Easter gift or desk companion.
Pattern overview:
- Head & Body: Worked together in a spiral.
- Ears: Two long ovals.
- Tail: Small pom-pom or crocheted ball.
- Finishing: Use pastel yarns for a soft and cute look.
🩷 Find the detailed bunny pattern here: Mini Amigurumi Bunny
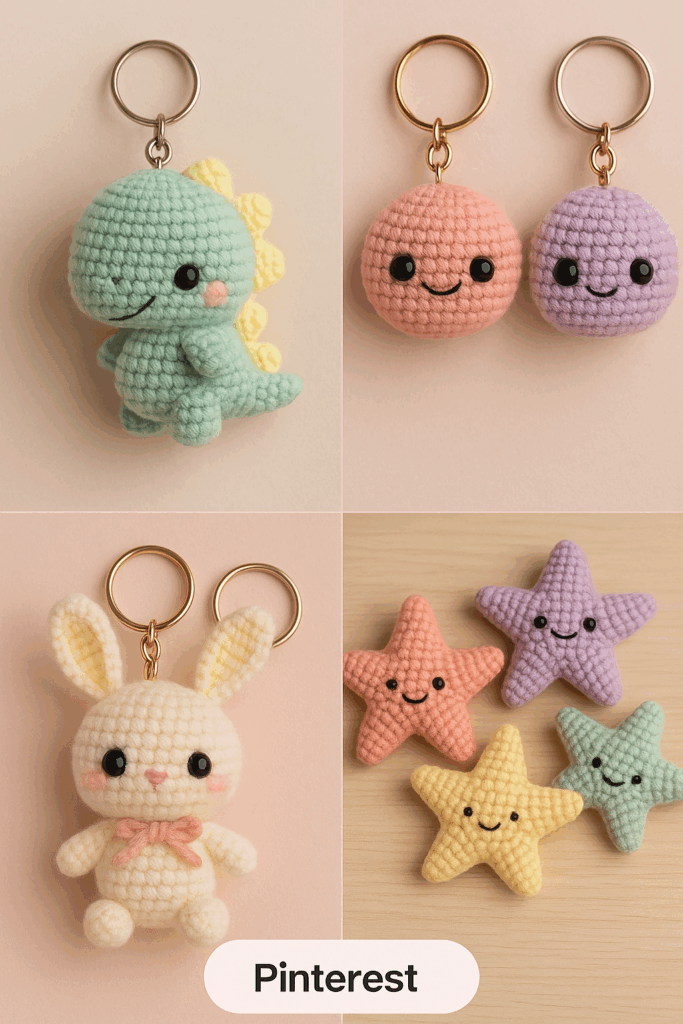
🐢 Mini Sea Turtle Pattern
Skill level: Easy
Time required: 45–60 minutes
Instructions:
- Shell: Crochet in two colors — brown and green.
- Body & Flippers: Light green yarn.
- Assembly: Sew flippers evenly and attach the shell on top.
🐚 Optional: Add a loop and use it as a car mirror charm or bag accessory!
💡 Step-by-Step Tips for Success
Even though these are beginner projects, small details make your amigurumi toys look more professional.
Follow these crochet tips:
- Use tight stitches – prevents stuffing from showing.
- Mark the start of each round – use a contrasting yarn piece or stitch marker.
- Count your stitches – miscounting is the most common beginner mistake.
- Stuff gradually – avoid overfilling, or your toy will look lumpy.
- Weave ends neatly – for a clean and secure finish.
✅ Pro Tip: If you’re new to crochet, watch beginner amigurumi tutorials on AmyLiva YouTube Channel.
🪡 How to Customize Your Mini Amigurumi
You can easily give each toy a unique look!
- Change the yarn color to make themed characters.
- Add embroidery details like cheeks, hearts, or tiny hats.
- Use sparkly yarn or cotton blend for a glossy texture.
- Sew on accessories (bows, scarves, or mini buttons).
🎁 These mini amigurumi toys make perfect handmade gifts or small market bestsellers.
🌸 Eco-Friendly Yarn Choices
If you want to make your crochet more sustainable:
- Try organic cotton yarns or bamboo blends.
- Reuse leftover yarn scraps for mini projects.
- Avoid plastic stuffing by using natural wool filling.
📸 Don’t Forget the Finishing Touch!
When your mini toy is ready:
- Take bright, clear photos for your crochet journal or Instagram.
- Use a simple background and natural light.
- Tag @amylivahandmade and share with the hashtag #amylivahandmade so others can see your work!
📍 More free patterns: Amyliva Free Patterns Collection
Make Handmade Gifts with These Cute Amigurumi Designs
These mini creations aren’t just great personal projects — they’re also ideal for heartfelt handmade gifts. Whether it’s a birthday, a thank-you gift, or a little surprise, these tiny amigurumi models will bring joy to anyone who receives them. Their compact size makes them perfect for keychains, bag charms, or simple desk decorations.
Get Inspired and Start Your Creative Journey
Explore the four adorable mini amigurumi models in this collage and pick your favorite to get started. All tutorials are available on our ,https://www.pinterest.com/amylivahandmade complete with step-by-step photos and helpful tips. Start creating with AmyLiva Handmade and let your creativity blossom one stitch at a time!
❓ Frequently Asked Questions (FAQ)
1. Can beginners really make these patterns?
Absolutely! Each mini amigurumi is designed with simple stitches — single crochet, increase, and decrease.
2. How long does one toy take to finish?
On average, 45–90 minutes per toy, depending on your speed.
3. What yarn is best for amigurumi?
Cotton yarn gives structure, while acrylic is softer and cheaper. Both are great for mini toys.
4. Can I sell the finished toys?
Yes! You may sell finished items made using these free patterns — just credit Amyliva Handmade as the designer.
5. Where can I find more free crochet patterns?
You can explore more designs here: amyliva.com → Free Patterns section.
Why Choose AmyLiva Handmade Patterns?
• Beginner-friendly and easy to follow
• Perfect for small gifts or craft fairs
• Includes step-by-step images
• Available for free on Pinterest
🔗 Stay connected & find more patterns here:
📌 Pinterest: Amyliva Handmade
📸 Instagram: @amylivahandmade
▶ YouTube: Amyliva Crochet Tutorials
Disclaimer:
This crochet pattern is for personal use only. Please do not copy, distribute, or sell the pattern as your own. You are welcome to sell finished items made from this pattern, but please give credit to Amyliva Handmade as the designer. Thank you for respecting handmade creators!
💛 Thank you for supporting handmade! Happy crocheting! 🧶
Designed by Amyliva Handmade

Yorum gönder