TUTORIALS AND TIPS
amigurumi animals, amigurumi dinosaur, amigurumi pattern free, beginner amigurumi, colorful amigurumi, crochet dinosaur gift, cute dino crochet, diy crochet toy, easy amigurumi ideas, easy dinosaur pattern, free crochet pattern, handmade dinosaur toy, mini crochet dinosaur, mini dino keychain, small dinosaur amigurumi
admin
0 Yorumlar
Tiny Crochet Dinosaur You’ll Love – Beginner-Friendly Pattern
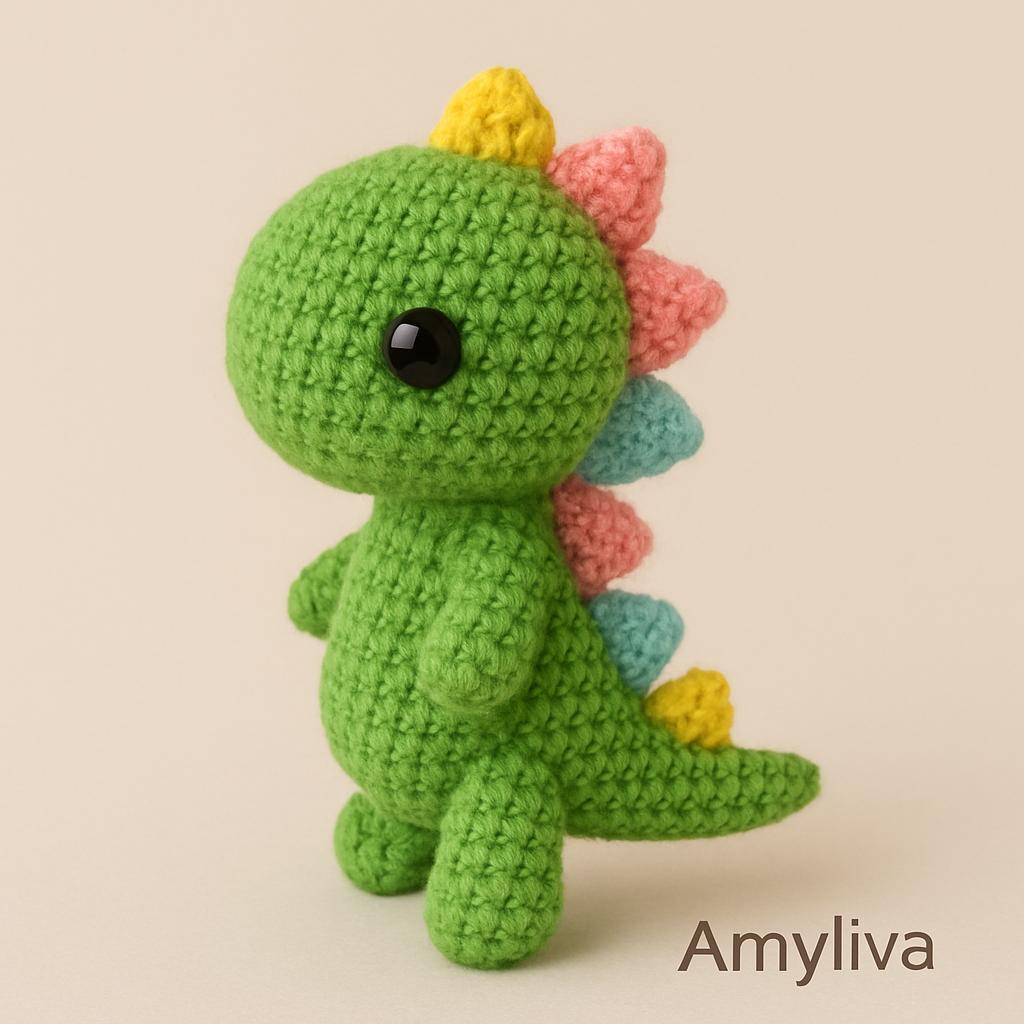
Tiny Crochet Dinosaur You’ll Love
Looking for a cute and colorful crochet project? This easy amigurumi dinosaur pattern is perfect for beginners and experienced crocheters alike. In this step-by-step tutorial, you’ll learn how to crochet a small, adorable dino that’s great as a gift, keychain, or room decor.
✨ Why You’ll Love This Pattern
• ✅ Beginner-friendly and fun to make
• ✅ Uses simple crochet stitches
• ✅ Great for leftover yarn in different colors
• ✅ Makes a perfect handmade gift
⸻
🧶 Materials You’ll Need
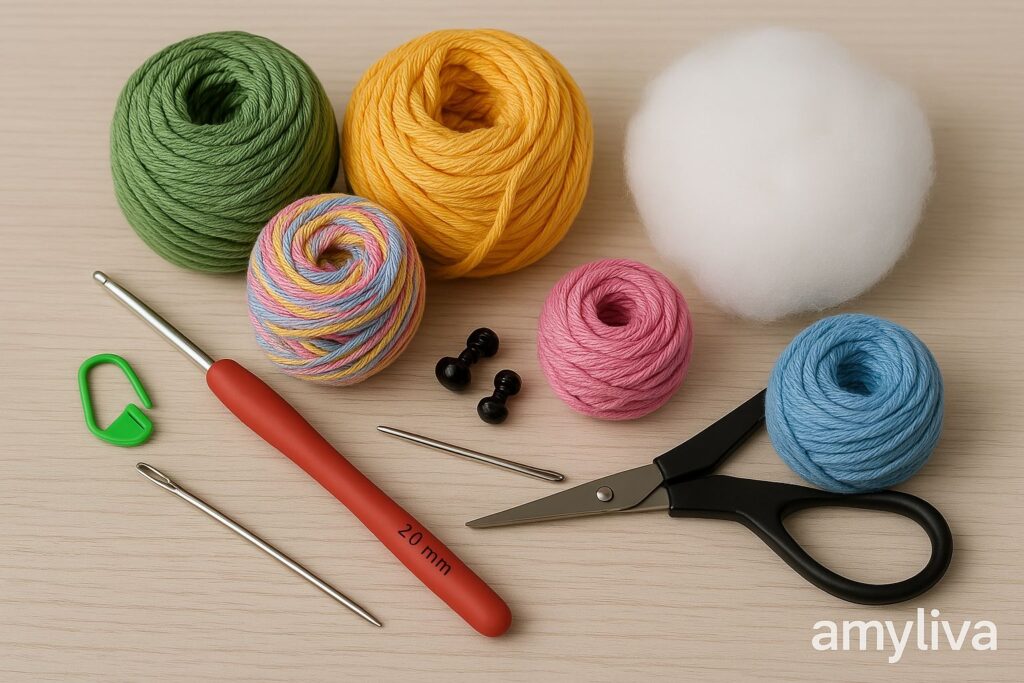
Before you start crocheting your mini dino, make sure you have these supplies ready:
- Yarn: Cotton or acrylic in two colors (main body + contrasting color for spikes)
- Hook: 2.0–2.5 mm crochet hook (adjust depending on your yarn thickness)
- Safety eyes: 6 mm or 8 mm size
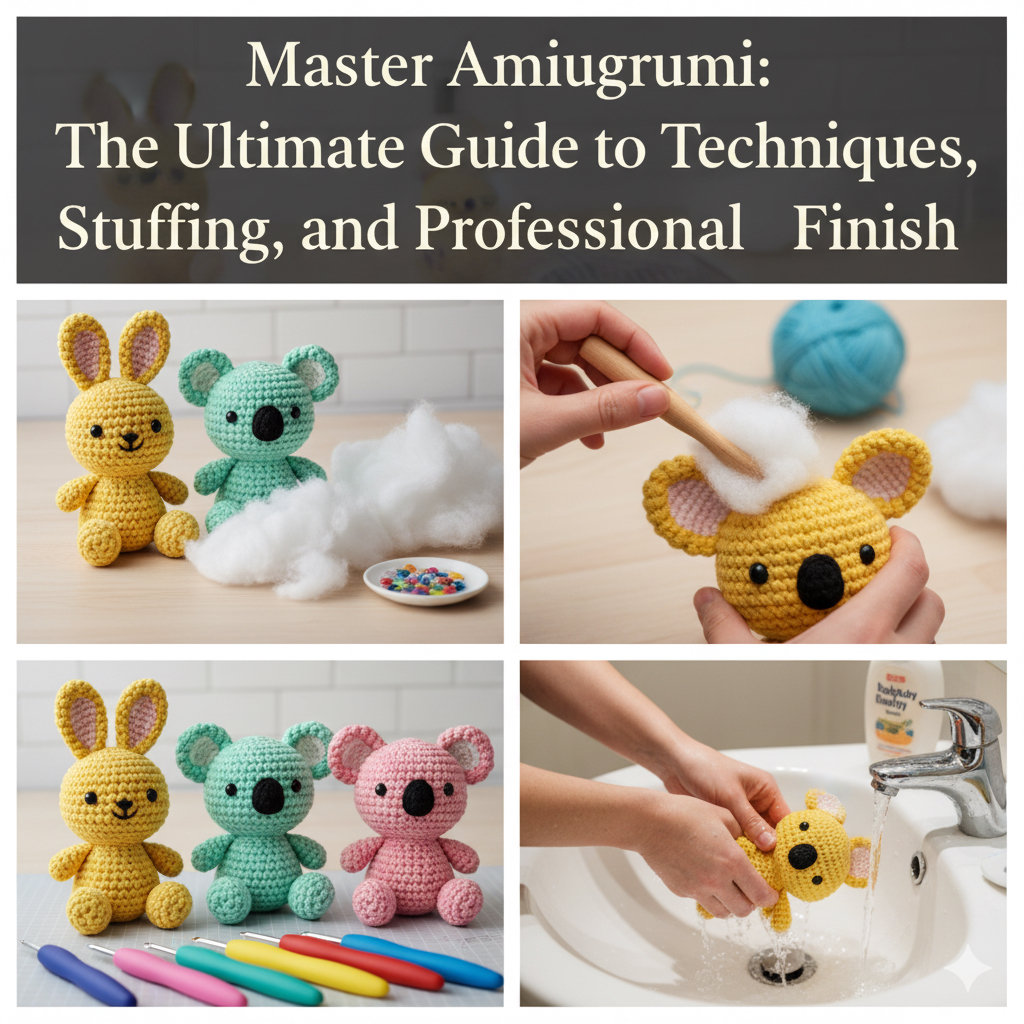
- Stuffing: Polyester fiberfill
- Tapestry needle for sewing the parts together
- Scissors
💡 Tip: If you’re a beginner, cotton yarn is easier to handle and keeps the stitches clear and tight.
⸻
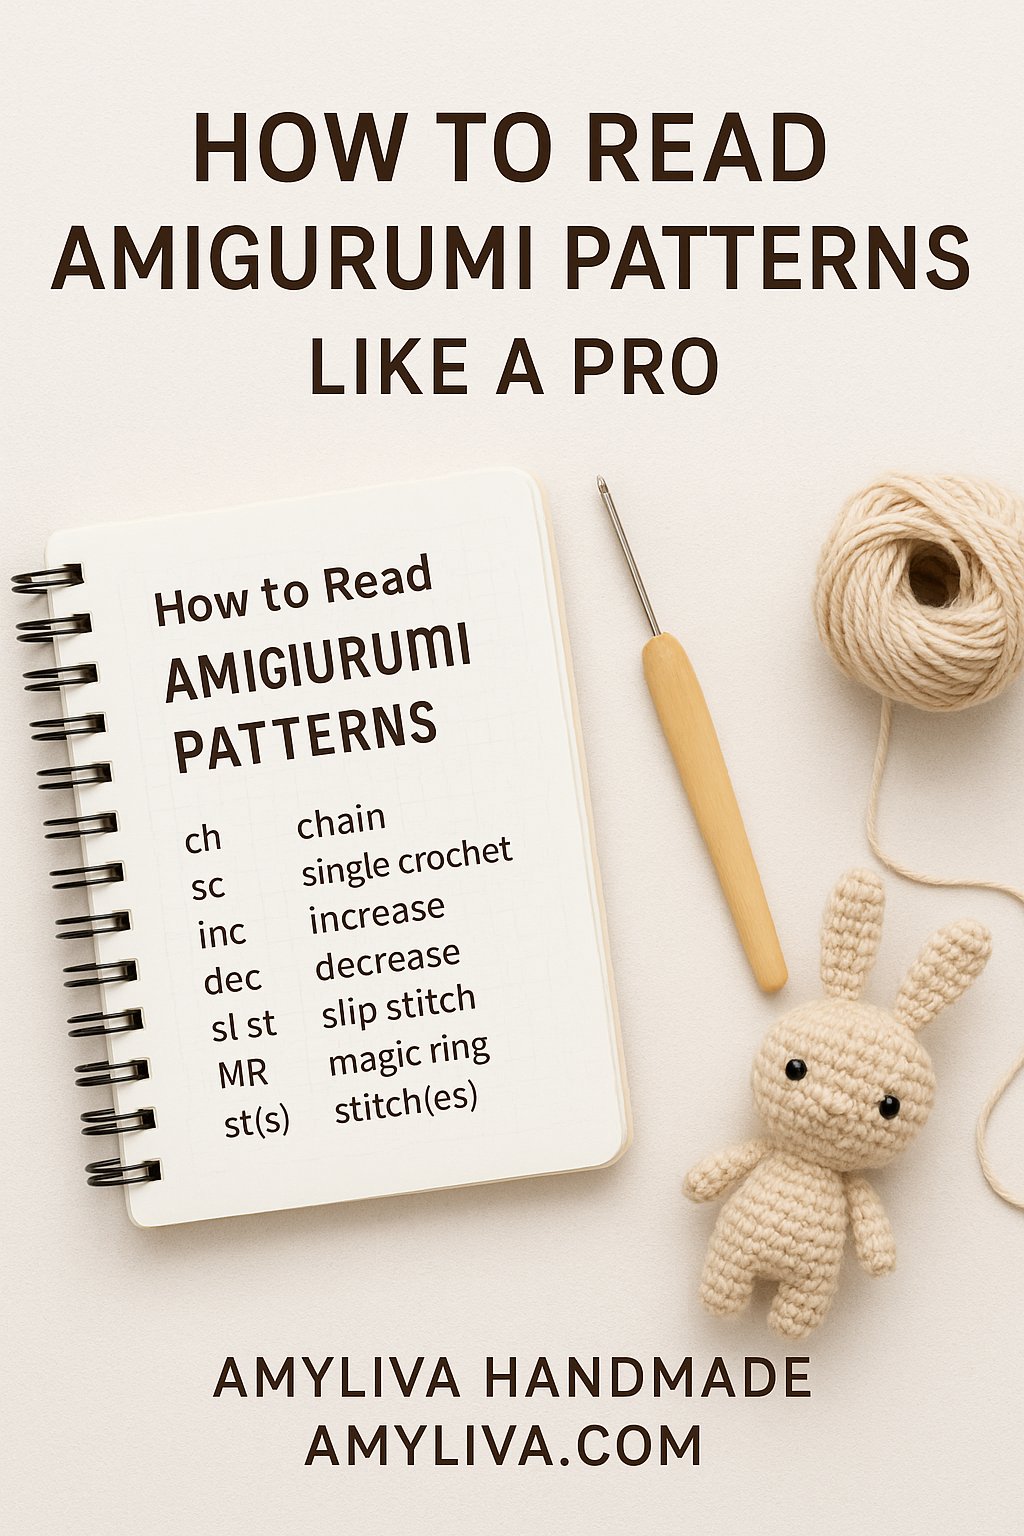
🪡 Crochet Stitches & Abbreviations
- MR – Magic ring
- sc – Single crochet
- inc – Increase (2 sc in one stitch)
- dec – Decrease (single crochet two stitches together)
- sl st – Slip stitch
- ch – Chain
Make sure you’re familiar with these basic stitches before starting the project.
⸻
🧩 How to Crochet the Mini Dinosaur (Step-by-Step)
Head & Body (worked in one piece)
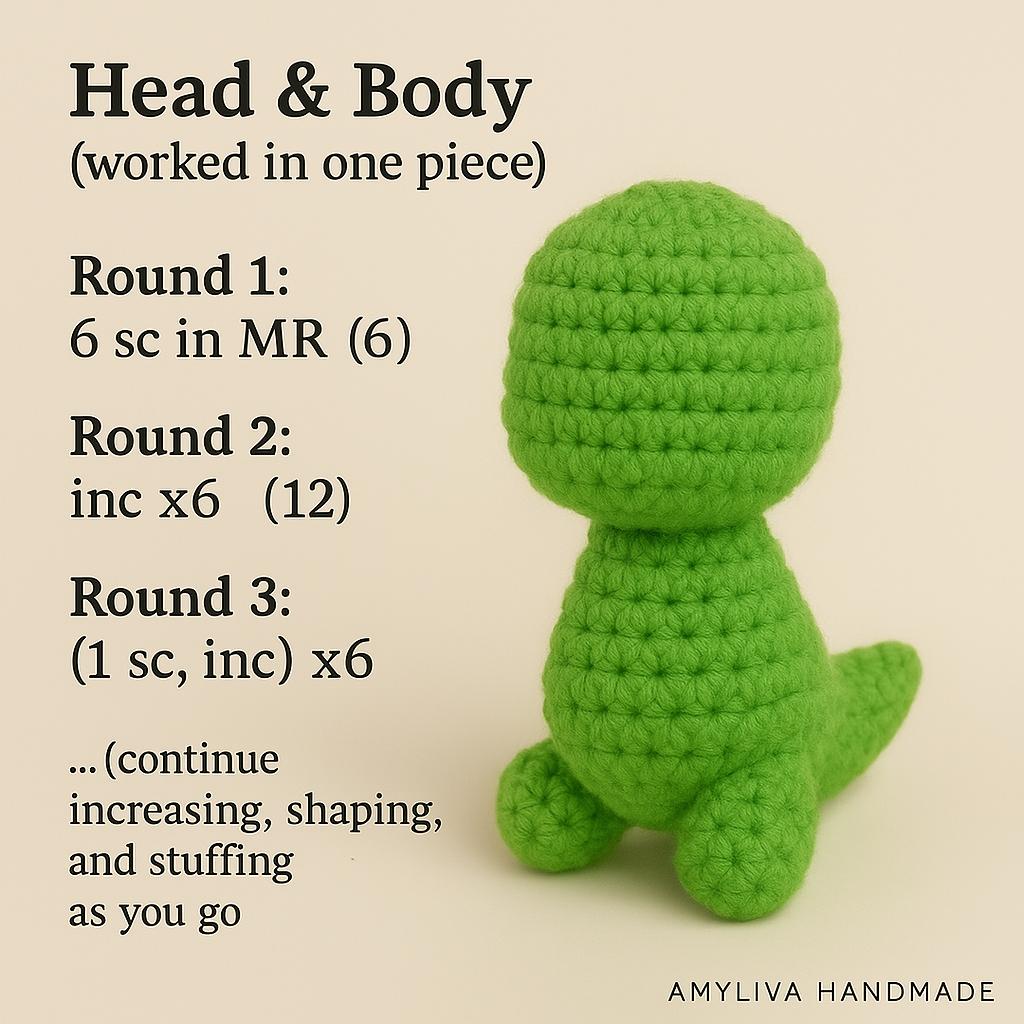
- Round 1: MR, 6 sc (6)
- Round 2: inc in each stitch (12)
- Round 3: (1 sc, inc) x 6 (18)
- Round 4–6: sc around (18)
- Round 7: (1 sc, dec) x 6 (12)
- Round 8: sc around (12)
- Insert safety eyes between rounds 4–5, about 5 stitches apart.
- Round 9: (2 sc, inc) x 4 (16)
- Round 10–14: sc around (16)
- Round 15: (2 sc, dec) x 4 (12)
- Round 16: (1 sc, dec) x 4 (8)
- Stuff firmly and close with sl st.
Legs (x4)
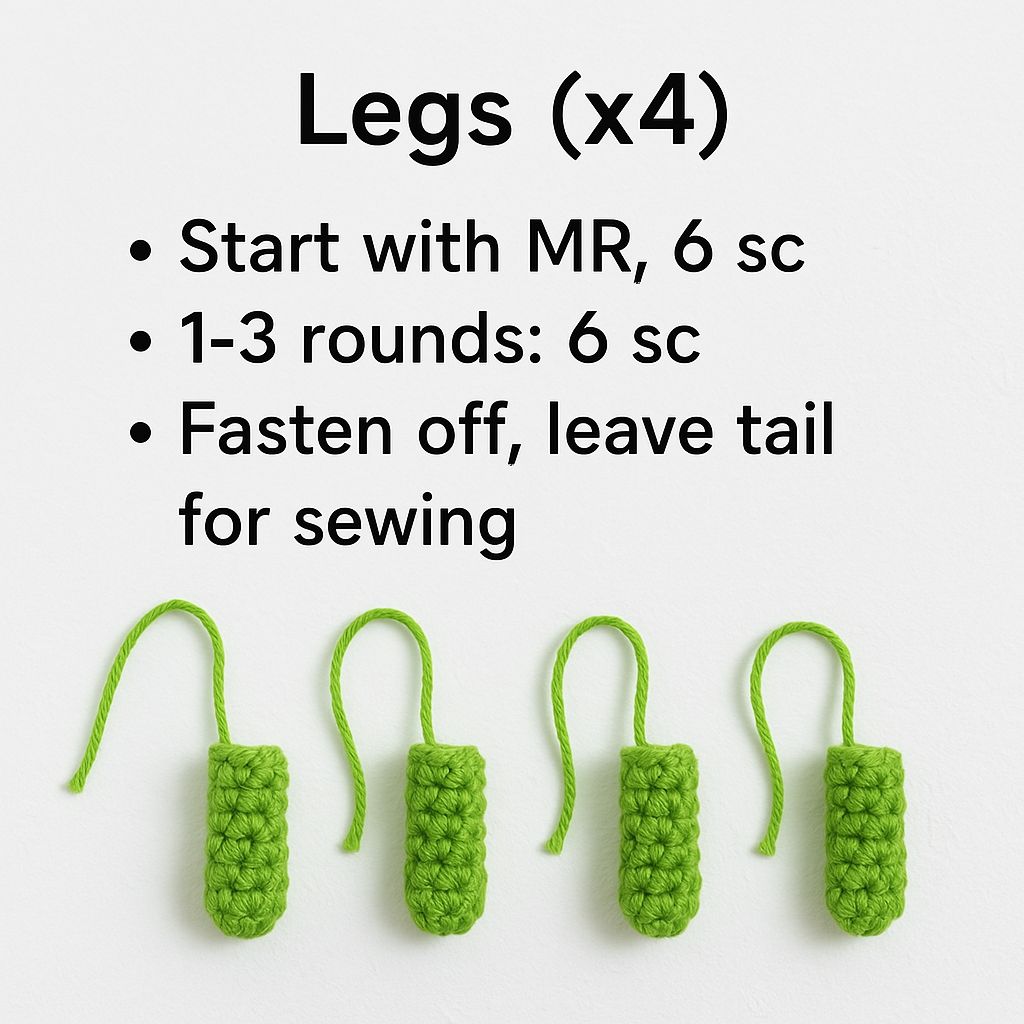
- MR, 6 sc (6)
- Round 2: sc around (6)
- Fasten off and leave a tail for sewing.
- Sew two legs under the body and two slightly toward the front.
Tail
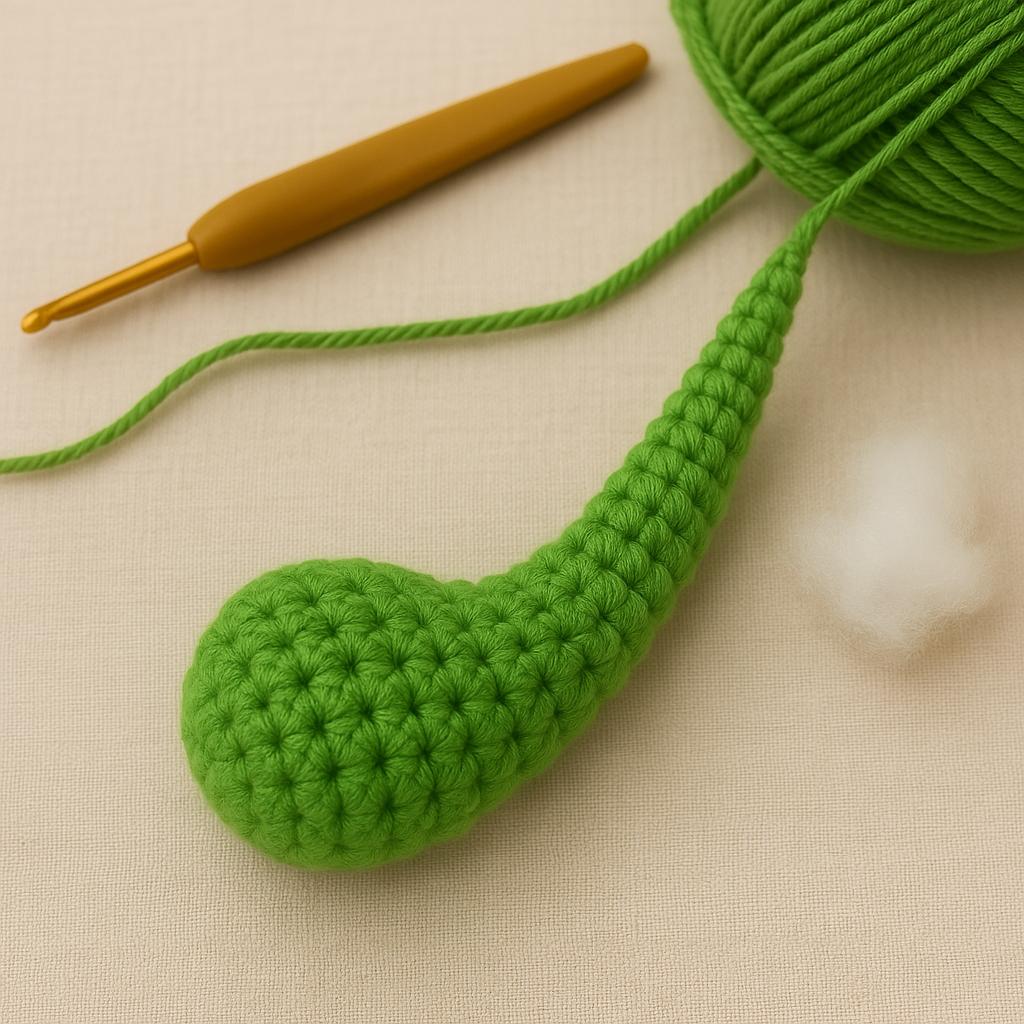
MR, 4 sc (4)
Round 2: (1 sc, inc) x 2 (6)
Round 3: sc around (6)
Round 4: (2 sc, inc) x 2 (8)
Stuff lightly and sew to the back of the body.
Spikes (Optional but fun!)
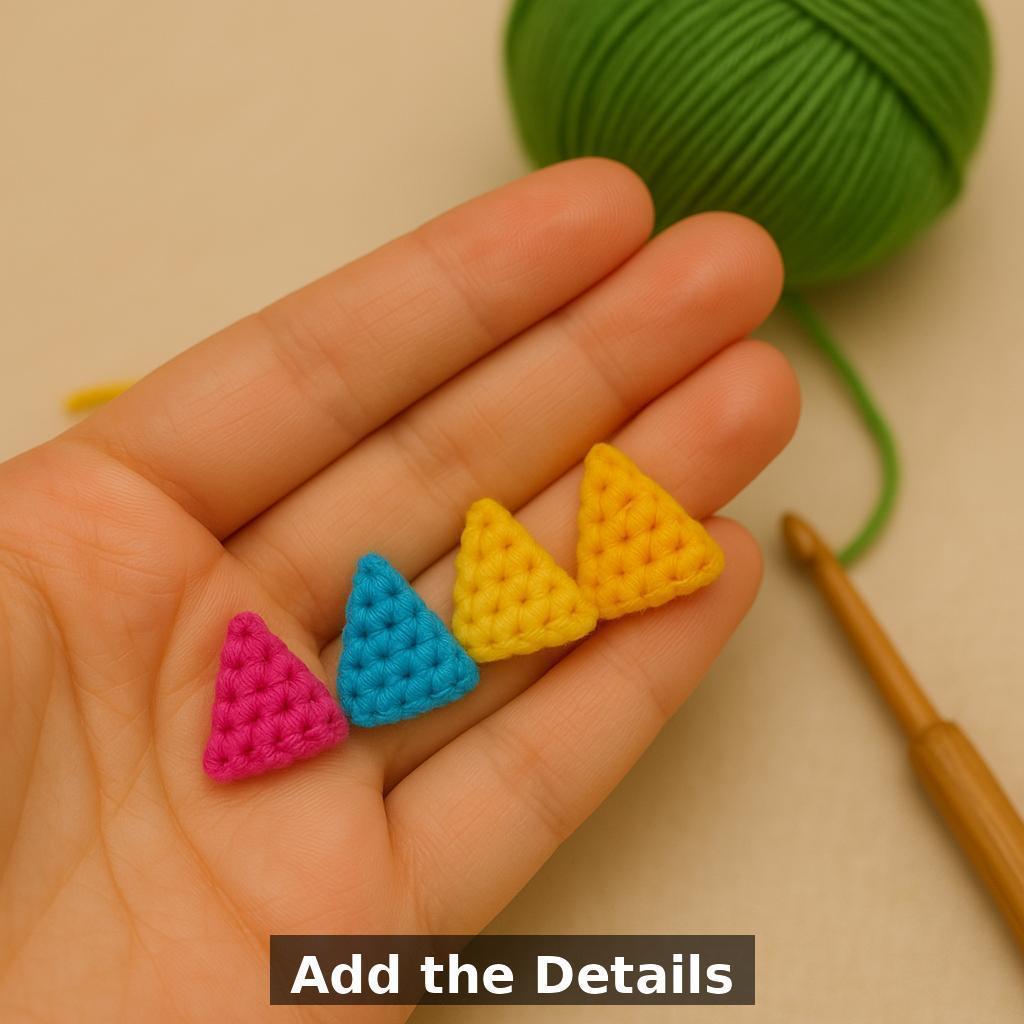
- ch 3, sl st in 2nd ch from hook, sc in next (small triangle)
- Fasten off and leave a tail for sewing.
- Sew along the back from the head to the tail.
💚 Assembly & Finishing Touches
Once all parts are crocheted:
- Sew the tail securely to the back.
- Attach all four legs firmly so the dinosaur can stand.
- Add blush with a bit of pink yarn or soft pastel for a cute touch.
- Embroider a small smile using black thread.
✨ Pro tip: Slightly tilt the head upward before sewing—it gives your dino an adorable, curious look!
🎨 Variations to Try
You can easily customize your tiny dinosaur:
- Make a rainbow dino by changing the spike colors on each one.
- Try pastel shades for a baby-themed nursery decoration.
- Add a keychain ring on top and turn it into a backpack charm!
- Use metallic yarn for a shiny “fantasy dinosaur” style.
🧺 Washing & Care Tips
Handwash gently with cold water and mild soap.
Avoid wringing or twisting the stuffed parts.
Let the toy air dry completely before storing.
📸 Show Your Work
We love seeing your creations!
Tag @AmyLivaHandmade on Pinterest, Instagram, or YouTube to share your tiny dinosaur with the world.
Use the hashtag #AmyLivaDino to join the community of crocheters around the globe.
⸻
💡 Tips for Success
• Choose high-contrast yarn colors for a playful look
• Use stitch markers to keep track of rounds
• Don’t overstuff – a soft dino is easier to shape
• Try other colors for a rainbow dino collection!
Frequently Asked Questions
Q: Is this mini amigurumi dinosaur pattern suitable for beginners?
A: Yes! This pattern uses basic stitches and simple shapes, perfect for anyone just starting with crochet.
Q: How long does it take to complete?
A: Most crafters finish this tiny dino in about 2–3 hours.
Q: Can I customize the colors?
A: Of course! You can use any yarn colors to make your dinosaur unique.
You may also like:
👉 Love this mini dinosaur? Don’t miss our Easy Amigurumi Heart Pattern – perfect for beginners too!
⭐ Looking for another cute and simple project? Try our Mini Crochet Star Pattern – it’s quick and fun!
🎁 Need a handmade gift idea? Check out all our Free Amigurumi Patterns for more inspiration.
🧵 New to amigurumi? Our step-by-step Beginner Crochet Guides will help you get started with ease.
🌈 Want more colorful designs like this? Browse the full Amyliva Crochet Collection for more free and premium patterns.
You may also like:
• Easy Amigurumi Heart Pattern
• Free Amigurumi Star Keychain Tutorial
🔗 Stay connected & find more patterns here:
📌 Pinterest: Amyliva Handmade
📸 Instagram: @amylivahandmade
▶ YouTube: Amyliva Crochet Tutorials
Disclaimer:
This crochet pattern is for personal use only. Please do not copy, distribute, or sell the pattern as your own. You are welcome to sell finished items made from this pattern, but please give credit to Amyliva Handmade as the designer. Thank you for respecting handmade creators!
💛 Thank you for supporting handmade! Happy crocheting! 🧶
Designed by Amyliva Handmade

Yorum gönder