The Secret to Perfect Amigurumi: Expert Tips You Need to Know

Why Amigurumi Tips Matter
If you’ve ever struggled with uneven stitches, loose stuffing, or lopsided shapes, you’re not alone. Amigurumi may look cute and simple, but achieving a polished, professional look requires a bit of technique. Whether you’re a beginner or have crocheted dozens of toys, the right amigurumi tips can save time, reduce frustration, and elevate your handmade creations.
1. Use the Right Hook Size (And Don’t Rely on the Label!)
One of the most important amigurumi tips is using a smaller crochet hook than what the yarn label suggests. This ensures tighter stitches that don’t let the stuffing show through. For example:
- Yarn label recommends 3.5 mm → Use a 2.5 mm hook instead.
- Tighter stitches = cleaner shapes + firmer toys.
✅ Pro Tip: Test a small swatch and lightly stuff it. If the stuffing peeks through, go down a hook size.
2. Choose the Best Yarn for Amigurumi
Not all yarns are created equal—especially when it comes to amigurumi. Choose yarns that are:
- Smooth (cotton or cotton-blend is ideal)
- Non-fuzzy (avoid eyelash or brushed yarns unless you’re going for a specific texture)
- Durable (toys get hugged, dropped, and squeezed)
Recommended yarns:
- YarnArt Jeans
- Drops Cotton Light
- Scheepjes Catona
3. Master the Magic Ring
The magic ring (or magic circle) is essential for neat, tightly closed centers. If you start your amigurumi projects with a chain loop, try switching to a magic ring for a more professional result.
🧶 Learn this once, and you’ll never look back.
4. Invisible Decrease Is a Game Changer
Instead of regular decreases, use the invisible decrease (invdec) method:
- Insert hook in front loop of two stitches
- Yarn over and pull through both loops
- Yarn over and pull through the remaining two loops
It reduces bulk and avoids “holes” in your project.
5. Use Stitch Markers (Even If You Think You Don’t Need Them)
It’s easy to lose track when working in spirals. Stitch markers help you:
- Mark the start of each round
- Count rows accurately
- Avoid mismatched body parts (like one arm longer than the other!)
📍 Tip: Use contrasting yarn scraps or locking stitch markers.
6. Stuff As You Go (Not All at Once)
Don’t leave all the stuffing to the end! Instead:
- Lightly stuff each section as you finish it
- This gives you better control over the shape
- Prevents under- or over-stuffing
Also, always use small pieces of stuffing and push them into corners with a stick or the back of your crochet hook.
7. Finish with a Clean Look
Weaving in ends and sewing parts neatly makes a huge difference. Here’s how to give your amigurumi a polished finish:
- Use a long tail from each part to sew it on
- Position limbs symmetrically by pinning before attaching
- Hide knots inside the body
- Use matching color yarn for sewing
🪡 Don’t rush the assembly—it’s where the magic happens!
8. Keep a Project Journal
This might seem unnecessary at first, but keeping a small notebook (or digital note) for each project can be a life-saver:
- Record yarn brand, hook size, and any changes
- Add personal notes (“used 8mm eyes instead of 6mm”)
- Helps you recreate or modify designs in the future
9. Don’t Be Afraid to Experiment
Once you’ve mastered the basics, try personalizing your creations:
- Add embroidery details (smiles, blushes, freckles)
- Play with color blocking
- Mix textures (e.g., fluffy yarn for hair)
Creative freedom is what makes amigurumi truly special.
10. Practice Makes Progress
Your first few toys might look a bit wonky—and that’s perfectly fine! With each project, your hands will learn the tension, shaping, and rhythm needed for smooth results.
❤️ Every stitch is a step forward.
Conclusion: Your Amigurumi Will Thank You!
Whether you’re crocheting for fun, for gifts, or for your handmade business, applying these simple yet effective amigurumi tips will transform the way you work. You’ll see cleaner finishes, tighter shapes, and most importantly, a growing confidence in your crochet skills.
Keep these tricks in your back pocket, and you’re well on your way to creating adorable amigurumi that everyone will love.
Frequently Asked Questions
What’s the best yarn weight for amigurumi?
Sport (2) or DK (3) weight yarn works best. These give you enough structure without making your toys bulky.
Can I use acrylic yarn for amigurumi?
Yes, you can. Acrylic is affordable and widely available. However, cotton yarn gives a cleaner, more defined finish.
How can I avoid my amigurumi looking lumpy?
Use even tension, stuff gradually, and always smooth the shape with your hands as you go.
Share Your Creations!
If you’ve found these tips helpful, I’d love to see what you’ve made. Tag me on Instagram or Pinterest using #AmyLivaHandmade or visit amyliva.com for more free tutorials, patterns, and behind-the-scenes crochet tips!
Try These Beginner-Friendly Projects
Ready to put these tips into practice? Start with these two adorable, beginner-friendly patterns from AmyLiva Handmade:
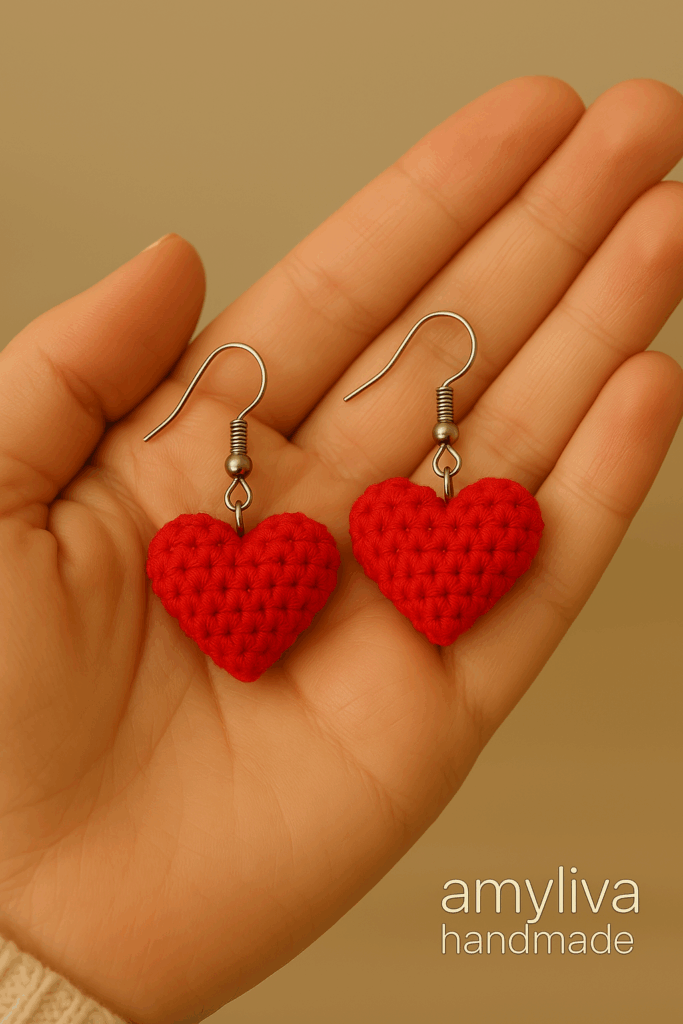
- 🎀 Amigurumi Heart Earrings – A Free Crochet Pattern to Wear Love
Show your love with these dainty, handmade heart earrings. Perfect for Valentine’s Day or everyday wear! - 🎃 Mini Crochet Pumpkin – Tiny but Terrific!
This charming mini pumpkin is the perfect seasonal accessory or autumn gift. Quick to make and fun to display!
✅ Both patterns are free, quick to crochet, and great for testing out your new amigurumi skills.

Yorum gönder