Mini Amigurumi Pumpkin – Free Crochet Pattern
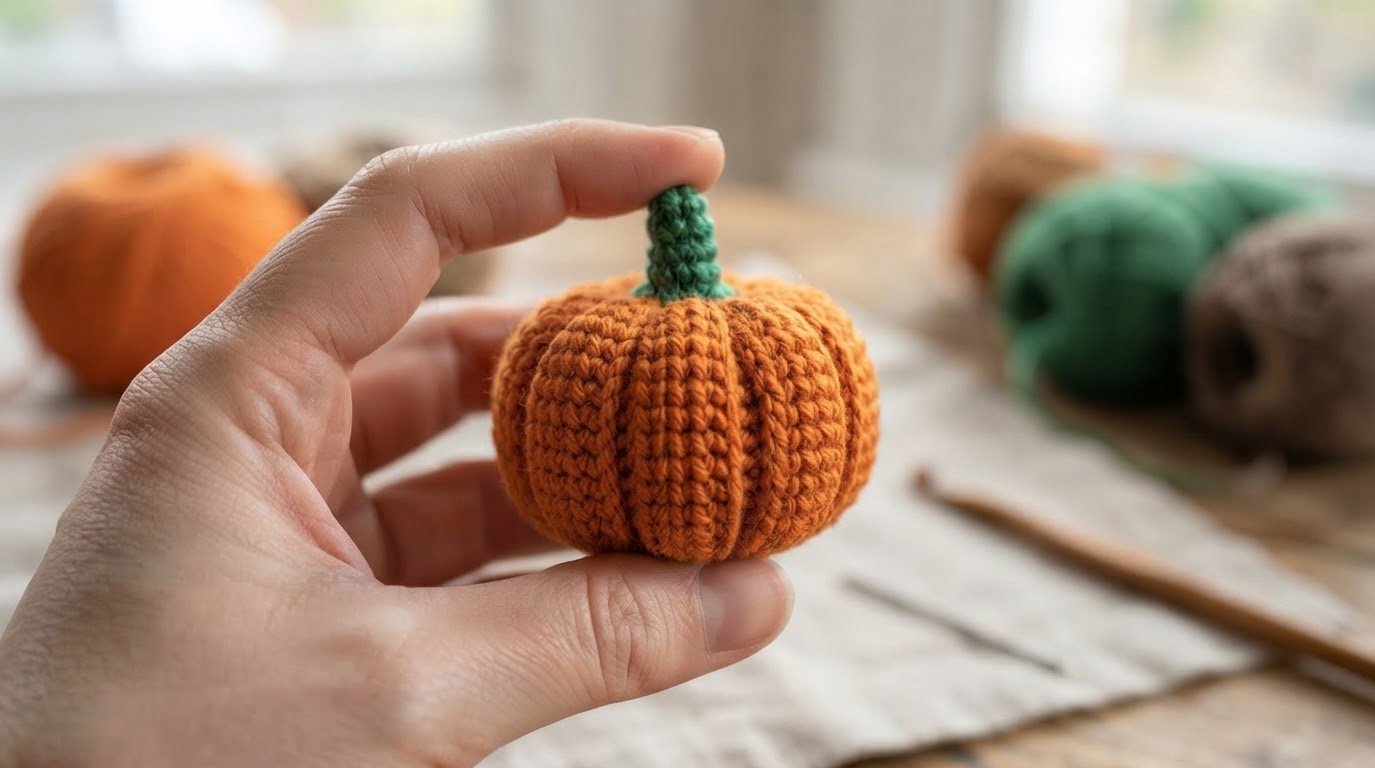
This mini amigurumi pumpkin is a quick crochet project made with basic amigurumi stitches. It has a simple round shape with a small crocheted stem and can be made with a small amount of yarn.
The finished pumpkin works well as a small seasonal decoration, bag charm, or keychain. You can also change the yarn colors to create different autumn or Halloween-inspired versions.
Materials You’ll Need
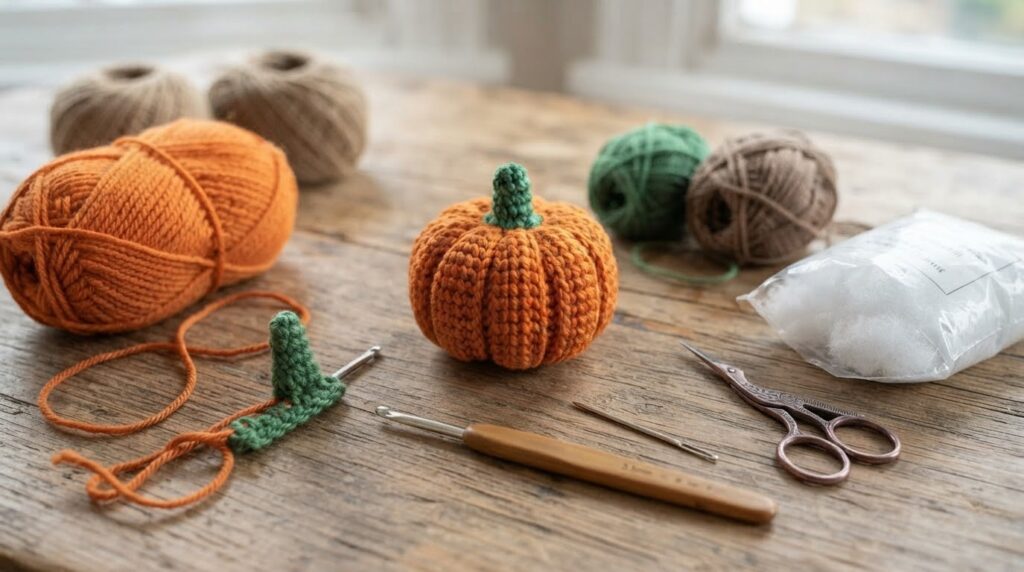
- Orange yarn for the pumpkin
- Green yarn for the stem
- 2.0 mm crochet hook, or a size suitable for your yarn
- Polyester fiberfill
- Tapestry needle
- Scissors
- Stitch marker
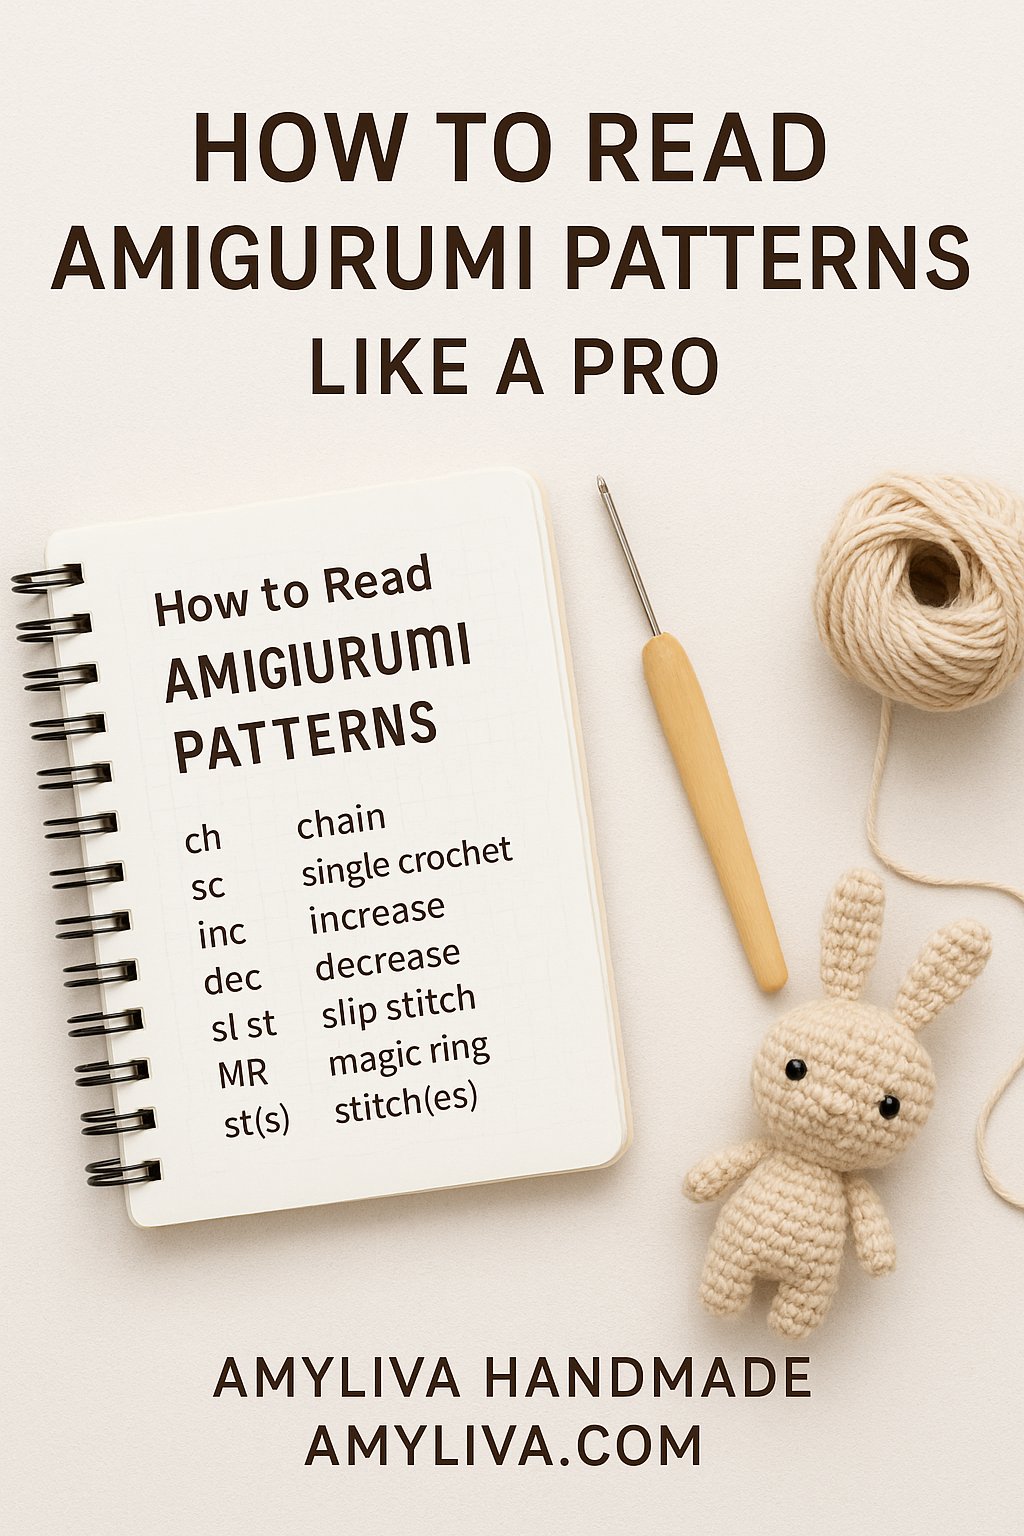
Crochet Terms (US)
- MR – Magic Ring
- sc – Single Crochet
- inc – Increase
- dec – Decrease
- sl st – Slip Stitch
- st(s) – Stitch(es)
- R – Round
Pumpkin Body
Using orange yarn, work in continuous rounds.
Round 1: MR, 6 sc into the ring [6]
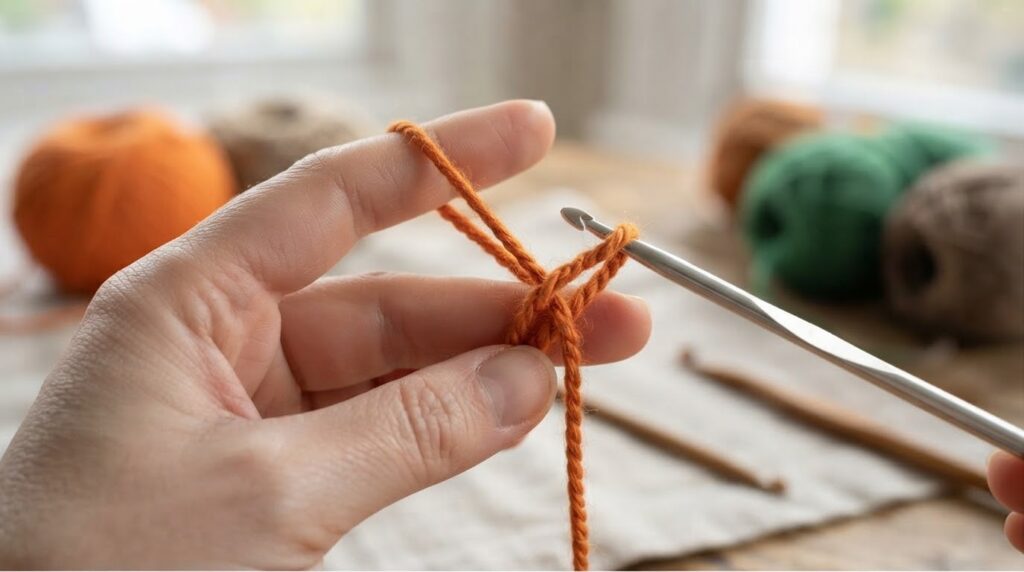
Round 2: inc in each st around [12]
Round 3: (sc, inc) x 6 [18]
Round 4: (2 sc, inc) x 6 [24]
Rounds 5–8: sc in each st around [24]
Round 9: (2 sc, dec) x 6 [18]
Round 10: (sc, dec) x 6 [12]
Stuff the pumpkin firmly, but do not overfill it.
Round 11: dec x 6 [6]
Fasten off, leaving a long yarn tail for shaping.
Shaping the Pumpkin
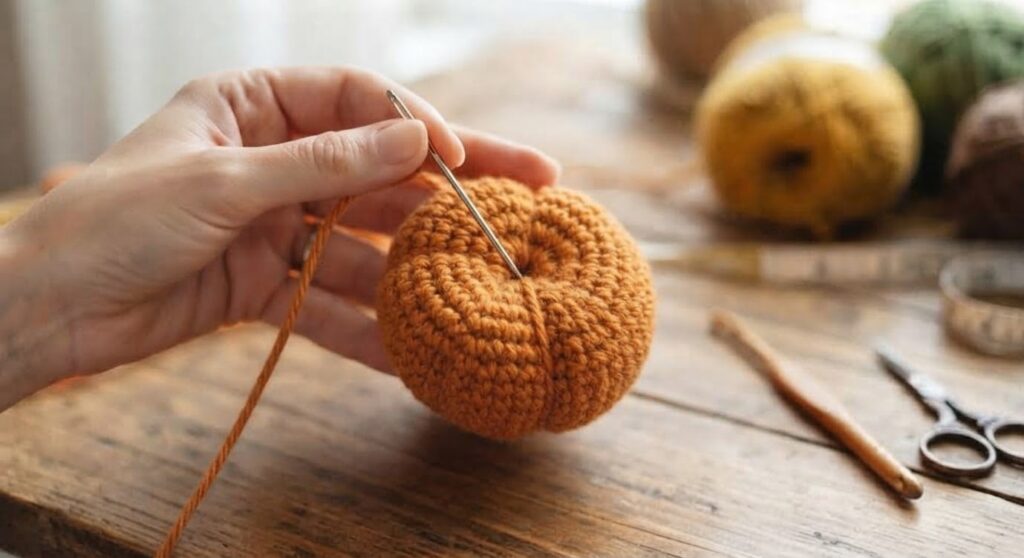
Thread the yarn tail onto a tapestry needle. Insert the needle through the center of the pumpkin and bring it back out near the starting point.
Wrap the yarn around the pumpkin from the bottom to the top, following the same center line. Repeat this process 5–6 times at evenly spaced points around the pumpkin.
Pull the yarn firmly after each pass to create the pumpkin’s natural ridges. Adjust the tension as needed to keep the ridges even.
Stem
Using green yarn, work in continuous rounds.
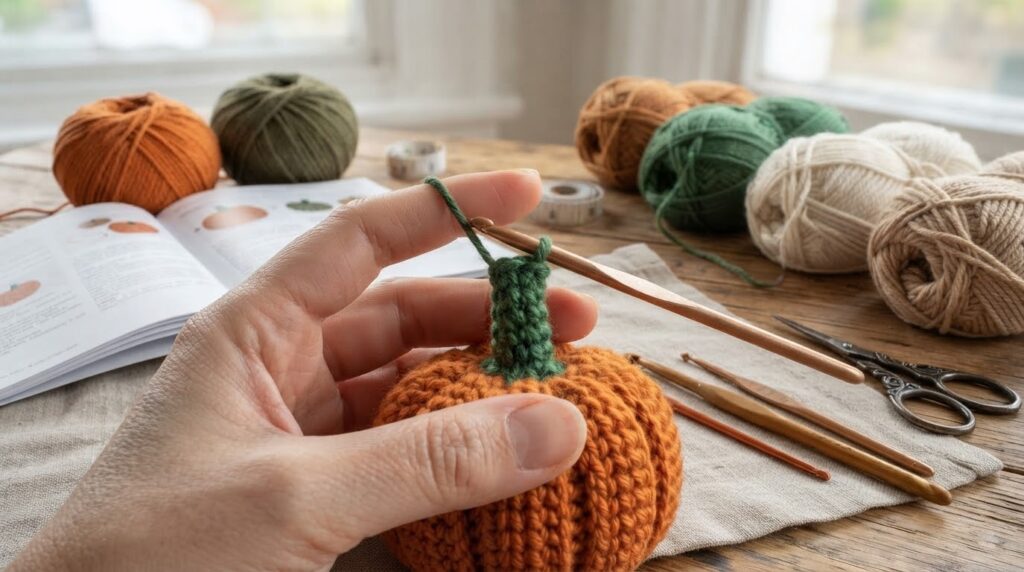
Round 1: MR, 4 sc into the ring [4]
Rounds 2–3: sc in each st around [4]
Fasten off, leaving a long yarn tail for sewing.
Sew the stem securely to the top of the pumpkin. Weave in the ends and trim any excess yarn.
Customization Tips
You can change the pumpkin’s color to match your project or use different yarn colors for a group of pumpkins.
For a Halloween version, you can embroider a simple face on the pumpkin to create a small Jack-o’-lantern.
Frequently Asked Questions
Can beginners make this pumpkin?
Yes. The pattern uses basic amigurumi stitches, including a magic ring, single crochet, increases, and decreases.
Can I use thicker yarn?
Yes. Using thicker yarn will make a larger pumpkin. Choose a crochet hook that gives you firm, even stitches.
How do I shape the pumpkin?
Use the long yarn tail to create the ridges after finishing the pumpkin body. Make several evenly spaced passes around the pumpkin and pull the yarn firmly to shape it.
Can I sell finished pumpkins made from this pattern?
Yes. You may sell finished pumpkins made from this pattern in small quantities. Please credit AmyLiva Handmade as the pattern designer and do not copy or redistribute the pattern itself.
Pattern Usage
This crochet pattern is designed and written by AmyLiva Handmade.
You may make finished pumpkins for personal use, as gifts, or for small-quantity sale. Please credit AmyLiva Handmade as the pattern designer when sharing or selling finished items made from this pattern.
The written pattern may not be copied, reproduced, translated, redistributed, or resold, in whole or in part.

Yorum gönder