AMIGURUMI PATTERNS
LIFESTYLE AND GIFTS
amigurumi crochet basics, amigurumi for beginners, amigurumi guide, amigurumi materials, amigurumi step by step, amigurumi supplies list, beginner amigurumi tutorial, crochet plushie guide, crochet soft toys, easy amigurumi tips, how to crochet amigurumi, how to start amigurumi, learn to crochet toys
Amy
0 Yorumlar
Amigurumi Seashell Earrings – Free Crochet Pattern
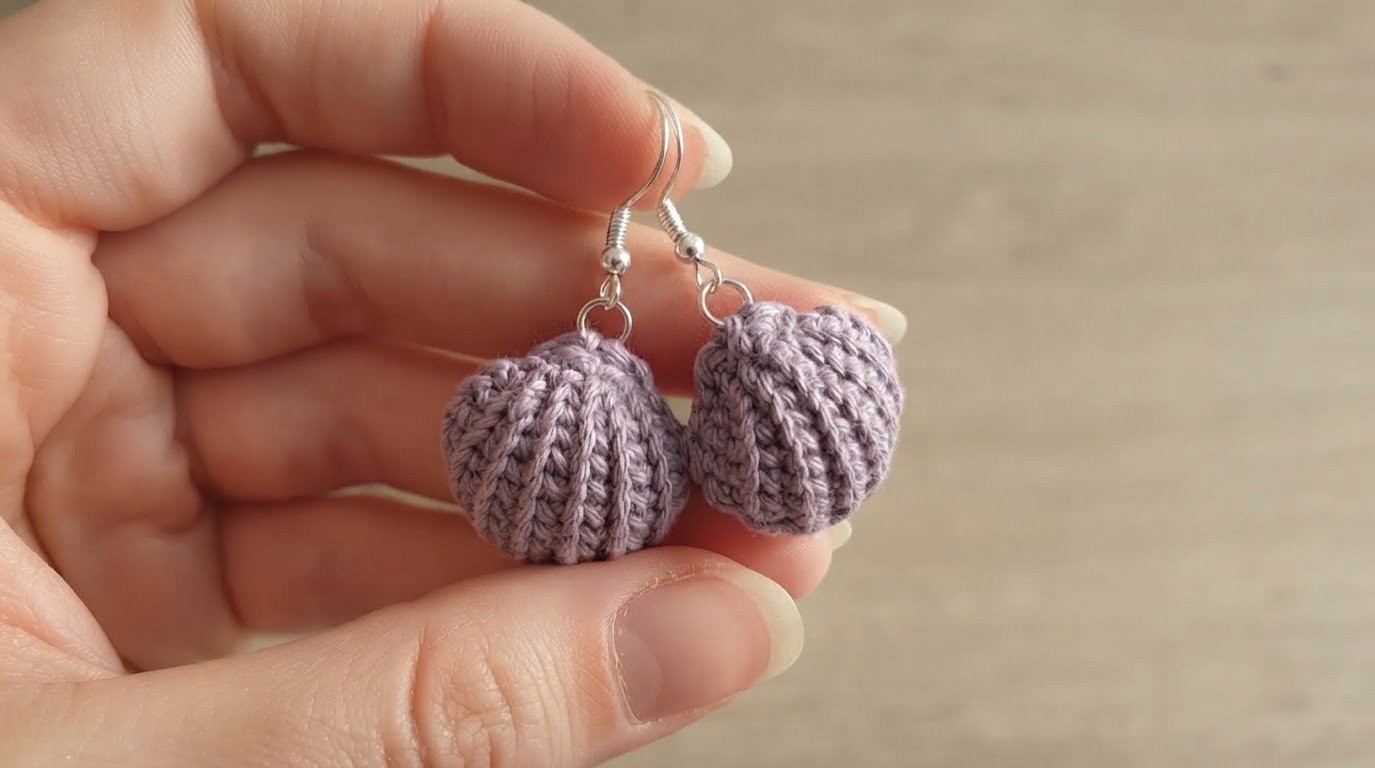
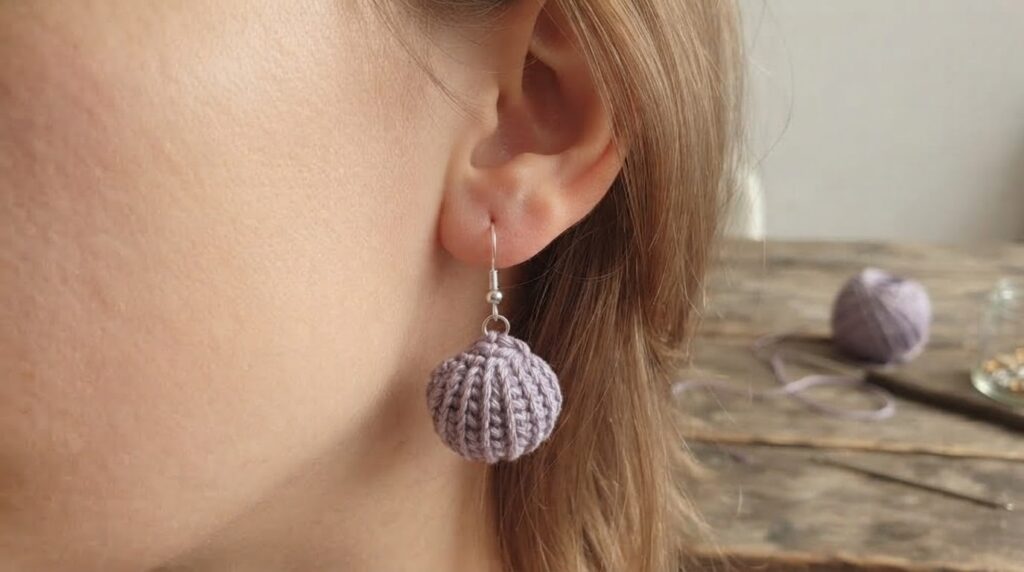
These small crochet seashell earrings are made with cotton yarn and basic crochet stitches. Each shell is worked in the round, lightly stuffed if desired, and finished with a jump ring and earring hook.
This is a small crochet jewelry project that can be made in a pastel color or any yarn color you prefer. The pattern includes the crochet instructions and the steps for attaching the earring hardware.
Skill Level
Beginner
Materials You’ll Need
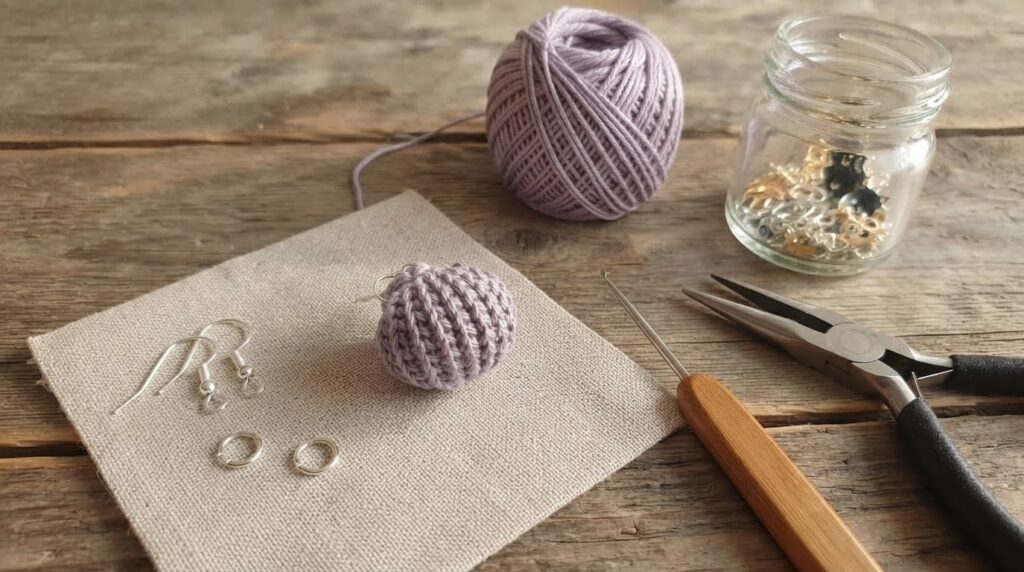
- 100% cotton yarn in dusty lavender or another color of your choice
- 2.0 mm crochet hook
- Small amount of polyester fiberfill, optional
- Earring hooks, 1 pair
- Jump rings, 2
- Jewelry pliers
- Tapestry needle
- Scissors
- Stitch marker
Crochet Terms (US)
- MR – Magic Ring
- sc – Single Crochet
- sc2tog – Single Crochet 2 Together
- fpsc – Front Post Single Crochet
- sl st – Slip Stitch
- st(s) – Stitch(es)
- R – Round
Pattern Notes
- The pattern is worked in continuous rounds unless otherwise stated.
- Use a stitch marker to mark the beginning of each round.
- Keep your stitches firm and even so the finished shell holds its shape.
- Make two identical shells for one pair of earrings.
- Add only a small amount of fiberfill if you want the shell to have a slightly raised shape.
- Stitch counts are given in brackets at the end of each round.
Crochet Seashell Pattern
Round 1 – Base
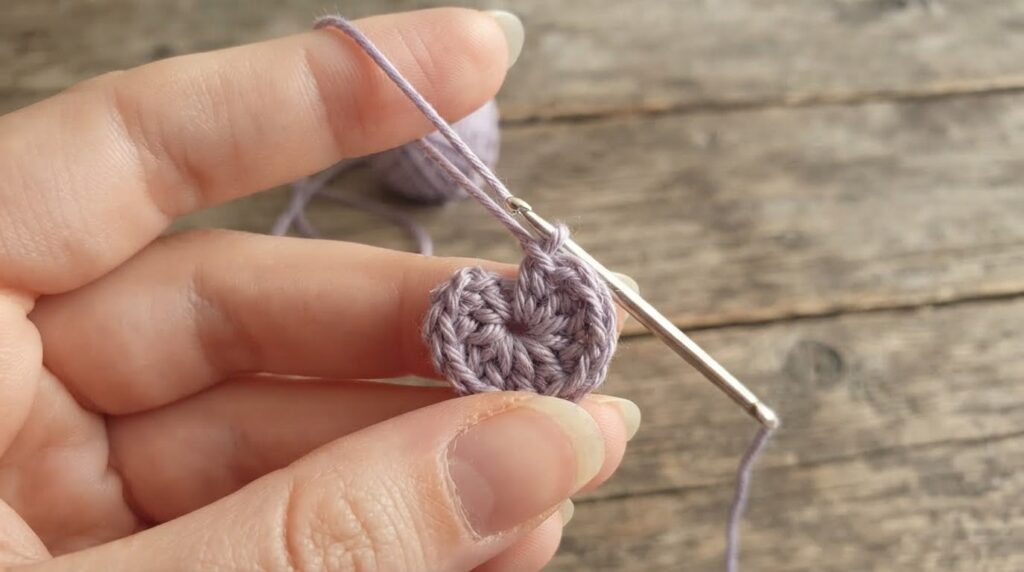
Start with a magic ring.
Work 6 sc into the magic ring.
Pull the ring closed.
[6]
Round 2 – Increase
Work 2 sc in each stitch around.
[12]
Rounds 3–4 – Shell Shape
Work 1 sc in each stitch around for 2 rounds.
[12 each round]
Round 5 – Shell Texture
Continue working around the shell with 12 stitches.
Work the front post single crochet details at evenly spaced intervals to create the raised shell texture, keeping the total stitch count at 12.
[12]
Round 6 – Decrease
Work sc2tog in each stitch around.
[6]
Fasten off, leaving a long yarn tail for closing.
If you want a slightly fuller shell, add a small amount of polyester fiberfill before closing. Use only enough to give the shell some shape without making it too firm.
Closing the Shell
Thread the yarn tail onto a tapestry needle.
Weave the needle through the front loops of the remaining 6 stitches. Pull the yarn gently to close the opening.
Secure the yarn and weave the remaining tail into the crocheted stitches. Trim any excess yarn.
Shaping the Seashell
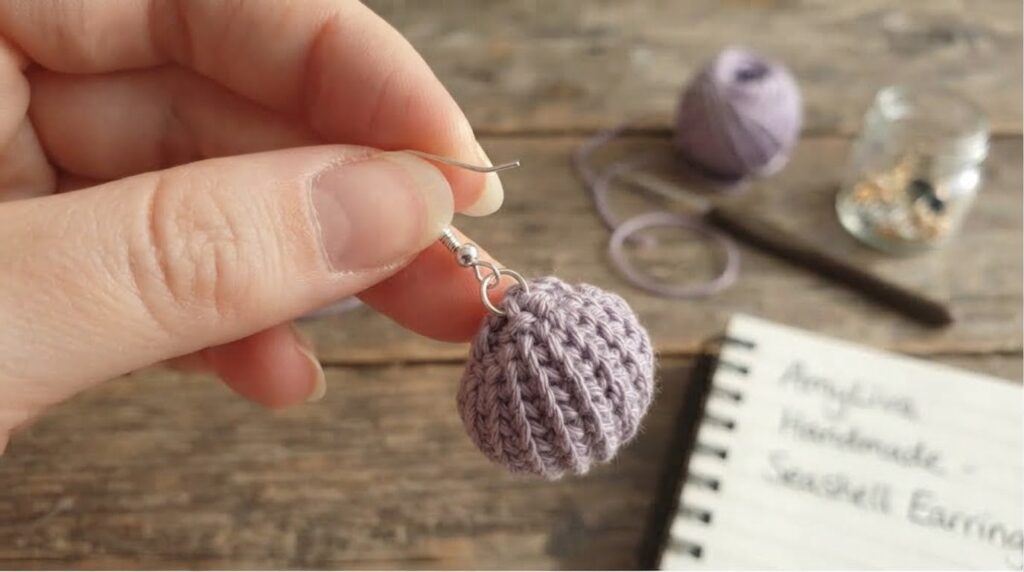
Gently shape the crocheted shell with your fingers so it keeps its curved form.
If you used fiberfill, adjust it from the outside to distribute it evenly inside the shell.
Make sure the top of the shell is clearly defined before attaching the hardware.
Attaching the Earring Hardware
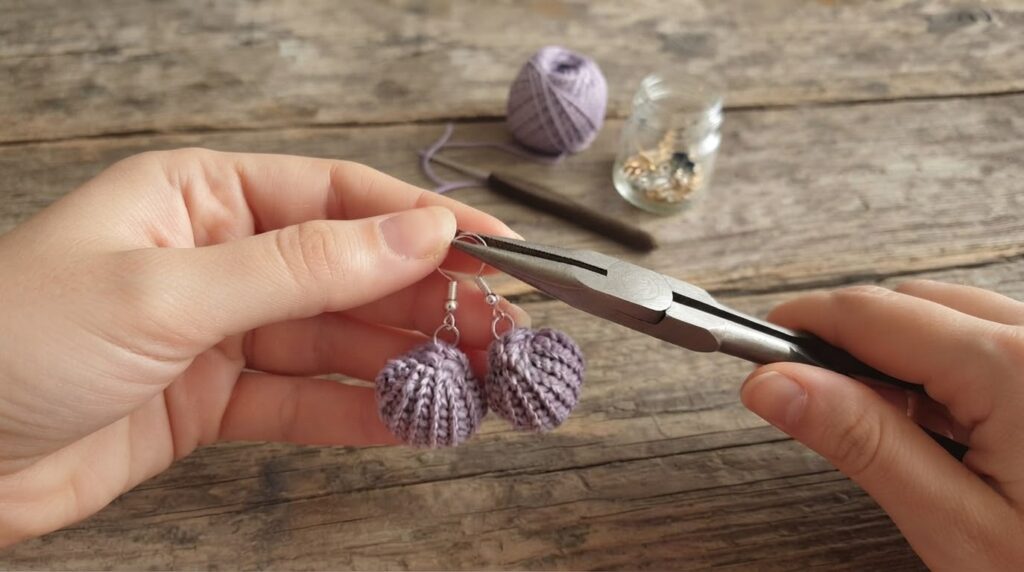
Use jewelry pliers to open one jump ring by twisting the ends sideways rather than pulling them apart.
Insert the jump ring through the top stitches of the crocheted shell.
Add one earring hook to the same jump ring.
Use the pliers to close the jump ring securely.
Repeat the same steps for the second shell.
Before wearing the earrings, check that each jump ring is completely closed and that the earring hook is securely attached.
Frequently Asked Questions
Is this seashell earring pattern suitable for beginners?
Yes. The crochet portion uses basic stitches, including single crochet, increases, and decreases. The front post single crochet detail in Round 5 is the only stitch that may be unfamiliar to a beginner.
Can I use a different yarn color?
Yes. You can use any cotton yarn color you like. Light or pastel colors work well for a seashell-inspired look, but the pattern can also be made in neutral or brighter colors.
Do I have to use fiberfill?
No. Fiberfill is optional. You can leave the shell unstuffed for a flatter earring or add a small amount if you want a slightly fuller shape.
Can I sell earrings made from this pattern?
Yes. You may sell finished earrings made from this pattern in small quantities. Please credit AmyLiva Handmade as the pattern designer. The written pattern itself may not be copied, reproduced, translated, redistributed, or resold.
How should I clean the earrings?
If cleaning is necessary, gently spot-clean the crocheted part with a small amount of mild soap and water. Avoid soaking the earrings, especially the metal hardware, and allow them to dry completely before wearing them.
Pattern Usage
This crochet pattern is designed and written by AmyLiva Handmade.
You may make finished seashell earrings for personal use, as gifts, or for small-quantity sale. Please credit AmyLiva Handmade as the pattern designer when sharing or selling finished items made from this pattern.
The written pattern may not be copied, reproduced, translated, redistributed, or resold, in whole or in part.



Yorum gönder