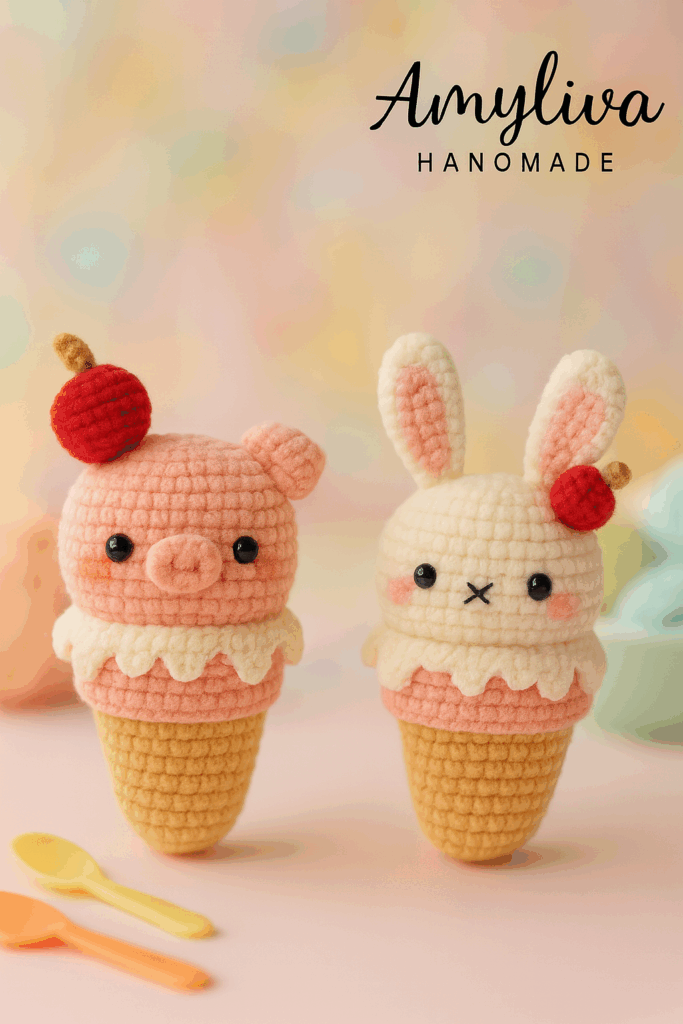
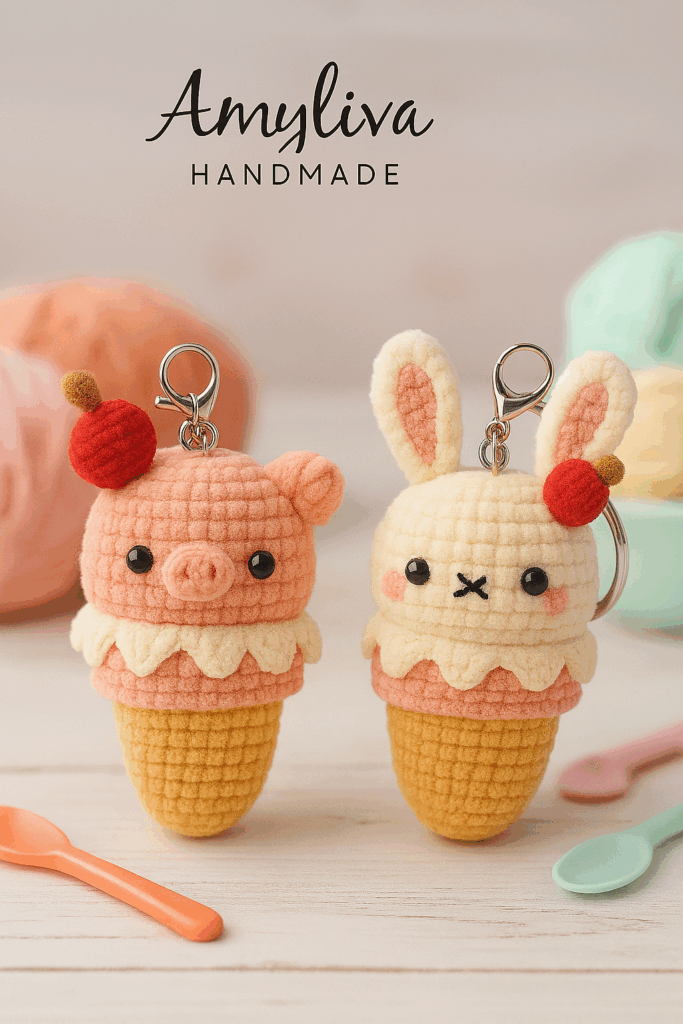
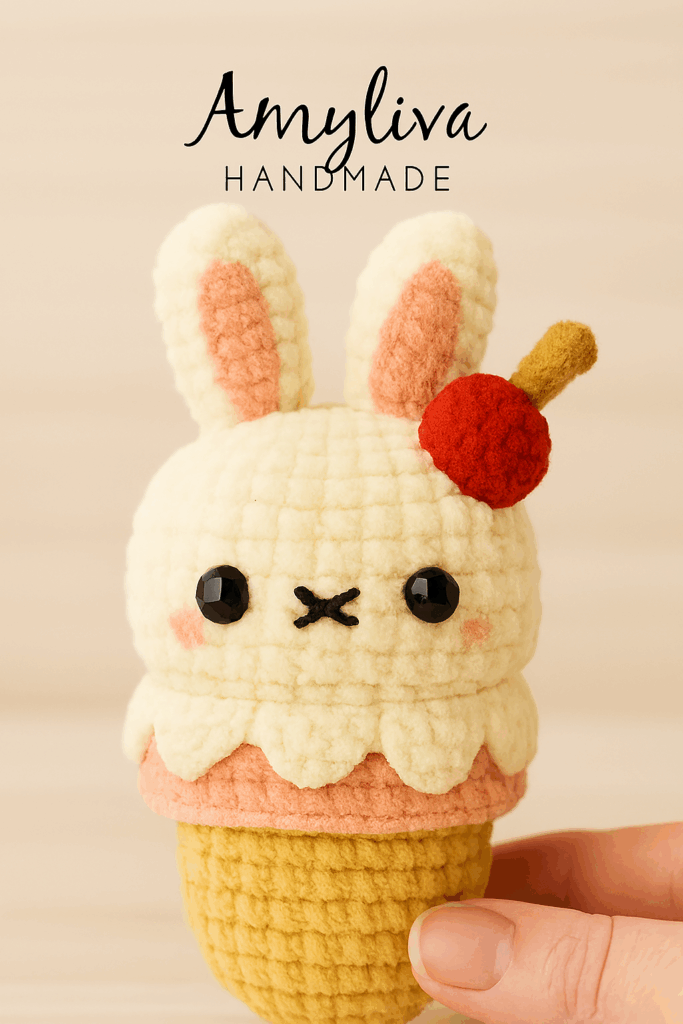
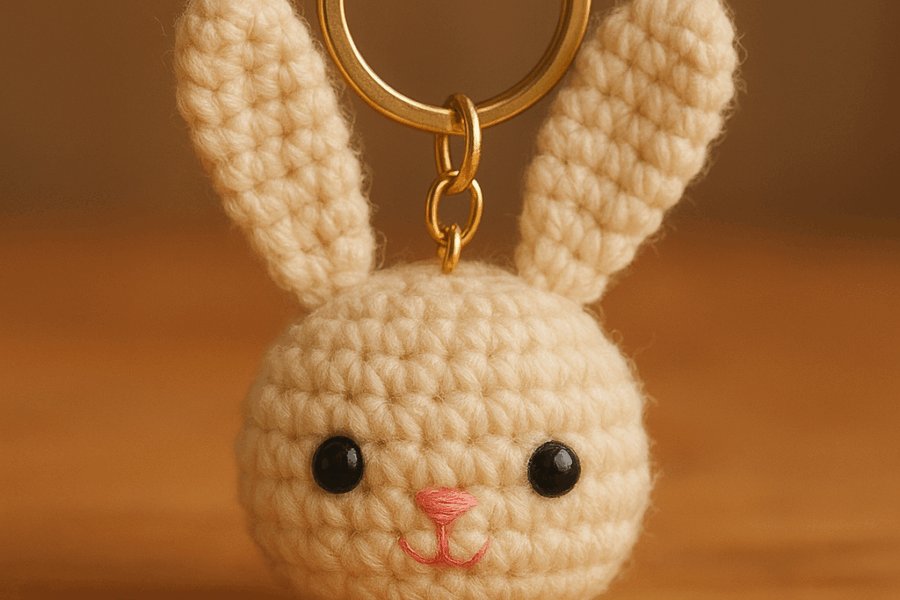
This visual is the focal point of your blog post, designed to draw visitors in. The image features completed, handmade Bingchilling amigurumi figures (both the pink piglet and the cream-colored rabbit).

The Ultimate Bingchilling Amigurumi Guide
-
- 5 minute read
- 0 Comments
Introduction: The Viral Trend You Can Hold in Your Hand
Have you ever come across a phrase so fun and catchy that it just sticks with you? That’s exactly what happened with “Bingchilling.” This lighthearted term, which went viral thanks to a cheerful video by Chinese influencer Zao Wou-ki, has come to represent a feeling of pure, simple joy. As a result, this blog post is your definitive guide to a Bingchilling crochet pattern that will bring this viral sensation to life.
At Amyliva Handmade, we believe that crafting should be fun, rewarding, and accessible to everyone. That’s why we’ve designed this comprehensive guide, offering a free amigurumi pattern for the adorable Bingchilling pig and rabbit. Furthermore, free amigurumi patterns like this are perfect for building your crochet skills and creating unique, handmade gifts for friends and family. Ultimately, our goal is to help you feel confident and excited about your next creative project.
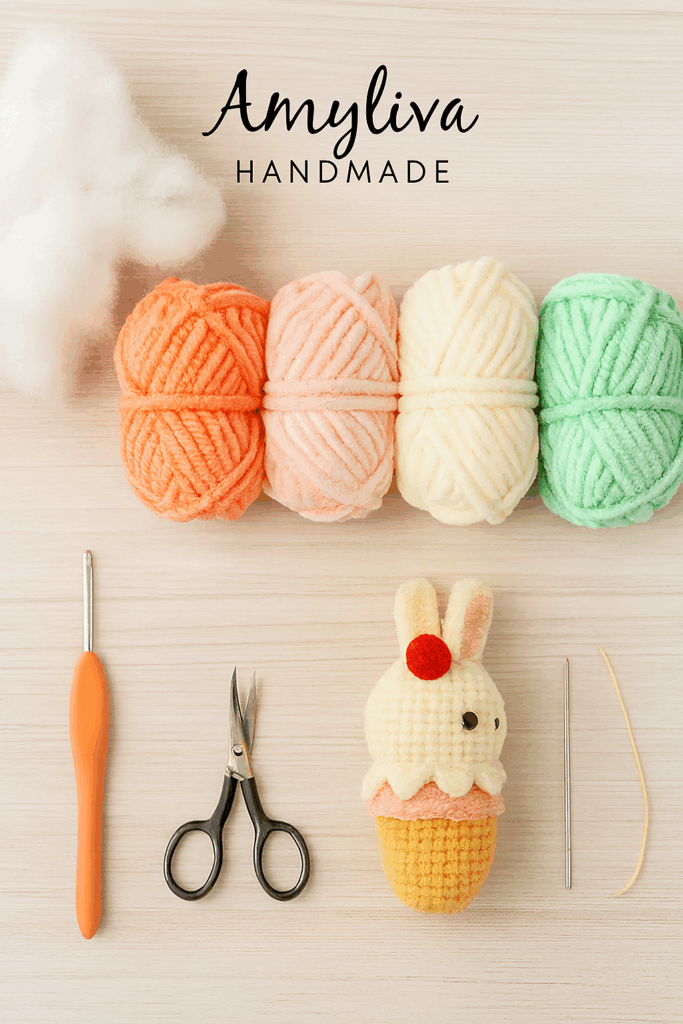
Part 1: Gathering Your Supplies
Before you begin this fantastic project, it’s crucial to have all your materials ready. Having everything at hand will make your crocheting experience smooth and stress-free. So, let’s get started with your shopping list.
• Yarn: For amigurumi, we recommend using worsted-weight (size 4) yarn. Cotton or acrylic blends are perfect since they create tight stitches that prevent the stuffing from showing through. For this reason, you’ll need light pink or off-white for the head, a light beige for the cone, and a contrasting color for the dripping cream and fruit. Finding the right yarn is crucial for any DIY crochet project. You can find high-quality yarn crafts supplies at local craft stores or online shops specializing in amigurumi.
• Crochet Hook: A 2.5 mm or 3.0 mm hook is ideal for this project. The smaller hook size helps create a firm fabric, which is essential for amigurumi.
• Stuffing: Polyester fiberfill is the most common choice for amigurumi stuffing.
• Safety Eyes: A pair of 6mm safety eyes will give your figures a classic, cartoonish look. Alternatively, you can use black embroidery floss to stitch the eyes for a softer feel.
• Yarn Needle: This is a vital tool for weaving in ends and sewing all the parts together neatly.
• Scissors: A small, sharp pair of scissors for cutting yarn.
• Stitch Markers: Finally, these are crucial for marking the beginning of each round, especially when working in a spiral.
Part 2: The Free Bingchilling Amigurumi Pattern (Step-by-Step)
All instructions below use standard US crochet terminology. We’ll be working in a continuous spiral unless otherwise instructed.
Head (Pig & Rabbit)
First, you’ll create the main part of your figure. Remember to stuff firmly as you go to maintain a round shape.
• R1: Magic Ring (MR) with 6 single crochet (sc) (6)
• R2: 6 increases (inc) (12)
• R3: (1 sc, 1 inc) x 6 (18)
• R4: (2 sc, 1 inc) x 6 (24)
• R5: (4 sc, 1 sc, 1 inc) x 6 (24)
• R6: (2 sc, 1 inc) x 12, sc, sc, sc (42)
• R7-8: sc in each stitch around (42)
• R9-11: 36 sc
• R12: sc, sc, sc, inc x 122, sc, sc, sc (42)
• R13-15: sc in each stitch around (42)
• R16: 6 decreases (dec) (6)
• Fasten off and leave a long tail for sewing.

Ice Cream Cone
Next, you’ll create the base of your amigurumi.
• R1: Magic Ring with 6 sc (6)
• R2: 6 inc (12)
• R3: (sc, inc) x 6 (18)
• R4: 23 sc
• R5-6: sc in each stitch around
• R7: (sc, sc, inc) x 6, 2 inc (24)
• R8: 24 sc
• Fasten off and set aside.
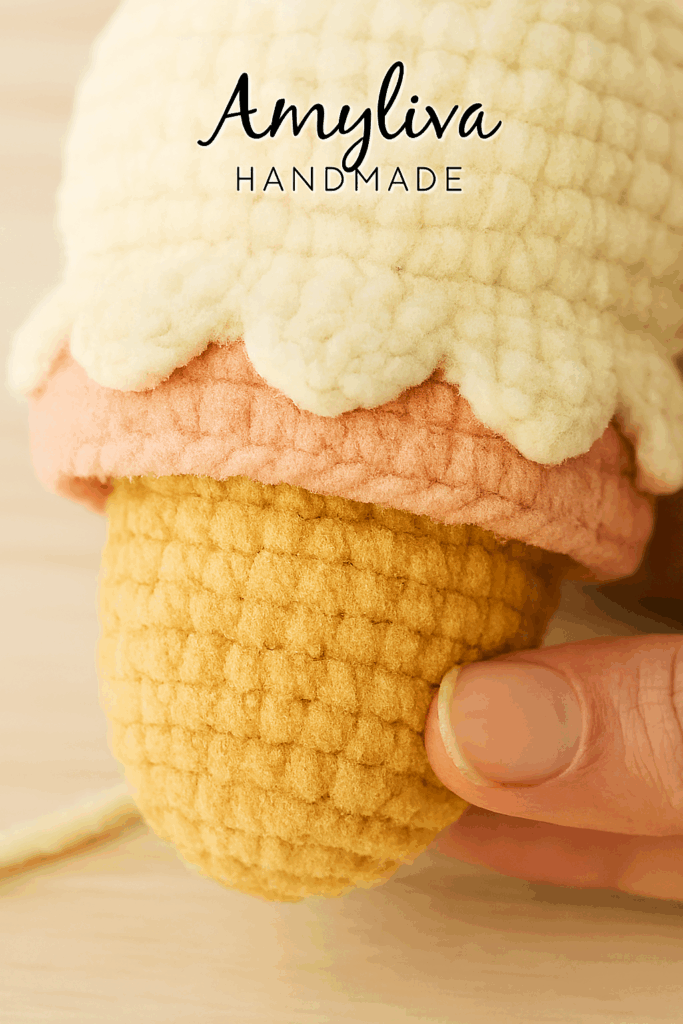
Dripping Cream Part
This is the most creative part of the project, as it gives your amigurumi its unique ice cream look.
• Work in the Front Loop Only (FLO) of R8 on the cone.
• (2 ch, 3 dc, sc, sl st), then repeat (ch, sc, hdc, dc, dc, sl st) to the end of the round. You can easily adjust the number of stitches to create a more natural dripping look. As you can see, this technique is what truly makes your Bingchilling unique.
Fruit & Arms
These small details bring the whole piece to life.
• Fruit: Begin with a Magic Ring of 6 sc. Then, increase to 12 stitches, and continue with sc in each stitch to create a rounded shape. Finally, sew a small green leaf on top.
• Arms: Begin with a Magic Ring of 5 sc. This is a very small part, so focus on maintaining a tight tension.
Pig Nose
This simple addition gives the pig its adorable face.
• Start with a chain of 4. Then turn and work 2 sc, 2 inc. Work around the chain, sc, and inc.
Part 3: Assembly & Finishing Touches
Bringing all the pieces together is the most satisfying part of the project.
• Stuffing: First, ensure all pieces are firmly stuffed before you begin sewing. This prevents the amigurumi from looking floppy.
• Sewing: Then, use your yarn needle to securely sew the head to the cone. After that, attach the arms and fruit in their designated spots.
• Facial Expressions: If you’re using safety eyes, insert them between rows 6 and 7. For the pig, use pink and black embroidery floss to stitch the snout and eye details. The rabbit’s “X” mouth is a simple yet very effective detail.
• Final Touches: Lastly, add a small amount of blush to the cheeks using pink eyeshadow or paint to make your Bingchilling look even cuter.
Part 4: Expert Tips for a Perfect Amigurumi
To help you get the best possible result, here are some pro tips that experienced crocheters swear by. By following these, you can avoid common mistakes.
• Master the Magic Ring: The magic ring is the foundation of most amigurumi patterns. If you struggle with it, you can find a lot of helpful video tutorials on YouTube. A tight magic ring ensures there’s no hole at the top of your work.
• Don’t Forget Your Stitch Marker: Using a stitch marker is absolutely essential when working in a spiral. It helps you keep track of your rows and prevents you from miscounting, which is a common beginner’s mistake.
• Maintain Even Tension: Consistent tension is key to a beautiful, even fabric. Try to keep your yarn pulled with the same amount of pressure throughout the project.
• Invisible Decrease: This technique helps avoid a “bumpy” look where you decrease. It’s a simple change that makes a big difference in the final product.
• Stuffing is an Art: Don’t understuff your amigurumi, as it will look floppy. On the other hand, don’t overstuff it either, as it can stretch the stitches and make the stuffing show.
Part 5: Frequently Asked Questions (FAQ)
This section is designed to answer common queries and provide extra value to your readers, thus boosting your SEO.
• Q: What is Bingchilling, and why is it an amigurumi?
• A: The term “Bingchilling” is a viral phrase that has come to represent a relaxed and happy vibe. We’ve turned it into an amigurumi to capture that joyful feeling in a cute, tangible form.
• Q: Is this pattern suitable for complete beginners?
• A: Yes, absolutely! This pattern uses fundamental crochet stitches and is a great starting point for those new to amigurumi. You’ll find that crochet for beginners can be a very rewarding hobby.
• Q: Can I use a different type of yarn or hook?
• A: You can, but it may affect the final size and shape of your amigurumi. For this reason, if you change one, it’s best to adjust the other to maintain a tight gauge.
• Q: Why do my stitches look loose and the stuffing is showing?
• A: This usually happens when your hook is too large for your yarn or your tension is too loose. Consequently, try using a smaller hook to solve this issue.
• Q: How can I customize my Bingchilling?
• A: Be creative! For instance, change the yarn colors, add a different fruit on top, or even a tiny crocheted bow. The possibilities are truly endless.
• Q: What do the abbreviations in the pattern mean?
• A: We use standard US crochet terms: MR (Magic Ring), sc (single crochet), inc (increase), dec (decrease), sl st (slip stitch), ch (chain), dc (double crochet), hdc (half double crochet), and FLO (Front Loop Only).
• Q: Where can I find more easy amigurumi patterns?
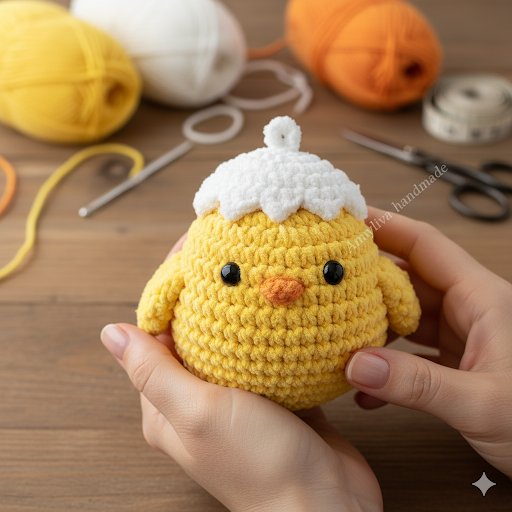
• A: Amyliva Handmade offers many easy amigurumi patterns on our blog. Whether you’re interested in food-themed amigurumi or cute animals, you’ll find plenty of inspiration for your next crochet project.
Conclusion: Share Your Creation!
Congratulations! You’ve successfully created your own charming Bingchilling amigurumi. This project is more than just a craft; it’s a piece of viral internet culture brought to life by your own two hands. We believe that this handmade masterpiece will bring a smile to anyone who sees it.
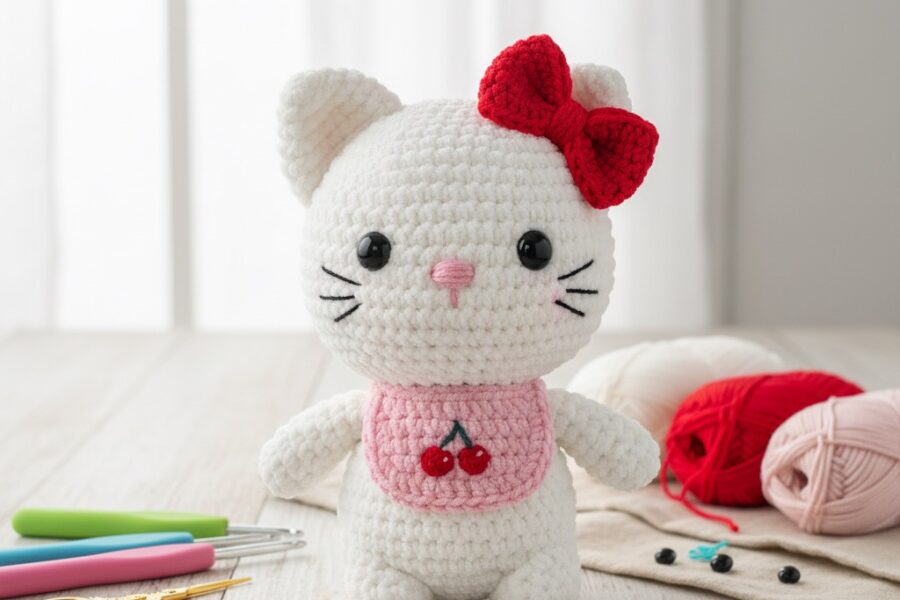
For more fun patterns, check out our popular guide on The Ultimate Kitty Amigurumi Pattern.
We love seeing what our community creates! So, share your finished Bingchilling on social media and tag us @AmylivaHandmade. Don’t forget to use the hashtags #AmylivaHandmade and #BingchillingAmigurumi so we can see and celebrate your work.
Stay tuned for more fun and free crochet patterns from Amyliva Handmade.
Happy crocheting!

Leave a Comment