What Not to Do When Making Amigurumi Keychains
(Avoid These Common Mistakes for a Flawless Finish!)
🧵 Introduction
Making amigurumi keychains is a fun and rewarding craft — small, quick, and perfect for gifting or selling. But even tiny projects can go wrong if you’re not careful! In this guide, we’ll show you what not to do when crocheting your next keychain. Whether you’re a beginner or experienced, avoiding these mistakes will save you time and give your finished piece a polished, professional look.
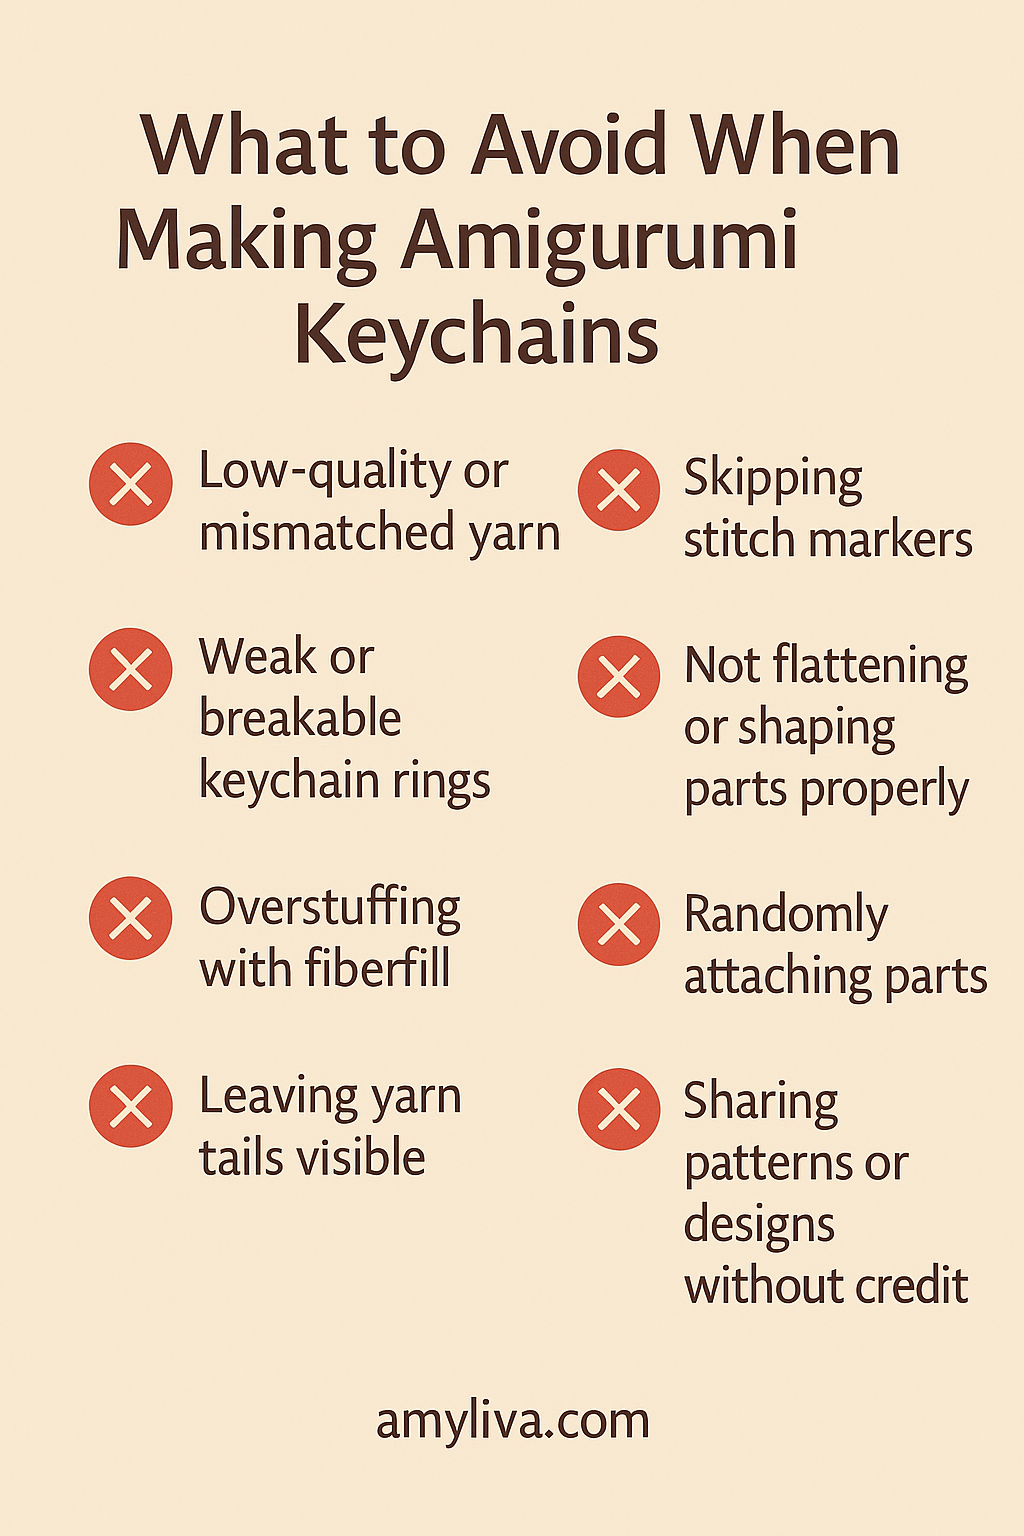
🚫 1. Don’t Use Flimsy Yarn
Using thin or loosely spun yarn can make your amigurumi look shapeless or lumpy.
Use tightly twisted cotton or acrylic yarn in DK or worsted weight for firm structure and stitch definition.
🧶 Pro Tip: Yarn that works well for wearables isn’t always the best for small amigurumi!
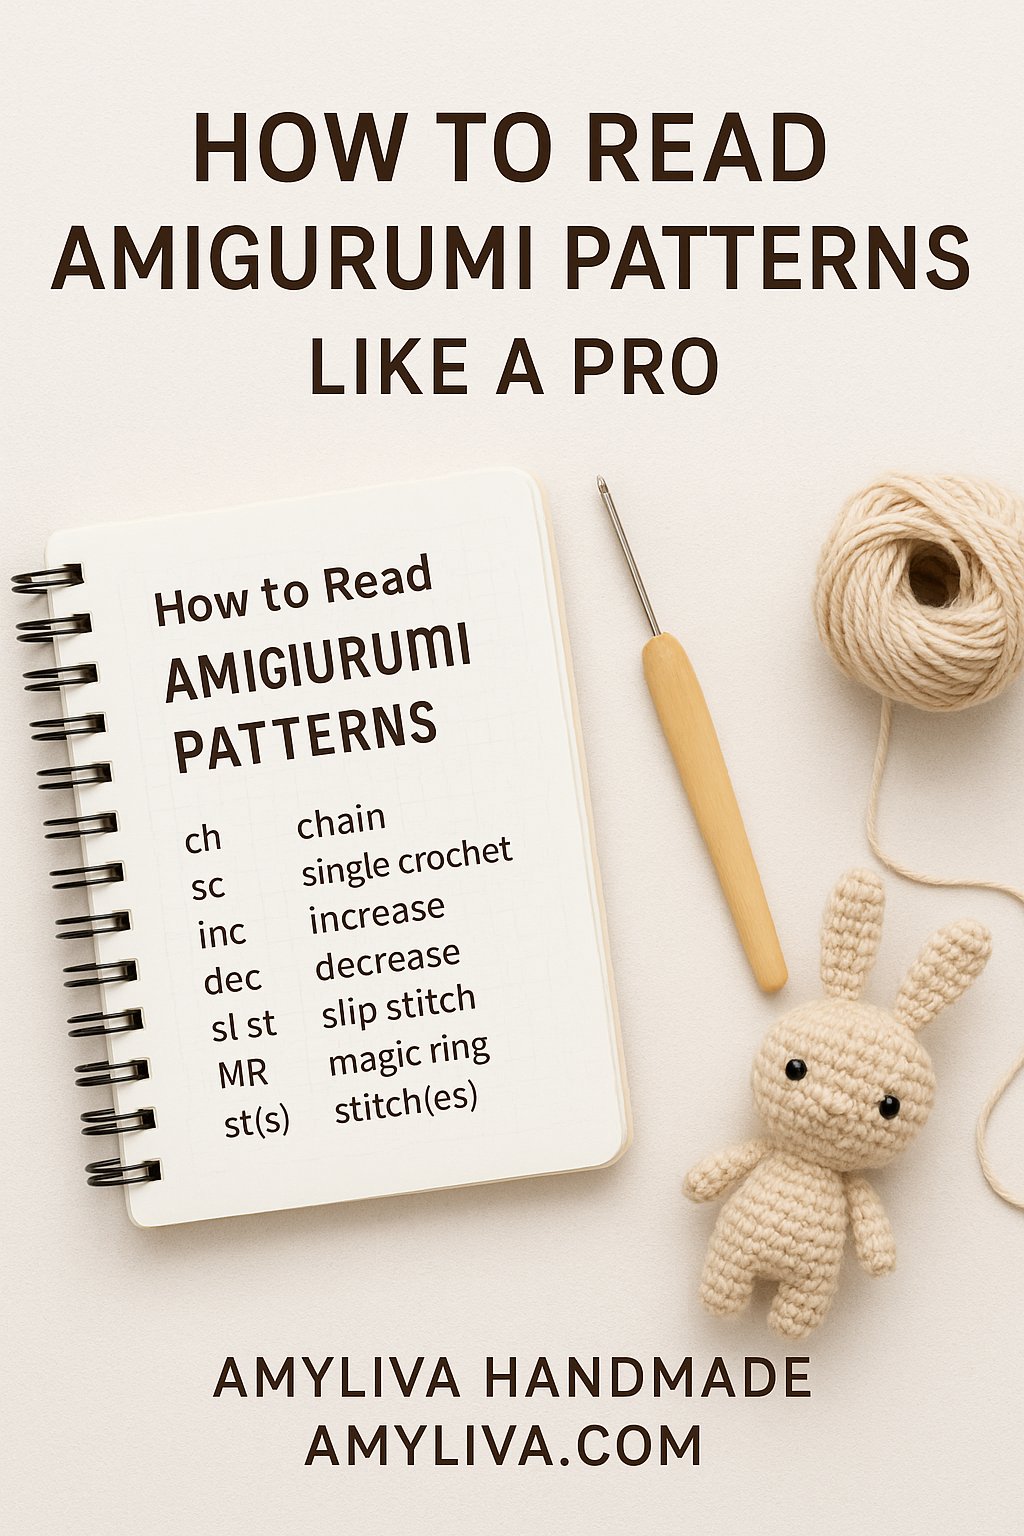
🚫 2. Don’t Skip the Stitch Marker
When working in the round, it’s easy to lose track of your rounds if you don’t mark them.
Skipping the stitch marker leads to uneven shapes or incorrect stitch counts.
📍 Fix: Use a safety pin or proper stitch marker after the first stitch of every round.
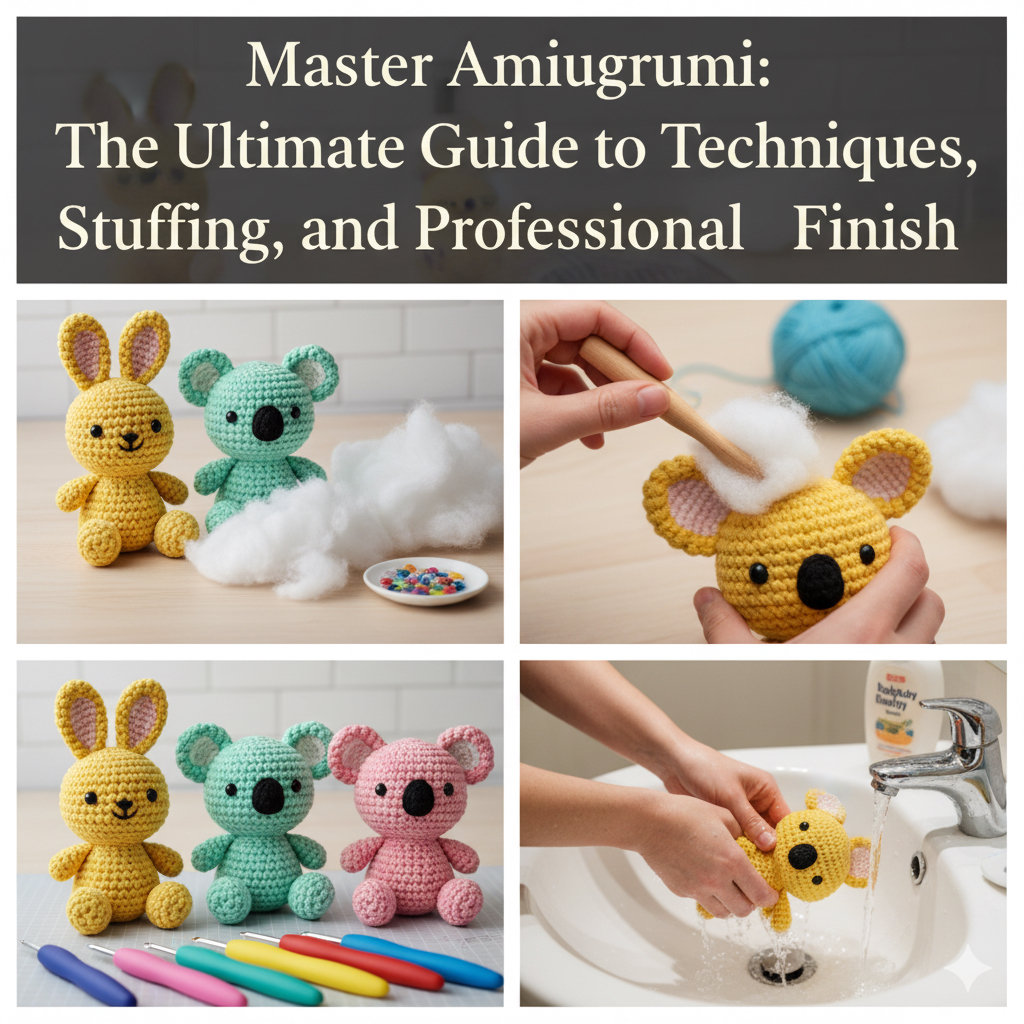
🚫 3. Don’t Overstuff
Cramming too much stuffing into your keychain will stretch the stitches and deform the shape.
This is especially problematic for small parts like ears or legs.
🧵 Solution: Fill with just enough polyfill to hold shape without poking through the stitches.
🚫 4. Don’t Leave Loose Ends
Loose yarn tails inside your keychain can shift, poke out, or unravel over time — especially with keychains that are often moved or tugged.
✂️ Best Practice: Weave in yarn tails securely with a tapestry needle and double-knot if needed.
🚫 5. Don’t Ignore Safety
If you’re giving the keychain to kids or selling it, don’t use hot glue or cheap rings that can fall off.
⚠️ A broken keyring can ruin your work — or become a choking hazard.
🔗 Pro Tip: Use screw eye pins or strong metal jump rings and sew them firmly into the top of the figure.
🚫 6. Don’t Skip Blocking (For Flat Pieces)
If your amigurumi includes flat parts like flowers or wings, don’t skip light blocking.
Unblocked pieces can curl up or look unfinished.
💦 Tip: Lightly steam block with a damp cloth and iron (don’t touch the yarn directly!).
🚫 7. Don’t Rush the Assembly
Sewing parts in the wrong position or unevenly can make a cute pattern look odd or sloppy.
🧷 Fix: Use sewing pins to position parts before attaching. Step back and double-check symmetry before final stitching.
🚫 8. Don’t Copy Without Credit
If you’re using a designer’s free or paid pattern, always credit the source when sharing your work online or selling finished items.
🌐 Good Practice: Include a line like “Pattern by AmyLiva Handmade” in your product description.
🌟 Final Thoughts
Learning what not to do is just as important as learning what to do! Avoiding these common mistakes will help your amigurumi keychains last longer, look better, and bring more joy to whoever receives them. 💛
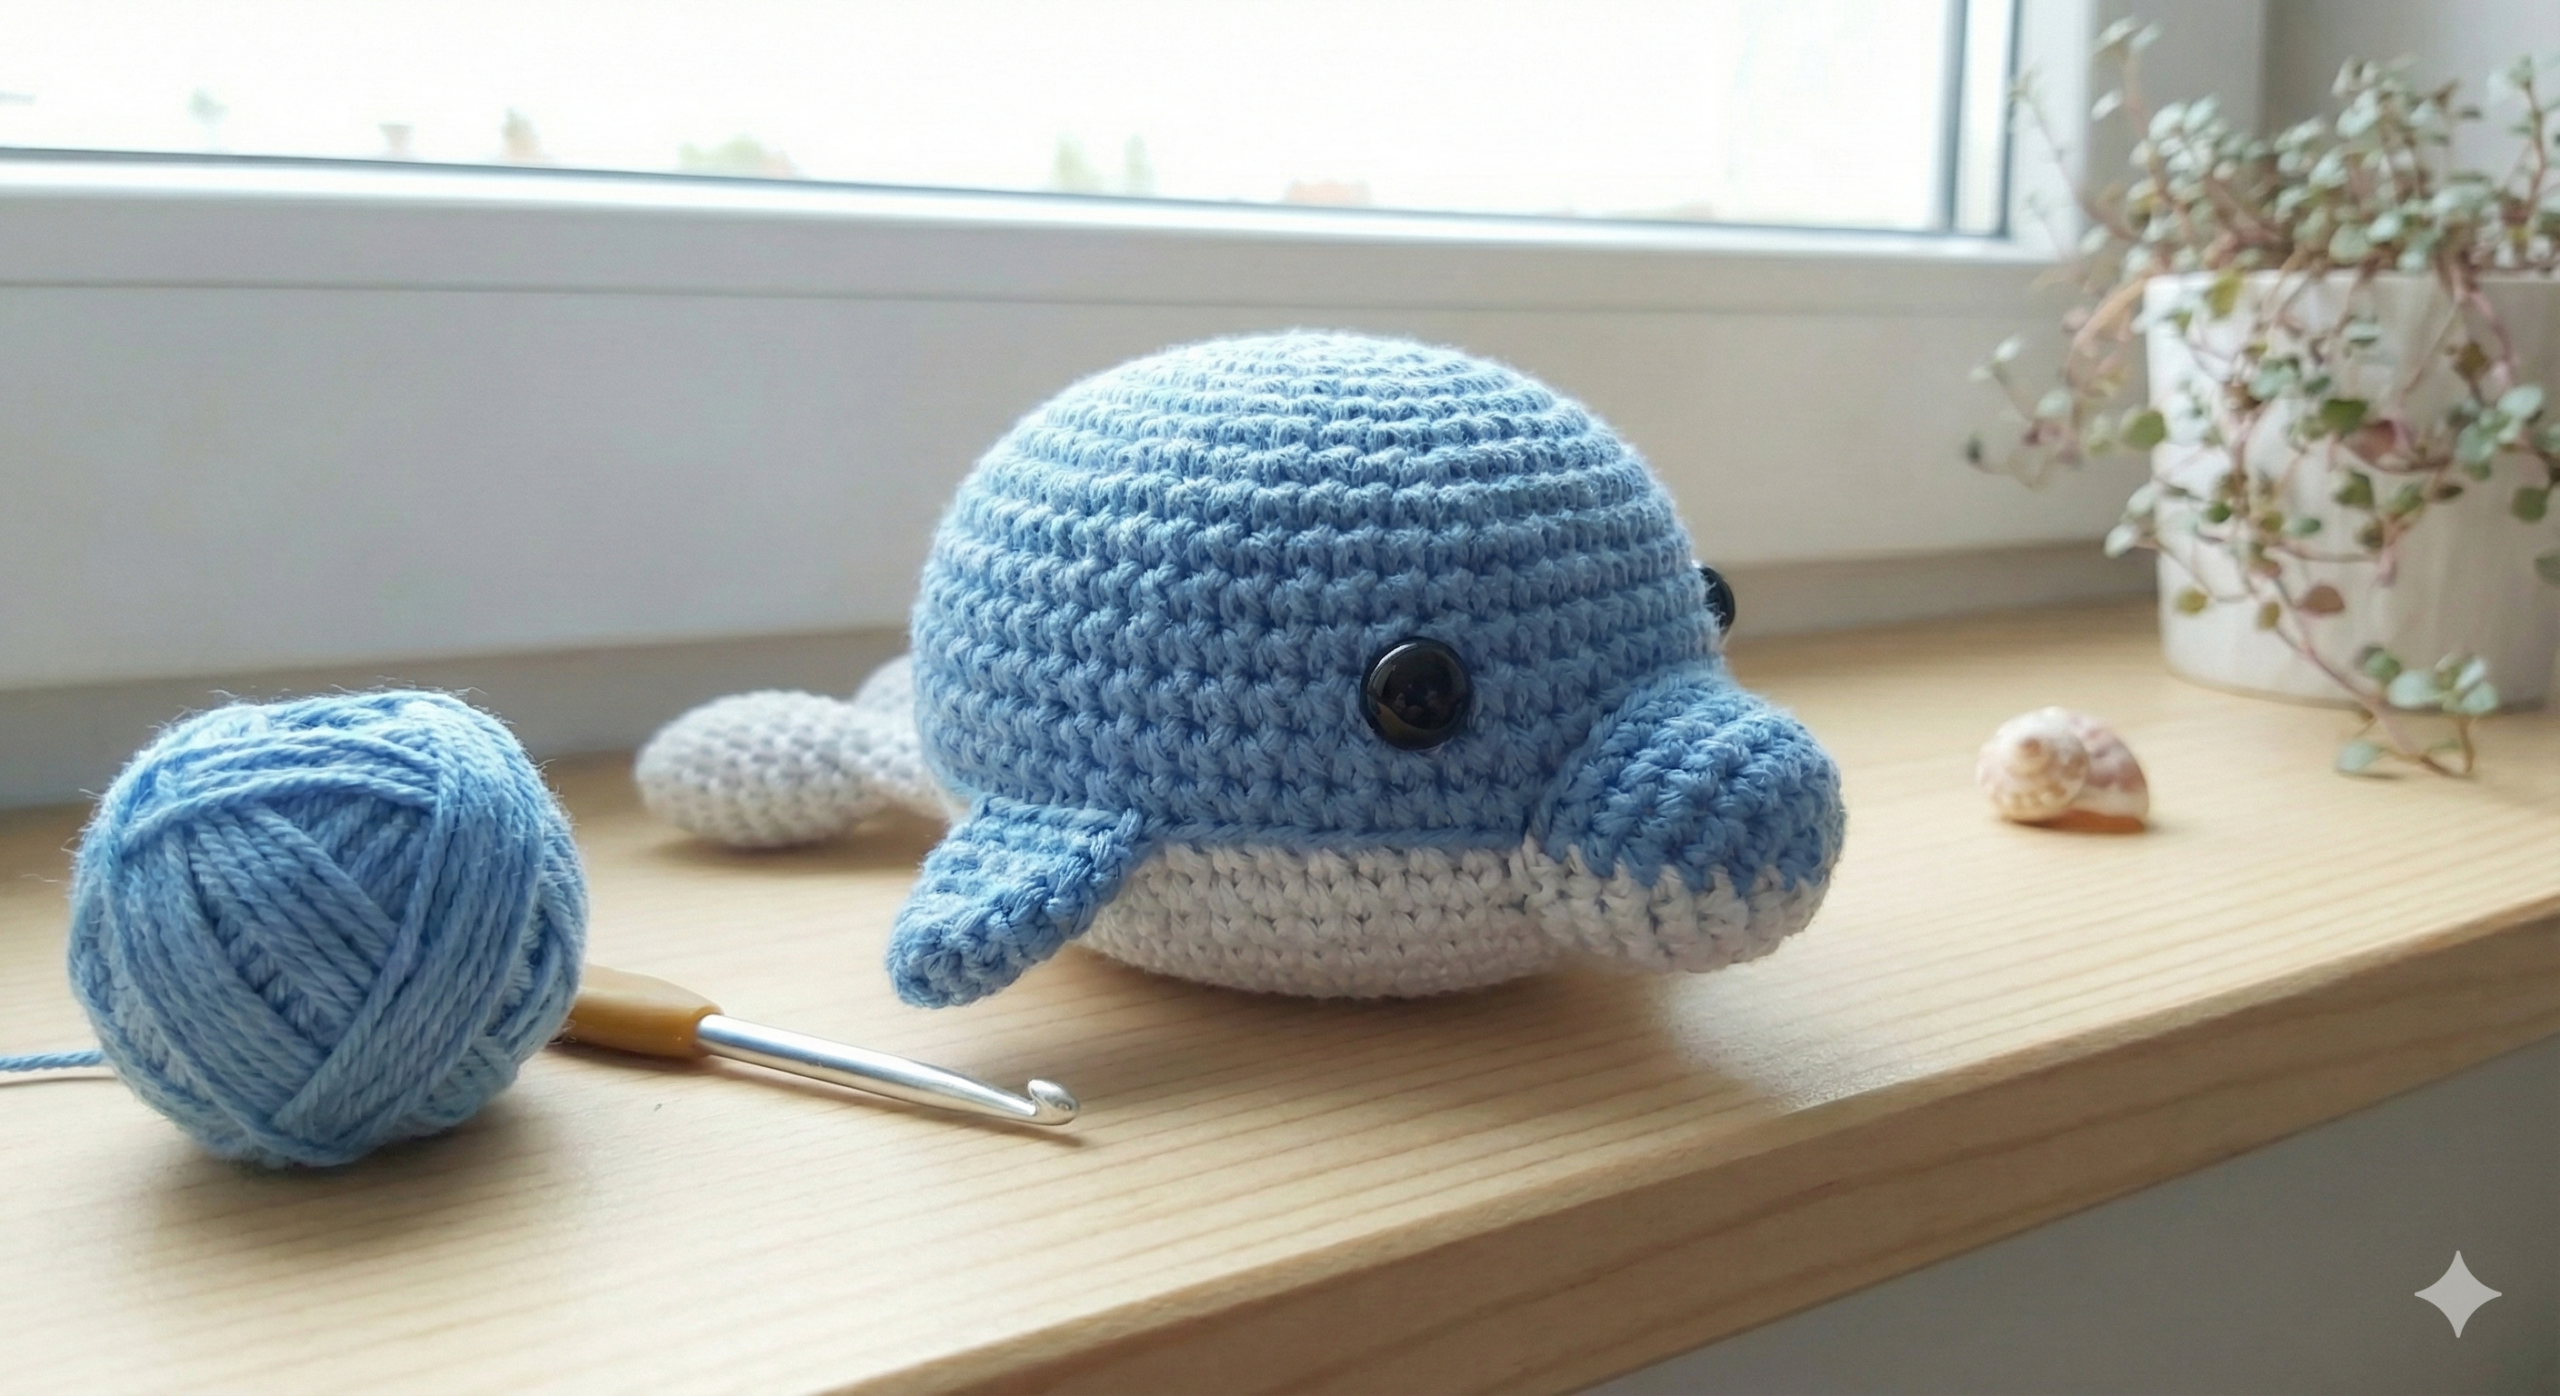
Whether you’re making cute cactus charms, sweet animals, or little food characters, these tips will help you elevate your work to the next level.
❓ Frequently Asked Questions (FAQ)
Q: Can I use any yarn for keychains?
A: Cotton or firm acrylic yarn is best. Avoid fuzzy or thin yarns for durability.
Q: Is it okay to use glue instead of sewing parts?
A: For keychains, sewing is more secure — glue may come apart over time.
Q: How do I make my stitches look neater?
A: Use a smaller hook and keep your tension consistent. Avoid splitting the yarn with your hook.
📌 Pin This Post!
If you found this helpful, save it to your Crochet Tips or Amigurumi Mistakes to Avoid board!
📷 Share your projects and tag #AmylivaHandmade so we can cheer you on!
Yorum gönder