Mini Amigurumi Ice Cream – Free Crochet Pattern
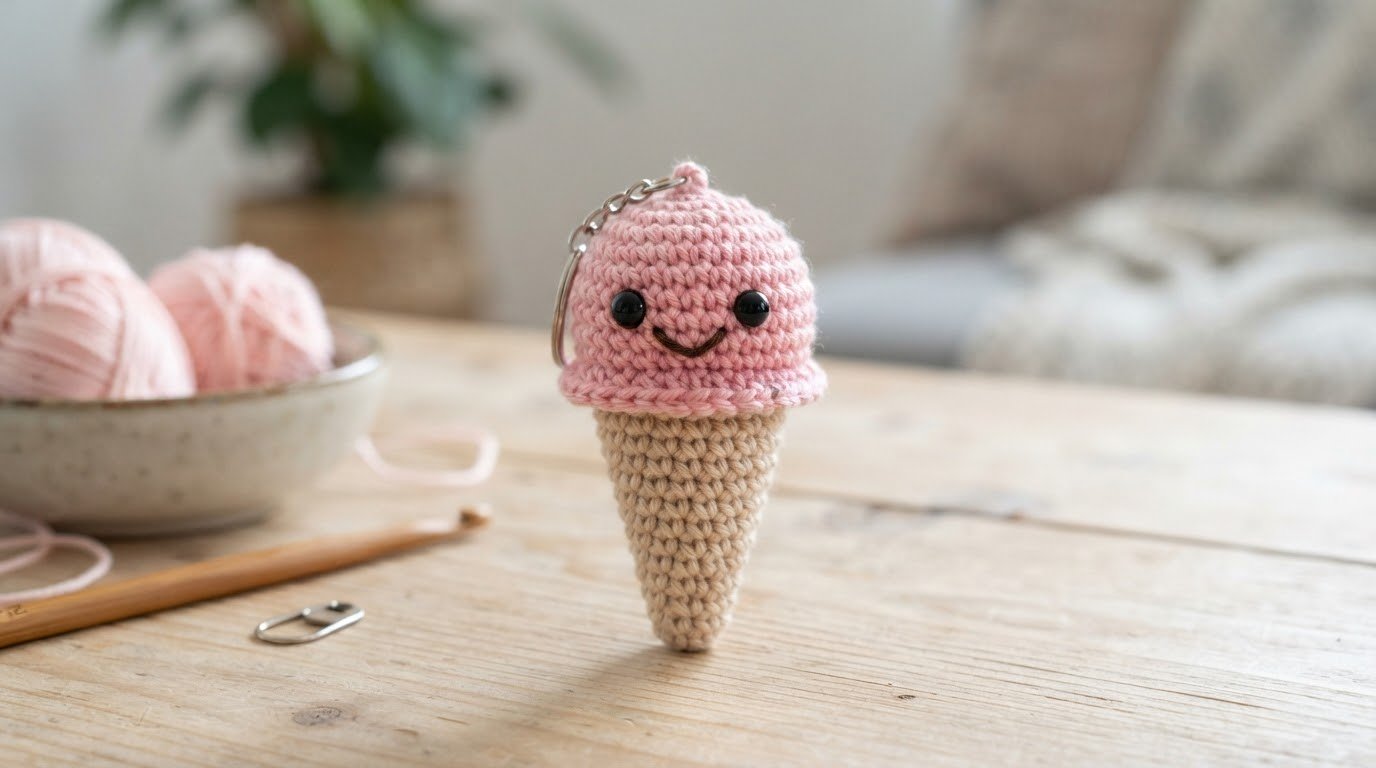
This mini crochet ice cream is a small amigurumi project made with basic stitches and two simple pieces: a cone and a scoop.
I used pink for the scoop and beige for the cone, but the colors can easily be changed. The small size also makes this project suitable for a keychain, bag charm, or a small handmade decoration.
In this free crochet pattern, I’ll show you how to crochet the cone and scoop, add the facial details, and assemble the finished ice cream.
Materials
- Pink cotton yarn for the ice cream scoop
- Beige cotton yarn for the cone
- 2.0–2.5 mm crochet hook
- Polyester fiberfill
- 6 mm safety eyes
- Embroidery thread for the smile
- Tapestry needle
- Scissors
- Stitch marker
Cotton yarn works well for this small project because it keeps the stitches neat and makes the shape easier to control.
Crochet Techniques
This pattern uses a few basic amigurumi techniques:
- Magic ring (MR)
- Single crochet (sc)
- Increase (inc)
- Decrease (dec)
- Working in continuous rounds
The cone and scoop are crocheted separately and joined during assembly.
Cone
Work with beige yarn.
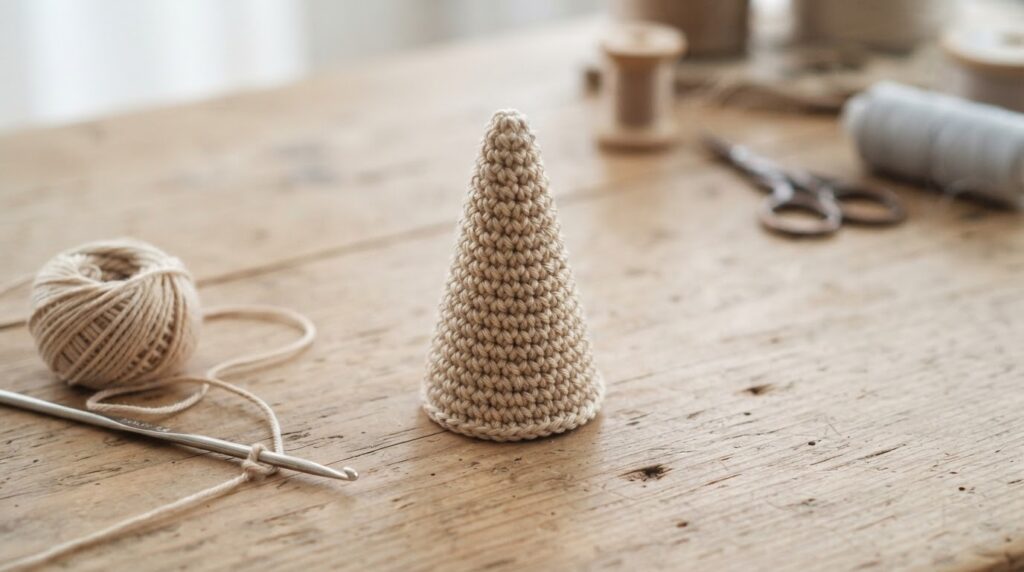
R1: 4 sc into a magic ring (4)
R2: sc around (4)
R3: (1 sc, inc) around (6)
R4: sc around (6)
R5: (2 sc, inc) around (8)
R6: sc around (8)
R7: (3 sc, inc) around (10)
R8: sc around (10)
R9: (4 sc, inc) around (12)
R10: sc around (12)
Fasten off and leave a long yarn tail for sewing.
This creates the tapered cone shape.
Scoop
Work with pink yarn.
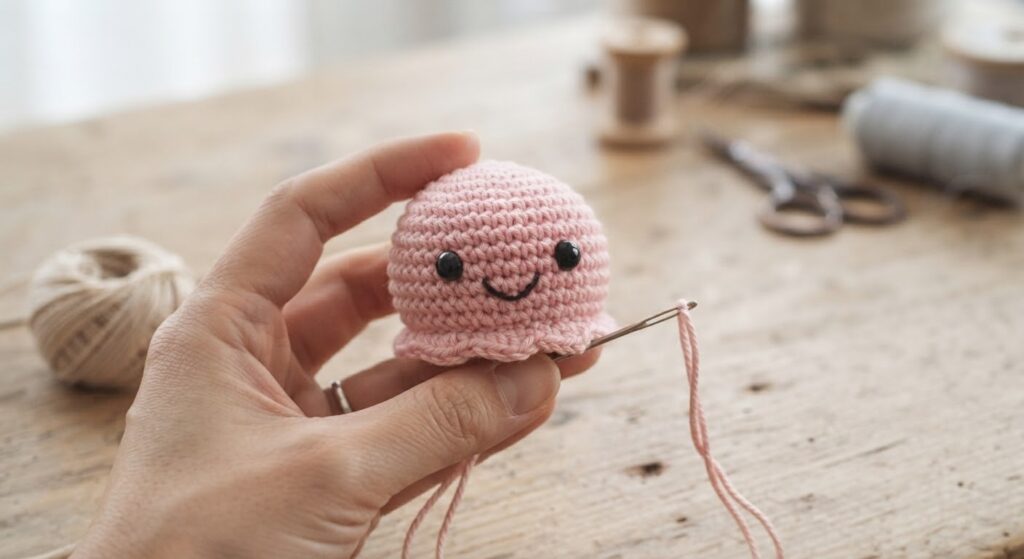
R1: 6 sc into a magic ring (6)
R2: inc around (12)
R3: (1 sc, inc) around (18)
R4: (2 sc, inc) around (24)
R5–R6: sc around (24)
R7: (6 dec, 12 sc) (18)
R8: (3 dec, 12 sc) (15)
Start adding fiberfill gradually. Insert the safety eyes between R4 and R5.
R9: (3 dec, 9 sc) (12)
R10: dec around (6)
Fasten off, close the remaining opening, and weave in the yarn end.
Assembly
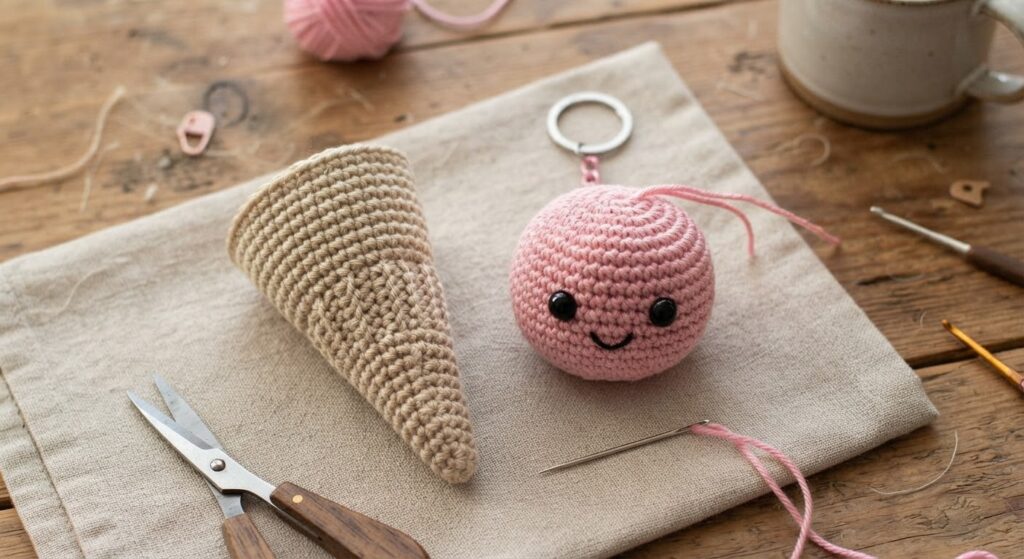
- Place the pink scoop on top of the beige cone.
- Sew the bottom of the scoop securely to the top edge of the cone, spacing your stitches evenly around the opening.
- Embroider a small smile below the eyes using embroidery thread.
- Weave in any loose yarn ends.
- If you want to use the ice cream as a keychain, attach a keychain ring securely to the top of the scoop.
Check the connection between the scoop and cone before using the finished piece as a keychain or bag charm.
Optional Add-ons
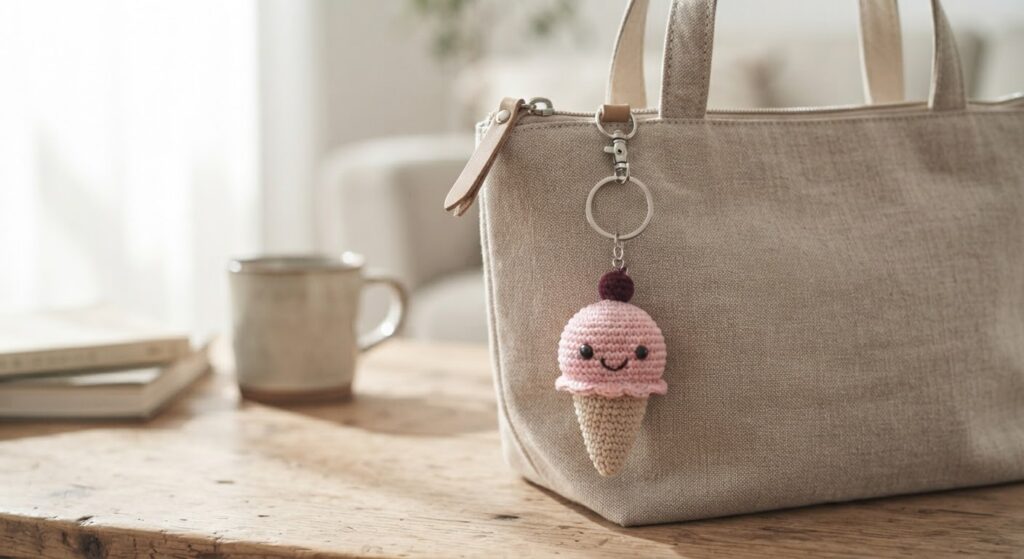
You can add a few small details to change the look of the finished ice cream:
- Sew a small pom-pom on top as a cherry.
- Embroider small sprinkles on the pink scoop.
- Use different yarn colors for the scoop and cone.
- Add a keychain ring if you want to use it as a keychain or bag charm.
Helpful Tips
- Keep your stitches tight so the stuffing does not show through.
- Add the fiberfill gradually to keep the scoop evenly shaped.
- Use a stitch marker when working in continuous rounds.
- Do not overstuff the scoop, especially near the closing rounds.
- Leave long yarn tails on the cone and scoop for secure sewing.
- Check the connection between the cone and scoop before using the project as a keychain.
- If you add small decorative pieces, sew them securely and check them before use.
FAQ
Can I use different colors?
Yes. You can use any colors you like for the scoop and cone. You can also make the scoop in different colors to create several ice cream designs.
Can I make the ice cream larger or smaller?
Yes. You can change the yarn weight and hook size, but this will also change the size of the cone and scoop. For the best result, use the same yarn and hook size throughout the project.
Can I use this as a keychain?
Yes. Add a keychain ring securely to the finished ice cream and check the attachment before using it.
Can I embroider the face instead of using safety eyes?
Yes. You can embroider the eyes and smile with black embroidery thread instead of using safety eyes. This can be a useful option when making the project without small plastic parts.
Can I make different ice cream flavors?
Yes. Change the scoop color to create different flavors and use different colors for the cone or decorations.
Safety Note
This crochet ice cream is intended as a handmade decorative item or keychain.
- Check that the scoop and cone are securely sewn together.
- If you use safety eyes or other small decorative parts, make sure they are firmly attached.
- Inspect the keychain ring and sewn connections regularly if you use the project as a keychain or bag charm.
- Keep small parts away from young children and pets.
- Do not use the finished item if any part becomes loose or damaged.
Copyright and Terms of Use
This crochet pattern and the accompanying photos are original content by Amyliva Handmade.
You may make finished ice cream pieces for yourself, as gifts, or for small-scale sale with credit to Amyliva Handmade.
Please do not copy, repost, translate, publish, or distribute this pattern or its photos as your own. You may share the pattern by linking to the original Amyliva Handmade post.

Yorum gönder