The Art of Amigurumi: Your Comprehensive Guide from Beginner to Expert
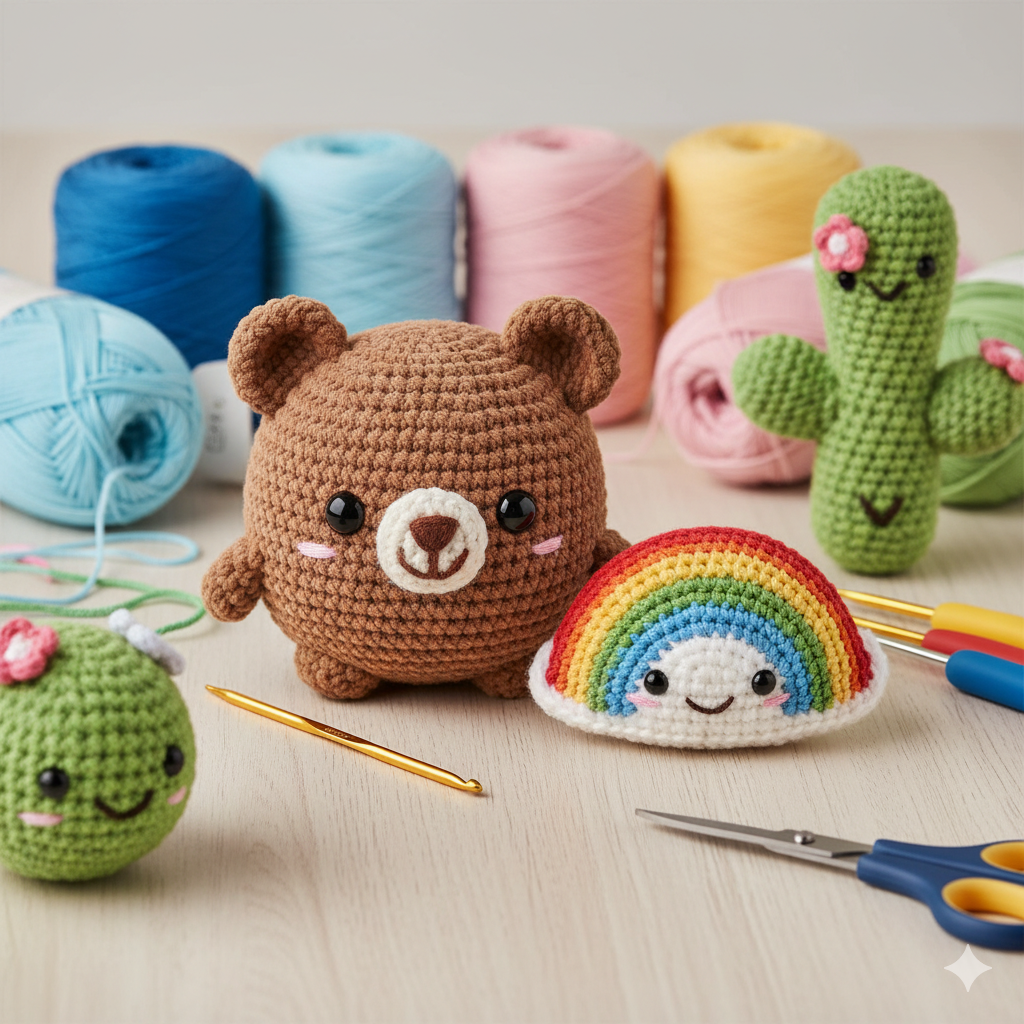
Amigurumi. The very word conjures images of charming, small, stuffed creatures bursting with personality. What began as a traditional Japanese craft has evolved into a global phenomenon, captivating hobbyists who seek a blend of mindfulness, creativity, and the joy of creating something uniquely theirs. If you’ve ever wanted to turn a simple ball of yarn and a hook into an adorable companion, you’ve come to the right place. On amyliva.com, we believe anyone can master this rewarding art form. This in-depth guide will walk you through everything, from understanding the craft’s origins to mastering advanced shaping techniques, ensuring your first few stitches lead to a lifetime of beautiful creations.
What is Amigurumi and Why is the World Falling in Love With It?
The term Amigurumi is a Japanese portmanteau: “ami” meaning crocheted or knitted, and “nuigurumi” meaning stuffed doll. Essentially, it translates to crocheted stuffed toy. But it is much more than just a toy. It embodies the Japanese aesthetic of kawaii, or cuteness, resulting in characters that often feature oversized heads and endearing, whimsical expressions.
The Philosophy Behind the Stitch
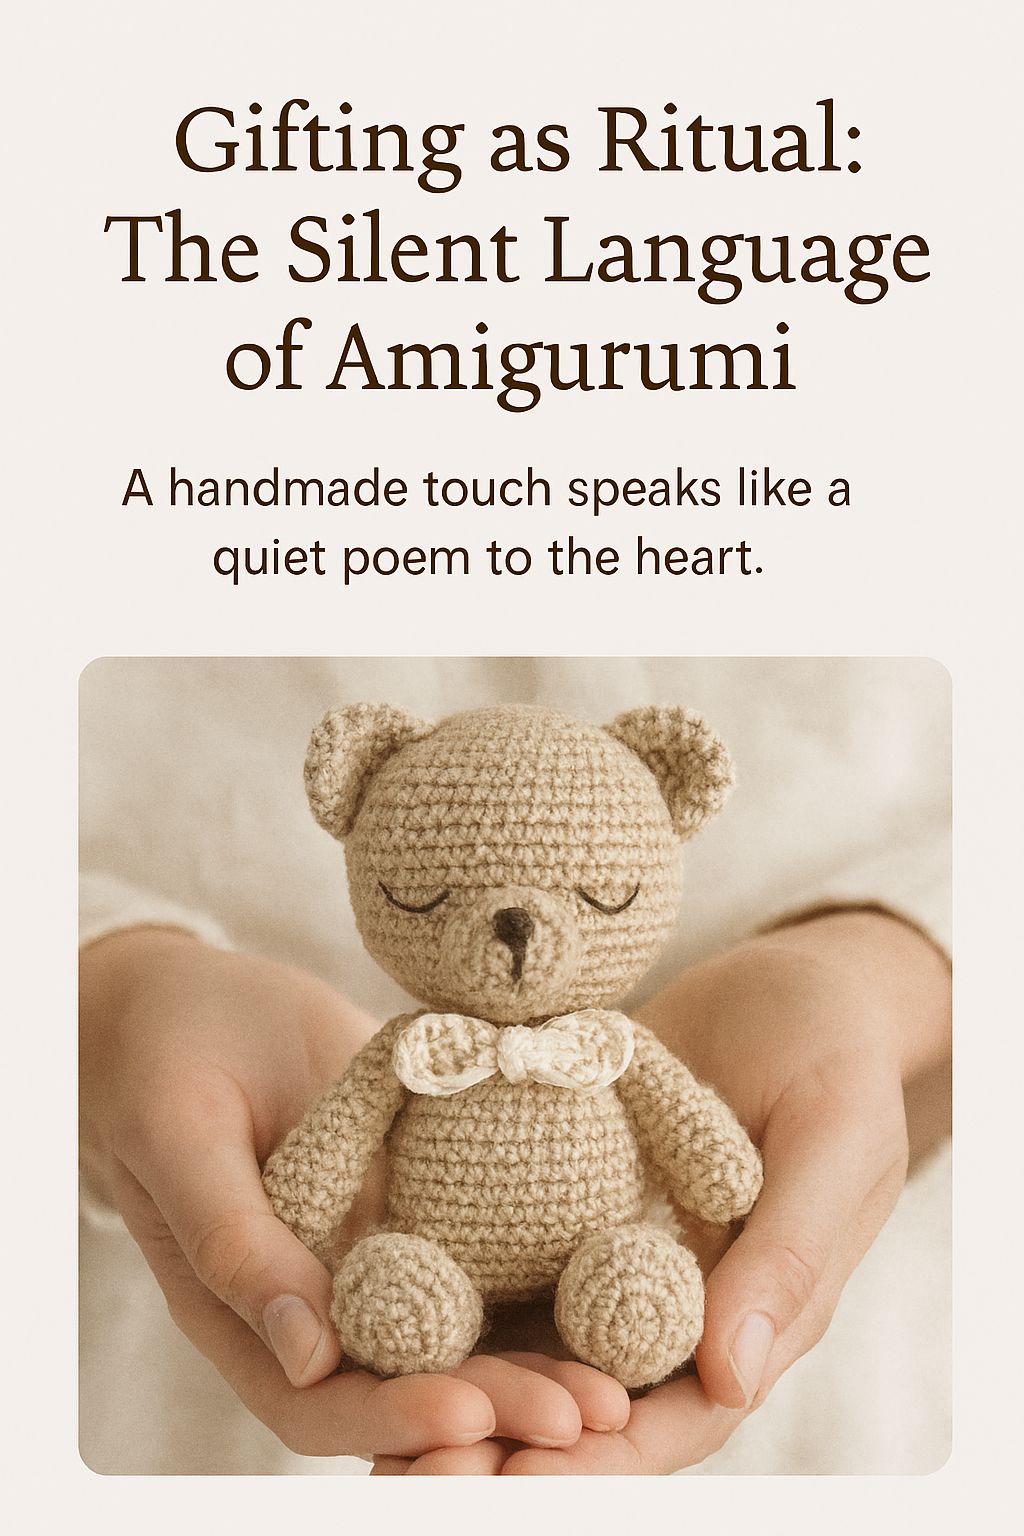
The craft’s modern popularity surged in Japan in the early 2000s and quickly spread worldwide. The true beauty of Amigurumi lies not just in the finished object, but in the sentiment. Often, these pieces are intentionally created with slight imperfections, giving each one a unique character or “soul.” Makers are encouraged to infuse their creations with a feeling of companionship and warmth, making an Amigurumi project a truly heartfelt gift or a comforting presence.
Crochet vs. Knit: The Superiority of the Hook
While technically you can knit an Amigurumi, the vast majority of patterns rely on crochet. This is due to the single crochet (sc) stitch, which is the cornerstone of the craft. Single crochet creates an exceptionally dense, tight fabric. This tight structure is crucial because it ensures two things: the piece maintains its intended shape when stuffed, and the stuffing fiber (poly-fil or boncuk elyaf) cannot poke through the stitches. For structure, durability, and a clean finish, crochet is undeniably the preferred method for Amigurumi making.
Essential Supplies: Setting Up Your Amigurumi Workshop
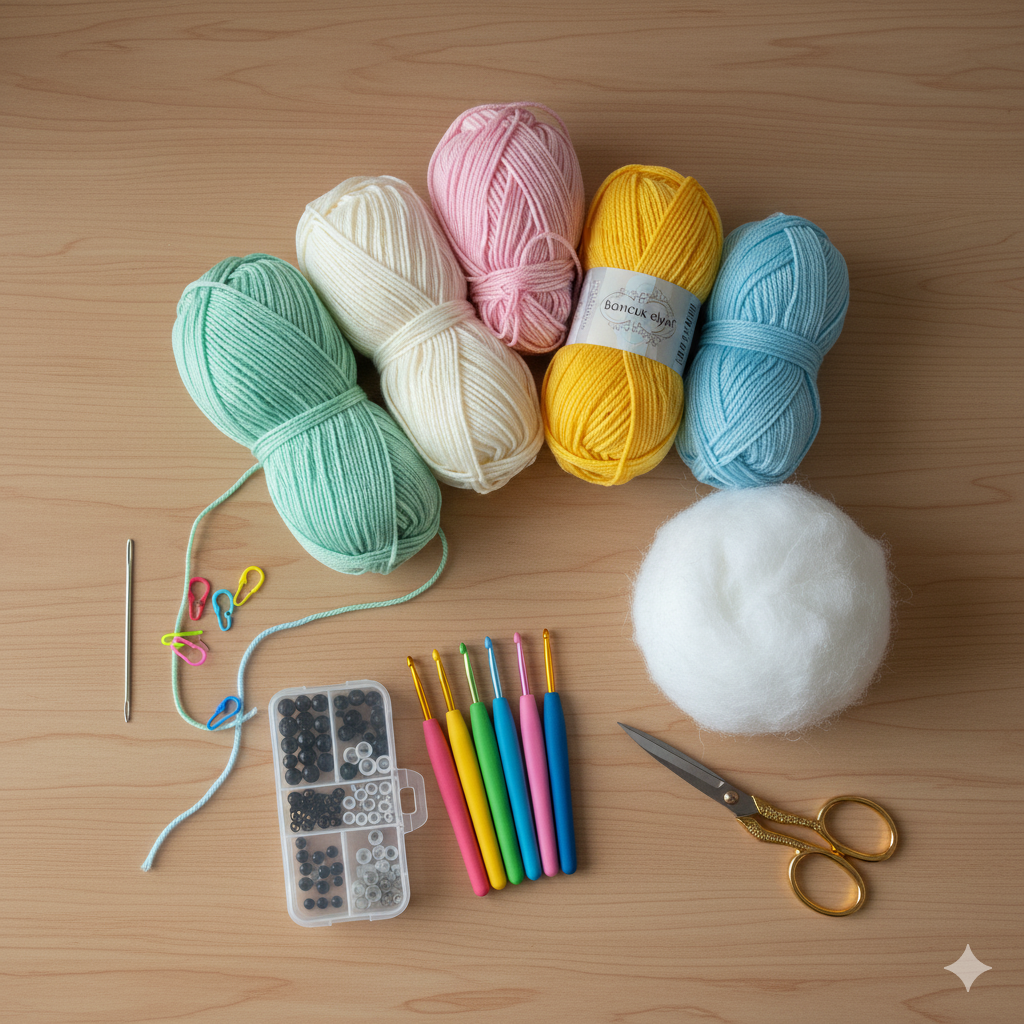
Before diving into your first pattern, you need the right tools. Selecting high-quality Amigurumi supplies will make the learning process smoother and ensure your final product lasts.
1. Yarn Selection: The Fabric of Cuteness
Choosing the correct yarn is the first major step. The most recommended type is 100% cotton yarn.
• Definition: Cotton yarn provides excellent stitch definition, meaning your stitches are clearly visible, which is vital for counting and shaping. It’s durable, doesn’t pill easily, and is generally hypoallergenic, making it the safest choice for toys for babies and children.
• Alternatives: For large, squishy projects, velvet or chenille yarns offer a wonderfully soft texture. However, they are notoriously difficult for beginners as the fuzzy surface obscures the stitches, making counting tricky.
• The Amyliva Advantage: The specialty yarns available on amyliva.com are specifically weighted and twisted for Amigurumi, providing the perfect balance of softness and structure.
2. The Mighty Hook: Choosing the Right Size
The golden rule for selecting your crochet hook for Amigurumi is to use a hook one size smaller than what the yarn label suggests.
• For instance, if your yarn recommends a 3.5 mm hook, you should start with a 3.0 mm or even a 2.5 mm hook.
• This deliberate choice ensures your tension is tight enough to prevent the filling from showing through. If your stitches are loose, the toy will lose its form and the filling will be visible—a common beginner mistake known as “gapping.” Ergonomic hooks with comfortable handles are a great investment for preventing hand strain during long, rewarding Amigurumi sessions.
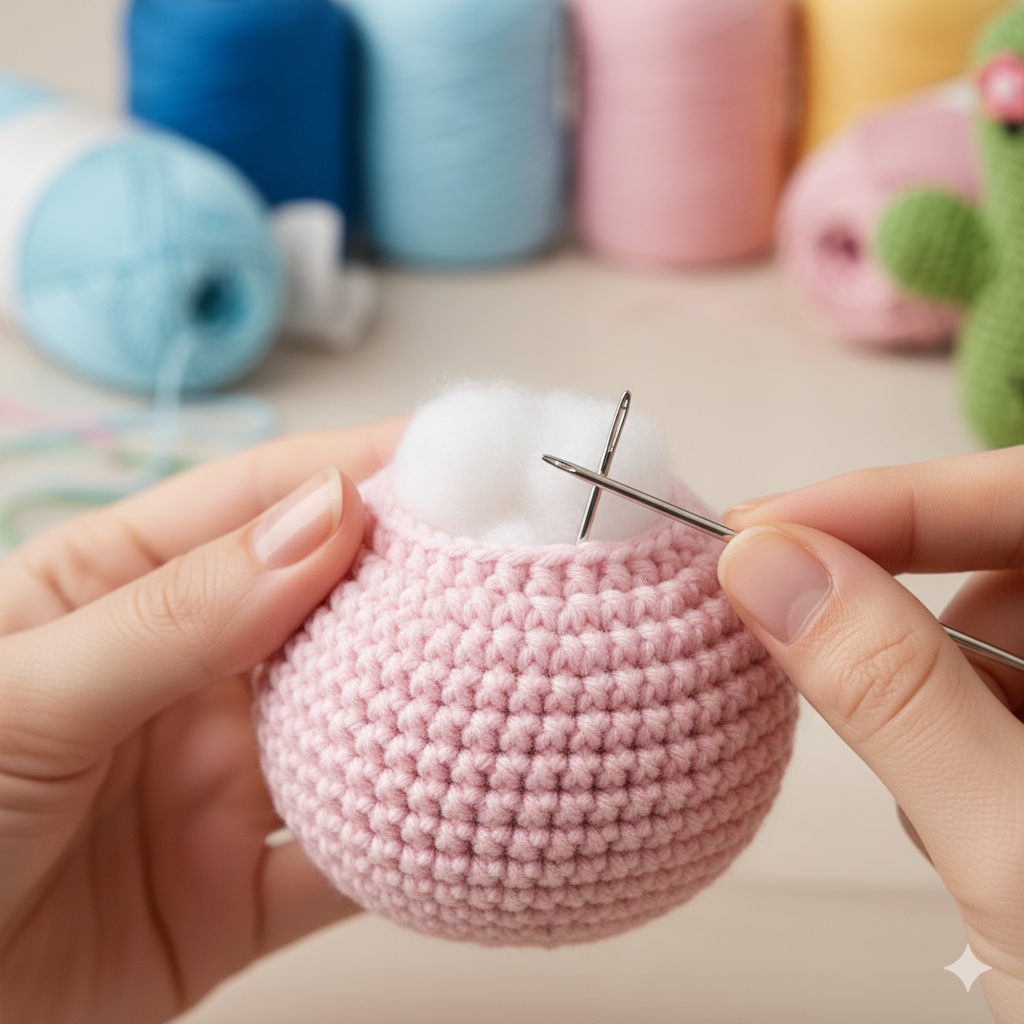
3. Stuffing and Safety Accessories
• Stuffing: The best choice is polyester fiberfill (or boncuk elyaf in Turkish) which holds its shape well and is washable. Avoid using fabric scraps or batting, as these clump and become lumpy over time.
• Eyes: For any toy intended for children under three, avoid small parts. Instead, embroider the eyes with black yarn or use securely fastened safety eyes. Safety eyes feature a locking washer that snaps into place, making it nearly impossible for them to come off.
• Other Tools: A stitch marker (essential for spiral rounds), a long tapestry needle (for assembling parts), and sharp scissors are required to complete your basic toolkit.
Foundation Techniques: The Core of Amigurumi
To successfully create a plushie, you must master the fundamental building blocks of Amigurumi techniques.
1. The Magic Ring: The Essential Start
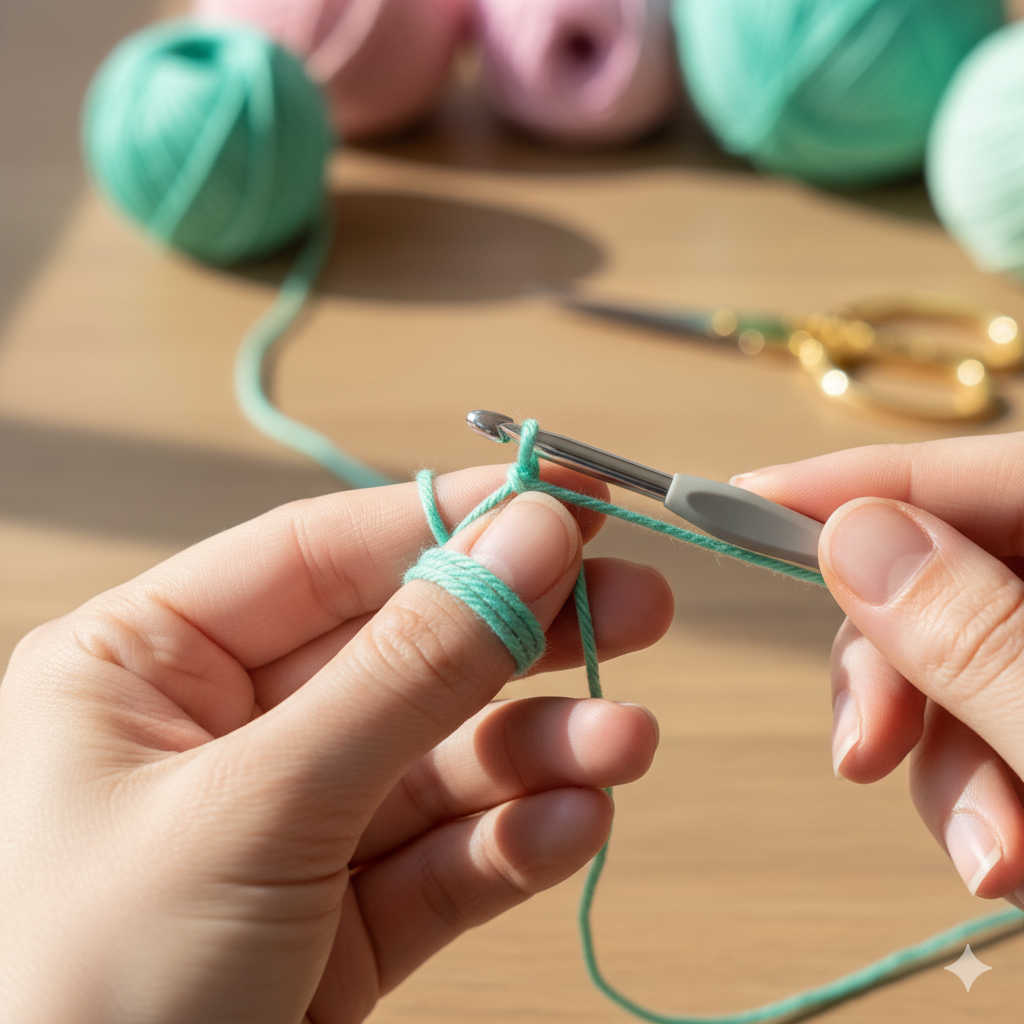
Every round Amigurumi piece begins with the Magic Ring . Its purpose is to create a perfectly closed start to your work, eliminating the hole that would otherwise appear with a traditional chain start. This ensures your piece has a smooth, professional look from the very first stitch. For a visual tutorial on this foundation, resources like PlanetJune offer excellent, clear guides on the Magic Ring technique.
2. Shaping with Increase and Decrease
While single crochet is the staple stitch, the entire art of shaping is handled by two simple techniques:
• Increase (Inc): Working two single crochet stitches into a single stitch. This widens the piece, allowing you to create the rounded bottom of a head or the expanding body of an animal.
• Decrease (Dec): Combining two stitches into one. This narrows the piece, allowing you to shape the top of the head or taper a limb.
For a truly seamless look, you must learn the Invisible Decrease (Inv Dec). This method works the decrease entirely within the front loops of the stitches, eliminating the noticeable bump that a standard decrease creates. Using the invisible decrease is a tell-tale sign of a seasoned Amigurumi crafter.
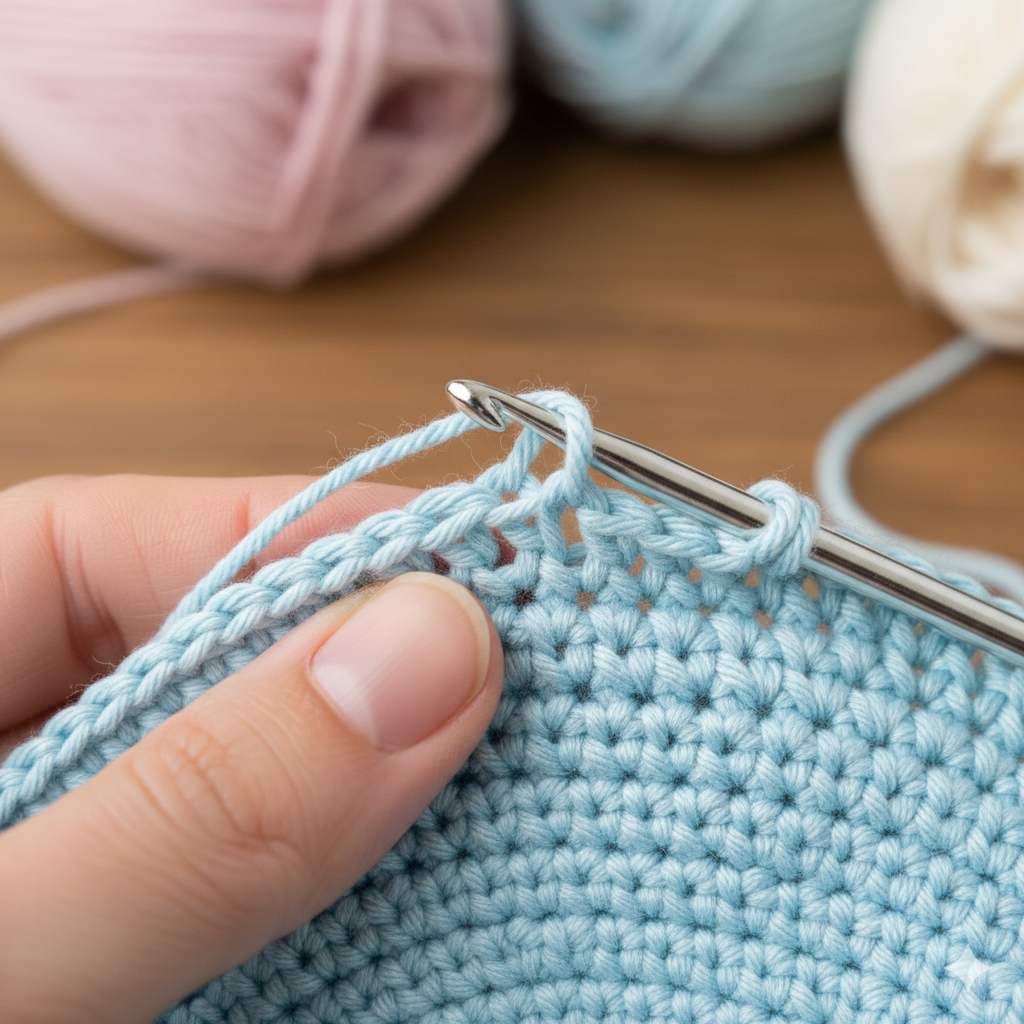
3. Spiral Crochet: The Seamless Method
Amigurumi is almost always worked in a spiral rather than in joined rounds. In joined rounds, you end the row with a slip stitch and chain up, which creates a noticeable seam. In spiral crochet, you simply continue stitching into the next row without a join.
• The Benefit: This method creates a continuous, unbroken surface, which is ideal for a smooth toy.
• The Rule: Because there is no visible seam, you must use a stitch marker to identify the first stitch of every round. Failure to mark your starting point will inevitably lead to errors in counting and shaping.
Secrets of a Professional Finish: Going Beyond the Basics
Moving from “handmade” to “expertly crafted” involves focusing on minor details that have a major impact. These Amigurumi tips and tricks are what separate casual crafters from professional designers.
1. Tension and Stuffing: Creating the Perfect Firmness
Proper tension is key. Your stitches should be tight enough that you have to slightly fight the hook to get it through the loops. If your work feels loose and spongy, use a smaller hook or try to adjust your grip to maintain more constant tension on the working yarn.
Equally important is stuffing. Stuffing must be done firmly and evenly, usually just before the piece is fully closed. Add the stuffing incrementally, using the back of your hook or a dowel to push the fiberfill into tight spots like the tips of arms or legs. If the piece is under-stuffed, it will look floppy and lose its form; if it’s over-stuffed, the stitches will stretch and gape. For more detailed visual guidance on proper stuffing, you can often find great video demonstrations on popular crochet channels like The Crochet Crowd.
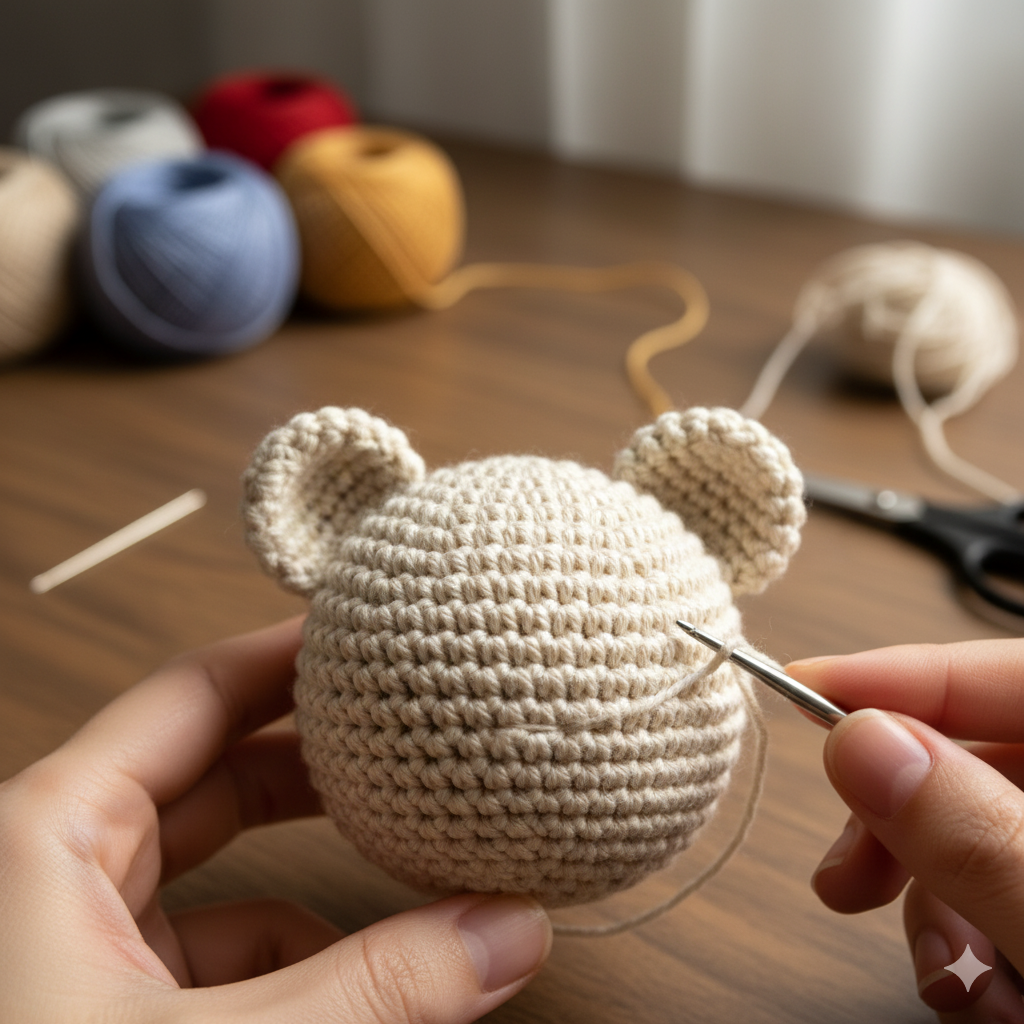
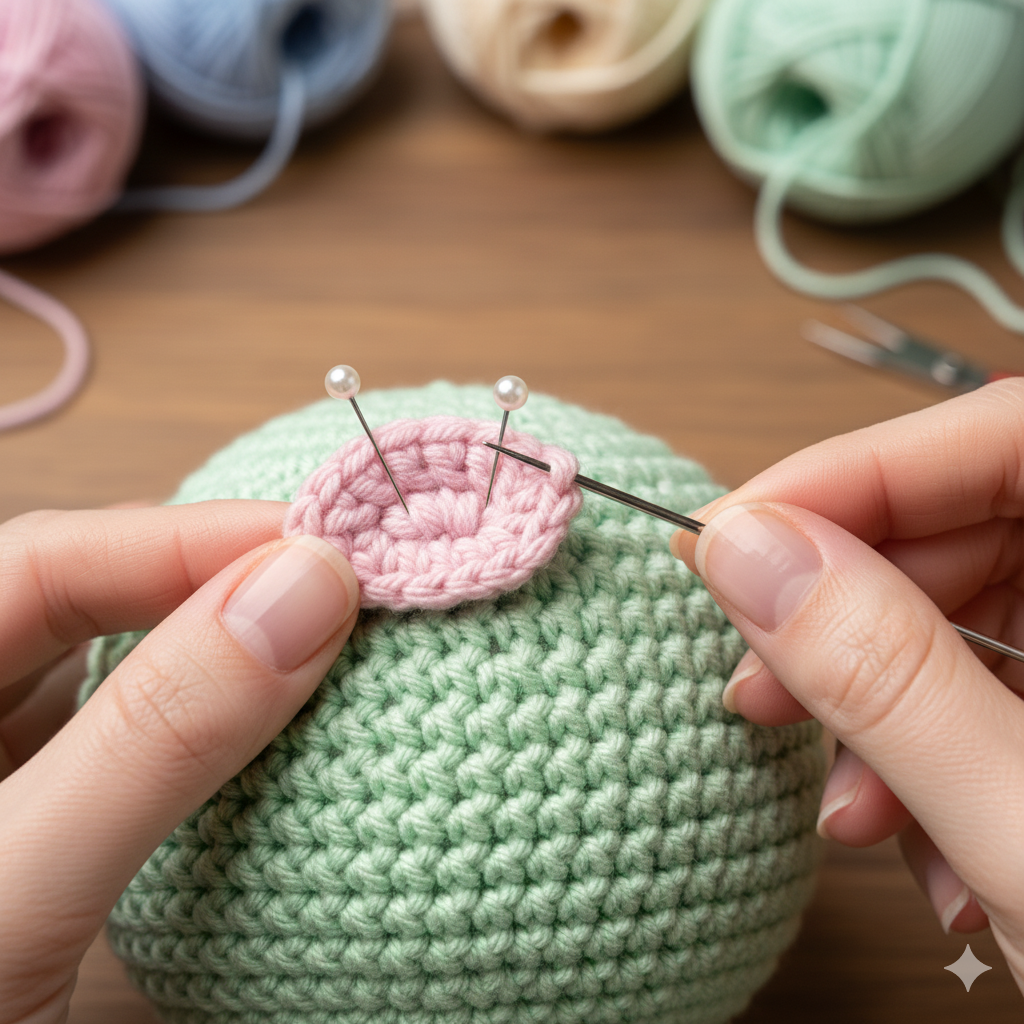
2. The Art of Assembly: Invisible Seams
Assembling the various pieces (head, body, limbs) can be the most challenging part of the process, but the secret lies in the tools and the technique. Always use a long, blunt-tipped tapestry needle.
• Placement: Use multiple sewing pins to position the limbs and head exactly where you want them before you start stitching. Stand back, check the symmetry, and make adjustments.
• Invisible Stitch: When joining two pieces, take your needle through the edge of the first piece and then the corresponding edge of the second piece, picking up only the outermost loop of each stitch. This ensures the seam sinks down into the fabric, making the join virtually seamless and extremely strong. The effort put into Amigurumi assembly determines the final pose and character of your toy.
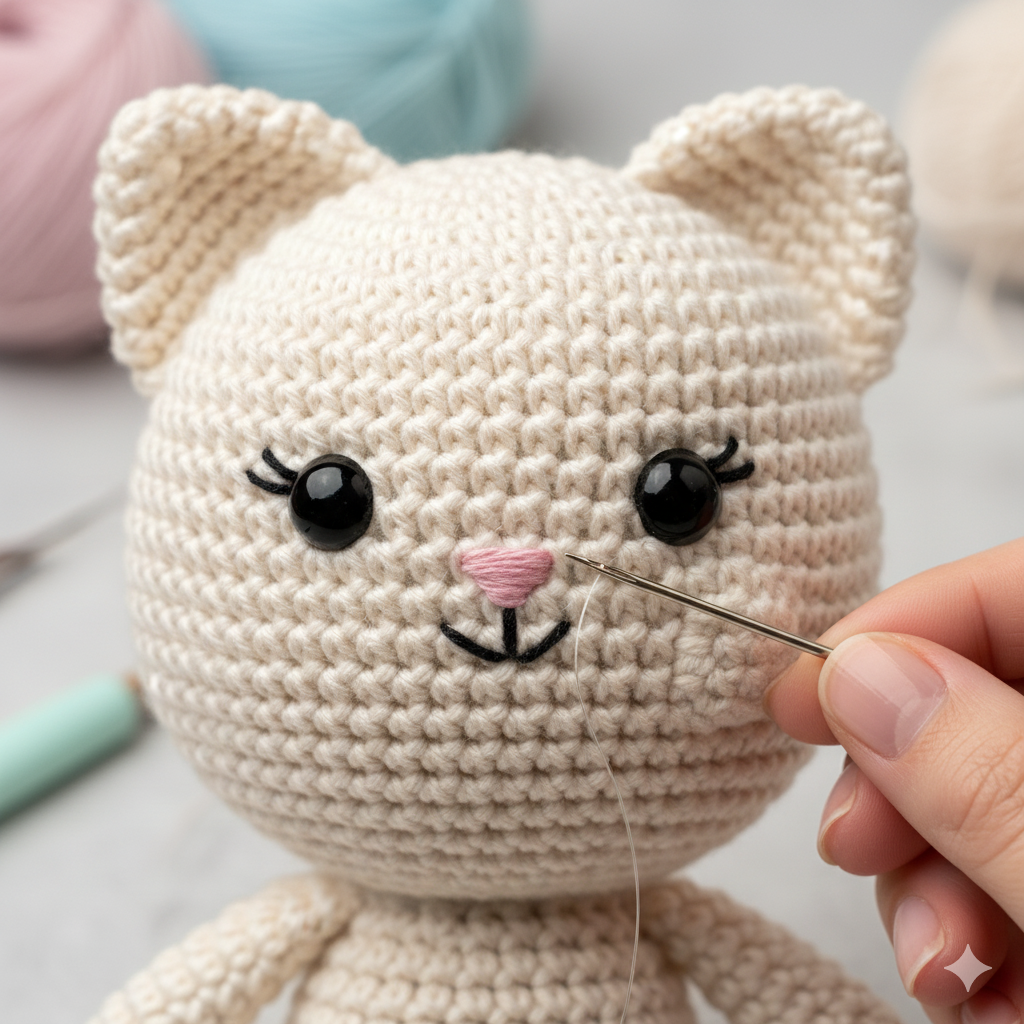
3. Adding Personality: Facial Embroidery and Sculpting
A toy’s expression is everything. Even if you use safety eyes, adding small touches brings the piece to life.
• Eyelashes, Brows, and Mouths: Use thin black or brown embroidery floss to add subtle expressions. Place your needle deep into the head and come out where the feature is desired. Pull the thread taut before knotting the end deep inside the piece.
• Facial Sculpting: For advanced Amigurumi projects like dolls or detailed animal heads, you can use a long needle and strong thread to gently pull the surface of the face inward. By stitching through the head from one side to the other and pulling slightly, you can create cheek indentations, eye sockets, or a pronounced snout, giving the face a more three-dimensional and realistic structure.
Once you’ve mastered the foundational techniques, it’s time to explore the world of Amigurumi patterns.
1. Decoding Your Amigurumi Pattern
Every pattern uses a standard language. Knowing the abbreviations is your passport to any design. Focus on understanding the rhythm of the rounds—for example, “Rnd 6: (sc 4, inc) x 6” means you single crochet four times, then increase, repeating that sequence six times around the round. This simple math is the key to creating predictable shapes. For a great external resource on common abbreviations and symbols, Ravelry offers a comprehensive database used by the global fiber community.
You can immediately put these skills to the test with one of our intermediate patterns, such as The Ultimate Bingchilling Amigurumi Guide: A FREE Crochet Pattern for Your Own Viral Creation (https://amyliva.com/the-ultimate-bingchilling-amigurumi-guide-a-free-crochet-pattern-for-your-own-viral-creation/) or the fun and geometric A Complete Guide to Crocheting the Cutest Cube Cat: The Ultimate Amigurumi Pattern (https://amyliva.com/a-complete-guide-to-crocheting-the-cutest-cube-cat-the-ultimate-amigurumi-pattern/).
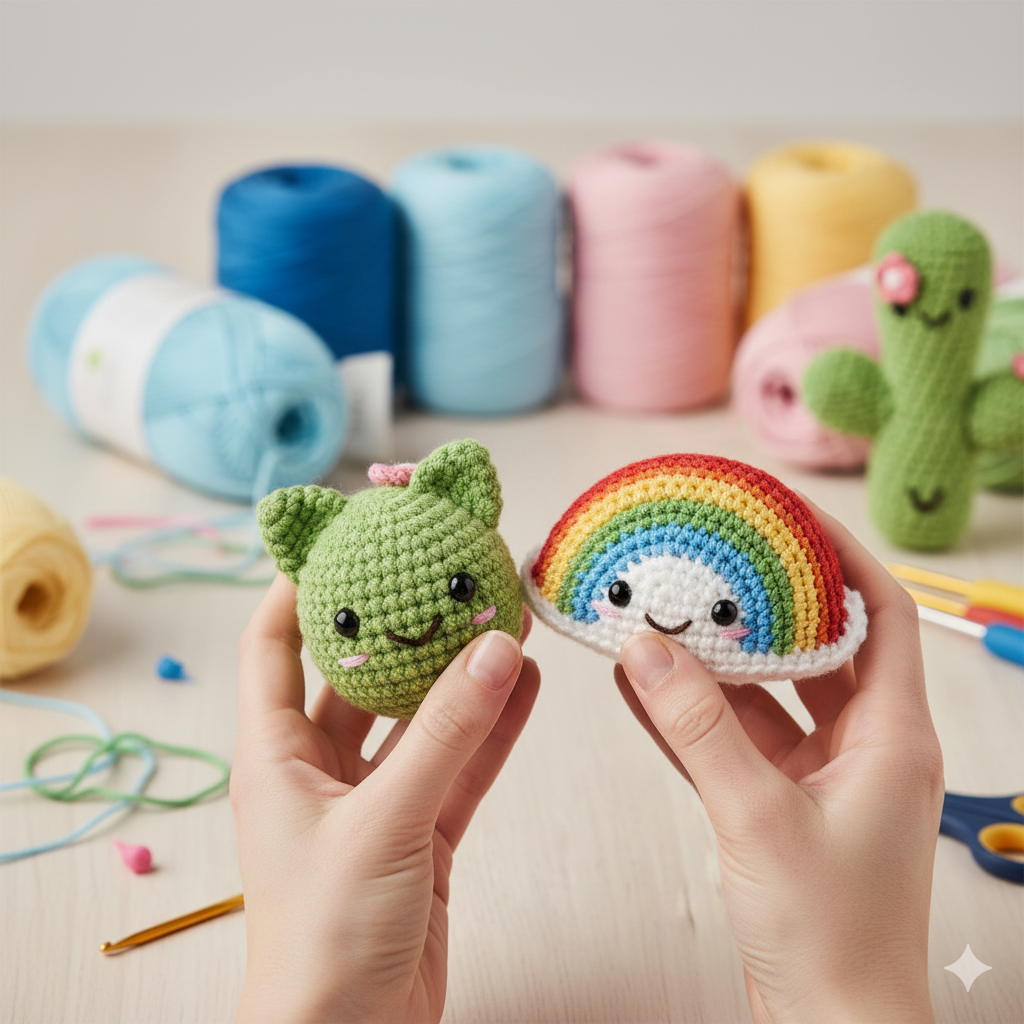
1. Choosing Projects by Skill Level (H3)
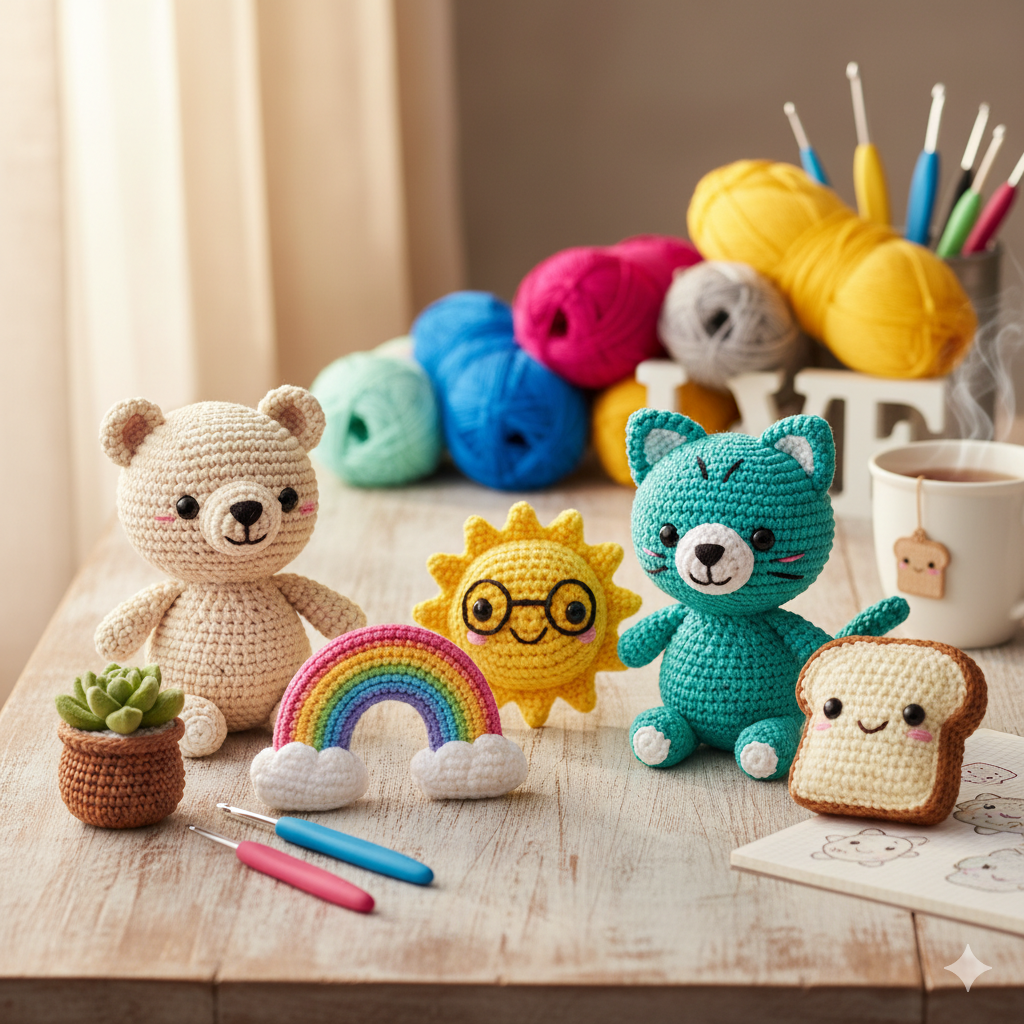
• Beginner: Start with solid, single-piece shapes that use only one or two colors, such as a simple ball, square cube, or a small ghost. These projects focus purely on maintaining consistent tension and simple shaping. A great beginner project on our site is the quirky How to Crochet a Cat Cactus: Beginner-Friendly Amigurumi Pattern (https://amyliva.com/how-to-crochet-a-cat-cactus-beginner-friendly-amigurumi-pattern/), which uses simple shapes and assembly.
• Intermediate: Move to projects with multiple components that require assembly, such as simple teddy bears, rabbits, or small figures with separate ears, arms, and legs that need careful Amigurumi assembly.
• Expert: Tackle multi-colored, complex characters that require color changes mid-row, intricate shaping, detailed facial sculpting, and small accessories like clothing or props.
1. The Designer’s Mindset: Creating Your Own Patterns (H3)
The ultimate achievement is designing your own plushie. The process is straightforward:
1. Sketch: Draw your design and break it down into basic geometric parts (sphere for the head, cylinder for the body).
2. Experiment: Use the principles of increasing and decreasing to create those shapes. For a perfect sphere, the increase rounds must be evenly spaced until the piece is the desired width, and then decrease rounds must mirror those increases to close it symmetrically.
3. Document: Crucially, take detailed notes of every single round: the number of stitches, the increase/decrease locations, and the final stitch count. Your notes become the pattern!
Sourcing and Community: Where to Find More Inspiration
A great crocheter knows where to look for inspiration and reliable information. While amyliva.com provides you with patterns and supplies, engaging with the wider fiber community is essential for growth.
Reputable Pattern Sources
While many designers sell patterns on their own websites, major marketplaces are also crucial. When looking for new designs, check out Etsy, which hosts thousands of designers, and Ravelry, a massive database and community hub for knitters and crocheters where you can easily filter patterns by skill level and yarn weight. Always check a designer’s reviews to ensure the pattern is well-written.
Connecting with the Amigurumi Community
The best way to stay motivated is to see what others are making. Popular blogs like Amigurumi Today and All About Ami regularly feature free patterns, tutorials, and inspiration from the community. Joining online groups, particularly on platforms like Reddit’s r/Amigurumi, can provide instant feedback, troubleshooting help, and endless ideas for your next project.
Final Thoughts: The Joy of the Last Stitch
Congratulations! You’ve navigated the essential knowledge required for Amigurumi making. It is a craft that demands patience, precision, and a whole lot of love. There will be times when you need to “frog” (rip out) your work and start over, but every error is simply a lesson learned. The satisfaction of holding a finished, sturdy, characterful little creature—made entirely by your own two hands—is unparalleled.
Now that you are equipped with the knowledge of materials, techniques, and pro secrets, it’s time to pick up your hook. Don’t let your yarn sit idle—transform it into a Cube Cat or start designing your next whimsical friend.
Head over to amyliva.com to explore our newest line of cotton Amigurumi yarns and download your first pattern. We can’t wait to see what you create!
Amy Liva

Yorum gönder