Free Amigurumi Bee Crochet Pattern (Step-by-Step Guide)
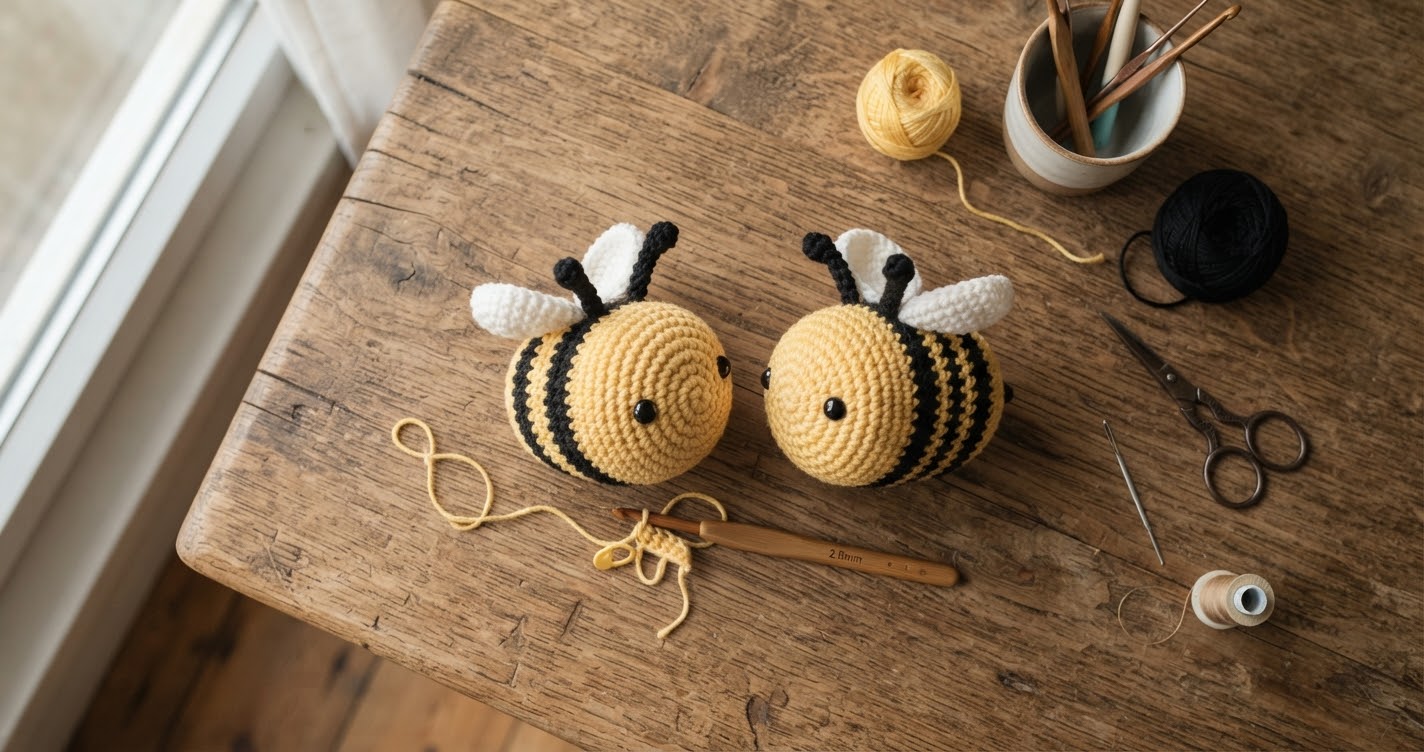
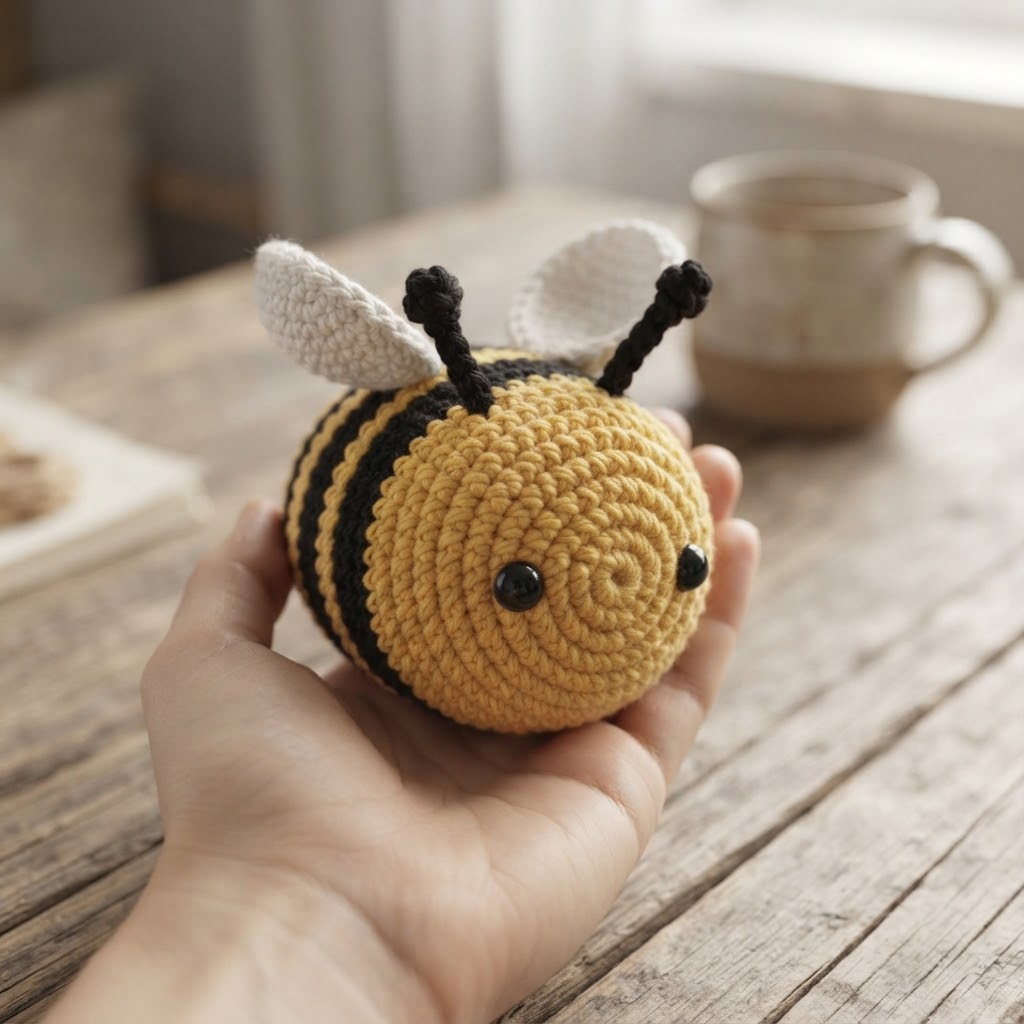
This amigurumi bee is a small crochet project made with yellow and black yarn and a few basic stitches. The simple striped body makes it easy to follow, and the finished bee can be used as a small decoration, keychain, or handmade gift.
I made this bee with a rounded body, small wings, and simple antennae. You can use cotton yarn for a firmer shape or choose a soft yarn if you prefer a plush finish.
In this free crochet pattern, I’ll show you how to crochet the bee body, make the wings and antennae, and assemble all the pieces.
Project Details
- Estimated time: 1–2 hours
- Skill level: Beginner
- Finished size: Depends on the yarn and hook size used
Materials
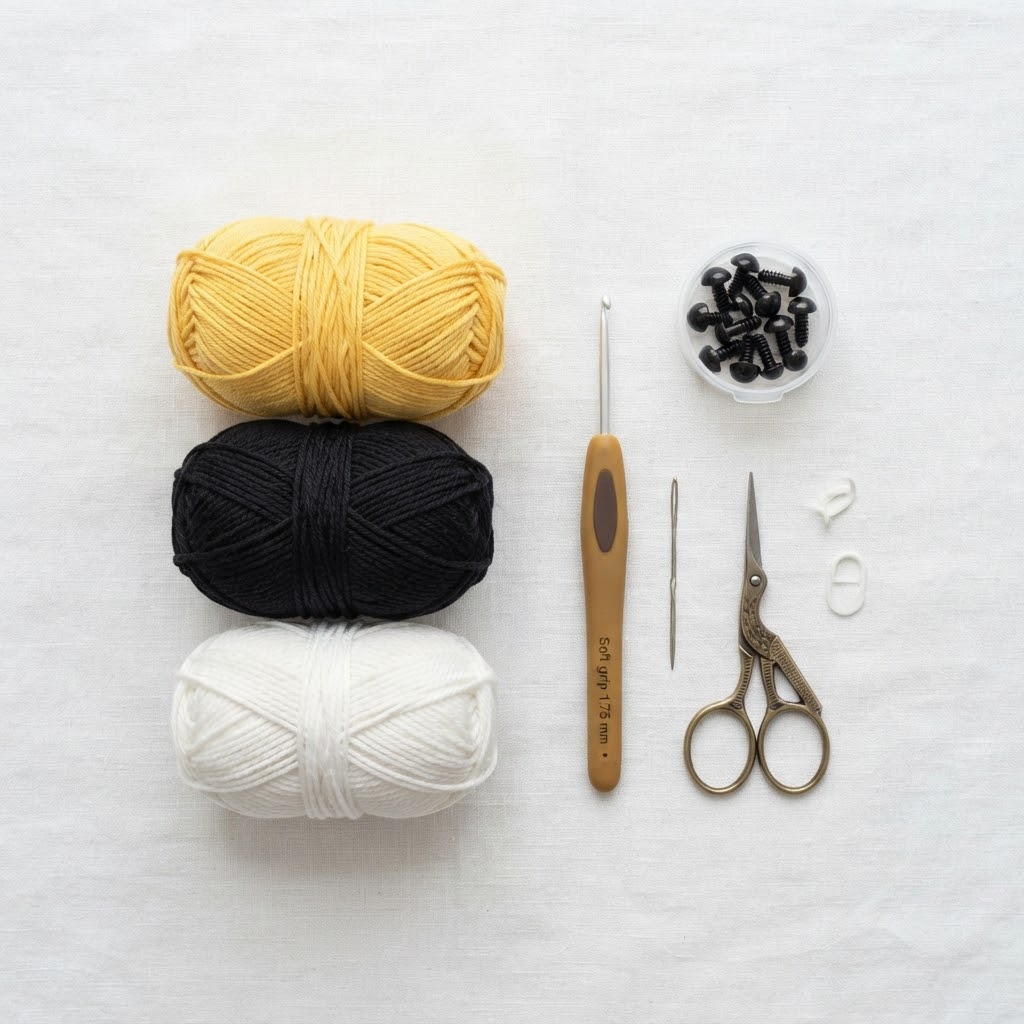
- Yellow cotton yarn
- Black cotton yarn
- White or ivory yarn for the wings
- 1.75–2.0 mm crochet hook
- Small amount of polyester fiberfill
- 2 small black safety eyes or black embroidery thread
- Yarn needle
- Scissors
- Stitch marker
Cotton yarn works well for this project because it keeps the small stitches neat and gives the bee a firm shape. You can also use another yarn weight, but the finished size will change.
Crochet Abbreviations
- MR – Magic ring
- sc – Single crochet
- inc – Increase
- dec – Decrease
- sl st – Slip stitch
- ch – Chain
- st(s) – Stitch(es)
- FO – Fasten off
The bee is crocheted in continuous rounds unless otherwise noted. Use a stitch marker to keep track of the beginning of each round.
Pattern Notes
- Crochet the body in continuous rounds without joining at the end of each round.
- Place a stitch marker at the beginning of each round.
- Keep your stitches tight so the stuffing does not show through.
- Add small amounts of stuffing as you crochet the body, rather than waiting until the end.
- Make the wings and antennae separately, then attach them after completing the body.
- When changing colors, make the color change at the end of the specified round.
Bee Body Pattern
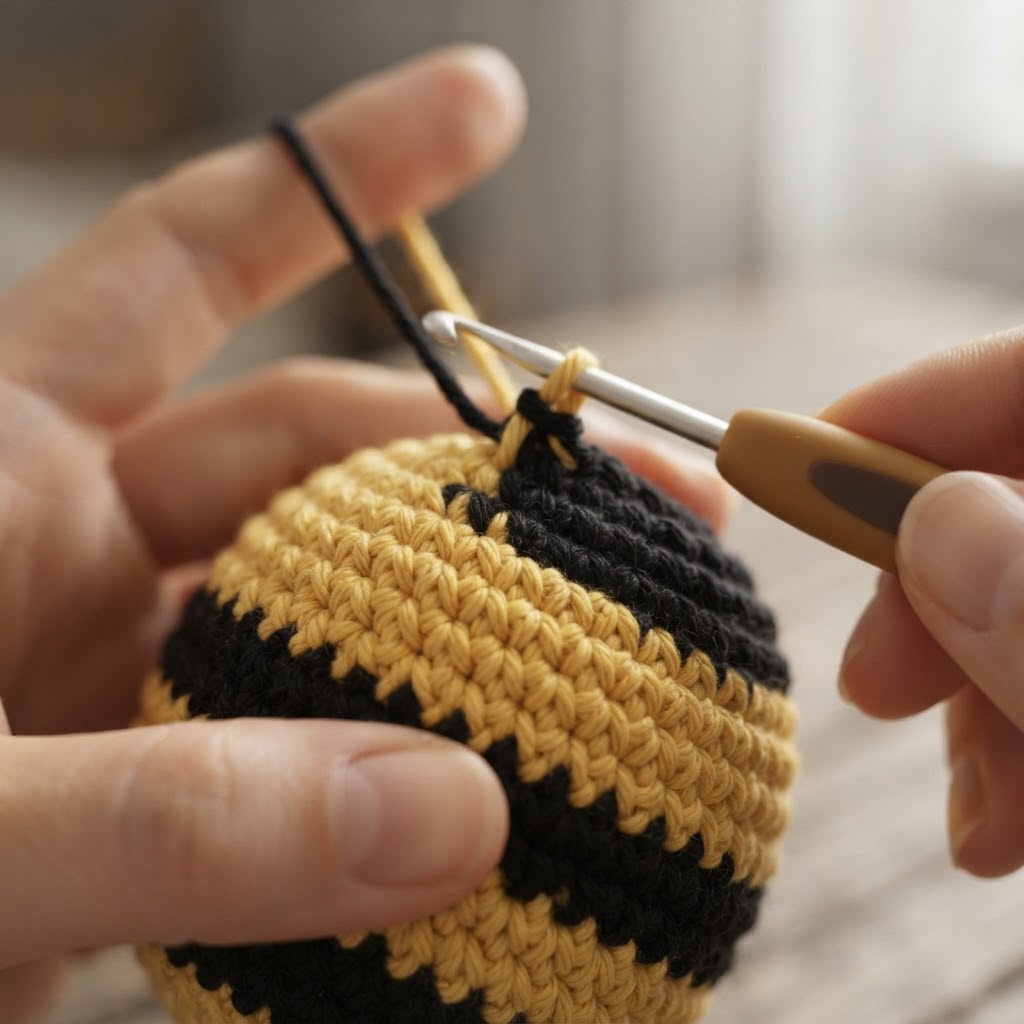
The body is worked from the bottom up in continuous rounds. Start with yellow yarn.
Body
Round 1: 6 sc into a magic ring (6)
Round 2: inc around (12)
Round 3: (sc, inc) around (18)
Round 4: (2 sc, inc) around (24)
Round 5: sc around (24)
Round 6: sc around (24), changing to black at the end of the round
Round 7: sc around (24) in black
Round 8: sc around (24), changing to yellow at the end of the round
Round 9: sc around (24) in yellow
Round 10: sc around (24), changing to black at the end of the round
Round 11: sc around (24) in black
Place the eyes between Rounds 4 and 5 or between Rounds 5 and 6, leaving about 5–7 stitches between them.
Add a small amount of stuffing and continue shaping the lower part of the body.
Round 12: (2 sc, dec) around (18)
Round 13: (sc, dec) around (12)
Round 14: dec around (6)
Cut the yarn, leaving a long tail. Add any final stuffing needed, then close the remaining opening and weave in the end.
Wings
Make 2 wings using white or ivory yarn.
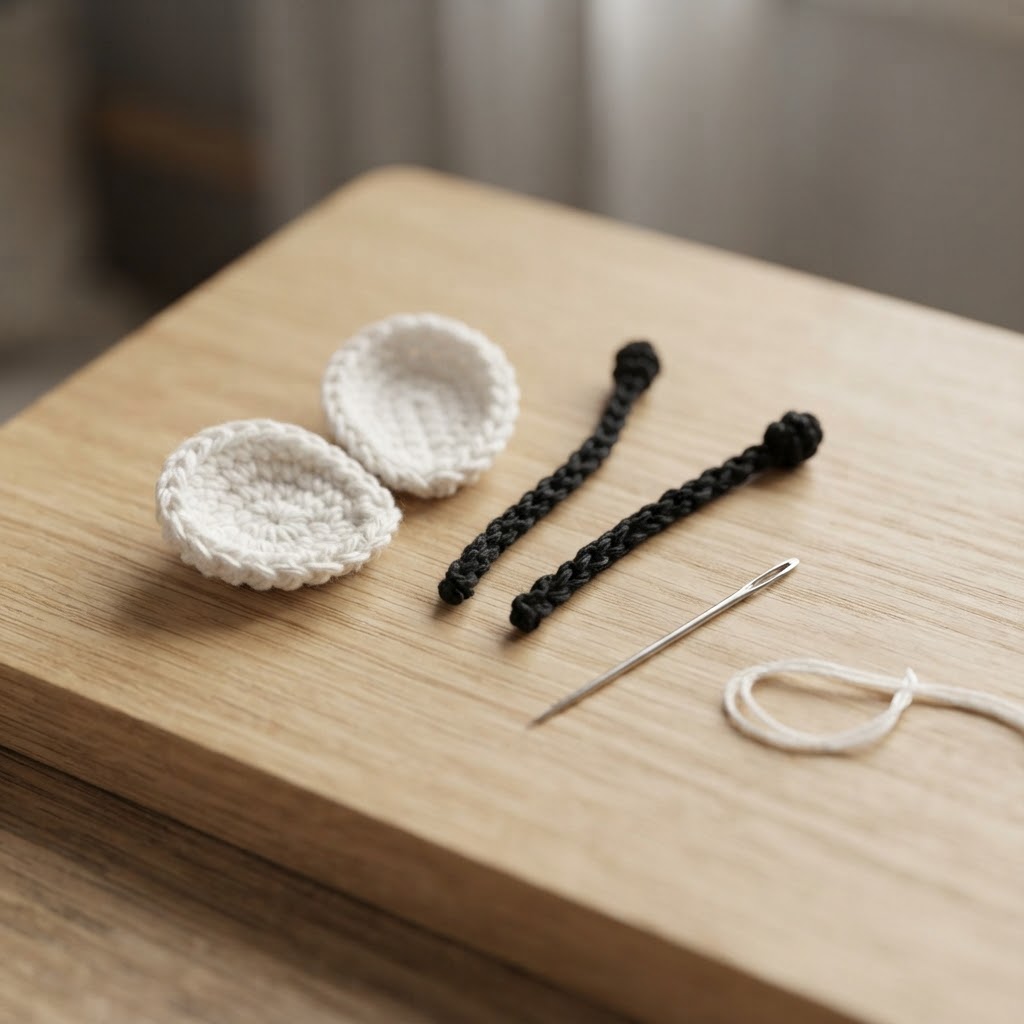
Round 1: 5 sc into a magic ring (5)
Round 2: (sc, inc) around (10)
Round 3: (2 sc, inc) around (15)
Slip stitch to join, then fasten off, leaving a long tail for sewing.
Do not stuff the wings. Keep them flat and gently shape them with your fingers before attaching them to the body.
Antennae
Make 2 antennae using black yarn.
For each antenna: Chain 5. Starting in the second chain from the hook, slip stitch into each chain across.
Fasten off, leaving a long tail for sewing.
You can make a small knot at the end of each antenna if you want a slightly thicker tip. Keep the antennae similar in length so the finished bee looks balanced.
Assembly
- Sew the two wings to the upper back of the bee, keeping them centered and evenly spaced.
- Attach the two antennae to the top of the head. Sew them securely so they stay in place.
- If you used safety eyes, make sure they are firmly attached. If you used embroidery thread, secure the ends inside the head.
- Check the body shape and add a little more stuffing if any area looks too soft.
- Weave in and trim any remaining yarn ends.
Before using the finished bee as a keychain or decoration, check that the wings and antennae are securely attached.
Helpful Tips
- Keep the body stitches tight and even, especially when working with a small hook.
- Add stuffing gradually so the body stays firm without becoming too hard.
- Check the eye placement before attaching safety eyes permanently.
- Sew the wings at the same height so the bee looks balanced from the front and back.
- Leave long yarn tails on the wings and antennae to make sewing them easier.
- If you want a softer bee, use a slightly thicker yarn and adjust the hook size accordingly. Keep in mind that this will make the finished bee larger.
Frequently Asked Questions (FAQ)
Can I use a different yarn color for the bee?
Yes. You can replace the yellow and black with any colors you like. The stitch counts stay the same.
Can I make the bee larger?
Yes. Using thicker yarn and a larger crochet hook will make the finished bee larger. Keep the yarn and hook size consistent throughout the project.
Can I embroider the eyes instead of using safety eyes?
Yes. Embroidered eyes are a good alternative if you prefer not to use safety eyes. Use black embroidery thread and secure the ends inside the body.
Can I use this bee as a keychain?
Yes, but check the attachment carefully before using it. The wings and antennae should be securely sewn, especially if the bee will be handled frequently.
Can I make the bee without stuffing?
The body is designed to be stuffed. Without stuffing, it will have a softer and flatter shape and may not keep the rounded form of the pattern.
Safety Note
This crochet bee contains small parts that may pose a choking hazard. Safety eyes, loose yarn ends, and small attachments should be kept away from young children and pets.
If you make this bee for a child under 3, embroidered eyes are a safer option than safety eyes. Check the wings and antennae regularly and repair or remove the item if any part becomes loose or damaged.
Copyright and Pattern Terms
This crochet pattern and the original photographs are the property of Amyliva Handmade.
You may make finished bees for yourself, as gifts, or for small-scale selling. Please credit Amyliva Handmade as the pattern designer when sharing or selling finished items made from this pattern.
Please do not copy, repost, translate, publish, or distribute this pattern or its photographs as your own. You may share the link to this page so others can access the original pattern.



Yorum gönder