How to Crochet Mimosa Flowers – Easy Step-by-Step Pattern
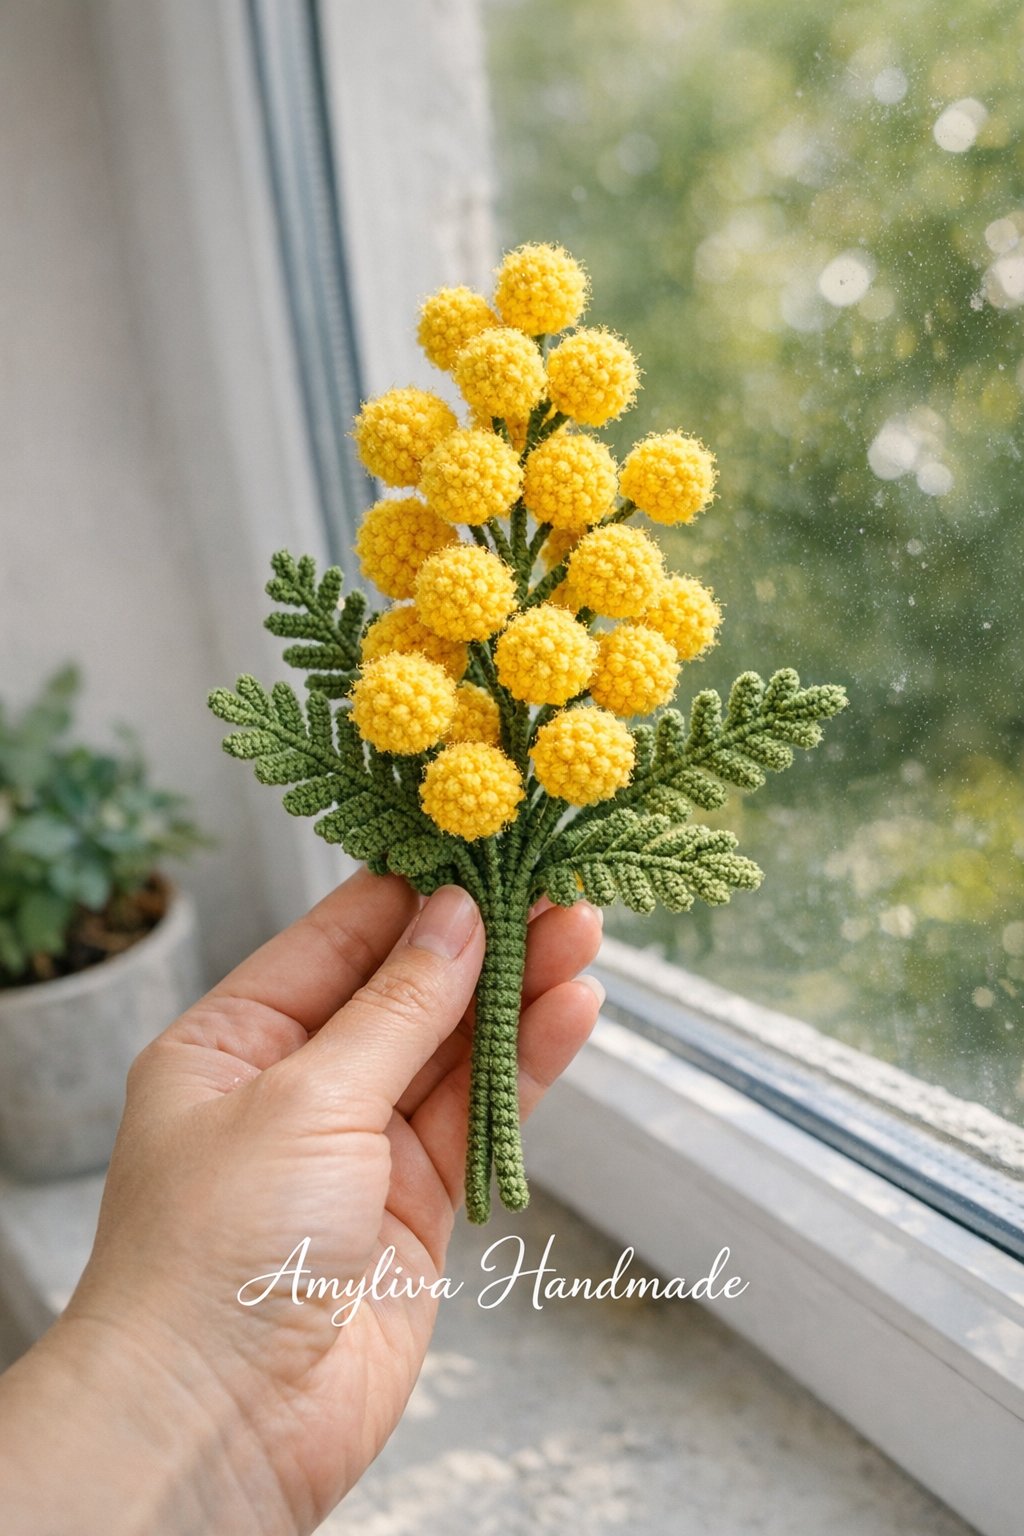
By Amyliva Handmade
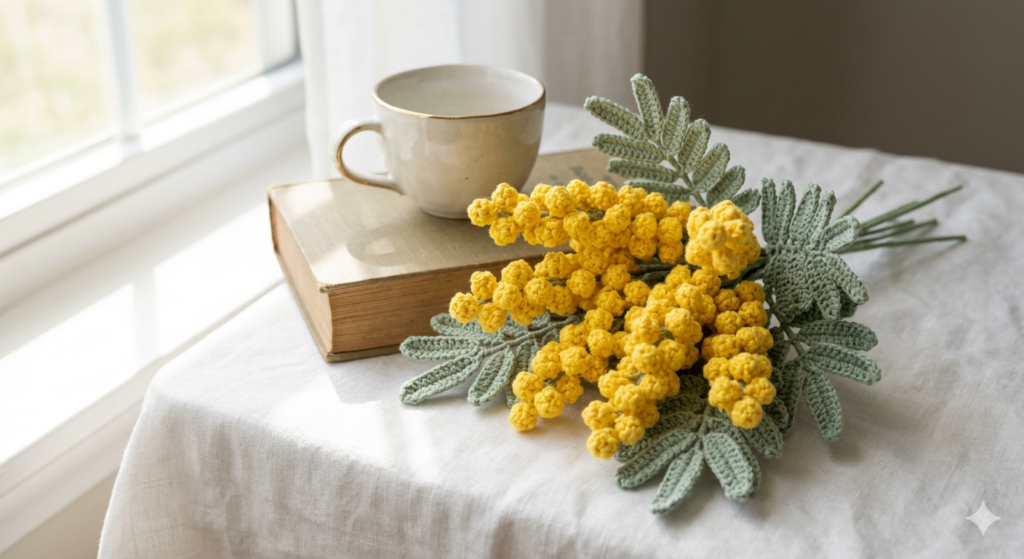
Crochet mimosa flowers are a lovely way to bring a little spring into your home. Their small yellow flowers and delicate green leaves make them especially pretty when arranged into a handmade bouquet.
In this tutorial, I’ll show you how to make simple crochet mimosa flowers, stems, and leaves, then put everything together to create a small bouquet.
This project uses basic crochet stitches and a popcorn stitch to create the small, rounded flowers. You can use different shades of yellow and green to give your bouquet a more natural look.
A Little About Mimosa Flowers
Mimosa is known for its small, bright yellow flowers and soft green foliage. In Italy and Türkiye, mimosa is also closely associated with International Women’s Day on March 8.
Its cheerful yellow color makes it a popular choice for spring decorations and handmade floral arrangements.
Choosing Yarn for Crochet Mimosa
The texture of your mimosa depends heavily on your choice of materials. Unlike amigurumi animals which require a very tight tension, floral crochet allows for a bit more “breath” in the stitches.
1. Fiber Selection
• Mercerized Cotton: This is my top recommendation. The slight sheen mimics the way sunlight hits real flower pollen and provides excellent stitch definition.
• Brushed Acrylic or Mohair Blends: If you want a “fuzzy” or “dreamy” look, using a thin mohair strand creates a soft halo effect that mimics the powdery texture of real mimosa blooms.
2. The Color Palette
Consider using nature-inspired tones:
• Lemon Chiffon: For younger, budding flowers.
• Mustard or Goldenrod: For a vintage, dried-flower aesthetic.
• Sage or Dusty Green: For the leaves, to keep the overall look “earthy.”
🛠 Materials & Tools
Item Description
Yellow yarn Cotton or acrylic, DK weight
Green yarn For stems and leaves
Crochet hook Size 2.5mm–3.5mm (adjust to yarn)
Yarn needle For sewing pieces together
Scissors Small and sharp
Optional: Floral wire or ribbon For bouquet shaping
Step-by-Step Instructions
Phase 1: Mastering the Popcorn Stitch (The Golden Blooms)
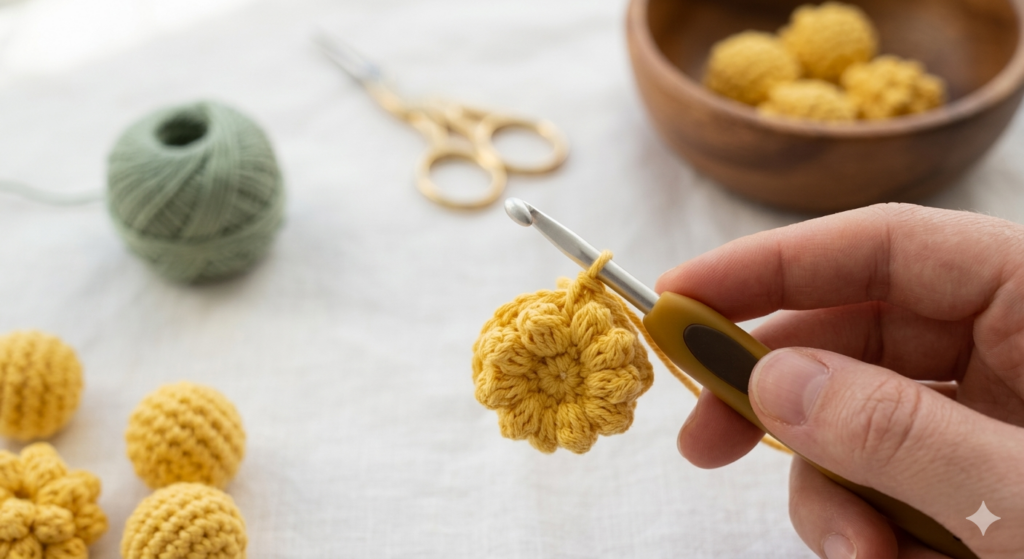
The “Popcorn Stitch” is the heart of this project. It creates a 3D effect that looks like a tiny, fluffy sphere.
1. Magic Ring: Start with a magic ring to ensure no hole at the bottom.
2. Foundation: Chain 2, then work 4 dc into the magic ring. The chain 2 counts as the first dc, giving you 5 dc in total.
3. Form the Popcorn: Pull the working loop slightly larger and remove your hook.
4. Join the Popcorn: Insert your hook from front to back through the top of the first actual dc stitch. Pick up the working loop and pull it through the stitch.
5. Secure: Chain 1 to secure the popcorn stitch
Repeat these steps to make 12 small yellow flowers for a small bouquet. You can make more flowers if you want a fuller arrangement.
Phase 2: The Green Architecture (Stems & Branches)
1. Main Stem: Chain 45. Starting in the second chain from the hook, slip stitch in each chain across to create the main stem.
2. Sub-Branches: At selected points along the stem, chain 10 and work slip stitches back along the chain to return to the main stem. Repeat this 3 times, spacing the branches at different heights.These three branches can be used to attach three of the flower clusters, while the remaining cluster can be attached near the top of the main stem.
3. Reinforcement: If you want a sturdier stem, place floral wire alongside the crocheted stem and wrap or crochet the green yarn around it to keep the wire covered.
Phase 3: The Fern-Like Foliage
1. Base: Chain 22.
2. Leaflets: Starting in the second chain from the hook, slip stitch into the next 2 chains. Chain 3, then slip stitch into the first chain of the 3-chain loop to form a small pointed leaflet. Slip stitch into the next 2 chains of the foundation chain.
Repeat this sequence along one side of the foundation chain.
3. Second Side: Continue along the opposite side of the foundation chain, working the same leaflet sequence into the remaining chain loops. This creates small leaflets along both sides of the center chain.
Repeat the leaf pattern to make 4 leaves for the bouquet. You can make additional leaves if you prefer a fuller arrangement.
Fasten off, leaving a long tail for attaching the leaf to the stem.
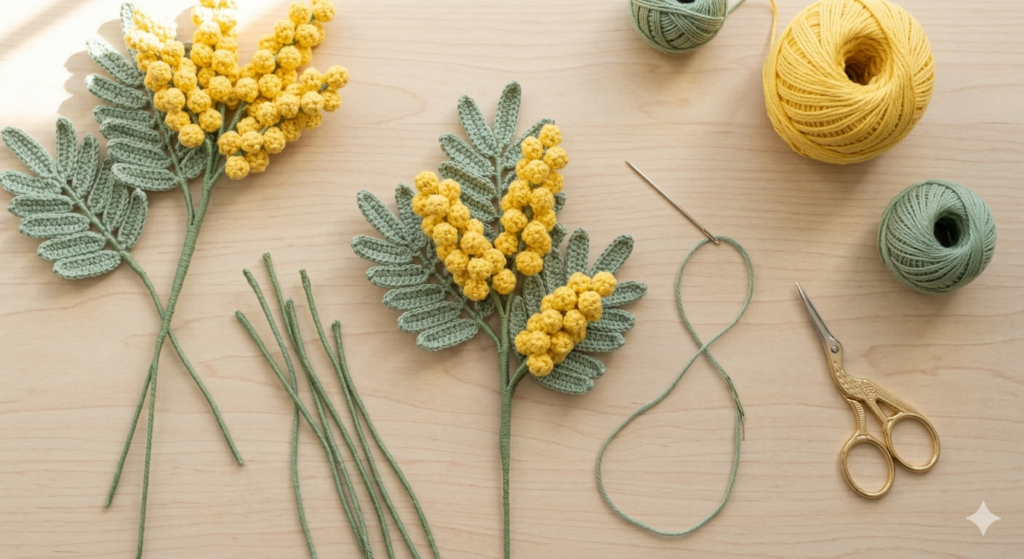
Assembly: Bringing the Bouquet to Life
Once you have made the flowers, stems, and leaves, you can start putting the bouquet together.
1. Create the Flower Clusters: Gather 3 small yellow flowers and group them together at slightly different heights.
2. Attach the Flowers: Use green yarn to secure three flower clusters to the smaller branches of the main stem. Attach the remaining cluster near the top of the main stem. Wrap the yarn neatly around each join to keep the flowers in place.
3. Add the Leaves: Attach the crocheted leaves along the stem, placing them at different heights and angles for a natural-looking arrangement.
4. Shape the Bouquet: Gently bend and arrange the stems and branches until you are happy with the shape. If you added floral wire, adjust it carefully to give the bouquet the desired position.
💡 Beyond the Bouquet: Creative Variations
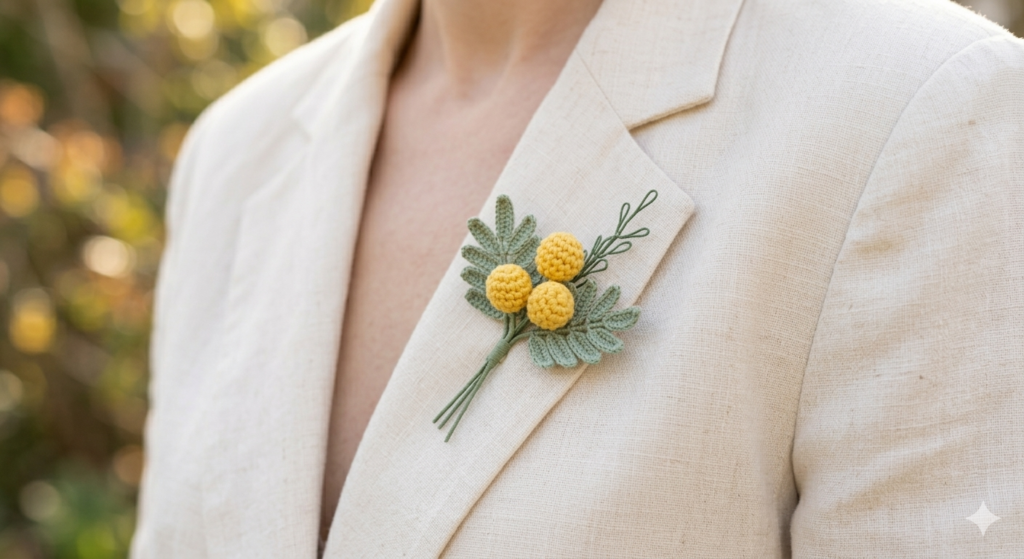
• Mimosa Wreath: Attach branches to a gold hoop.
• Brooches: A single cluster makes a stunning accessory for a linen blazer.
• Gift Toppers: Use a crochet stem instead of a plastic bow.
❓ Frequently Asked Questions
Q: Is this project beginner-friendly?
Yes. The popcorn stitch may look a little tricky at first, but once you learn the steps, it is quite simple. The flowers are small and repetitive, which makes this project easy to work on at your own pace.
Q: Can I use other yarn types?
Absolutely. Cotton yarn gives crisp texture, while acrylic adds softness. Just adjust your hook size accordingly.
Q: How long does it take to complete?
It depends on how many flowers and stems you make. A small bouquet may take around 2–3 hours, while a larger arrangement will take longer.
Q: Can I sell finished bouquets made from this pattern?
Yes, you can sell finished crochet bouquets you make from this pattern. Please do not resell, copy, or redistribute the written pattern itself.
Q: How do I care for crocheted flowers?
Keep the finished flowers away from excessive moisture and dust. If the leaves lose their shape or curl, gently reshape them by hand. Avoid using high heat, especially if you used acrylic yarn or floral wire.


1 yorum