How to Make an Amigurumi Chick: Easy Crochet Pattern
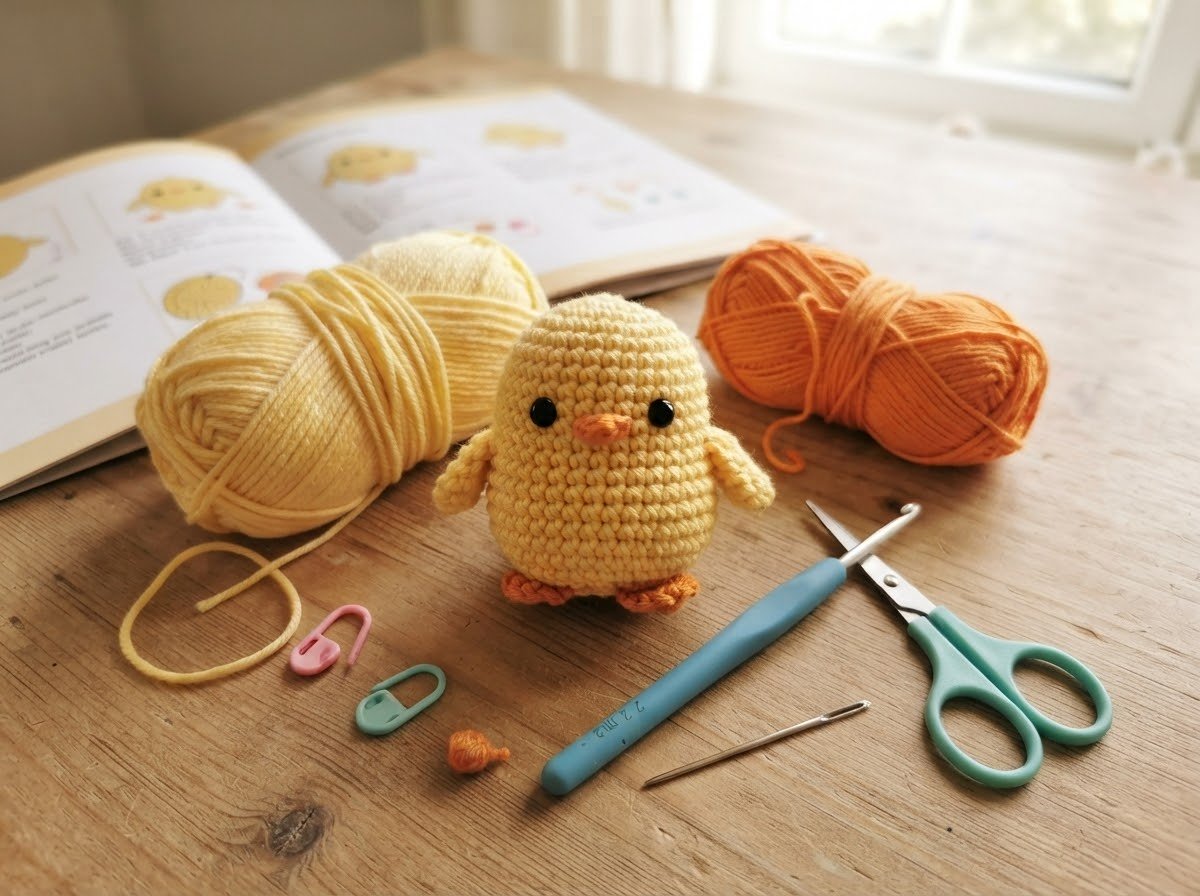
This amigurumi chick is a small crochet project worked mainly in one piece, with separate wings, a beak, and feet added during assembly. The body is shaped with simple increases and decreases to create a rounded form.
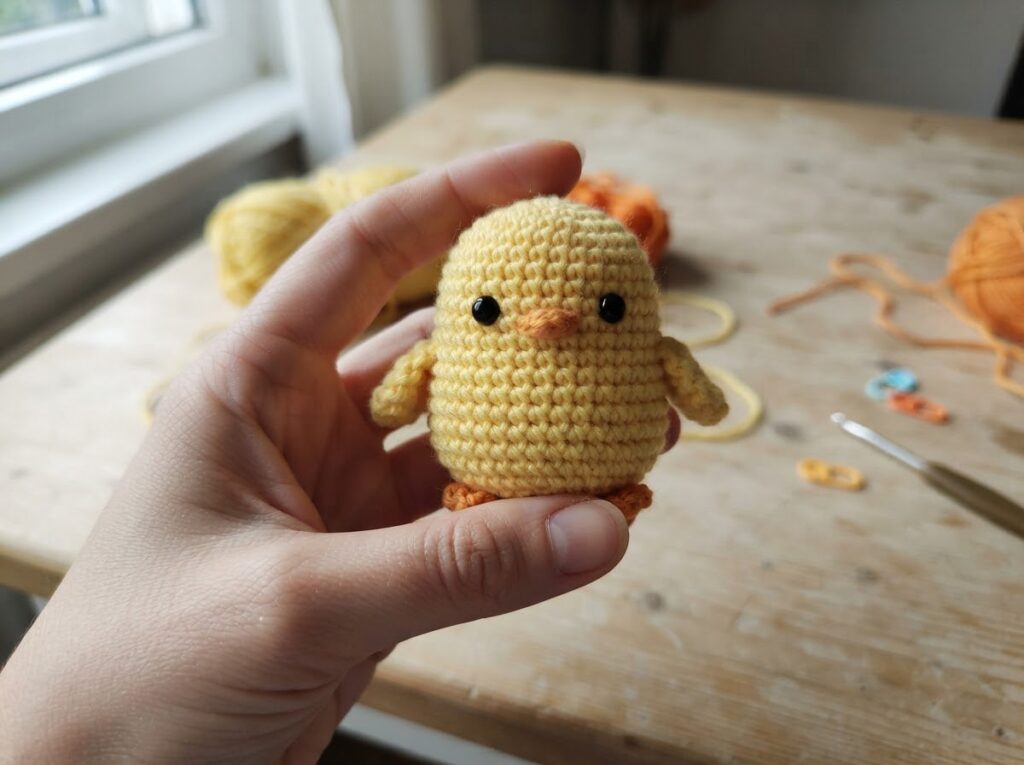
The finished chick is approximately 8 cm tall when made with cotton yarn and a 2 mm crochet hook. The final size may vary depending on your yarn, hook size, and crochet tension.
In this pattern, you’ll find the materials, US crochet abbreviations, complete round-by-round instructions, assembly steps, and practical tips for making the chick.
About the Amigurumi Chick
This chick is a small amigurumi project made mainly as one piece, so there is only a limited amount of sewing during assembly. The rounded body is shaped with simple increases and decreases, making it useful for practicing basic amigurumi construction.
The wings, beak, and feet are crocheted separately and sewn onto the finished body. Because these pieces are small, checking their position before sewing them permanently helps keep the chick symmetrical.
The sample is made in yellow and orange, but the pattern can be worked in other colors without changing the stitch counts. Cotton yarn gives the chick a firm shape and makes the stitches easier to see while working.
Materials and Tools
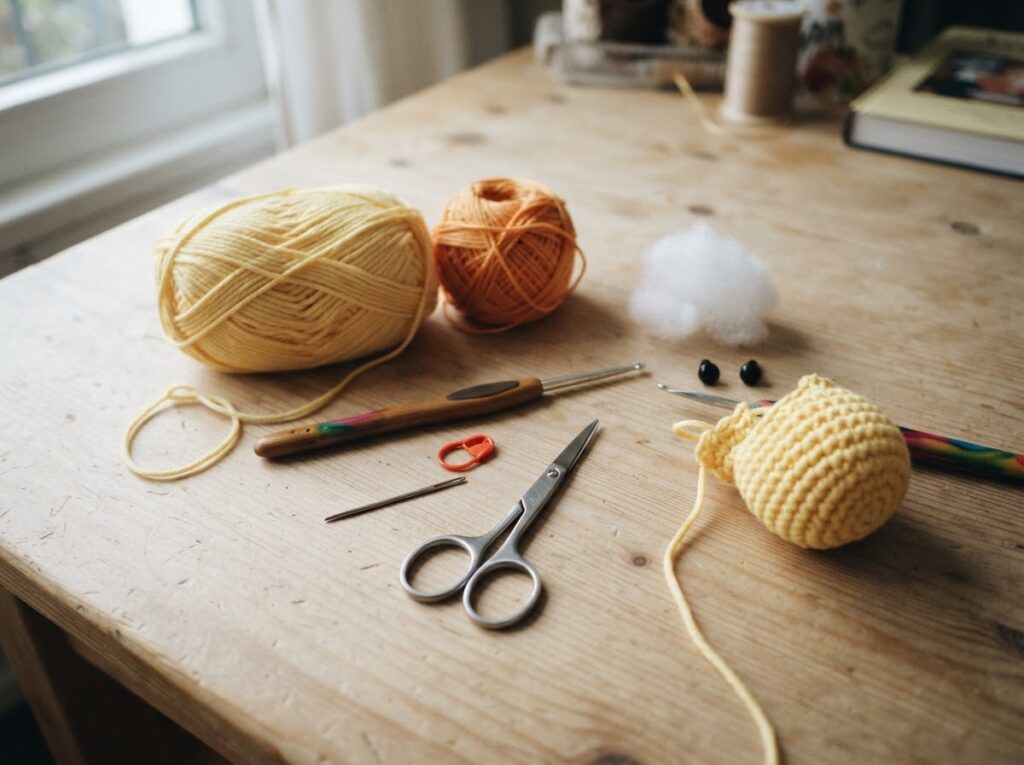
- Yellow cotton yarn for the body
- Orange yarn for the beak and feet
- 2 mm crochet hook, or a size suitable for your yarn
- Polyester fiberfill
- 6 mm safety eyes or black embroidery thread
- Tapestry needle
- Stitch marker
- Scissors
The finished size will vary depending on the yarn weight, hook size, and your crochet tension.
For items intended for young children, embroidered eyes are a safer alternative to plastic safety eyes. Make sure all sewn details are firmly attached and check the finished item regularly for loose parts.
Abbreviations (US Terms)
Before you begin, prepare the following materials:
- Yellow cotton yarn for the body
- Orange yarn for the beak and feet
- A small amount of pink or white yarn for optional details
- 2 mm crochet hook, or a size suitable for your yarn
- Polyester fiberfill
- 6 mm safety eyes or black embroidery thread
- Tapestry needle
- Stitch marker
- Scissors
The finished size will vary depending on the yarn weight, hook size, and your crochet tension.
If the chick is intended for a young child, embroidered eyes are a safer alternative to plastic safety eyes. Make sure all sewn details are firmly attached and check the finished item regularly for loose parts.
Amigurumi Chick Crochet Pattern
1. Chick Head and Body
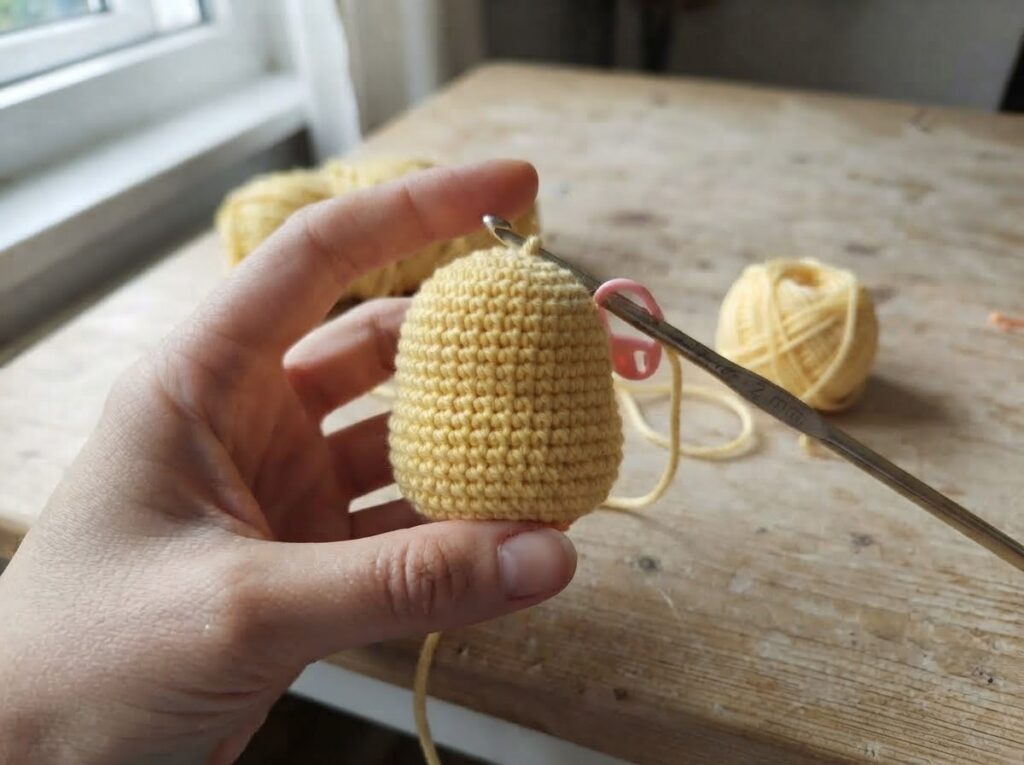
Work the head and body as one piece using yellow yarn. Work in continuous rounds and use a stitch marker to mark the beginning of each round.
Round 1: MR, 6 sc [6]
Round 2: inc around [12]
Round 3: (1 sc, inc) × 6 [18]
Round 4: (2 sc, inc) × 6 [24]
Round 5: (3 sc, inc) × 6 [30]
Rounds 6–12: sc around [30]
Eye Placement
If using safety eyes, insert them through the stitches around Rounds 7–8. Place them evenly on the front of the chick and check the position from the front before securing the backs.
For a child-safe version, embroider the eyes with black embroidery thread instead.
Round 13: (3 sc, dec) × 6 [24]
Round 14: (2 sc, dec) × 6 [18]
Round 15: (1 sc, dec) × 6 [12]
Begin adding fiberfill before the opening becomes too small. Add small amounts at a time and distribute the stuffing evenly so the body keeps its rounded shape.
Round 16: dec around [6]
Fasten off, leaving a long yarn tail. Use a yarn needle to close the remaining opening by working through the front loops of the six stitches. Pull gently to close, secure the yarn, and weave the remaining end inside the body.
2. Beak
Using orange yarn, work the beak in continuous rounds.
Round 1: MR, 4 sc [4]
Round 2: sc around [4]
Fasten off and leave a long sewing tail.
Flatten the beak gently with your fingers. Place it on the front of the chick, centered between the eyes. Check the position from the front before sewing.
Sew around the base of the beak with the yarn tail, making small stitches through the beak and body. Keep the beak slightly flat rather than heavily stuffed.
Weave the remaining yarn end inside the body and trim the excess.
3. Wings
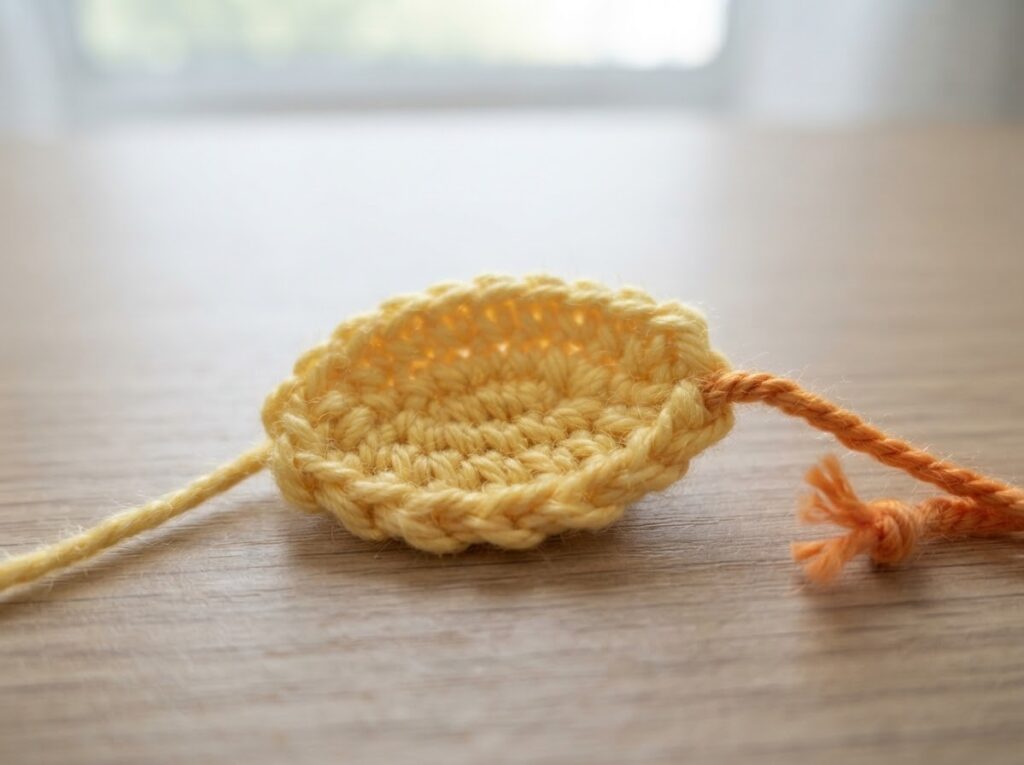
Make 2 using yellow yarn.
Round 1: MR, 6 sc [6]
Round 2: (inc, 1 sc) × 3 [9]
Round 3: sc around [9]
Fasten off and leave a long sewing tail.
Do not stuff the wings. Flatten each wing gently between your fingers and shape it into a small rounded piece.
Place one wing on each side of the chick. Check that both wings are at a similar height and angle when viewed from the front.
Sew each wing securely to the body using the remaining yarn tail. Make several small stitches through the wing and body, then weave the yarn end inside the chick.
4. Feet
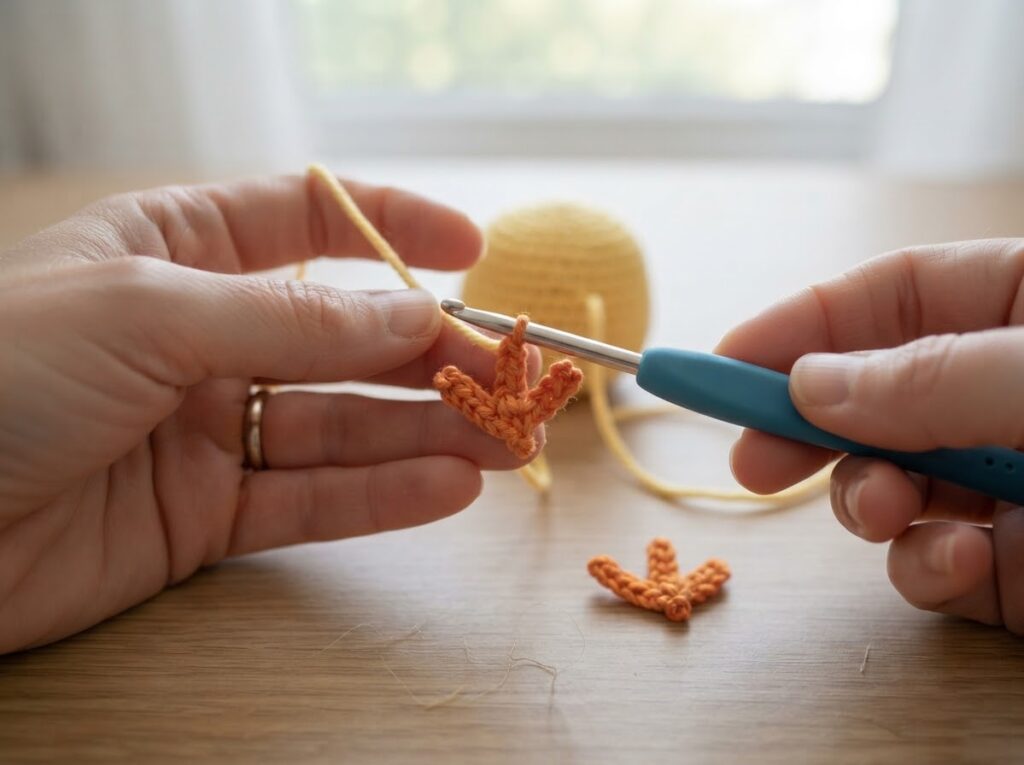
Make 2 using orange yarn.
Chain 4.
Starting in the second chain from the hook:
- sl st in the first chain
- sc in the next chain
- sl st in the last chain
Fasten off and leave a long sewing tail.
Make the second foot in the same way.
Place the feet underneath the body, slightly apart from each other. Check their position from the front and make sure both feet sit at a similar angle.
Sew each foot securely to the bottom of the chick using the yarn tail. Weave in the remaining yarn ends inside the body and trim the excess.
5. Assembly
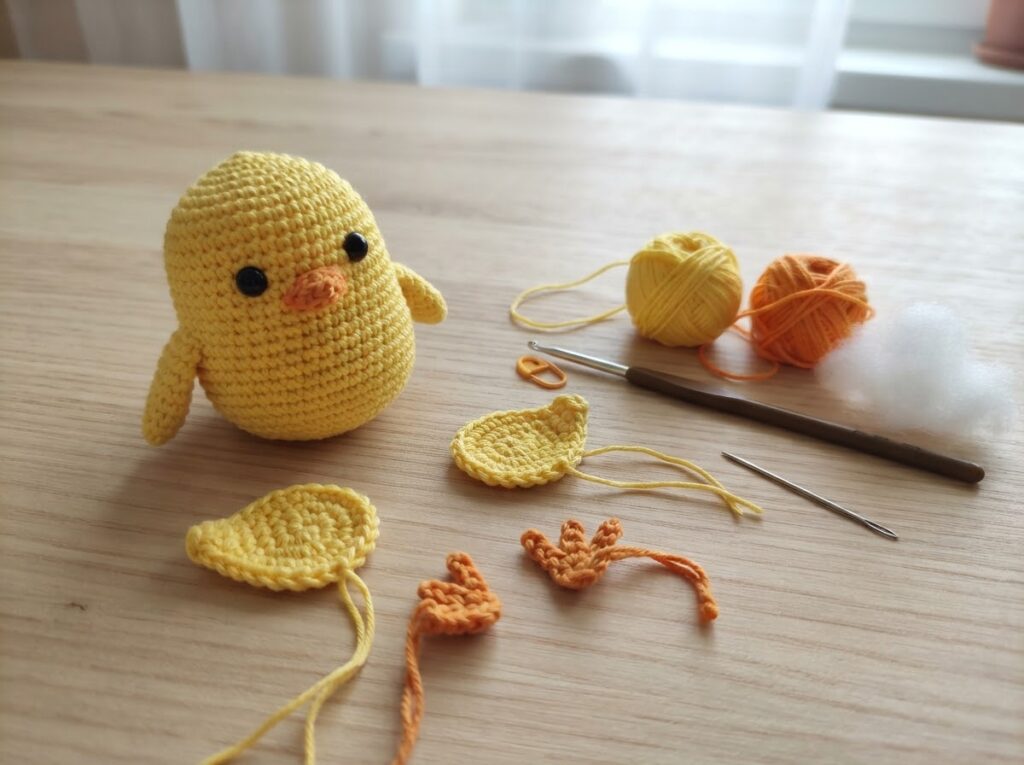
Once the body, beak, wings, and feet are finished, arrange all the pieces before sewing them permanently.
Attach the Beak
Place the beak between the eyes and check that it is centered when viewed from the front. Sew it securely to the body with small stitches.
Attach the Wings
Place one wing on each side of the body. Check that they are at a similar height and angle, then sew them securely in place.
Attach the Feet
Place the feet underneath the body with a small space between them. Check their position from the front before sewing them securely.
Final Check
Weave in all remaining yarn ends and trim the excess. Check that the beak, wings, and feet are firmly attached and that the chick is evenly shaped.
If you used safety eyes, check that the backs are securely fastened before using or giving the finished chick to someone else.
Tips for Beginners
Keep Your Tension Firm
Use a firm, even tension while crocheting the body. The stitches should be close enough that the fiberfill does not show through.
Use a Stitch Marker
This pattern is worked in continuous rounds. Place a stitch marker in the first stitch of each round and move it up as you work.
Add the Stuffing Gradually
Add small amounts of fiberfill as the body takes shape. Avoid packing it too tightly, as overfilling can stretch the stitches and change the shape of the chick.
Check the Pieces Before Sewing
Place the beak, wings, and feet on the body before sewing them permanently. Look at the chick from the front to make sure the pieces are centered and balanced.
Changing the Colors
You can use different colors without changing the stitch counts. Keep the same yarn weight and a similar hook size if you want the finished chick to stay close to the original size.
Frequently Asked Questions
Is this amigurumi chick suitable for beginners?
Yes. The pattern uses basic amigurumi techniques, including single crochet, increases, decreases, and working in continuous rounds. The small wings, beak, and feet also give you some practice with sewing small pieces onto a finished shape.
Can I make the chick without safety eyes?
Yes. You can embroider the eyes with black embroidery thread instead of using safety eyes. This is also a better option for items intended for young children.
How big will the finished chick be?
The sample chick is approximately 8 cm tall when made with cotton yarn and a 2 mm crochet hook. Your finished size may be different depending on your yarn, hook size, and crochet tension.
Can I use a different yarn?
Yes. You can use another yarn, but the finished size and appearance may change. If you change the yarn weight, choose a hook size that works well with the yarn and crochet tightly enough that the stuffing does not show through.
Can I make the chick in different colors?
Yes. You can change the yellow and orange yarn to any colors you prefer. The stitch counts and construction remain the same.
Pattern Usage & Copyright
This amigurumi chick pattern and the original photographs on this page were created by Amyliva Handmade.
You may use this pattern to make finished chick amigurumi for yourself, as gifts, or for sale. If you sell a finished item made from this pattern, please credit Amyliva Handmade as the original designer and link to the original pattern page when possible.
Please do not copy, translate, reproduce, redistribute, or publish this written pattern or its photographs as your own content. You are welcome to share a link to this original pattern page instead.



Yorum gönder