How to Make a Mini Octopus Keychain: Free Crochet Pattern
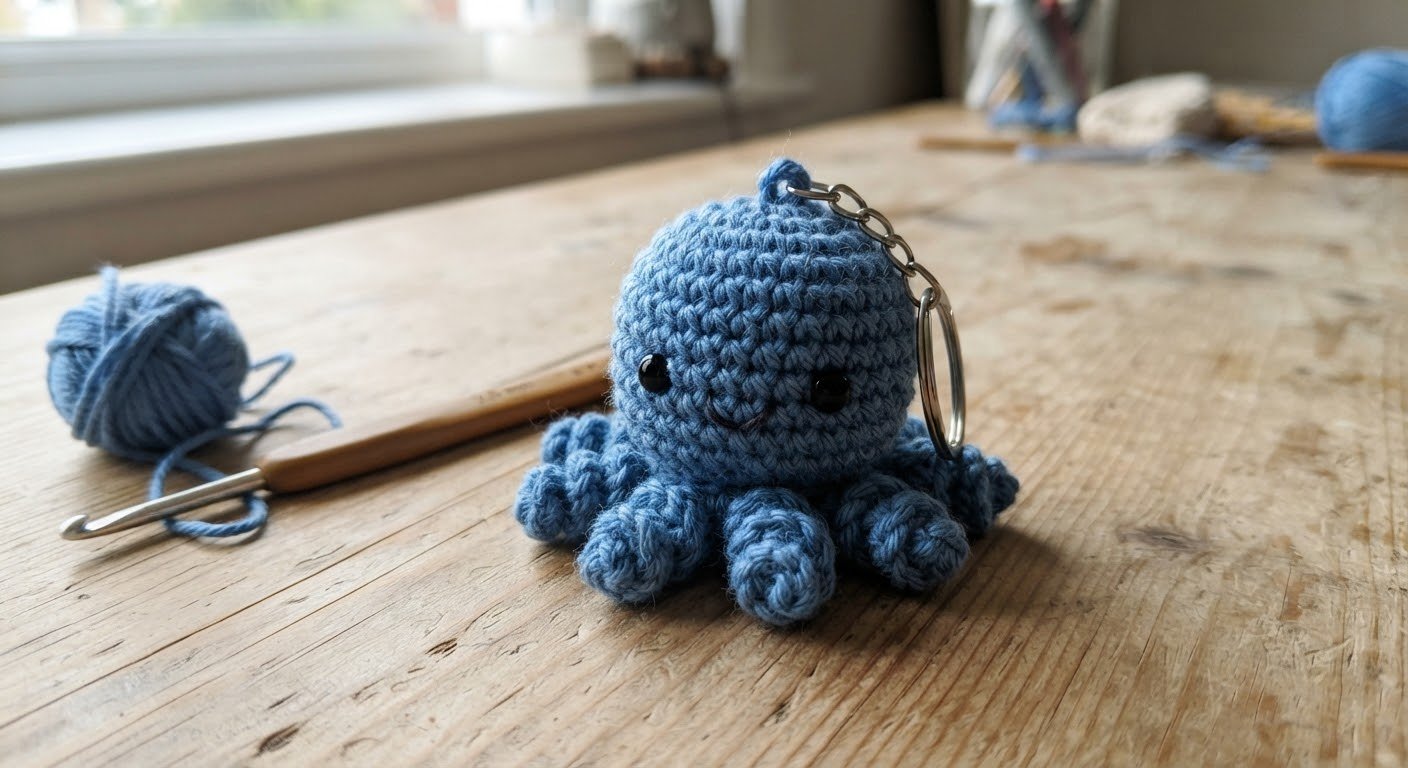
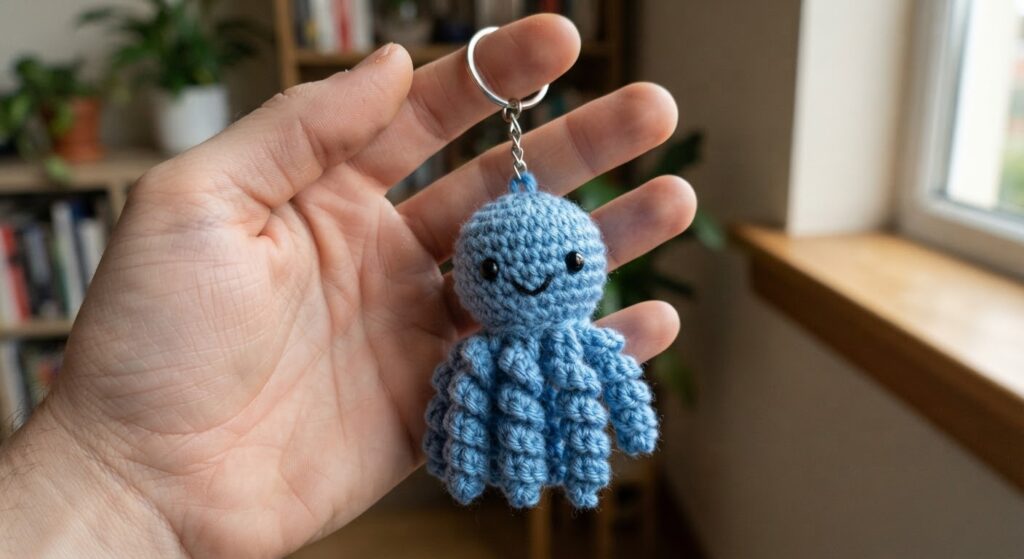
This mini amigurumi octopus keychain is a small crochet project worked in one main piece, with eight curled tentacles attached underneath the body. Its compact size makes it a simple project for practicing basic amigurumi techniques and making a handmade keychain.
The finished octopus is small enough to use as a keychain, but the size may vary depending on your yarn, hook size, and crochet tension.
In this pattern, you’ll find the materials, US crochet abbreviations, complete round-by-round instructions, tentacle pattern, assembly steps, and practical tips for making the octopus.
Materials and Tools
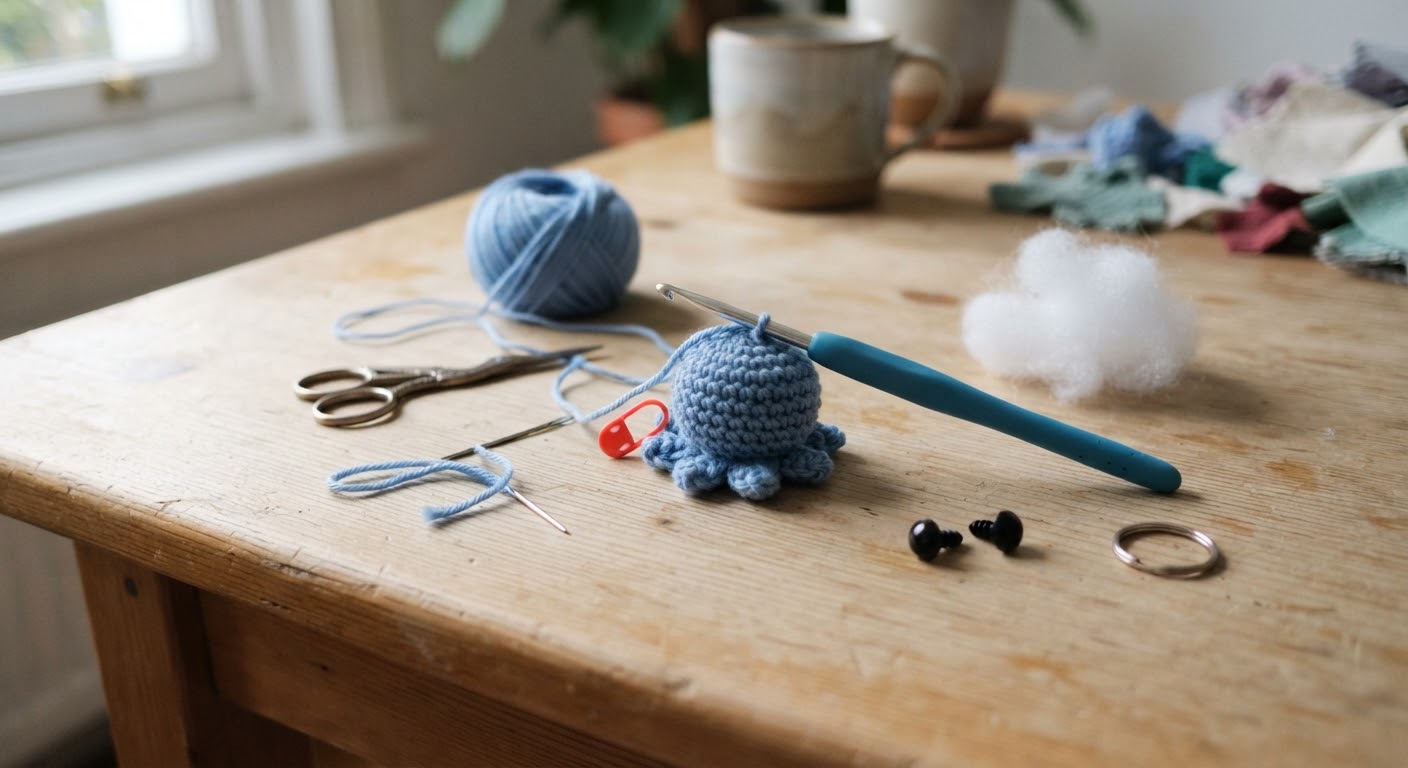
Before starting your mini octopus keychain, gather the following materials:
- Cotton yarn, such as YarnArt Jeans or a similar yarn
- 2.00 mm crochet hook
- 6 mm safety eyes
- Polyester fiberfill
- Tapestry needle
- Scissors
- Keychain ring
- Black embroidery thread or yarn for the optional smile
Use a hook size that gives you firm, even stitches so the fiberfill does not show through the crochet fabric.
The amount of yarn needed will be small and may vary depending on your yarn, hook size, and crochet tension.
If the keychain is intended for a young child, embroidered eyes are a safer alternative to plastic safety eyes. Check the keychain attachment and all sewn details regularly to make sure they remain secure.
Abbreviations (US Terms)
This pattern uses standard US crochet terms.
- MR: Magic Ring
- sc: Single Crochet
- inc: Increase — work 2 single crochets in the same stitch
- dec: Decrease — work 2 stitches together
- sl st: Slip Stitch
- st(s): Stitch(es)
- [6]: Number of stitches at the end of the round
- ( ): Repeat the instructions inside the parentheses as indicated
Head and Body
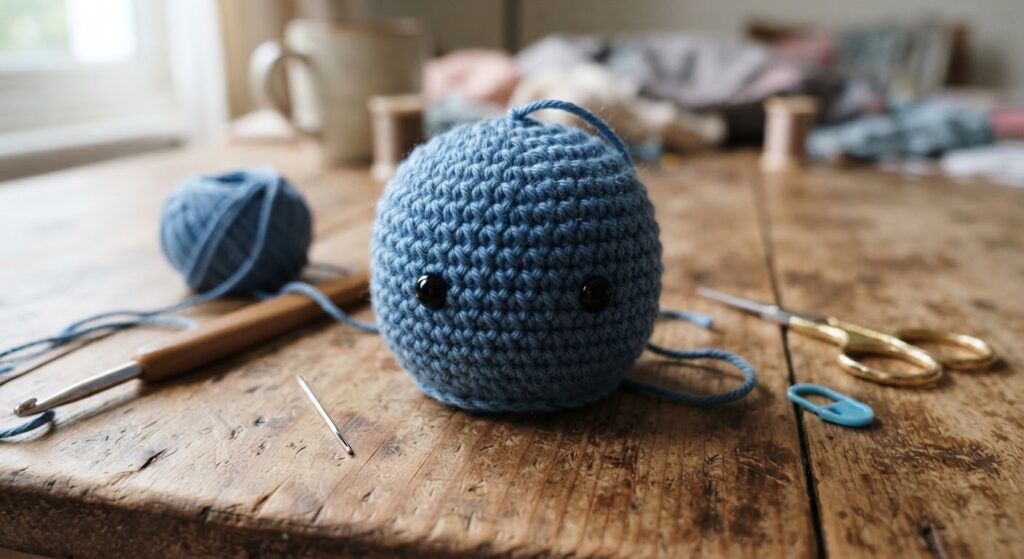
Work the head and body as one piece using your chosen yarn. Work in continuous rounds and use a stitch marker to mark the beginning of each round.
Round 1: MR, 6 sc [6]
Round 2: inc around [12]
Round 3: (1 sc, inc) × 6 [18]
Round 4: (2 sc, inc) × 6 [24]
Round 5: (3 sc, inc) × 6 [30]
Rounds 6–10: sc around [30]
Eye Placement
Insert the 6 mm safety eyes between Rounds 7 and 8, leaving about 5 stitches between them. Check the face from the front and adjust the position slightly if needed so the eyes are centered.
For items intended for young children, embroider the eyes with black embroidery thread instead of using safety eyes.
Round 11: (3 sc, dec) × 6 [24]
Round 12: (2 sc, dec) × 6 [18]
Round 13: (1 sc, dec) × 6 [12]
Begin adding fiberfill before the opening becomes too small. Add small amounts at a time and distribute the stuffing evenly. Avoid overfilling, as this can stretch the stitches and change the shape.
Round 14: dec around [6]
Fasten off, leaving a long yarn tail. Use a tapestry needle to close the remaining opening by working through the front loops of the six stitches. Pull gently to close, secure the yarn, and weave the remaining end inside the body.
Tentacles
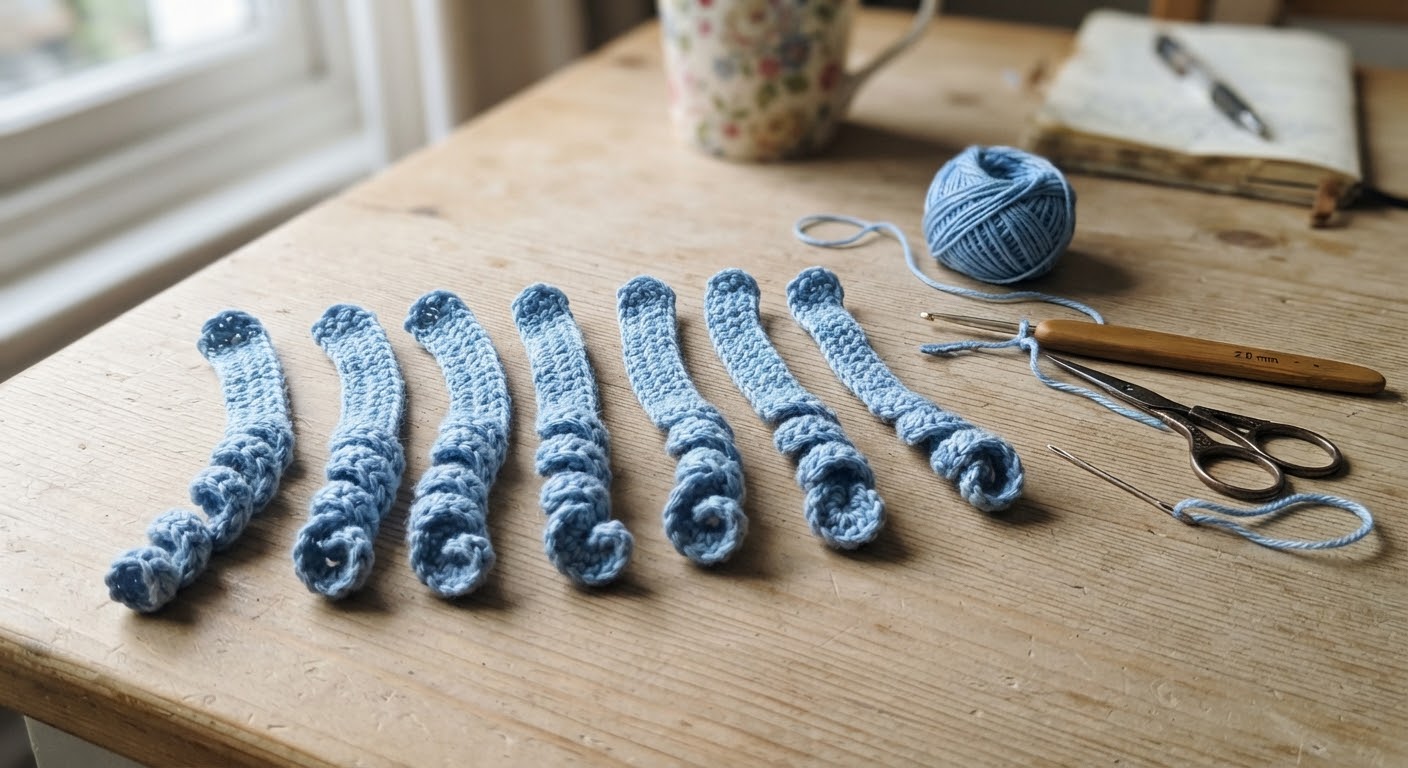
Make 8 using the same yarn as the body.
Chain 16.
Starting in the second chain from the hook, work 2 sc in each of the next 15 chains [30].
Fasten off, leaving a long yarn tail for sewing.
Gently shape the crocheted strip into a curl with your fingers. Keep the stitches relaxed while shaping so the tentacle can curl naturally.
Repeat the same steps until you have 8 tentacles.
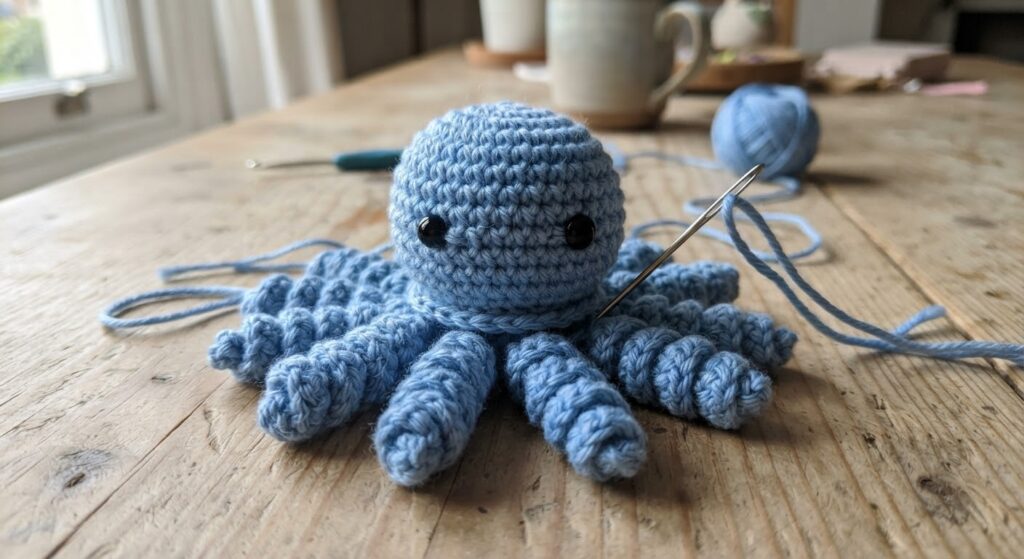
Before sewing, place all eight tentacles underneath the body and arrange them evenly around the underside. Check the spacing from the front and sides so the octopus sits evenly when viewed from different angles.
Assembly
Assembly
Once all eight tentacles are finished, arrange them underneath the body before sewing them permanently.
Attach the Tentacles
Place the eight tentacles evenly around the underside of the octopus. Check the spacing from the front and sides so they are balanced.
Sew each tentacle securely to the underside using its yarn tail. Make several small stitches through the tentacle and body, then weave in the remaining yarn ends.
Add the Face
If you are using an embroidered smile, place it between and slightly below the eyes. Use black embroidery thread or yarn and make a few small stitches to create the smile.
Attach the Keychain Ring
Attach the keychain ring to the top center of the head using strong thread or yarn. Pass the thread through the crochet fabric several times and secure it firmly.
Before using the finished keychain, gently check the ring and all sewn pieces to make sure nothing comes loose.
Trim any remaining yarn ends neatly.
Choosing Colors for Your Mini Octopus
You can make this octopus in any color you like without changing the stitch counts.
For a simple look, use one color for the body and tentacles. You can also use a contrasting color for the embroidered smile or make each octopus in a different shade.
If you add a small bow, hat, or other accessory, attach it securely and make sure it does not interfere with the keychain ring.
Tips for Beginners
- Use a stitch marker to keep track of the beginning of each continuous round.
- Keep your stitches firm and even so the stuffing does not show through the body.
- Add fiberfill gradually and avoid overstuffing, which can stretch the stitches.
- Keep the tension relaxed when crocheting the tentacles so they can be shaped into curls more easily.
- Arrange all eight tentacles before sewing them to make sure they are evenly spaced.
- Check the keychain ring and all sewn pieces carefully before using the finished octopus.
Frequently Asked Questions
Is this mini octopus suitable for beginners?
Yes. The pattern uses basic amigurumi techniques such as single crochet, increases, decreases, stuffing, and working in continuous rounds. The tentacles are made separately and then sewn to the body.
Can I use a different yarn?
Yes. Cotton or acrylic yarn can be used. Changing the yarn weight or hook size will affect the finished size, so make sure your stitches are firm enough that the stuffing does not show through.
How many tentacles does this octopus have?
The pattern includes eight separate tentacles. Each tentacle is crocheted as a strip and shaped into a curl before being attached to the underside of the body.
Can I make this pattern without safety eyes?
Yes. You can embroider the eyes with black embroidery thread instead of using plastic safety eyes. This is a safer option for items intended for young children.
Can I sell finished octopus keychains made from this pattern?
Yes. You may sell finished items made from this pattern. Please credit Amyliva Handmade as the original designer when selling finished pieces.
How do I make sure the keychain is secure?
Sew the keychain ring firmly to the top of the head using strong thread or yarn and make several passes through the crochet fabric. Gently test the attachment before using the finished keychain.
Pattern Usage & Copyright
This crochet pattern and the original photographs on this page were created by Amyliva Handmade.
You may use this pattern to make finished octopus keychains for yourself, as gifts, or for sale. If you sell a finished item made from this pattern, please credit Amyliva Handmade as the original designer and link to the original pattern page when possible.
Please do not copy, translate, reproduce, redistribute, or publish this written pattern or its photographs as your own content. You are welcome to share a link to this original pattern page instead.



Yorum gönder