AMIGURUMI PATTERNS
amigurumi, amigurumi baby patterns, amigurumi designs, AmyLiva Handmade, crochet baby clothes, crochet baby romper, custom amigurumi, DIY amigurumi, handcrafted art, handmade baby toys, handmade crochet dolls, knitting baby outfits, realistic amigurumi, soft baby doll, storytelling amigurumi
admin
1 Yorumlar
The Pacifier Baby Romper Amigurumi — A Stitch of Love and Tenderness
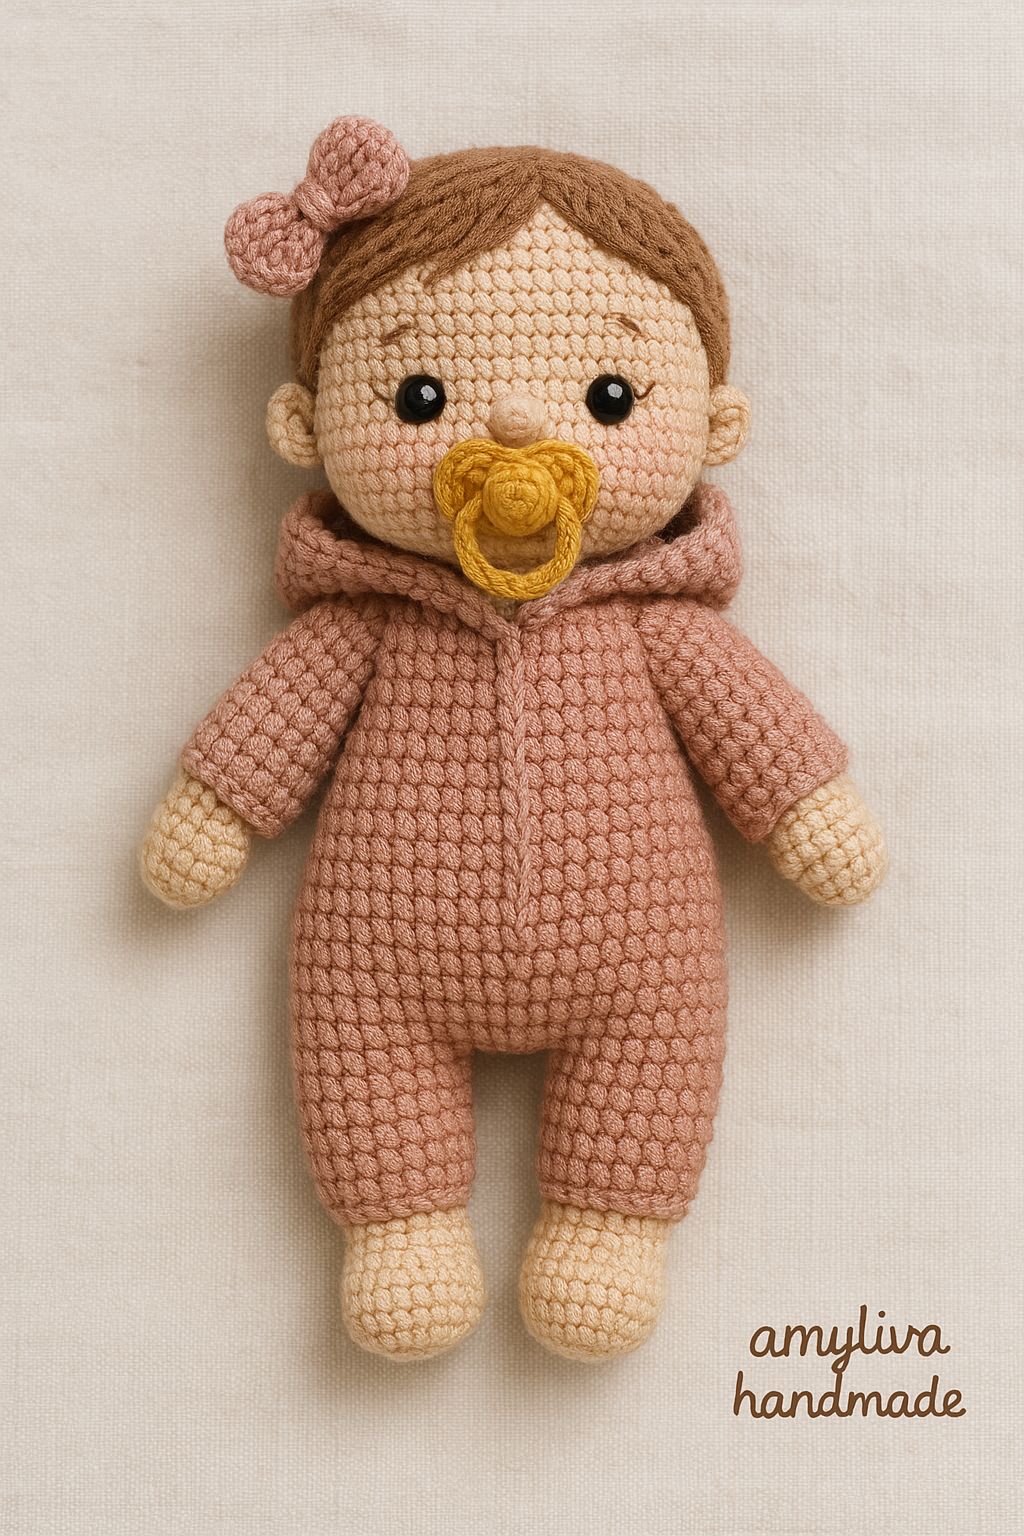
A Stitch of Love: The Pacifier Baby Romper Amigurumi**
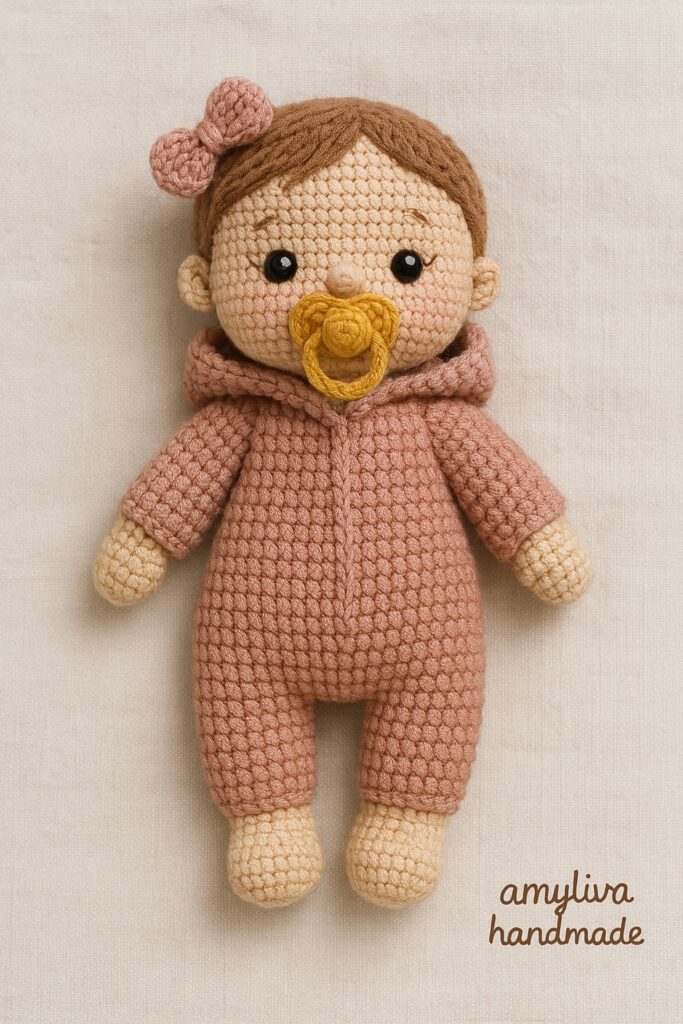
Every stitch tells a story, and the Pacifier Baby Romper Amigurumi is a perfect example of how yarn and creativity can express the deepest emotions. Designed by AmyLiva Handmade, this adorable baby amigurumi wrapped in a cozy romper and holding a tiny pacifier represents warmth, innocence, and the gentle love between a mother and her child.
This crochet design was inspired by a touching real-life moment — Amy once saw a mother cradling her baby near the shore, whispering softly while rocking her little one. That image stayed with her, becoming the seed for this tender creation. She wanted to preserve that quiet beauty forever — and thus, the Pacifier Baby Romper Amigurumi was born.
🧵 Inspiration Behind the Design
For Amy, every amigurumi starts with emotion. She doesn’t just crochet shapes; she tells stories through stitches.
The Pacifier Baby Romper was created to express safety, comfort, and love — the universal feelings of holding a baby close. The pacifier is more than a cute accessory; it’s a symbol of calmness and security.
Amy chose neutral pastel tones — creamy beige, light rose, and baby blue — to make the piece soft and calming to the eye. Every detail, from the romper’s buttons to the baby’s gentle curls, was carefully planned to reflect the sweetness of infancy.
✨ Materials and Tools Used
If you wish to recreate this baby amigurumi yourself, you’ll need:
- Yarn: Soft cotton or bamboo blend (colors: cream, light pink, pale blue, and white)
- Crochet Hook: 2.0–2.5 mm, depending on your tension
- Safety Eyes: 6–8 mm for a gentle, baby-like expression
- Stuffing: High-quality fiberfill for a smooth, plump shape
- Accessories: Mini pacifier charm (can be crocheted or plastic), small buttons for the romper
- Needle: For sewing parts together and weaving in ends
Using these materials will help you achieve a lifelike and charming baby figure that feels as gentle as it looks.
🪡 Step-by-Step Design Concept
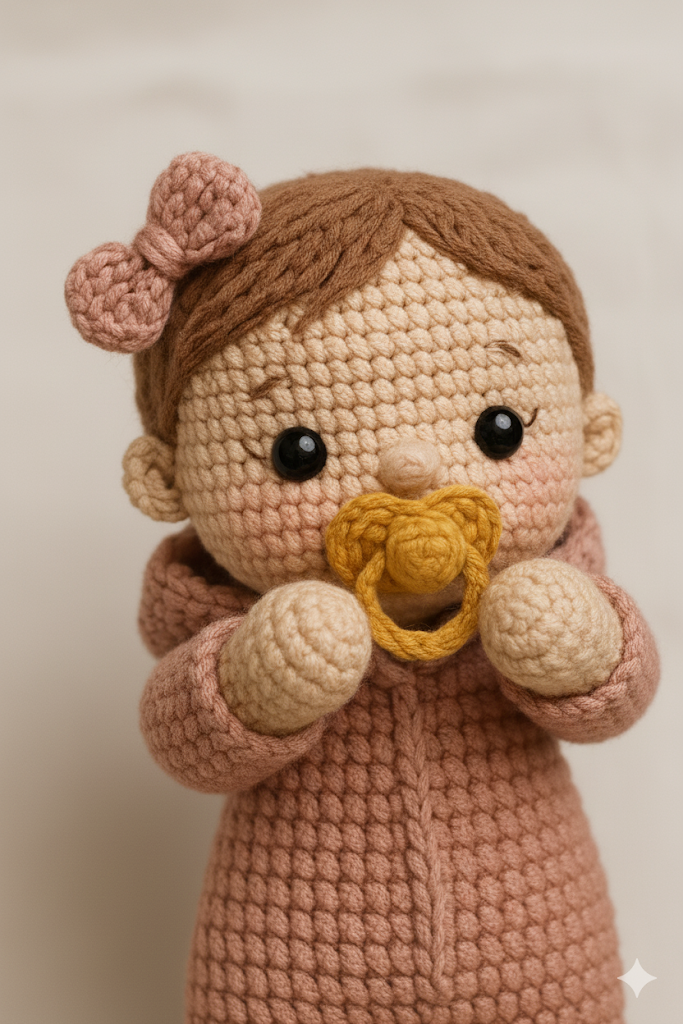
- Head & Body Construction:
The head and body are crocheted in one piece to maintain a seamless and natural shape. The rounded cheeks and small chin create a cute baby face. - Facial Features:
Eyes are placed slightly lower than in most amigurumi to achieve that innocent “baby look.” A small embroidered mouth completes the expression. - Hair & Pacifier:
The tiny curls are made with chain loops, lightly brushed for softness. The pacifier, crocheted separately, attaches securely to the baby’s mouth or hand. - Romper Design:
The romper features a simple single-crochet base with ribbed texture at the edges. Tiny buttons or bows add an adorable finish. - Assembly & Final Touches:
Once all pieces are attached, Amy adds light blush using pastel powder to give the cheeks a healthy glow — a small detail that makes a big emotional difference.
💖 What Makes This Amigurumi Special
Unlike many crochet toys that focus only on cuteness, this one carries emotion. It reminds every parent, artist, or admirer of the first days of life — quiet, pure, and full of hope.
AmyLiva’s artistry lies in capturing emotions through yarn. The Pacifier Baby Romper Amigurumi isn’t just a toy; it’s a memory you can hold in your hand.
Many of Amy’s followers describe this design as “too realistic to be a toy” — and that’s exactly the intention. It blurs the line between craft and art.
🧸 Emotional Connection and Meaning
Every handmade piece holds energy. When Amy worked on this amigurumi, she poured hours of focus, warmth, and love into it. That’s what handmade art does — it transfers emotion.
The pacifier, symbolizing peace, and the romper, symbolizing protection, together tell a story of motherhood. It’s a reminder that small details in crochet can carry profound meaning when created with care.
📸 Perfect for Gift Giving or Nursery Décor
This baby amigurumi makes a meaningful baby shower gift, a nursery decoration, or a keepsake for new parents. It’s gender-neutral and timeless, fitting perfectly in any baby room setting.
For collectors, it’s a beautiful addition that showcases delicate craftsmanship. For beginners, it’s an inspiring project showing how love and creativity can coexist in every stitch.
🌼 Crafting Tips from AmyLiva
- Keep your tension loose to achieve the soft baby feel.
- Use pastel-colored yarn for warmth and authenticity.
- Add light blush to the cheeks using natural powder for realism.
- Secure all small accessories tightly if the toy will be around babies.
💬 What the Community Says
The Pacifier Baby Romper Amigurumi quickly became a favorite on AmyLiva’s Pinterest and Instagram pages. Followers often write:
“This baby looks so real — it almost feels alive.”
“Your designs always make me feel something.”
“It reminds me of my newborn daughter — thank you for this art.”
This heartfelt response shows that handmade crafts can reach people emotionally, far beyond aesthetics.
📚 Related Patterns on AmyLiva.com
If you love this piece, you might also enjoy:
Each design carries its own personality, created with the same care and storytelling that defines AmyLiva Handmade.
❓ Frequently Asked Questions (FAQ)
1. Can I sell the finished amigurumi if I follow this design?
Yes, handmade reproductions are allowed, but please credit AmyLiva Handmade as the original designer.
2. Is this pattern beginner-friendly?
Yes! With basic crochet knowledge (magic ring, single crochet, increase, decrease), you can easily follow the steps.
3. What size is the finished baby?
Approximately 12–14 cm (5–6 inches), depending on yarn and hook size.
4. How long does it take to complete?
Around 6–8 hours for intermediate crocheters; beginners may take a little longer.
5. Can I use acrylic yarn instead of cotton?
Yes, but cotton provides a smoother, neater finish and holds the baby’s shape better.
🌐 Follow AmyLiva Handmade
✨ Find more heartwarming designs on:
- Website: amyliva.com
- Pinterest: AmyLiva Handmade
- YouTube: AmyLiva Handmade Tutorials
- Instagram: @amyliva_handmade
🌸 Final Thoughts
The Pacifier Baby Romper Amigurumi is more than a project — it’s a gentle reminder of the purest form of love. Every loop and stitch carries a mother’s whisper, a baby’s breath, and the artist’s devotion.
AmyLiva’s work proves that handmade creations have the power to connect hearts across the world, one stitch at a time.
💖 100% Handmade & Unique Design
🎀 Discover more creative amigurumi pieces with AmyLiva Handmade!
✨ Visit my blog for exclusive designs and tutorials!
💡 Stay tuned for new stories and creative projects!


1 yorum