The Ultimate Amigurumi Rainbow Caterpillar: A Beginner-Friendly Chunky Crochet Pattern
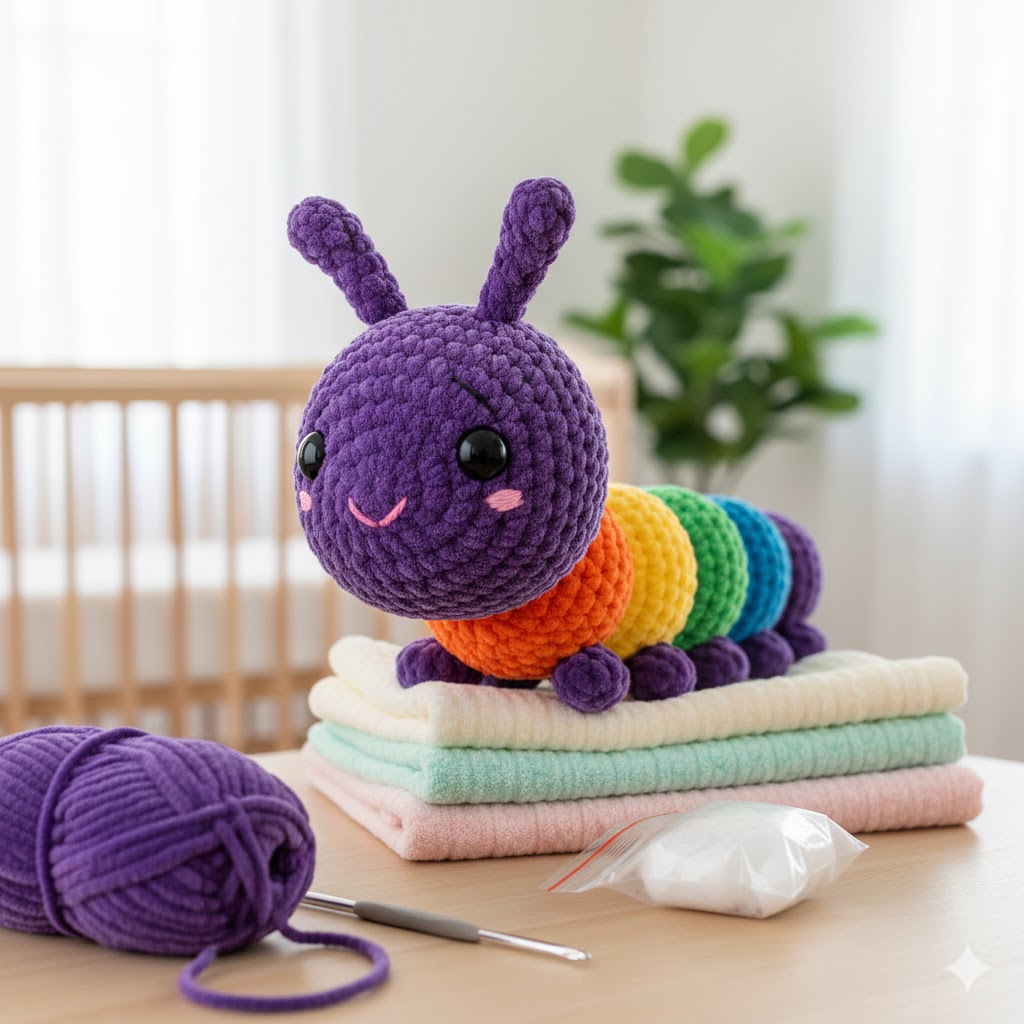
If you’re looking for a bright, squishy, and beginner-friendly crochet project, this Amigurumi Rainbow Caterpillar might be exactly what you need. Also, it works up fast and looks adorable in photos. Therefore, it’s perfect for gifts, nursery décor, or cozy plushie collections.
Watch the full tutorial here:
https://youtube.com/shorts/dhaqqQvI9mk?si=LU8SrEjueJlosdnO
Why This Rainbow Caterpillar Pattern Stands Out
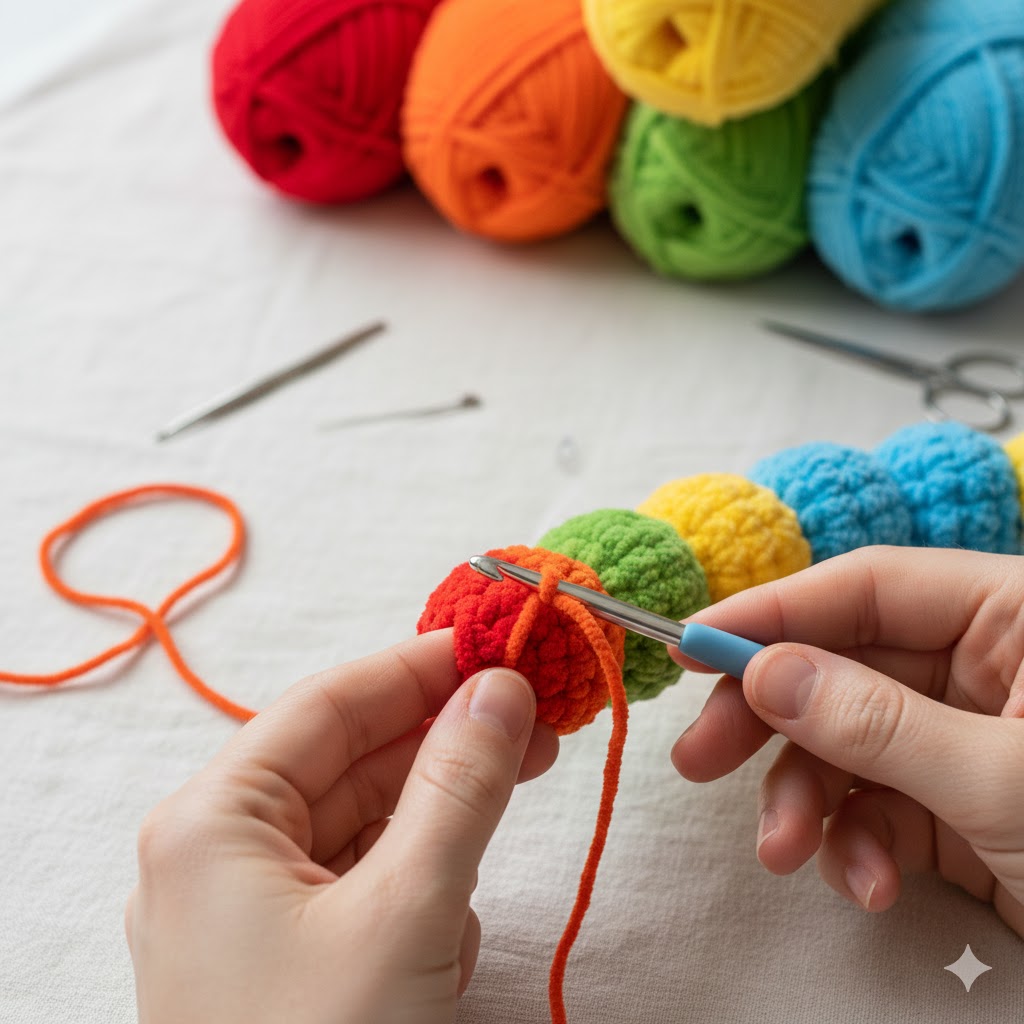
First, it uses only basic stitches: single crochet, increases, and decreases — ideal for beginners. For example, if it’s your first amigurumi, you’ll find it approachable. In addition, the chunky yarn makes the result super soft and squishy. Finally, you can choose your own colors — whether a classic rainbow or a pastel theme. As a result, this toy becomes unique every time.
Materials & Tools You’ll Need
Yarn & Hook
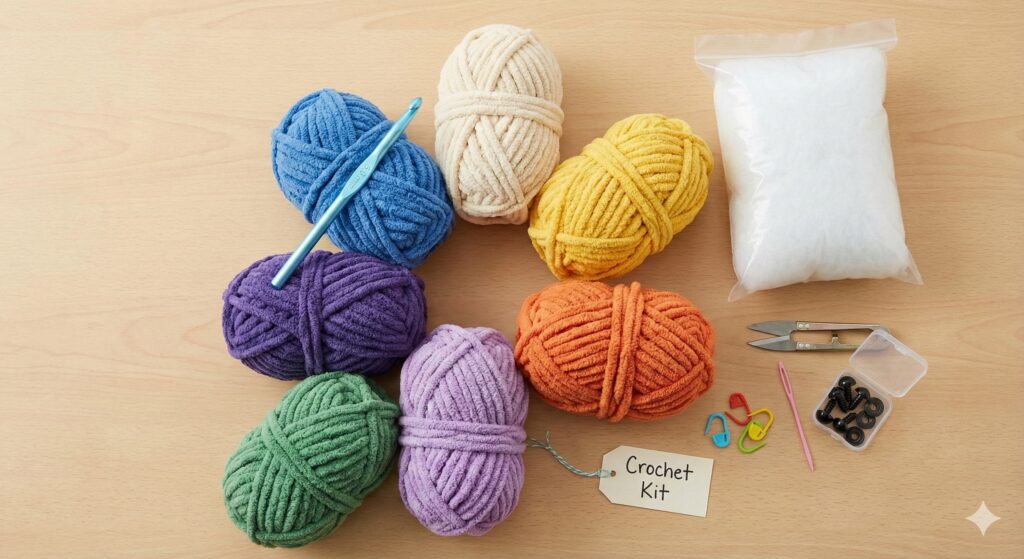
- Chunky / chenille yarn — 6 colors (around 100 g each)
- 6.0 mm crochet hook (or a size slightly smaller than the yarn label suggests)
Extras
- Poly-fill stuffing
- Yarn needle, stitch marker, scissors
- Optional: 12–15 mm safety eyes (use embroidered eyes for baby-safe toys)
Quick Tips Before You Start
Before you begin, watch the video above to see shaping, color changes, and final assembly. Also, use a stitch marker when working in continuous rounds. Meanwhile, keep your tension slightly tight to avoid stuffing peeking through. Finally, take your time — chunky yarn is forgiving and works up quickly but can slip if you rush.
Head Pattern (Purple)
Here’s how you start the caterpillar’s head. Use the purple or any color you like.
- Rnd 1: Magic ring, 6 sc
- Rnd 2: inc each (12)
- Rnd 3: (sc, inc) × 6 (18)
- Rnd 4: (2 sc, inc) × 6 (24)
- Rnd 5: (3 sc, inc) × 6 (30)
- Rnd 6–10: sc around (30)
- Rnd 11: (3 sc, dec) × 6 (24)
- Rnd 12: (2 sc, dec) × 6 (18)
Place safety eyes between rounds 8–9, approx. 8 stitches apart. Then:
- Rnd 13: (sc, dec) × 6 (12) — stuff firmly
- Rnd 14: 6 dec (6) → FO, weave tail in.
Finally, embroider a small smile beneath the eyes.
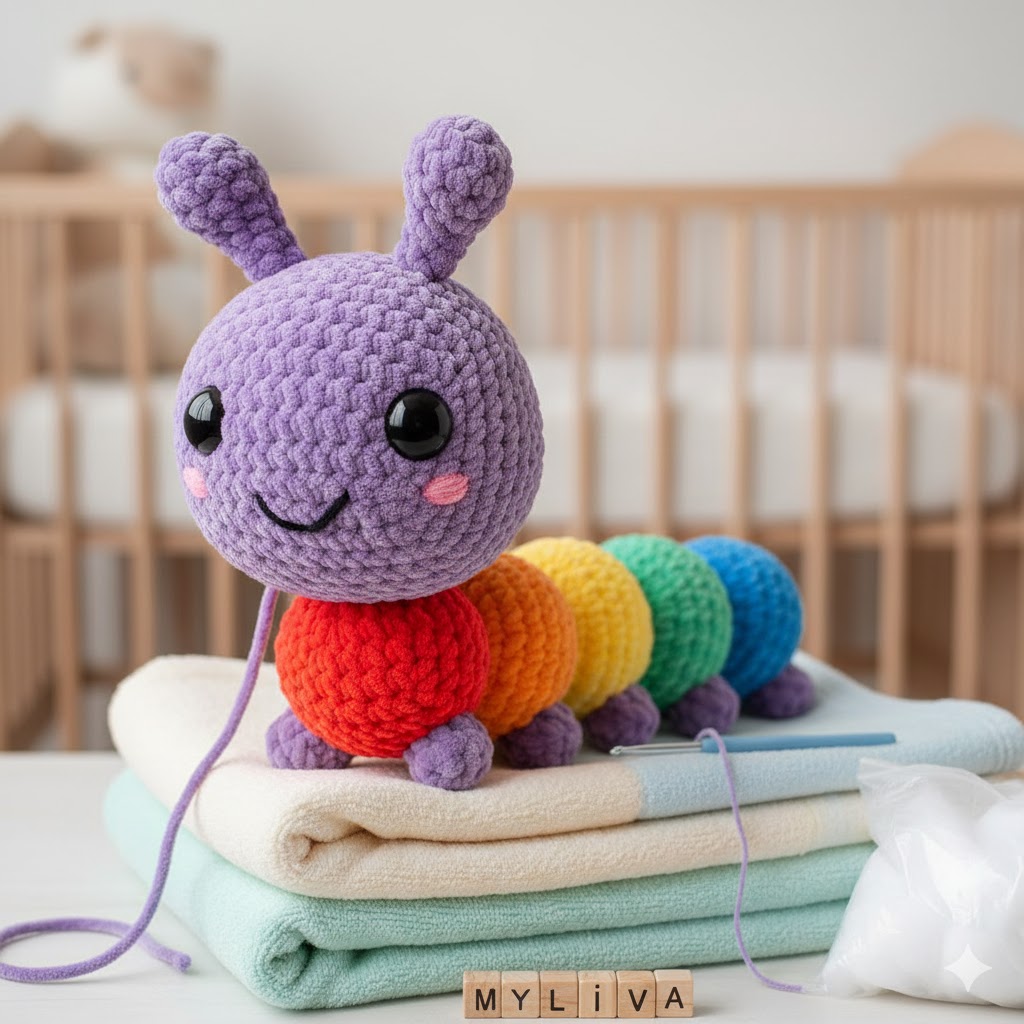
Seamless Rainbow Body (Continuous Crochet)
This body is worked in a continuous spiral, changing colors seamlessly. Make each colored segment bulgy by stuffing before decreasing.
Tail Segment (Purple)
- Rnd 1: MR, 6 sc
- Rnd 2: 6 inc (12)
- Rnd 3: (sc, inc) × 6 (18)
- Rnd 4: (2 sc, inc) × 6 (24)
- Rnd 5: (3 sc, inc) × 6 (30)
- Rnd 6–9: sc around (30)
- Rnd 10: (3 sc, dec) × 6 (24)
Red Segment
- Rnd 11: change to red, sc around (24)
- Rnd 12: sc around (24)
- Rnd 13: (4 sc, inc) × 4 + sc in remaining (28)
- Rnd 14–17: sc around (28)
- Rnd 18: (5 sc, dec) × 4 (24)
Orange – Yellow – Green – Blue Segments
Continue similarly, switching colors in order. Always stuff each color block before decreasing to maintain a defined, “bumpy” look. Follow the increase/decrease logic described in this pattern to keep segments even and plush.
Finishing the Head & Adding Features
Once you complete the final purple round, increase for head shape, place eyes, and stuff firmly. Then sew antennae on top, just above eyes (around round 64), and embroider a sweet smile. For a cute finish, add subtle blush using a pastel pencil or fabric paint.
Antennae & Legs (Optional but Adorable)
Antennae (Make 2)
- MR, 5 sc
- Rnd 2–5: sc around (5)
- FO, leave long tail for sewing
Legs (Make 6)
- MR, 6 sc
- Rnd 2: (sc, inc) × 3 → 9
- Rnd 3–5: sc around (9)
- Rnd 6: (sc, dec) × 3 → 6
- FO, leave tail for sewing
Assembly Instructions
- Sew head to body securely. Use hidden stitches so seams don’t show.
- Stitch each body segment one after another, aligning openings.
- Position legs under segments that will sit on the ground.
- Weave in all loose ends and shape the caterpillar by hand — gentle squishing helps distribute stuffing evenly.

Customization Ideas & Uses
You can choose pastel colors for a baby-friendly look, bold neon for playful décor, or even a monochrome theme. Additionally, you might add a small bow, flower, or loop for hanging. Some makers turn it into a stroller toy, nursery mobile, or desk plushie.
Care Instructions
- Spot clean or hand wash only.
- Air dry thoroughly — avoid heat or tumble drying.
- For baby toys, avoid safety eyes. Embroider the face instead.
Troubleshooting & Tips
If stuffing shows through, tighten your tension or switch to a smaller hook. Also, if color changes look bulky, finish the last stitch of the old color up to the final yarn-over, then yarn-over with the new color for a neat transition. Meanwhile, keep an even stitch count and stuff before decreases for best shape.
FAQ
Is this pattern suitable for beginners?
Yes — it only uses single crochet, increases, and decreases. Additionally, the chunky yarn and big hook make the process forgiving.
How many body segments should I make?
Six to eight segments usually give a well-proportioned caterpillar. However, you can increase or decrease the number depending on desired length.
Can I sell the finished caterpillar?
Absolutely. Just credit Amyliva Handmade as the original pattern designer.
Final Thoughts
This cozy, colorful, and beginner-friendly amigurumi caterpillar makes a perfect handmade gift or a cheerful decor piece. Embed the video above and add a clear featured image — then re-run AIOSEO analysis. Finally, verify transition-word percentage and subheading distribution to ensure a high score.
Happy crocheting! 🧶

Yorum gönder