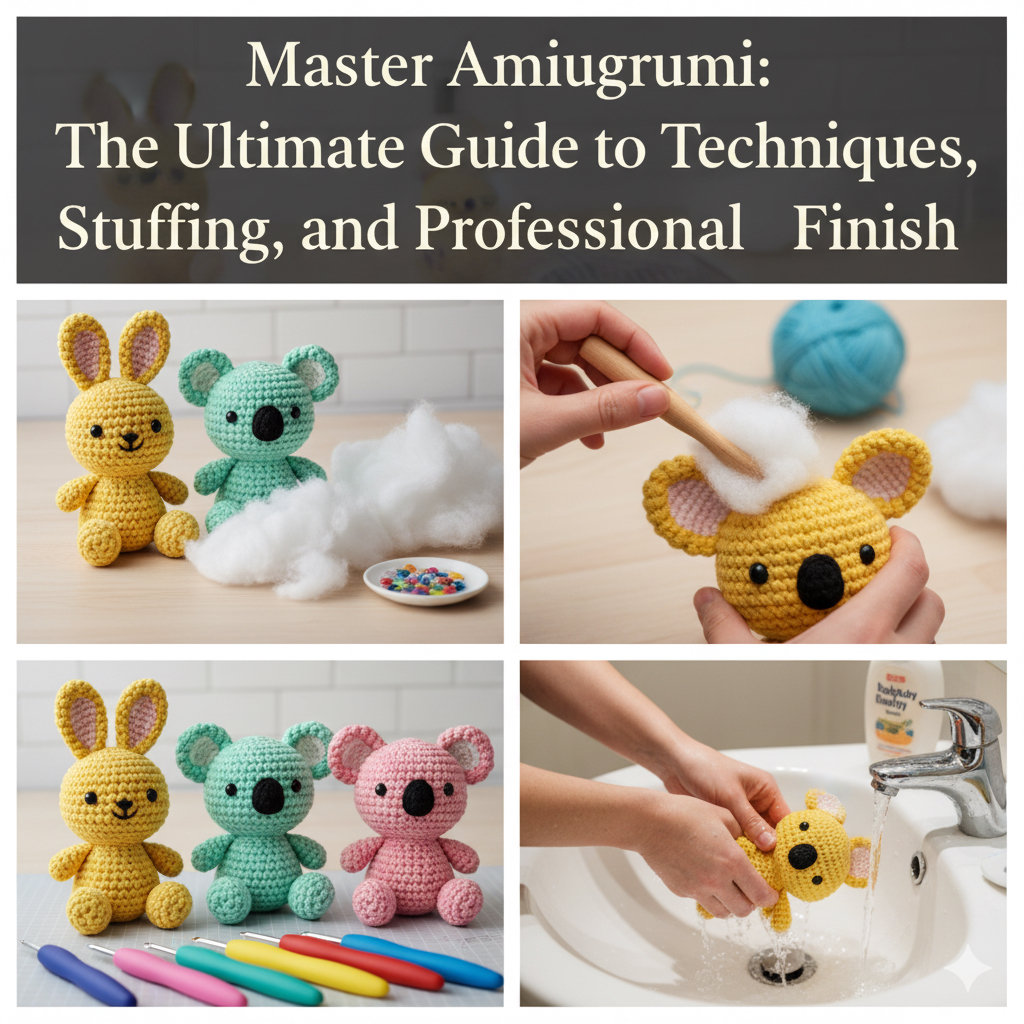
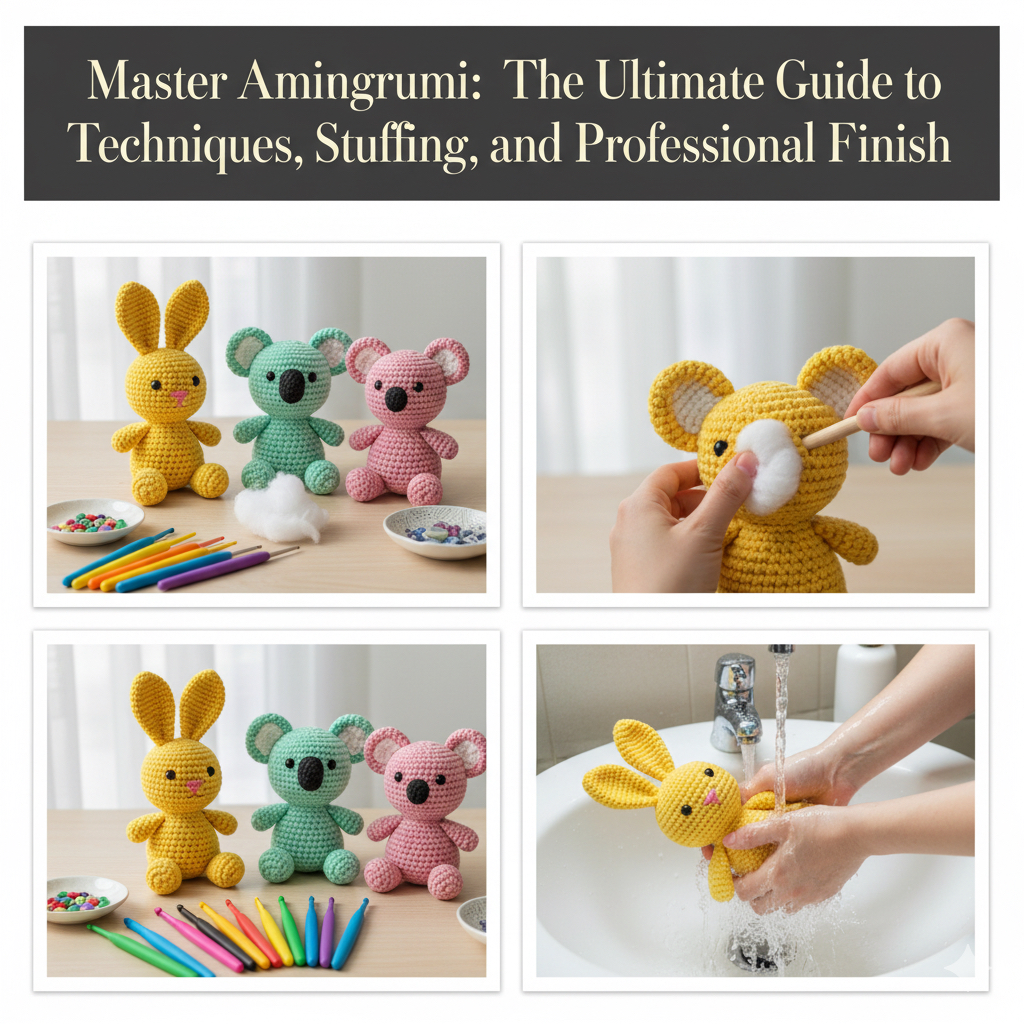
🧶 Master Amigurumi: The Ultimate Guide to Techniques, Stuffing, and Professional Finish
Amigurumi, the Japanese art of crocheting small stuffed toys, is a wonderful blend of patience and creativity. Whether you are a total beginner or an experienced maker looking to refine your craft, this comprehensive guide covers everything from the essential tools to professional finishing secrets. Master these techniques to create perfect, long-lasting amigurumi dolls and toys.
Section 1: The Foundation – Essential Materials Checklist
The secret to a professional-looking amigurumi starts with the right selection of yarn and tools.
1.1 Yarn Selection: Texture and Definition
Choosing the correct yarn is crucial for stitch definition and durability.
• 100% Cotton Yarn: Highly recommended for amigurumi. It offers clear stitch definition, holds its shape perfectly, and gives the finished toy a clean, premium look. It is ideal for baby items due to its durability.
• Acrylic Yarns: More economical and offers a wider color range. It creates a softer, fluffier texture but might make stitches less defined. Best for larger toys or projects where budget is a concern.
• Velvet / Chenille Yarns: Popular for super soft toys. Caution: It is difficult for beginners as it hides stitches and can be prone to unraveling if not secured correctly.
1.2 Hook Selection: The Art of Tight Tension
The most critical rule in amigurumi is crocheting tightly. Tight tension prevents the stuffing from showing through the stitches (a major aesthetic fault).
• The Rule: Always use a crochet hook size that is one size smaller than what is recommended on your yarn label. (E.g., if the label suggests 4.0 mm, use 3.0 mm or 3.5 mm).
• Ergonomics: An ergonomic hook with a comfortable grip will prevent hand strain during long projects.
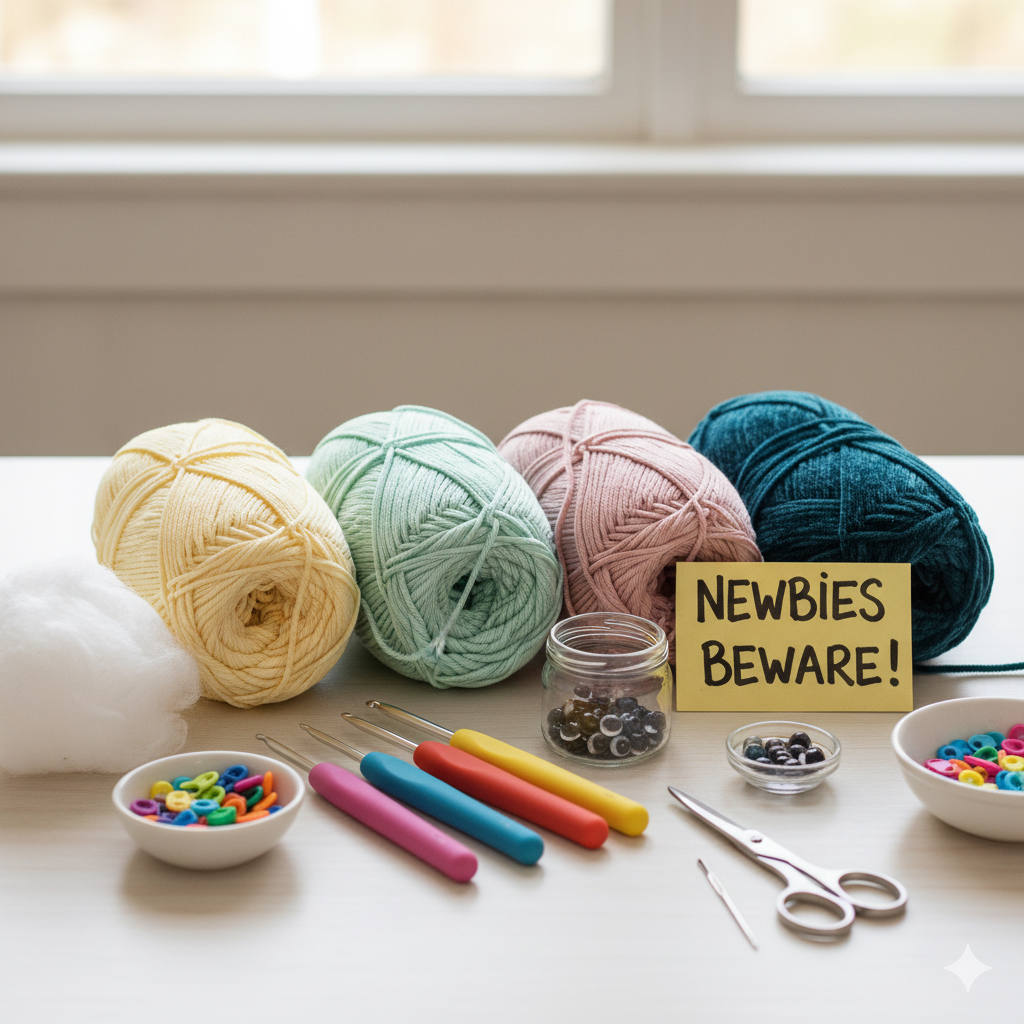
1.3 Essential Tools
• Stitch Marker: Absolutely mandatory for tracking rounds when working in a spiral.
• Stuffing (Polyester Fiberfill): The filling material. Choose a non-allergenic type that is firm and bouncy.
• Safety Eyes: Plastic eyes that add character. Important Safety Note: For amigurumi intended for children under 3 years old, use embroidered eyes instead of safety eyes to eliminate choking hazards.
• Tapestry Needle (Yarn Needle): Essential for sewing pieces together and neatly weaving in yarn tails.

Section 2: Mastering the Core Amigurumi Crochet Techniques
Amigurumi patterns rely on a few simple stitches, but precision is key.
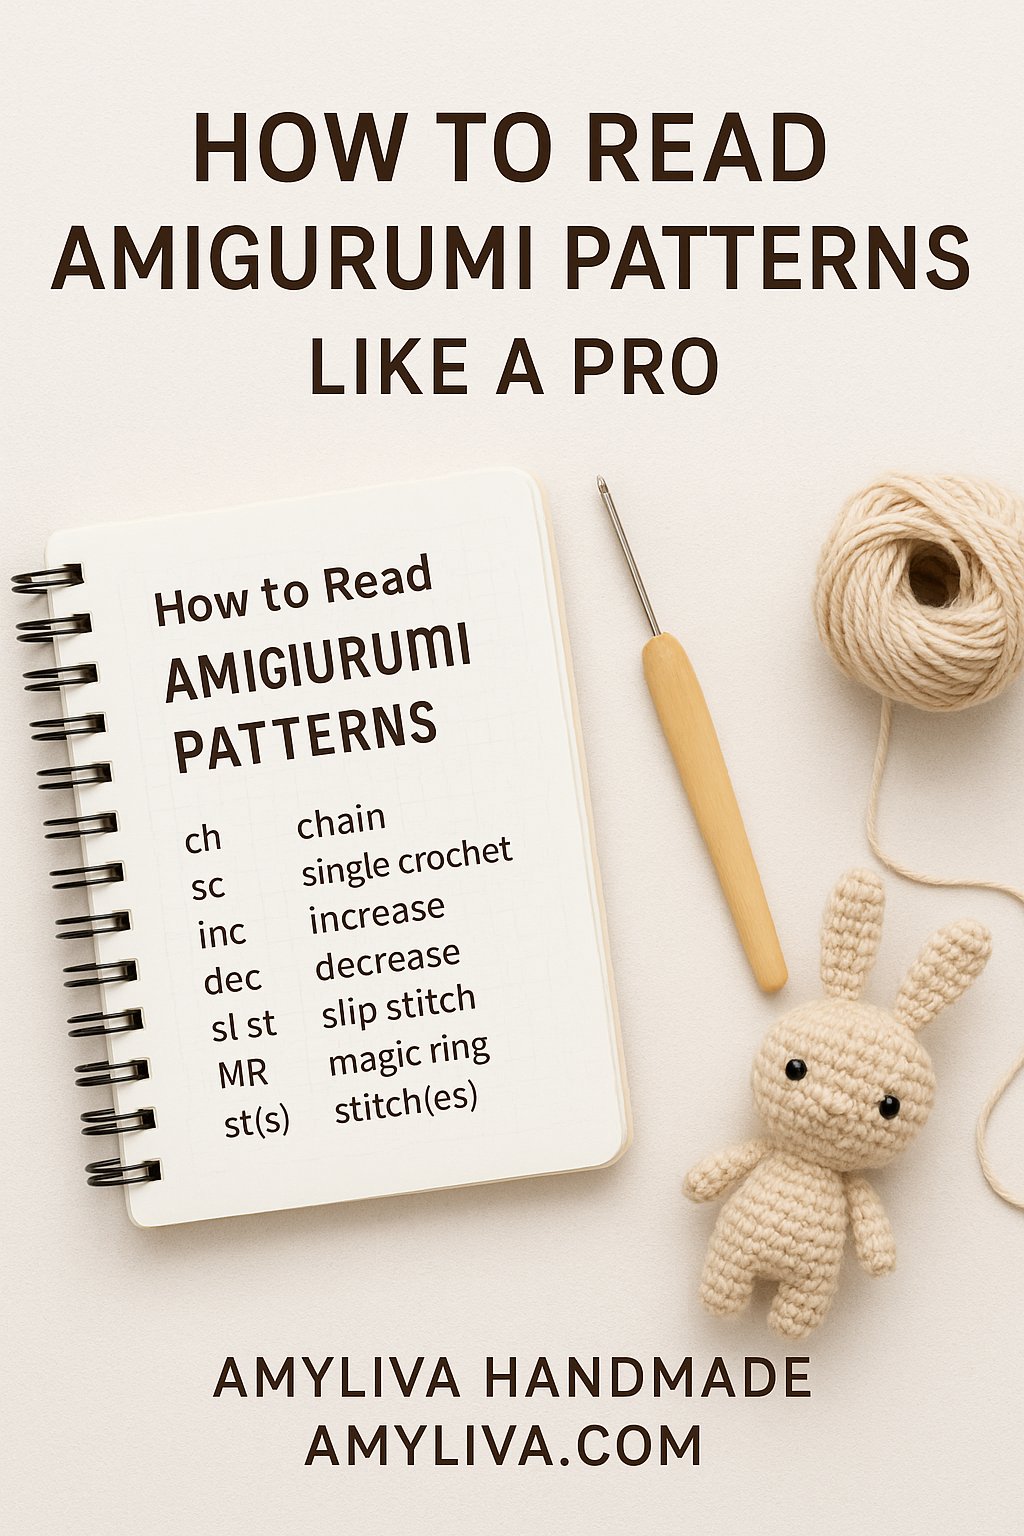
Summary of Core Techniques
Here are the essential stitches you must learn for Amigurumi, along with their abbreviations and purpose:
1. Magic Ring (MR / MC): The perfect start for all round pieces (head, body). Ensures a perfect, zero-hole center.
2. Single Crochet (SC): The primary stitch. Creates the necessary dense fabric for stuffing.
3. Increase (INC): Making two SCs into the same stitch. Used to rapidly expand the piece and shape curves.
4. Invisible Decrease (INV DEC): Joining two stitches together for a smooth reduction. The pro method for shaping.
5. Slip Stitch (SL ST / CC): Used mainly to close off a piece or for color changes.
2.1 The Spiral Method
Amigurumi is worked in a continuous spiral rather than connecting rounds with a slip stitch. This eliminates the unsightly vertical seam found in traditional crochet.
• Pro Tip: Your tension must be consistent throughout. Inconsistent tension leads to an uneven shape.
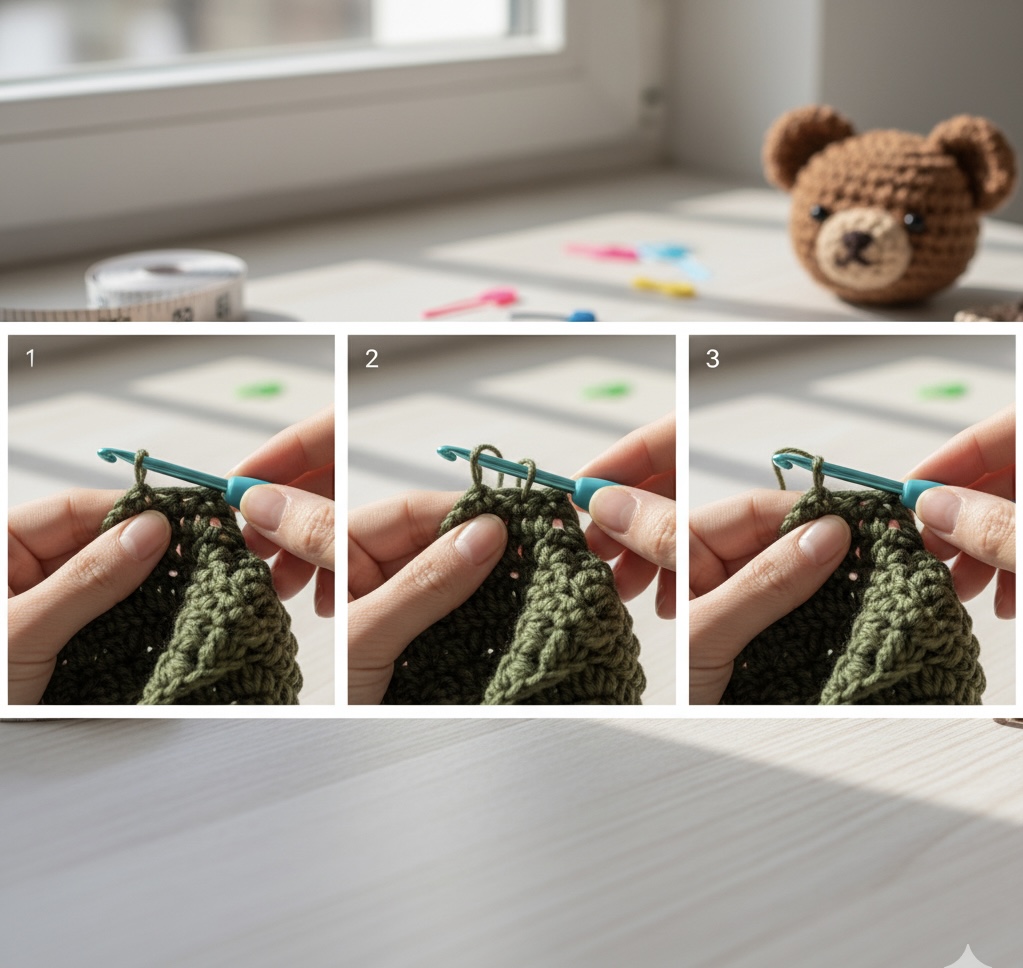
2.2 The Invisible Decrease (INV DEC)
The Invisible Decrease is the most crucial technique for creating a seamless finish. It hides the decrease, preventing holes and bumps on the surface of your crochet dolls.
How to Perform INV DEC:
1. Insert your hook into the front loop only of the first stitch.
2. Insert your hook into the front loop only of the second stitch. (You now have 3 loops on your hook).
3. Yarn over and pull through the first two loops.
4. Yarn over and pull through the remaining two loops.
This technique is essential for achieving a high-quality, professional look. For visual learners, you can find detailed amigurumi tutorials on how to perform this on our YouTube channel.
Section 3: Assembly and Professional Finishing Secrets
A beautifully crocheted piece is only as good as its finishing work. This is where your handmade bear or doll truly comes to life.
3.1 Firm and Balanced Stuffing
Stuffing is the “skeleton” of your amigurumi. Under-stuffed toys look flimsy and sag over time.
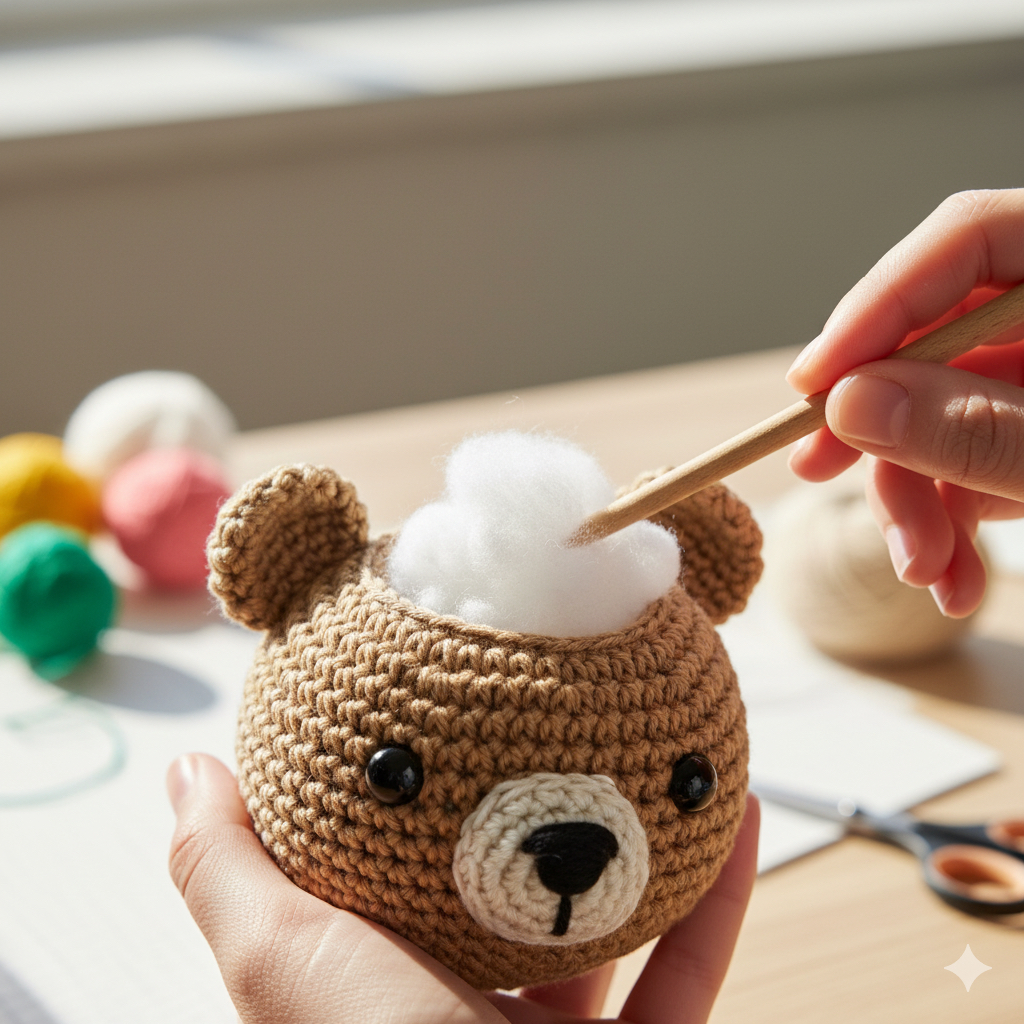
• The Rule: Stuff pieces firmly and evenly. Use a chopstick or a dedicated stuffing tool to push small bits of fiberfill into corners. The fabric should be taut, but not stretched to the point where the stuffing shows.
• Neck Support: If the head is heavy, ensure the neck area is stuffed extra tightly, or insert a thin, safe support structure to prevent the head from wobbling.
3.2 Symmetrical Seaming (Joining Pieces)
Symmetry in limb placement is non-negotiable for a polished look.
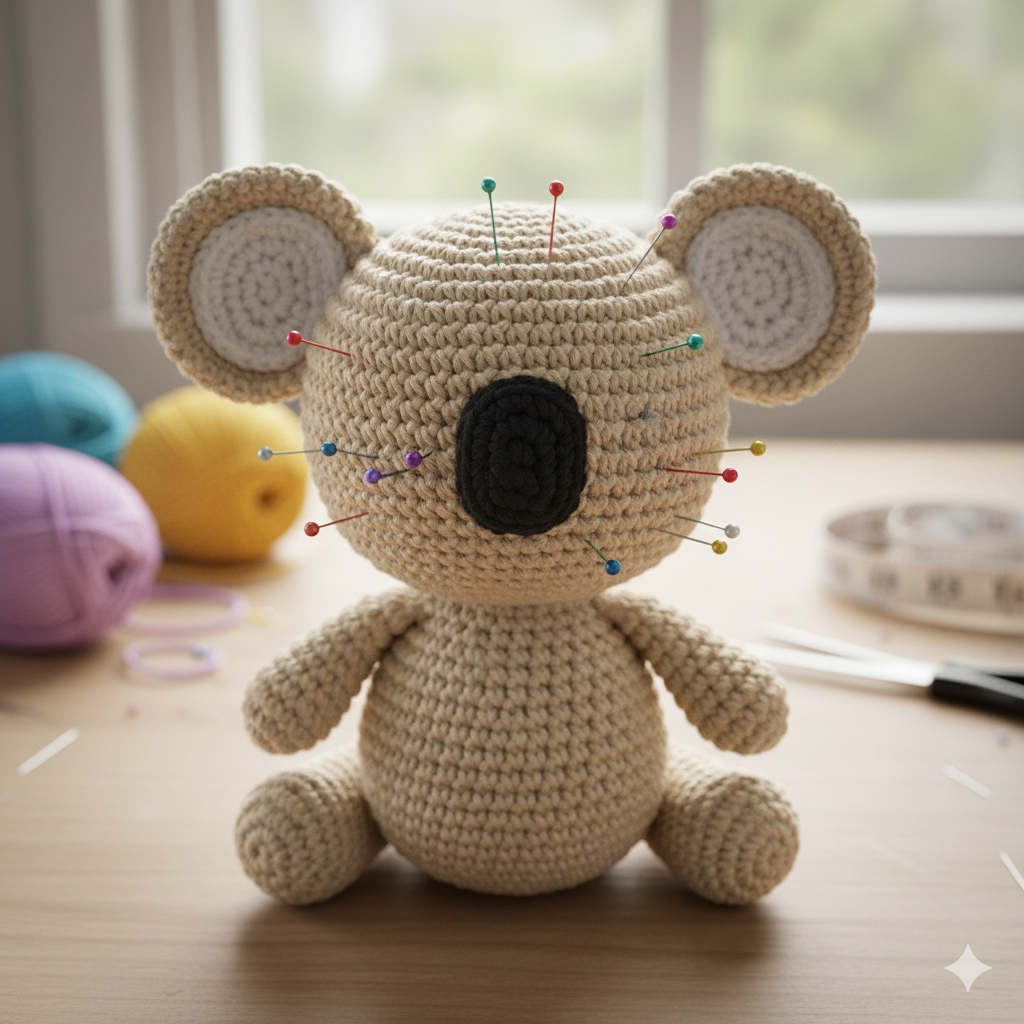
1. Pinning: Before sewing anything, use pins to temporarily attach the limbs, ears, and snout. Stand the amigurumi toy upright and check the symmetry from all angles.
2. The Mattress Stitch: Use a tapestry needle and the mattress stitch method for a neat, near-invisible seam when attaching flat edges (like ears) or closed openings (like arms) to the body.
3.3 Facial Expression and Placement
The face gives the toy its personality.
• Eye Indentation (Optional): Using a long needle and strong thread, pull slightly behind the eye placement spots to create subtle indentations. This gives the face a more charming, sculpted look.
• Embroidery: Use black embroidery floss for the nose and mouth. Pin the location before stitching to ensure the expression is exactly what you want. Ready to start your first project? Check out our guide on Tips for a Perfect Amigurumi Bear for a step-by-step example.
Section 4: Care, Maintenance, and Safety
To ensure your treasured handmade items last for years, proper care is necessary.
4.1 Cleaning Your Amigurumi Toys
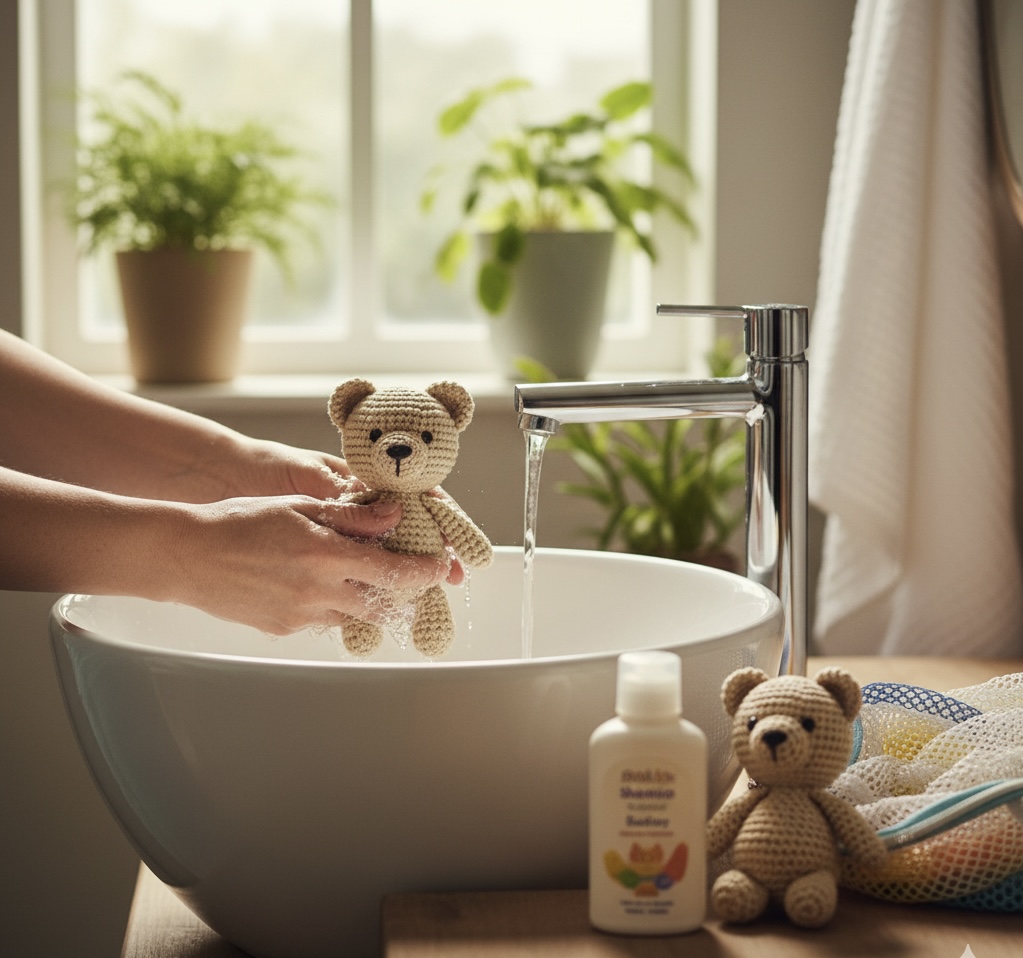
Hand washing is the safest method for cleaning amigurumi.
• Hand Wash: Use lukewarm water and a small amount of gentle detergent (baby shampoo is ideal). Gently squeeze the toy—never scrub or twist it harshly.
• Machine Wash (Use Caution): If machine washing is necessary, place the toy in a mesh laundry bag or pillowcase and wash on a delicate cycle with cold water and low spin speed.
• Drying: Do not tumble dry. Air-dry the toy completely, preferably lying flat to help maintain its shape.
4.2 Durability and Safety Checks
• Safety First: Regularly check the security of safety eyes and any sewn-on parts.
• Babe Safety: If crocheting for children under 3 years old, always use embroidered eyes instead of plastic safety eyes.
• Accessories: If your amigurumi has small accessories like buttons or bows, ensure they are tightly secured and appropriate for the intended user’s age.
Section 5: Frequently Asked Questions (FAQ) for Amigurumi Makers
Q: Why is my amigurumi turning out crooked or leaning?
A: This is often caused by a natural tendency to push stitches slightly to the left or right, or by inconsistent tension. Try to maintain consistent tension and occasionally adjust the shape as you work.
Q: Why are there holes in my finished piece where the stuffing shows through?
A: This indicates that your tension is too loose. Use a smaller crochet hook (refer back to Section 1.2) to tighten your stitches. The goal is a dense fabric where the fibers cannot escape.
Q: How long does it take a beginner to finish an amigurumi toy?
A: The time varies greatly, but an average-sized figure takes anywhere from 4 to 8 hours for a beginner, depending on the complexity of the pattern and the size of the yarn.
Q: What is the best type of yarn to use?
A: Most experts recommend 100% Mercerized Cotton for its excellent stitch definition and structural integrity. For more resources on different yarn weights and types, you can explore the extensive guides on Ravelry.
Q: Can I sell the finished amigurumi dolls I make?
A: Yes, in most cases, you can sell your handmade finished items. However, always check the designer’s policy regarding commercial use of their patterns, especially for large-scale production.
Conclusion
Amigurumi is a craft that rewards patience and attention to detail. By implementing these expert techniques—from selecting the right hook to mastering the invisible decrease—you will significantly elevate the quality and charm of your crochet dolls.
Now grab your hook and yarn—it’s time to bring your perfect little figures to life!
Visit the AmyLiva Handmade website for more free crochet patterns and tips!
Yorum gönder