Crochet Cat Amigurumi – Free Pattern
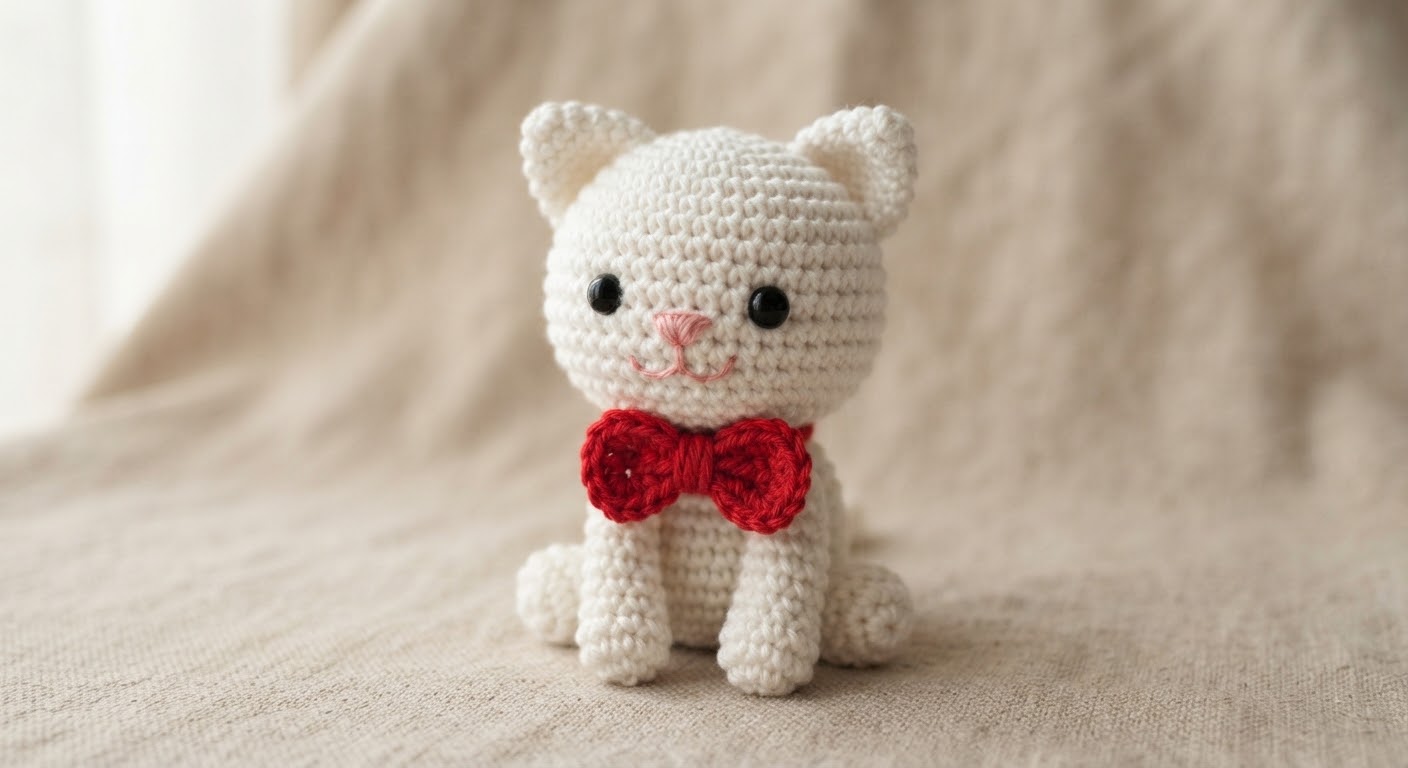
This crochet kitty is made from separate head, body, ears, arms, legs, and bow pieces. The main pieces are worked in single crochet and continuous rounds, then sewn together during assembly.
The pattern uses white yarn for the kitty and red yarn for the bow, but you can change the colors to suit your own project. The face is finished with simple embroidery details.
In this guide, you’ll find the materials, crochet abbreviations, complete round-by-round instructions, assembly steps, and a few tips for working with amigurumi.
Materials
Before you begin, prepare the following materials:
- White yarn for the kitty
- Red yarn for the bow
- 2.5–3 mm crochet hook, or a size that gives you firm stitches
- Polyester fiberfill
- 6 mm safety eyes
- Black and pink embroidery thread for the facial details
- Tapestry needle
- Stitch marker
- Scissors
The finished size will depend on the yarn weight, hook size, and your crochet tension.
If the kitty is intended for a young child, use embroidered eyes instead of plastic safety eyes and make sure all sewn details are securely attached.
Crochet Abbreviations
Here are the abbreviations used in this pattern:
MR – Magic Ring
sc – Single Crochet
inc – Increase
dec – Decrease
sl st – Slip Stitch
ch – Chain
dc – Double Crochet
R – Round
The kitty is worked mainly in continuous rounds. Use a stitch marker to mark the beginning of each round and keep your stitch count accurate.
Kitty Amigurumi Pattern
Head – White Yarn
Work the head in continuous rounds using white yarn.
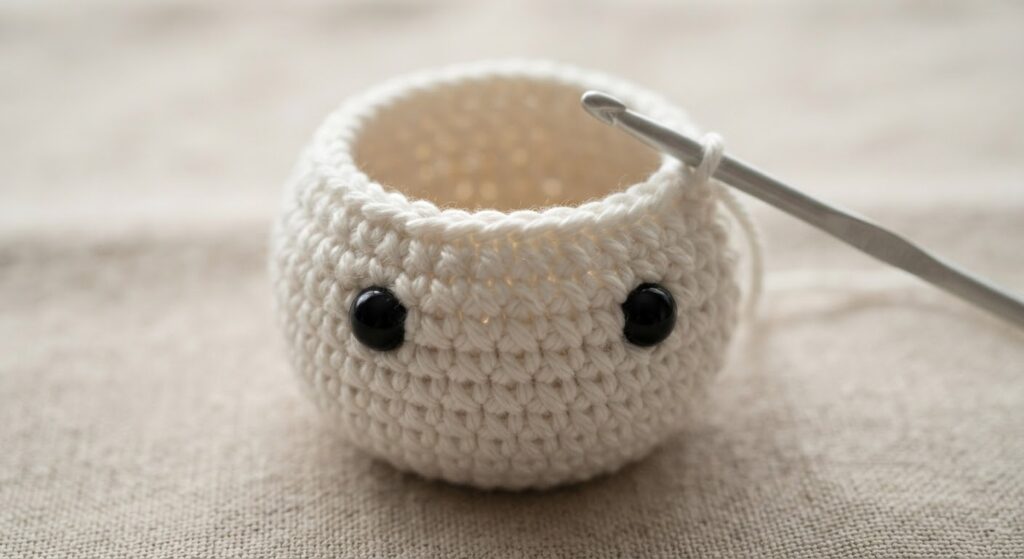
R1: Ch 6. Starting in the 2nd chain from the hook: 4 sc, 3 sc in the last chain, then work along the other side of the chain: 3 sc, 2 sc in the last stitch. (12)
R2: 2 inc, 3 sc, 3 inc, 3 sc, inc. (18)
R3: (2 sc, inc) × 6. (24)
R4: (3 sc, inc) × 6. (30)
R5: (4 sc, inc) × 6. (36)
R6: (5 sc, inc) × 6. (42)
R7: (6 sc, inc) × 6. (48)
R8–R15: sc around. (48)
Insert the 6 mm safety eyes between R12 and R13, leaving about 8–10 stitches between them. Begin adding fiberfill gradually as you continue.
R16: (6 sc, dec) × 6. (42)
R17: (5 sc, dec) × 6. (36)
R18: (4 sc, dec) × 6. (30)
R19: (3 sc, dec) × 6. (24)
R20: (2 sc, dec) × 6. (18)
R21: (sc, dec) × 6. (12)
R22: dec × 6. (6)
Fasten off and close the opening, leaving a long yarn tail for sewing the head to the body.
Ears (Make 2)
Using white yarn:
R1: MR, 6 sc. (6)
R2: inc around. (12)
R3: (sc, inc) × 6. (18)
R4–R6: sc around. (18)
R7: (sc, dec) × 6. (12)
R8: dec around. (6)
Fasten off, leaving a long yarn tail for sewing.
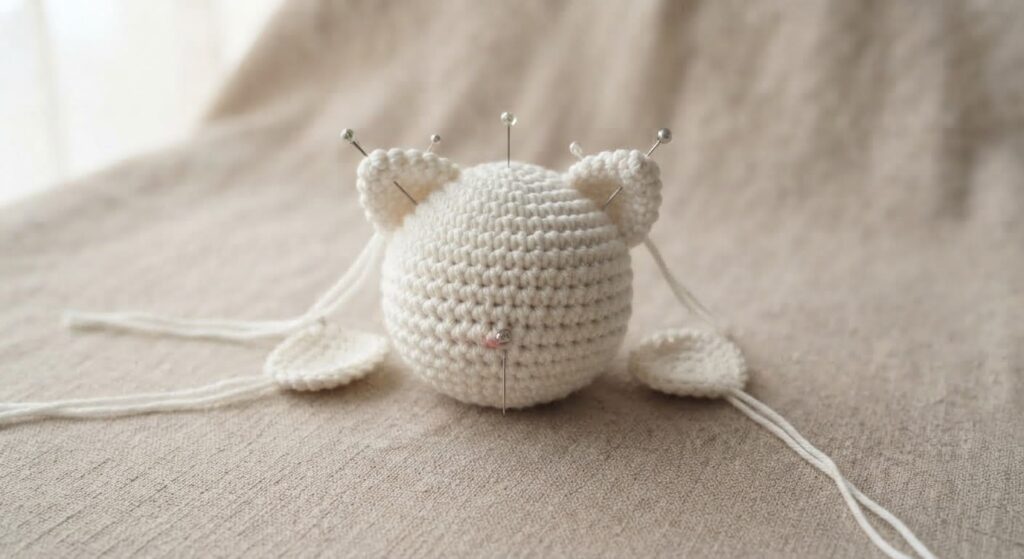
Do not stuff the ears. Flatten each ear gently and sew them securely to the top of the head. Check their position from the front before sewing them in place.
Arms (Make 2)
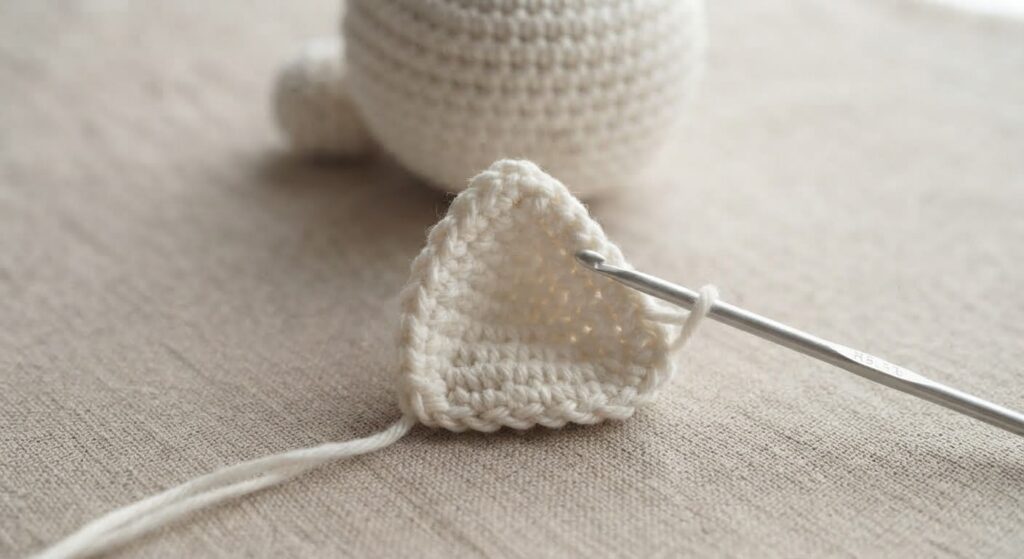
Using white yarn:
R1: MR, 6 sc. (6)
R2: inc around. (12)
R3–R5: sc around. (12)
R6: (2 sc, dec) × 3. (9)
R7–R12: sc around. (9)
R13: (sc, dec) × 3. (6)
Lightly stuff the lower part of each arm. Do not overfill the arms; leave the top slightly flat for sewing.
Fasten off, leaving a long yarn tail for attaching the arms to the body.
Body – White Yarn
Using white yarn:
R1: MR, 6 sc. (6)
R2: inc around. (12)
R3: (sc, inc) × 6. (18)
R4: (2 sc, inc) × 6. (24)
R5: (3 sc, inc) × 6. (30)
R6–R10: sc around. (30)
R11: (3 sc, dec) × 6. (24)
R12: (2 sc, dec) × 6. (18)
R13: (sc, dec) × 6. (12)
R14: dec × 6. (6)
Fasten off and close the opening, leaving a long yarn tail for sewing the head to the body.
Add fiberfill gradually while working the body. Use enough stuffing to give the body a firm shape without stretching the stitches.
Legs – Make 2
Using white yarn:
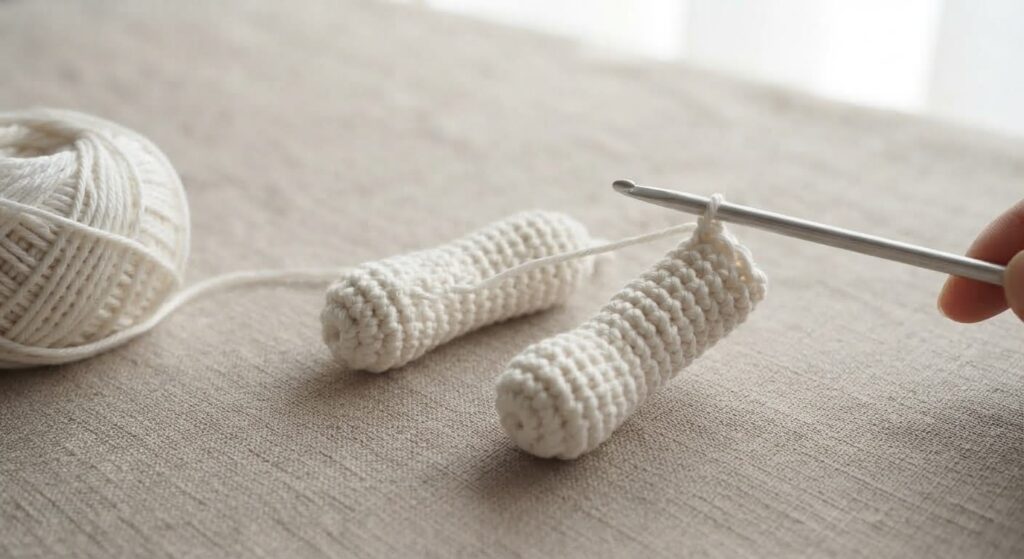
R1: MR, 6 sc. (6)
R2: inc around. (12)
R3: (sc, inc) × 6. (18)
R4–R6: sc around. (18)
R7: (sc, dec) × 6. (12)
R8–R10: sc around. (12)
R11: dec around. (6)
Lightly stuff the lower part of each leg. Do not overfill the legs; leave the top slightly flat for sewing.
Fasten off, leaving a long yarn tail. Flatten the top of each leg and sew the legs evenly to the bottom of the body.
Bow – Red Yarn
Using red yarn:
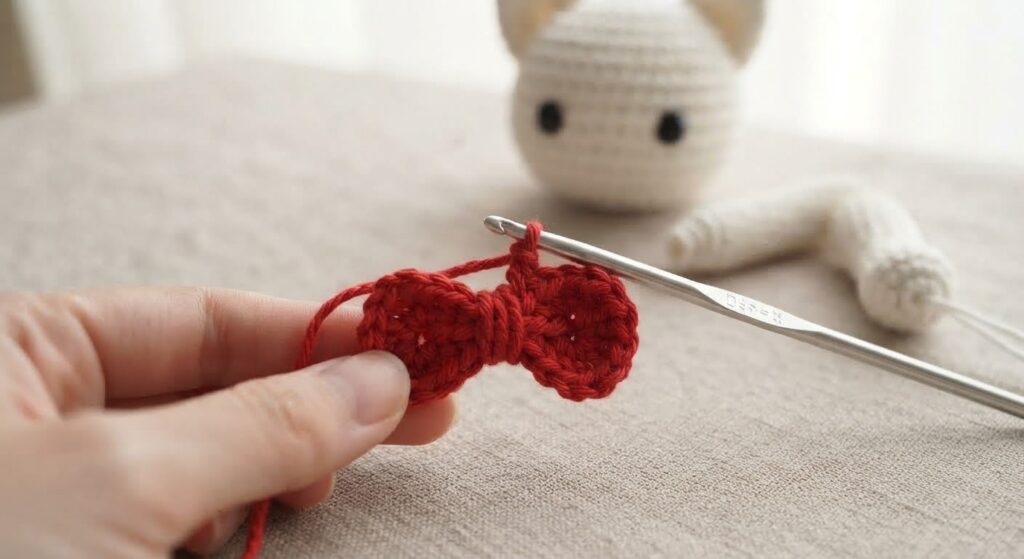
Chain 5.
Work 4 dc into the first chain. Chain 5, then slip stitch into the same starting chain to form the first side of the bow.
Chain 5 again. Work 4 dc into the same starting chain, then chain 5 and slip stitch into the starting chain to form the second side.
Fasten off.
Wrap a small piece of red yarn several times around the center of the bow to hold both sides together and shape the bow.
Sew the finished bow securely just above one ear.
Face Details
Use black embroidery thread to embroider a small nose, mouth, and whiskers.
If desired, add small cheek details with pink embroidery thread.
Keep the embroidered details small and centered so they fit the size of the kitty. Check the placement before making the stitches permanent.
Optional Tail
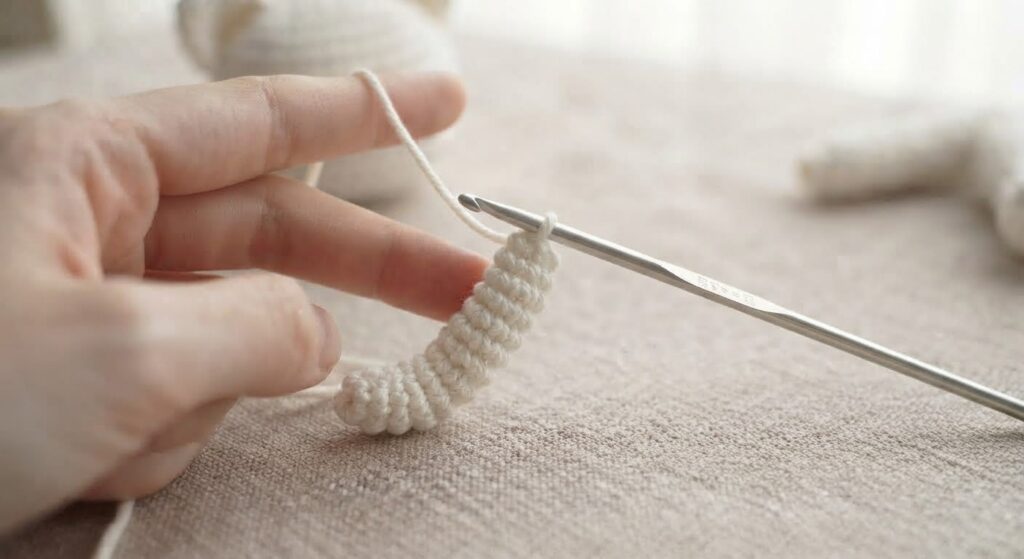
If you would like to add a tail to your kitty, you can make a simple crocheted cord using white yarn.
Chain 20.
Starting in the second chain from the hook, slip stitch in each chain across.
Fasten off, leaving a long yarn tail for sewing.
Sew the tail securely to the back of the body. You can leave it straight or gently curve it into the position you prefer.
Assembly
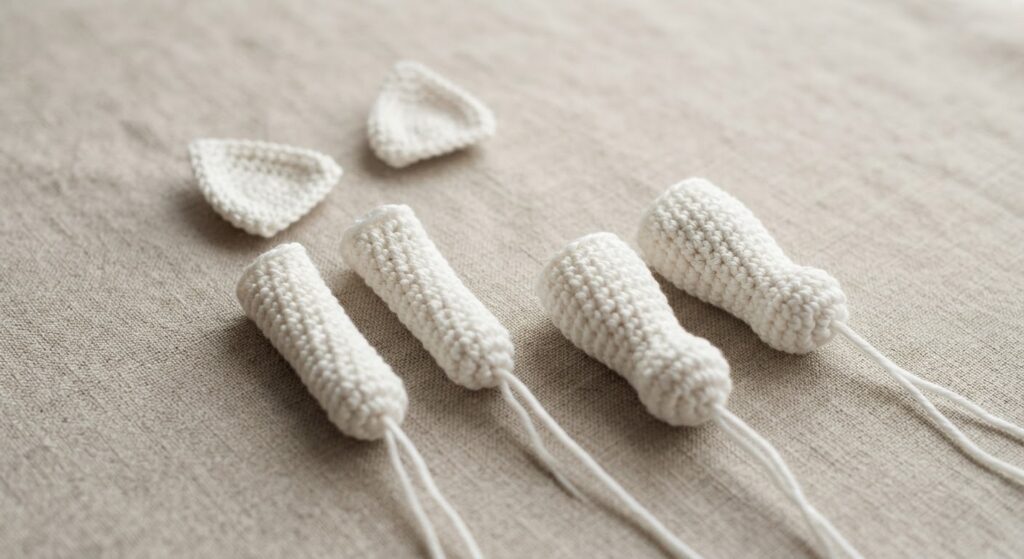
Before sewing the pieces permanently, place all the parts on the kitty and check their position from the front and side.
- Sew the ears securely to the top of the head, keeping them evenly positioned.
- Attach the legs to the bottom of the body and check that they are balanced.
- Sew the arms to the sides of the body at a similar height.
- Attach the head firmly to the top of the body, sewing around the opening so the join is secure.
- Sew the red bow just above one ear.
- Check the position of the facial details and make any small adjustments if needed.
- Weave in all remaining yarn ends and trim the excess yarn.
Check that all sewn pieces are firmly attached before using or gifting the finished kitty.
Before You Start
Use a smaller crochet hook than you might normally use for regular crochet so the stitches stay firm and the stuffing does not show through.
Keep a stitch marker at the beginning of each continuous round and count your stitches as you go. This makes it easier to find mistakes before they affect the shape.
When stuffing the head and body, add small amounts at a time and shape the pieces with your fingers. Avoid overfilling, as too much stuffing can stretch the stitches and change the shape.
Frequently Asked Questions
Can I use a different yarn color?
Yes. You can change the colors of the kitty or the bow without changing the stitch counts in the pattern.
Can I use a different yarn weight?
Yes, but the finished size and proportions may change. Use a crochet hook that works well with your yarn and keep your stitches firm.
Why does my kitty look different from the photos?
The finished shape can vary depending on yarn thickness, hook size, crochet tension, and how much stuffing is used. Small differences are normal.
Can I make this kitty as a gift?
Yes. If the kitty is intended for a young child, use embroidered eyes instead of plastic safety eyes and make sure all sewn pieces are firmly attached.
Can I turn the kitty into a keychain?
This pattern is designed as a small stuffed figure. If you adapt it for a keychain, use a secure attachment and check that it is firmly connected before use.
Safety and Care
If this kitty is made for a young child, use embroidered eyes instead of plastic safety eyes and make sure the eyes, bow, ears, arms, and legs are securely sewn in place.
Keep the finished amigurumi away from excessive heat and moisture.
For cleaning, gently hand wash when needed and allow it to air dry completely. Avoid wringing or twisting the piece, as this can affect its shape.
Check the sewn parts from time to time, especially if the kitty is handled frequently.



Yorum gönder