AMIGURUMI PATTERNS
Step by Step Amigurumi
amigurumi, amigurumi designs, amigurumi tutorial, AmyLiva Handmade, crochet, Crochet Pattern, cute crochet, DIY amigurumi, DIY Crafts, DIY home decor, free amigurumi pattern, free crochet pattern, gift ideas, handmade, handmade gifts, HandmadeWithLove, kawaii crochet, soft baby doll, storytelling amigurumi
admin
0 Yorumlar
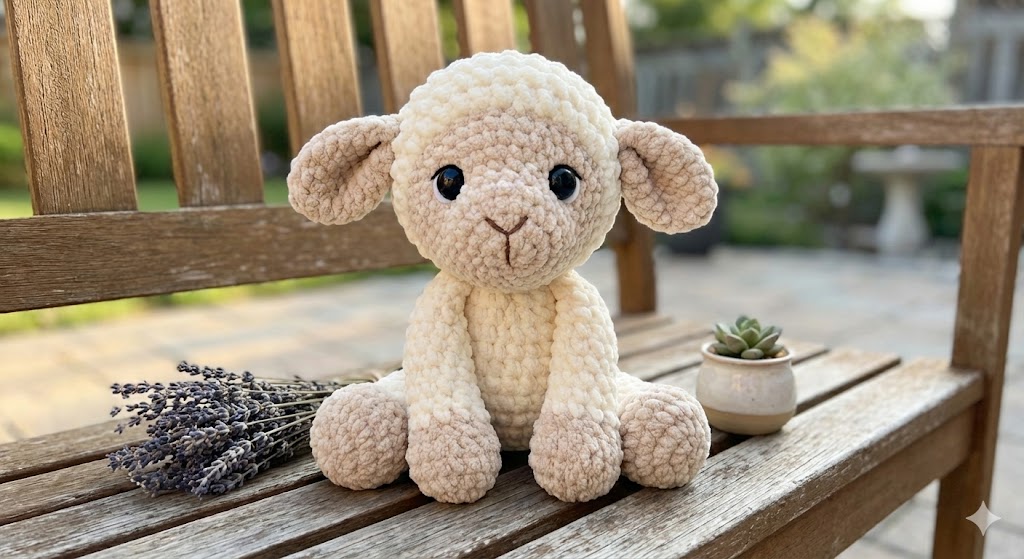
How to Crochet a Chunky Lamb Plush: Step-by-Step Guide for Beginners

https://youtube.com/shorts/dco_f_YFTWI?si=fQopG6MKcffvyBtg
Beginner-Friendly Amigurumi Lamb with Detailed Instructions
Crochet plush toys have become one of the most popular handmade crafts in recent years, and the Soft Plush Crochet Lamb stands out as a timeless favorite. Whether you want to create a baby nursery decoration, a meaningful handmade gift, or a calming home accent, this cozy lamb is the perfect project.
In this complete guide, you will find the full, detailed pattern, materials, stitch explanations, assembly process, common mistakes and solutions, yarn alternatives, selling tips, Pinterest optimization, FAQ, and important safety notes.
This article is written in a search-engine optimized (SEO) and AdSense-friendly structure, helping you rank better and attract more visitors from Pinterest, Google, and social platforms.
Materials You Will Need
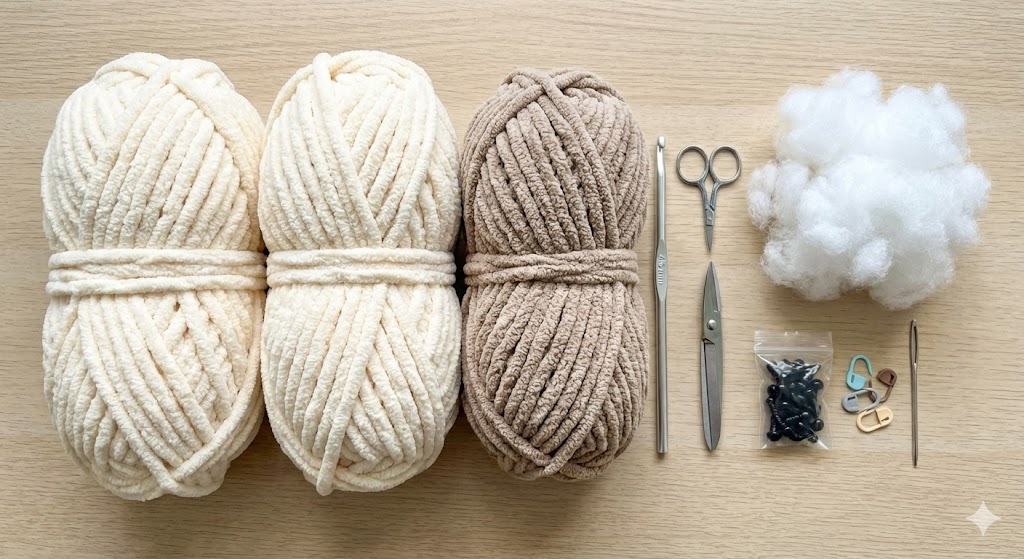
Yarn & Tools
- Super bulky chenille yarn (cream, white, beige/brown)
- 4.5 mm crochet hook
- Polyester fiberfill stuffing
- Safety eyes (10–12 mm)
- Scissors
- Tapestry needle
- Stitch markers
- Optional: fabric blush for cheeks
Basic Stitches Used
Frequently Used Stitches
- MR – Magic Ring
- SC – Single Crochet
- INC – Increase
- DEC – Invisible Decrease
- HDC – Half Double Crochet
- BLO – Back Loop Only
- FLO – Front Loop Only
- SL ST – Slip Stitch
Each stitch is beginner-friendly and easy to learn.
Full Crochet Pattern (Expanded & Detailed)
Below is the full, step-by-step pattern for the amigurumi lamb.
Head (White/Cream Yarn)
Worked in continuous rounds.
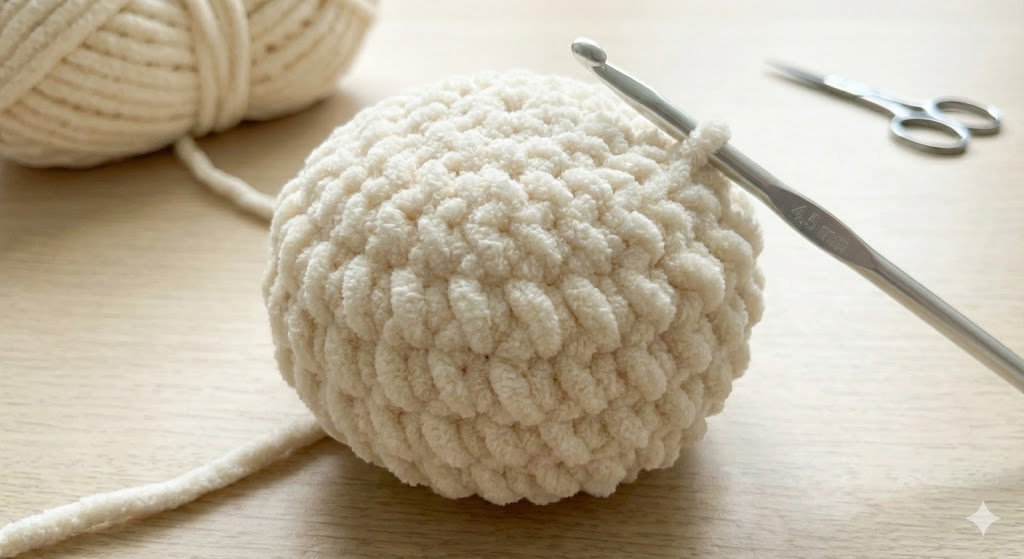
- R1: MR, 6 SC (6)
- R2: INC around (12)
- R3: (SC, INC) x6 (18)
- R4: (2 SC, INC) x6 (24)
- R5: (3 SC, INC) x6 (30)
- R6: (4 SC, INC) x6 (36)
- R7–12: SC around (36)
➡️ Insert safety eyes between R8–R9, 6 stitches apart.
➡️ Stuff gradually.
- R13: (4 SC, DEC) x6 (30)
- R14: (3 SC, DEC) x6 (24)
- R15: (2 SC, DEC) x6 (18)
- R16: (SC, DEC) x6 (12)
- R17: DEC around (6)
Close with SL ST.
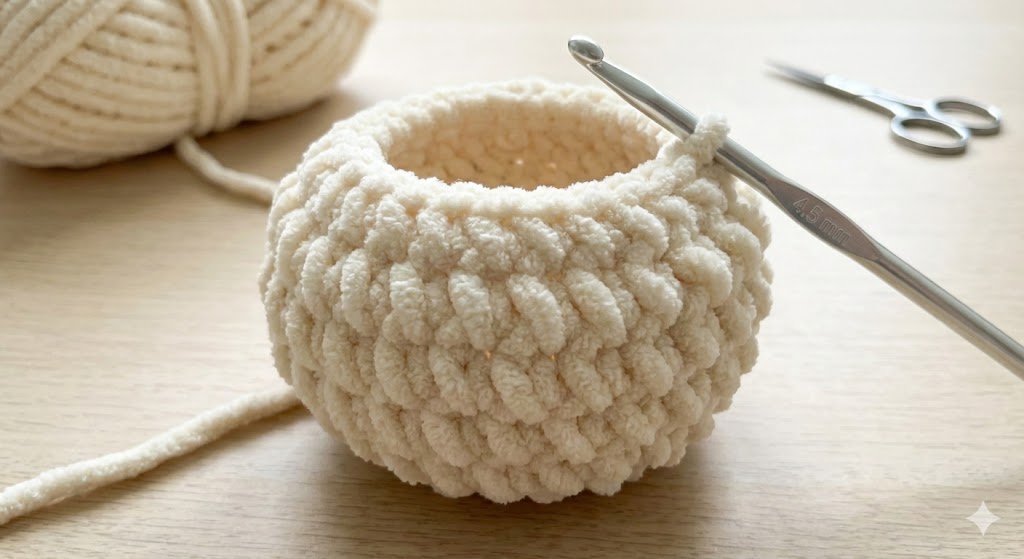
Body (Cream Yarn – Fluffy Wool Effect)
- R1: MR, 6 SC
- R2: INC around (12)
- R3: (SC, INC) x6 (18)
- R4: (2 SC, INC) x6 (24)
- R5: (3 SC, INC) x6 (30)
- R6: (4 SC, INC) x6 (36)
- R7: (5 SC, INC) x6 (42)
- R8–13: SC around (42)
➡️ Use BLO in R8–R10 for extra wool texture.
- R14: (5 SC, DEC) x6 (36)
- R15: (4 SC, DEC) x6 (30)
- R16: (3 SC, DEC) x6 (24)
- R17: (2 SC, DEC) x6 (18)
- R18: (SC, DEC) x6 (12)
- R19: DEC around (6)
Stuff firmly and close.
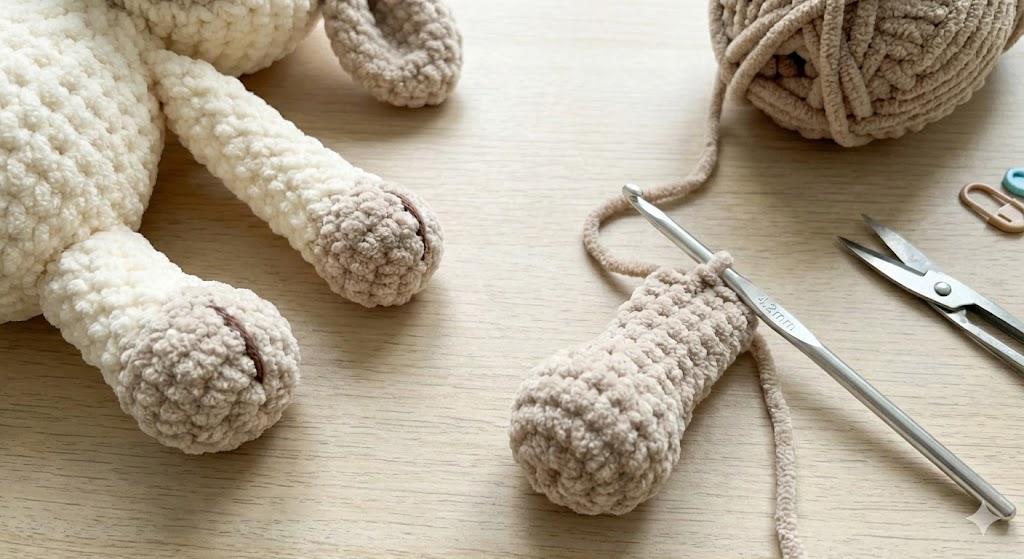
Arms (Make 2 – Light Brown → Cream)
Hooves
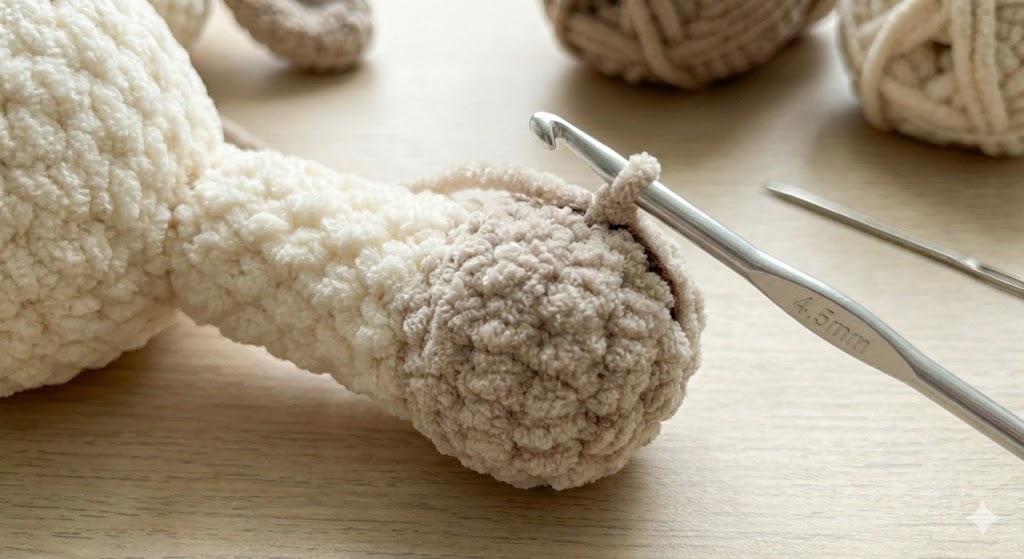
- R1: MR, 6 SC
- R2: INC (12)
- R3–4: SC around (12)
Switch to cream:
- R5: (2 SC, DEC) x3 (9)
- R6–11: SC around (9)
Lightly stuff.
Legs (Make 2)
- R1: MR, 6 SC
- R2: INC (12)
- R3–5: SC around
Switch to cream: - R6: (2 SC, DEC) x3 (9)
- R7–15: SC (9)
Stuff firmly.
Ears (White Yarn)
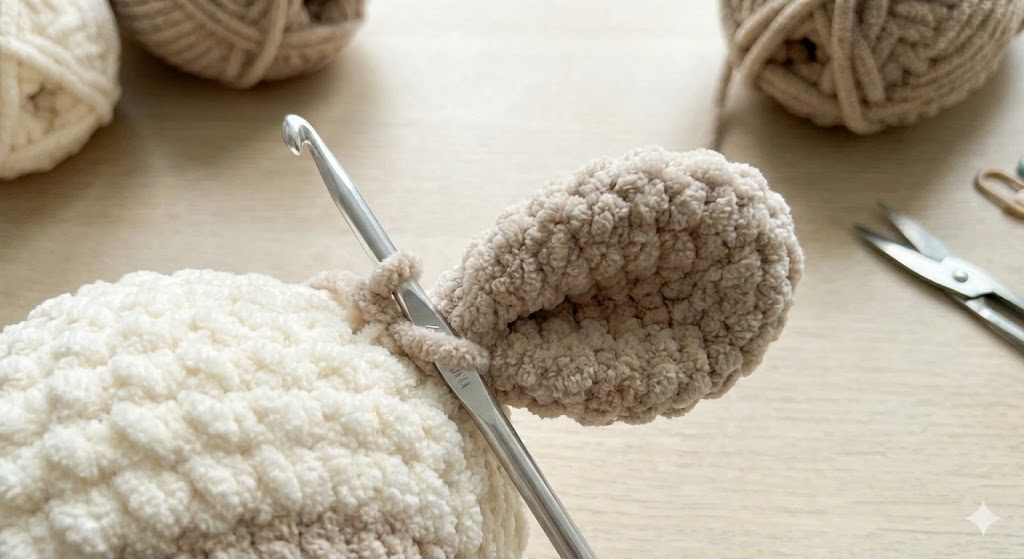
- R1: MR, 6 SC
- R2: (INC, SC) x3 (9)
- R3: (2 SC, INC) x3 (12)
- R4–6: HDC around (12)
- R7: (2 HDC, DEC) x3 (9)
- R8: SC around, flatten
Leave long tail.
Muzzle (White Yarn)
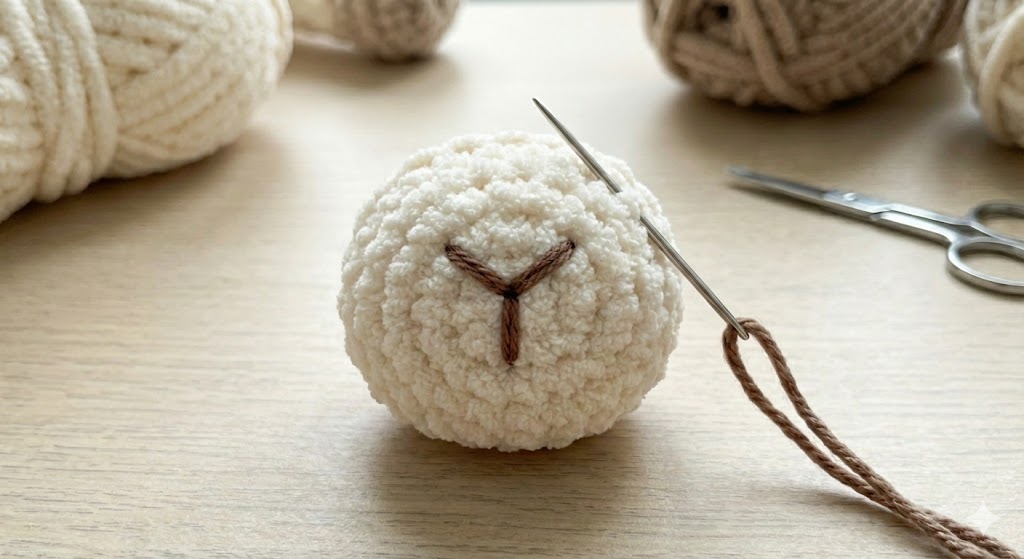
- R1: MR, 6
- R2: INC (12)
- R3: (SC, INC) x6 (18)
- R4–5: SC (18)
Stuff lightly.
Sew under eyes.
Embroider a small nose and mouth.
Assembly (Clear Step-by-Step)
1. Join the Head and Body
Pin for alignment → sew tightly.
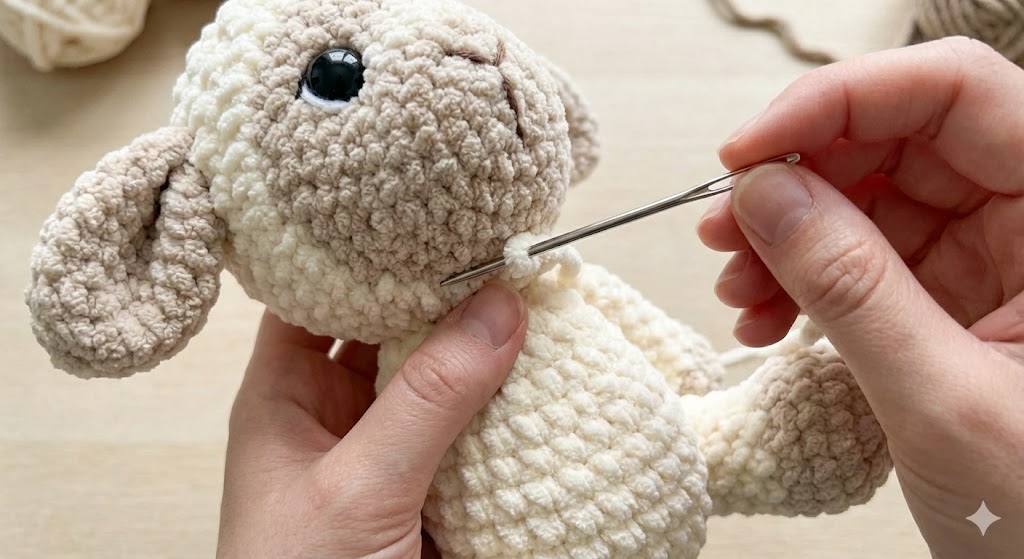
2. Attach the Arms
Place slightly below the neck.
3. Attach the Legs
Ensure symmetrical placement.
4. Attach the Ears
Sew diagonally for a cute expression.
5. Final Touches
Add blush, brush yarn gently, shape body.
Common Mistakes & How to Fix Them
Head Shape Is Uneven
Count rounds carefully, adjust tension.
Holes Between Stitches
Use a smaller hook; tighten tension.
Arms/Legs Different Lengths
Count rounds, compare pieces as you go.
Yarn Splitting
Use smooth metal hook, work slowly.
Advanced Techniques for a More Realistic Lamb
Loop Stitch Wool
Adds curly texture.
Double-Layer Ears
Makes ears thicker.
Sculpted Muzzle
Sew around tightly for 3D shape.
Brushing Technique
Brush lightly for cloud-soft finish.
Best Yarn Alternatives
Himalaya Dolphin Baby
YarnArt Dolce
Bernat Blanket
100% Cotton Yarn (for mini version)
Photography Tips for Handmade Sellers
- Use natural light
- Neutral background
- Cozy props
- Show multiple angles
- Use high-resolution images
Selling Your Crochet Lamb (For Etsy, Instagram & Markets)
Set the right price
Include materials + time + platform fees.
Offer custom colors
Pastel tones sell well.
Bundle sets
Great for baby showers.
Use SEO-friendly keywords
“Handmade crochet lamb,” “nursery décor,” etc.
Pinterest Optimization (Important for Traffic)
Pin Titles
- “Soft Plush Crochet Lamb Pattern”
- “Easy Amigurumi Lamb Tutorial”
Pin Description Example
“Create this soft and adorable crochet lamb using chenille yarn. Beginner-friendly pattern. Visit amyliva.com for more free crochet tutorials.”
Best Posting Times
- USA: 6 PM
- UK: 7 PM
- EU: 8 PM
- Türkiye: 20:00–22:00
Mini Lamb Bonus Pattern (Extra)
Perfect for keychains and mobiles.
Mini Head
6 → 12 → 18 → 3 rounds SC → 12 → 6
Mini Body
6 → 12 → 2 rounds SC → 8 → 4
Care Instructions
- Spot clean only
- Do not machine wash chenille yarn
- Avoid heat and rough handling
- For baby toys: embroider eyes
Copyright Notice
This pattern is original to Amyliva Handmade.
You may:
✔ Sell finished items
You may NOT:
✘ Share, copy, or repost the pattern
✘ Sell the pattern
✘ Use photos without permission
Credit required: “Designed by Amyliva Handmade – amyliva.com”
Internal Links (SEO + User Flow)
(These can be replaced with your real URLs)
- Mini Amigurumi Strawberry Keychain
- Easy Crochet Heart Pattern
- Amigurumi Dolphin Keychain
- Amigurumi Mushroom Charm
External Helpful Links
(Safe, non-competing, authority sources)
- Beginner crochet guide – Craftsy
- Yarn care – Yarnspirations
- Safety eyes guide – LoveCrafts
Frequently Asked Questions (FAQ)
1. Is this pattern beginner-friendly?
Yes, perfect for beginners using plush yarn.
2. How long does it take?
3–6 hours depending on experience.
3. Can I use different yarn?
Yes. The lamb will change in size accordingly.
4. Why does my lamb lean forward?
Add more stuffing to the neck and belly.
5. Is this safe for newborns?
Use embroidered eyes instead of safety eyes.
Conclusion
This Soft Plush Crochet Lamb is an adorable, cozy, and beginner-friendly amigurumi project that brings joy to any home. With detailed instructions, troubleshooting tips, advanced techniques, and seller insights, this pattern helps you create a high-quality handmade toy suitable for décor, gifting, or selling.
For more free patterns, visit amyliva.com and follow Amyliva Handmade on Pinterest, Instagram, and YouTube.
Amy Liva
Yorum gönder