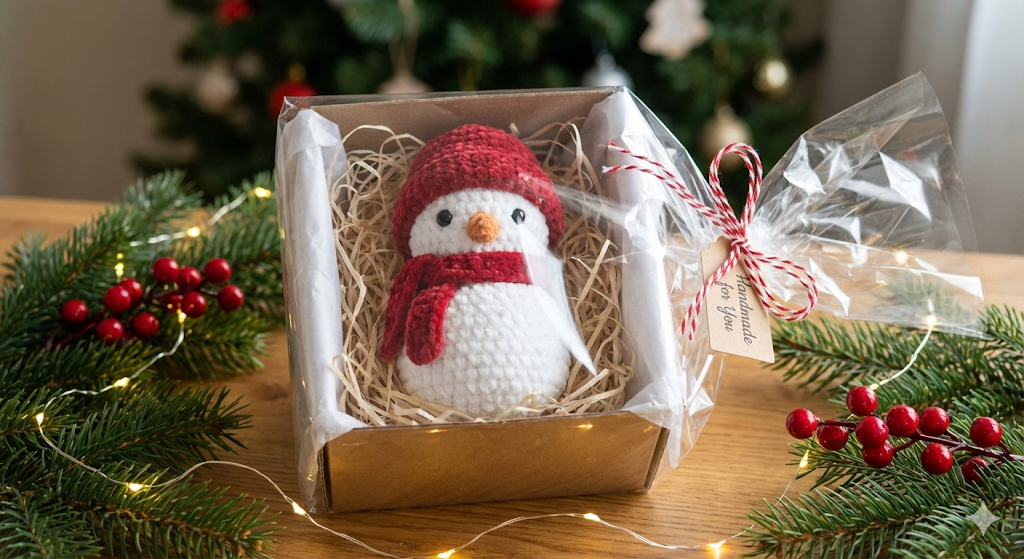
Easy Velvet Snowman Amigurumi Pattern for Beginners
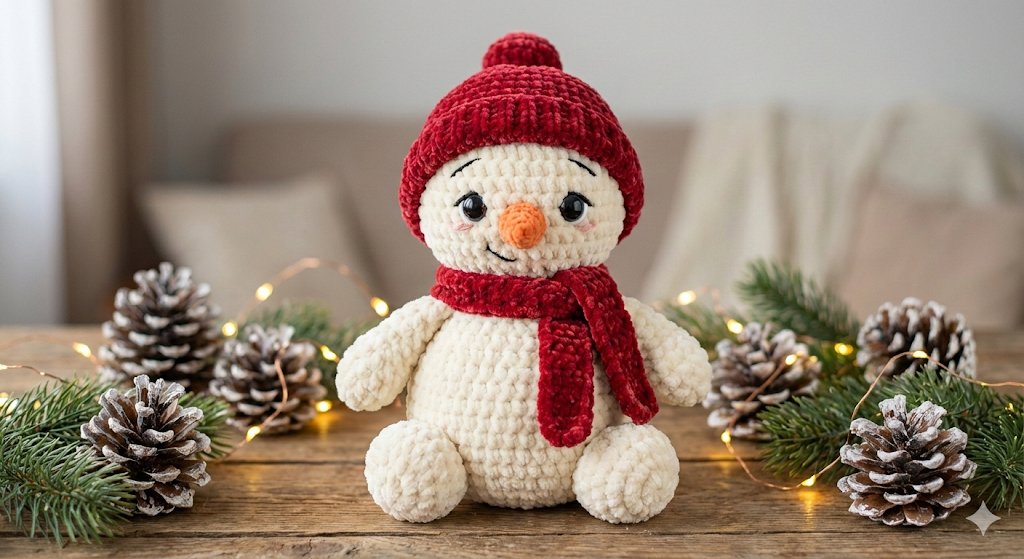
Crocheting a velvet yarn amigurumi snowman is a delightful winter project that produces a soft, plush toy perfect for holiday décor, handmade gifts, or a cozy shelf companion. Velvet (chenille) yarn hides minor mistakes, gives a luxurious texture, and creates a high-end finish even for simple amigurumi shapes. This comprehensive guide walks you through choosing materials, essential techniques, an expanded step-by-step pattern, careful assembly instructions, finishing touches, troubleshooting, and frequently asked questions — everything you need to make a neat, professional-looking velvet snowman.
Whether you’re making a small ornament or a larger display piece, this pattern is designed for beginners and intermediate crocheters. Read the full instructions before you start, prepare your materials, and work patiently — velvet yarn behaves differently from standard acrylic or cotton, so a few extra tips are included to help you achieve the best result.
Materials & Tools
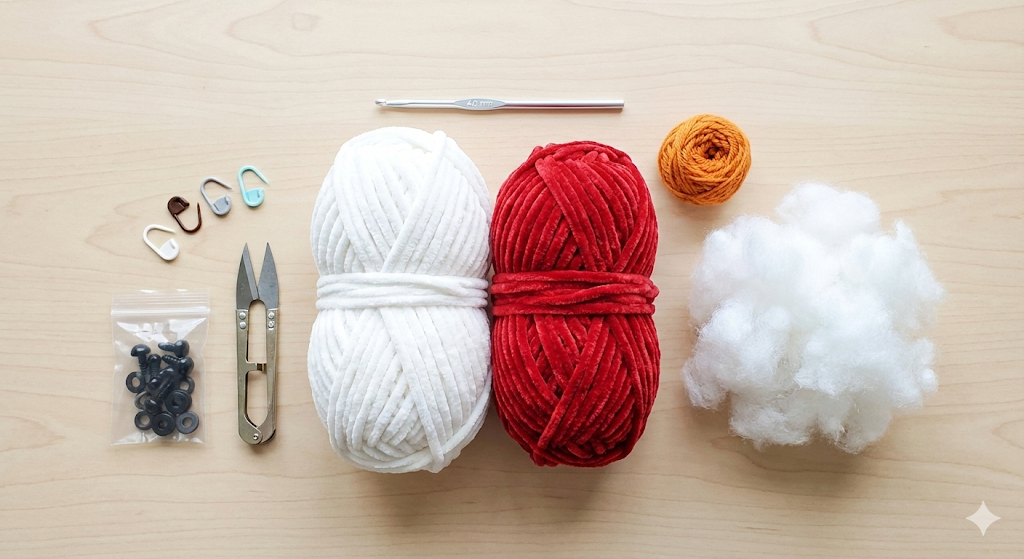
- Velvet/chenille yarn: white (body), red (hat & scarf), orange (nose), optional black for buttons
- Hook: 3.5–4.0 mm (use the smaller size if stitches gape)
- Safety eyes: 6–10 mm (or use embroidery for baby-safe toys)
- Polyester fiberfill (soft but firm)
- Tapestry/yarn needle (large eye)
- Stitch marker
- Scissors
- Optional: small twig pieces (for realistic arms), felt circle for eye backing (if using safety eyes)
Abbreviations (US terms)
- MR = Magic Ring
- ch = chain
- sc = single crochet
- inc = increase (2 sc in one stitch)
- dec = invisible decrease
- sl st = slip stitch
- BLO/FLO = back/front loop only
- FO = fasten off
Before you start — Velvet Yarn Tips
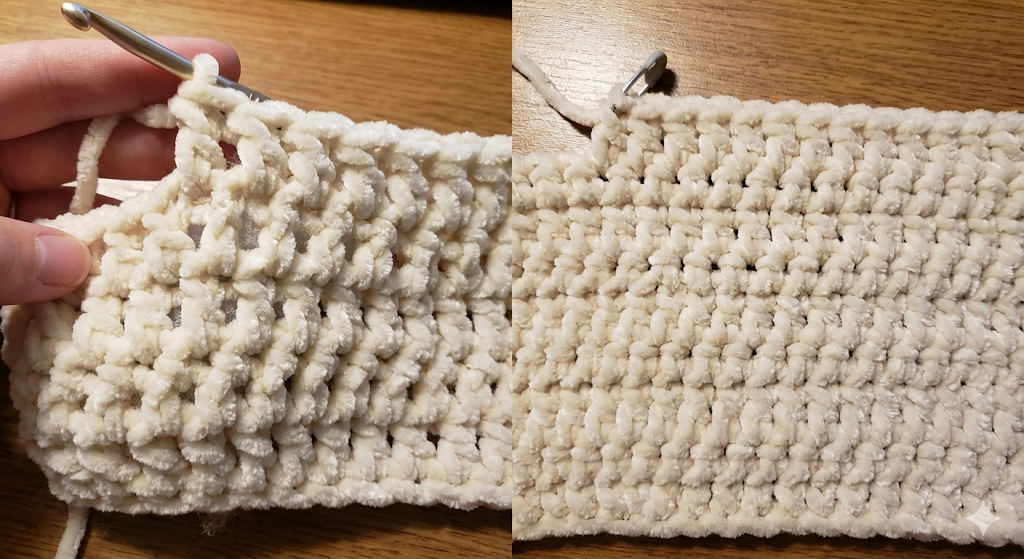
- Tension: Keep slightly tighter tension than with regular yarn; velvet hides stitch definition, making counting harder.
- Hook size: Consider one hook size smaller than recommended to avoid gaps where stuffing shows.
- Stuff as you go: Add stuffing gradually — velvet stretches, so stuffing later can distort shape.
- Stitch markers: Use one for the beginning of each round; velvet loops can be tricky to find.
- Undoing stitches: Avoid frogging repeatedly — velvet can pill and lose texture. If you must undo, do it carefully.
Full Pattern — Work from top of head down to body (one-piece method)
Note: This pattern uses continuous rounds (spiral) unless otherwise noted. Place a stitch marker at the start of each round and move it up.
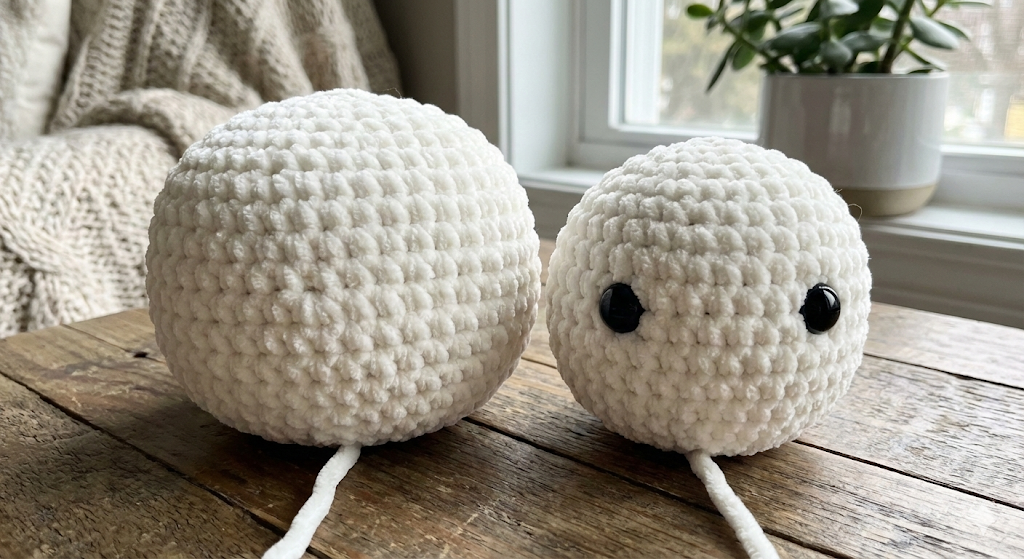
Head (top sphere)
- MR, 6 sc (6)
- inc × 6 (12)
- (1 sc, inc) × 6 (18)
- (2 sc, inc) × 6 (24)
- (3 sc, inc) × 6 (30)
- (4 sc, inc) × 6 (36) — optional if you want a slightly larger head
- Rounds 7–10: sc around (36) — if you skipped round 6, do Rounds 6–9 of 30 sc instead
- Insert safety eyes between rounds 8–9 (or 7–8 for smaller heads), spacing ~6–8 stitches depending on eye size. If using safety eyes in velvet, place a small felt disk inside to secure.
- Stuff lightly now to shape face (not full yet).
- (4 sc, dec) × n → follow decreases to start shaping (example for 36 base: (4 sc, dec) × 6 → 30)
- Continue decreasing: (3 sc, dec) → (2 sc, dec) → (1 sc, dec) until about 6–12 sts remain. Leave tail for joining to body if working continuous; otherwise leave long tail to sew later.

If you prefer separate head & body method:
- Follow head rounds through finishing with FO and sew to body later. See assembly notes below.
Body (larger sphere )
if working continuous from head, continue; otherwise start a new piece
- MR, 6 sc (6)
- inc × 6 (12)
- (1 sc, inc) × 6 (18)
- (2 sc, inc) × 6 (24)
- (3 sc, inc) × 6 (30)
- (4 sc, inc) × 6 (36) — optional for bigger body
- Rounds 7–14: sc around (30 or 36 depending on previous step) — these rounds create belly height; stuff gradually from bottom up as you work.
- Start decreasing to form bottom: (3 sc, dec) → (2 sc, dec) → (1 sc, dec) → dec until closing. Use the “cinch and weave” method to close without a gap.
Arms (make 2)
Option A — simple tube arms (soft, crocheted):
- MR, 6 sc (6)
- inc × 6 → 12 sc
- Rounds 3–6: sc around 12
- Lightly stuff at the lower end only. Flatten top and stitch closed leaving long tail to sew. Attach to sides at body round where desired (usually around body rounds 18–22 depending on size).
Option B — twig arms (rustic look):
- Use small, clean twigs ~4–6 cm. Insert into sides and secure by stitching yarn over the base or glue from inside.
Legs / Base (optional for standing)
Small flat feet or a sewn base helps balance.
- MR, 6 sc (6)
- inc × 6 (12)
- Rounds 3–5: sc around 12
- Stuff, flatten top, and sew to base with hidden stitches. Position slightly forward to avoid tipping.
Carrot Nose, Hat & Scarf
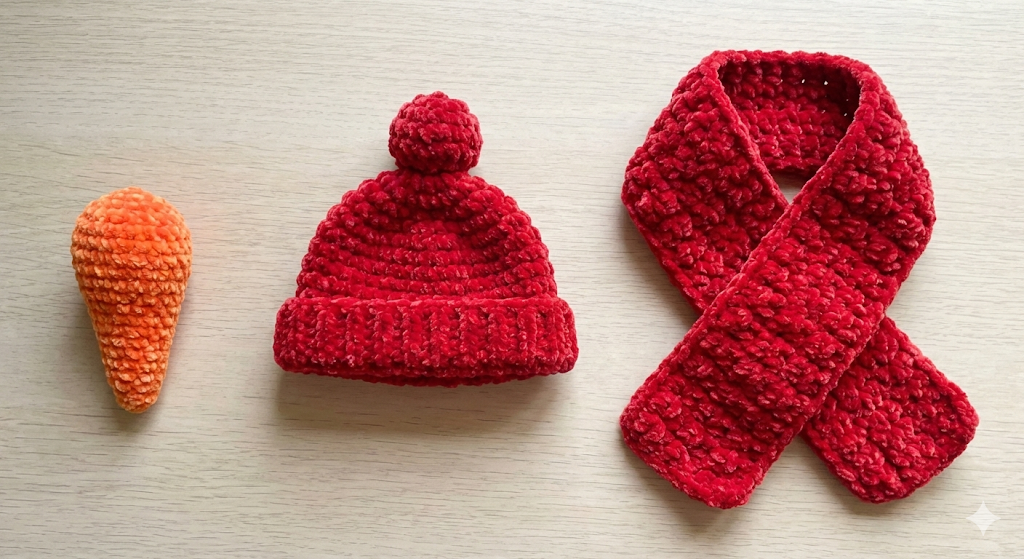
Carrot Nose
- MR, 4 sc (4)
- (1 sc, inc) × 2 → 6 sc kız
- Rounds 3–4: sc around 6
Lightly stuff, shape into cone, and sew centered between the eyes at a slight upward angle.
Hat (slouchy winter hat)
- MR, 6 sc (6)
- inc × 6 → 12 sc
- (1 sc, inc) × 6 → 18 sc
- BLO round: sc around 18 (creates height) for 4–6 rounds depending on desired slouch
- Switch to white or contrast color for brim: BLO or FLO around to form brim shape, 1–2 rounds. Optionally fold and sew the brim under for a clean finish. Add pom-pom.
Scarf
- Ch 50–70 depending on desired length.
- Row 1: hdc or sc across for thickness (hdc gives plush look).
- Work 2–4 rows for a chunky scarf.
- Wrap and tie loosely, secure with hidden stitches.
Buttons & Face Embroidery
- Use black embroidery floss for coal eyes (if not using safety eyes) and buttons.
- Use brown or black for small stitched smile — make small vertical stitches to form a smile curve.
- Optional: tiny stitched eyebrows or rosy cheeks with pastel applied lightly.
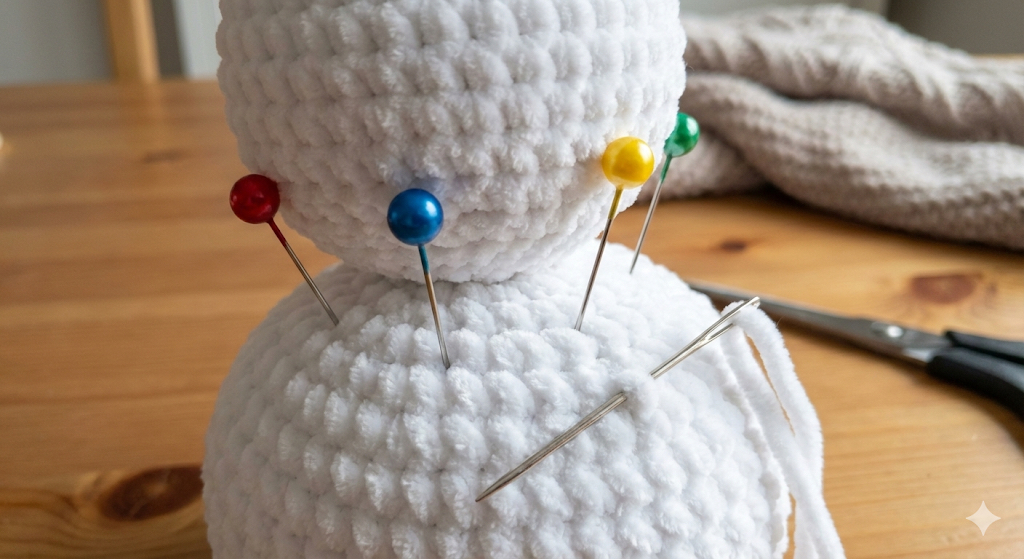
Assembly — precise order & tips
- Stitch head to body (if made separately): Use the tail to mattress stitch the head into place, stuffing further as you join to eliminate gaps. If worked continuous, shape and stuff before final closure.
- Attach arms: Mark positions symmetrically with pins or yarn tails before sewing. Use whip stitch or ladder stitch with several passes to secure. For twig arms, stitch a yarn saddle and insert twig, then secure with tight stitches and glue if needed.
- Sew nose: Place nose slightly above midline between eyes. Use multiple passes through the inside to anchor.
- Add scarf: Wrap and secure with a few hidden stitches behind the knot so it won’t slip.
- Hat placement: Sew the hat to the head at a few discreet points to hold it in place — avoid sewing the entire brim to keep a natural look.
- Buttons & final embroidery: Center buttons down front and embroider smile and any additional details.
- Finish: Weave in all tails inside body. Brush velvet lightly with a soft toothbrush to lift the pile and even texture.
Troubleshooting & Common Questions (Quick Fixes)
- Gaps showing stuffing: Use a smaller hook, tighten tension, and add a felt disk inside if using safety eyes.
- Head flops or leans: Add a bit more stuffing to the bottom of the body or make the base slightly flatter; ensure head is sewn centered and firmly.
- Velvet fuzz loss after frogging: Avoid frogging; if needed, hand-pick loose ends and trim gently.
- Safety eyes loosen in velvet: Use a felt backing or sew a small tack stitch around the post inside the head for extra hold.
Measurements & Variations
- Finished size: ~12–18 cm tall depending on yarn & hook.
- To make a larger snowman: use thicker velvet yarn + 5–6 mm hook and increase rounds proportionally.
- For ornaments: reduce rounds and use smaller eyes (6 mm) and thinner yarn.
Care Instructions
- Hand wash gently with mild detergent; do not wring.
- Air dry flat away from direct heat.
- Brush the pile gently to restore fluff after washing.
- Keep away from pets and children under 3 if using small parts/safety eyes.
Internal Resources (Related Patterns)
- Mini Amigurumi Bunny Pattern — https://amyliva.com/step-by-step-guide-how-to-crochet-a-cute-mini-bunny-amigurumi-pattern/
- Easy Amigurumi Snowman Ornament — https://amyliva.com/easy-amigurumi-snowman-ornament-complete-crochet-guide-for-beginners/
- Free Amigurumi Cloud Keychain — https://amyliva.com/free-amigurumi-cloud-keychain-pattern-easy/
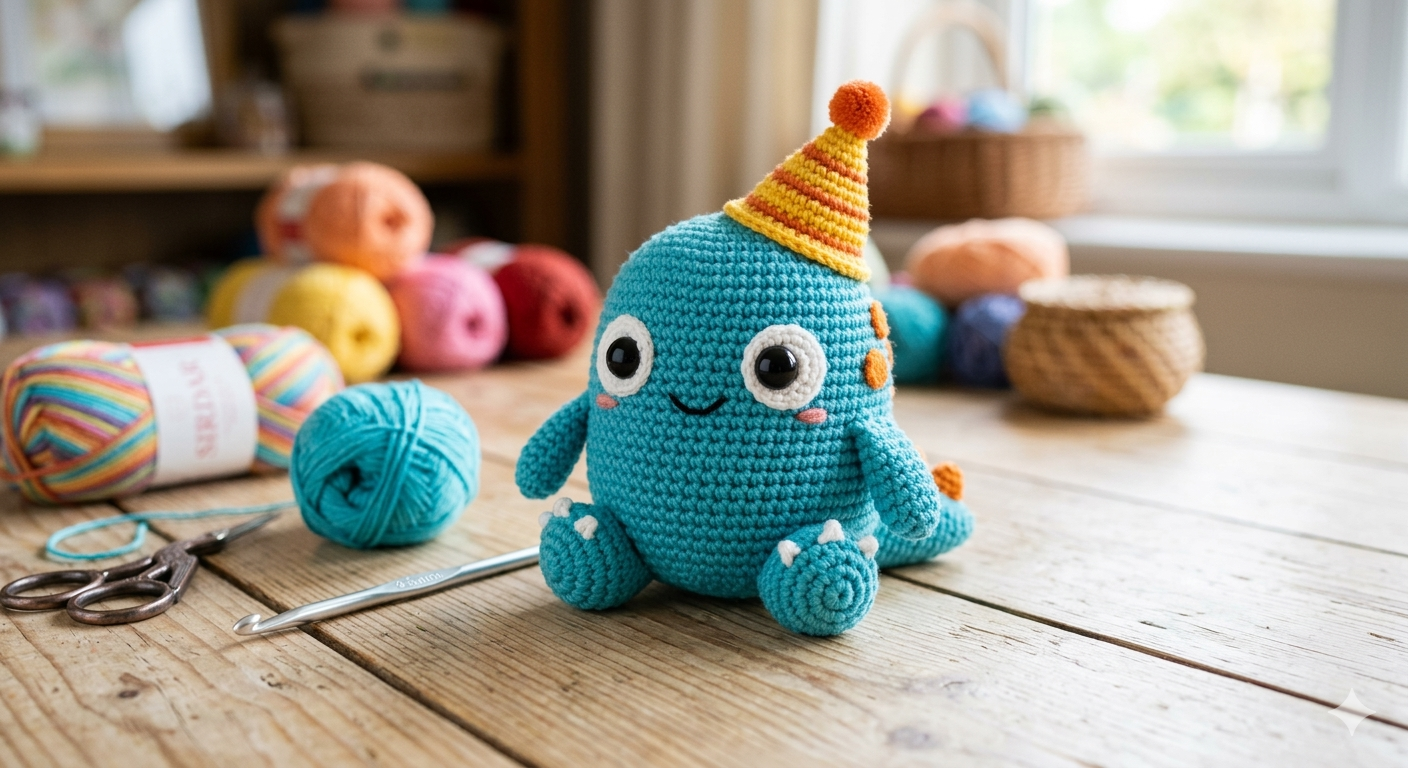
- Velvet Octopus Pattern — https://amyliva.com/velvet-yarn-amigurumi-octopus-pattern-the-cutest-plush-toy-youll-ever-crochet-free-tutorial/
- Viral Bee Tutorial — https://amyliva.com/the-ultimate-guide-to-crocheting-the-viral-amigurumi-bee-free-pattern-pro-tips/
External Resources
- Velvet yarn options & care: https://www.lovecrafts.com/ (recommended supplier and reference)
Frequently Asked Questions (FAQ)
Q: Is this pattern suitable for total beginners?
A: Yes — the pattern uses only basic stitches. Read the velvet tips and work slowly. Use tutorials for MR, inc, dec if needed.
Q: Can I use cotton or acrylic instead of velvet?
A: Yes. Cotton gives a firmer shape; acrylic is easy to work with. Adjust hook size accordingly.
Q: How do I make it child-safe?
A: Use embroidered eyes instead of safety eyes and avoid beads. Double-stitch all attachments.
Q: How do I avoid the snowman leaning forward/backward?
A: Ensure the body is firmly and evenly stuffed and that the head is attached centrally. Add a small flat base or slightly wider bottom if needed.
Q: Can I sell items made from this pattern?
A: Yes — selling finished items is allowed. Please credit: “Designed by Amyliva Handmade — amyliva.com”. Do not resell or redistribute the written pattern.
Terms of Use
This pattern is provided for personal use. You may sell finished handmade items. Do not copy, resell, or redistribute the pattern text. Linking back to Amyliva.com is appreciated.
Amy Liva

Yorum gönder