How to Read Amigurumi Patterns: A Complete Beginner’s Guide
If you’re just starting your amigurumi journey, reading crochet patterns might feel like decoding a secret language. Terms like “sc,” “inc,” and “magic ring” can be confusing at first—but don’t worry! In this guide, you’ll learn exactly how to read amigurumi patterns like a pro, understand crochet abbreviations, and follow step-by-step instructions with confidence.
Whether you’re making a Mini Amigurumi Bunny Pattern or designing your own cute keychain, this article will help you read and enjoy every stitch.
Why Learning to Read Patterns Matters
Amigurumi patterns are the blueprints of your creations. Once you learn to read them properly, you’ll be able to:
- Recreate any crochet design you find online or in books
- Understand pattern abbreviations and symbols
- Avoid mistakes and uneven shapes
- Modify or create your own designs
It’s like learning a universal crochet language spoken by makers all around the world!
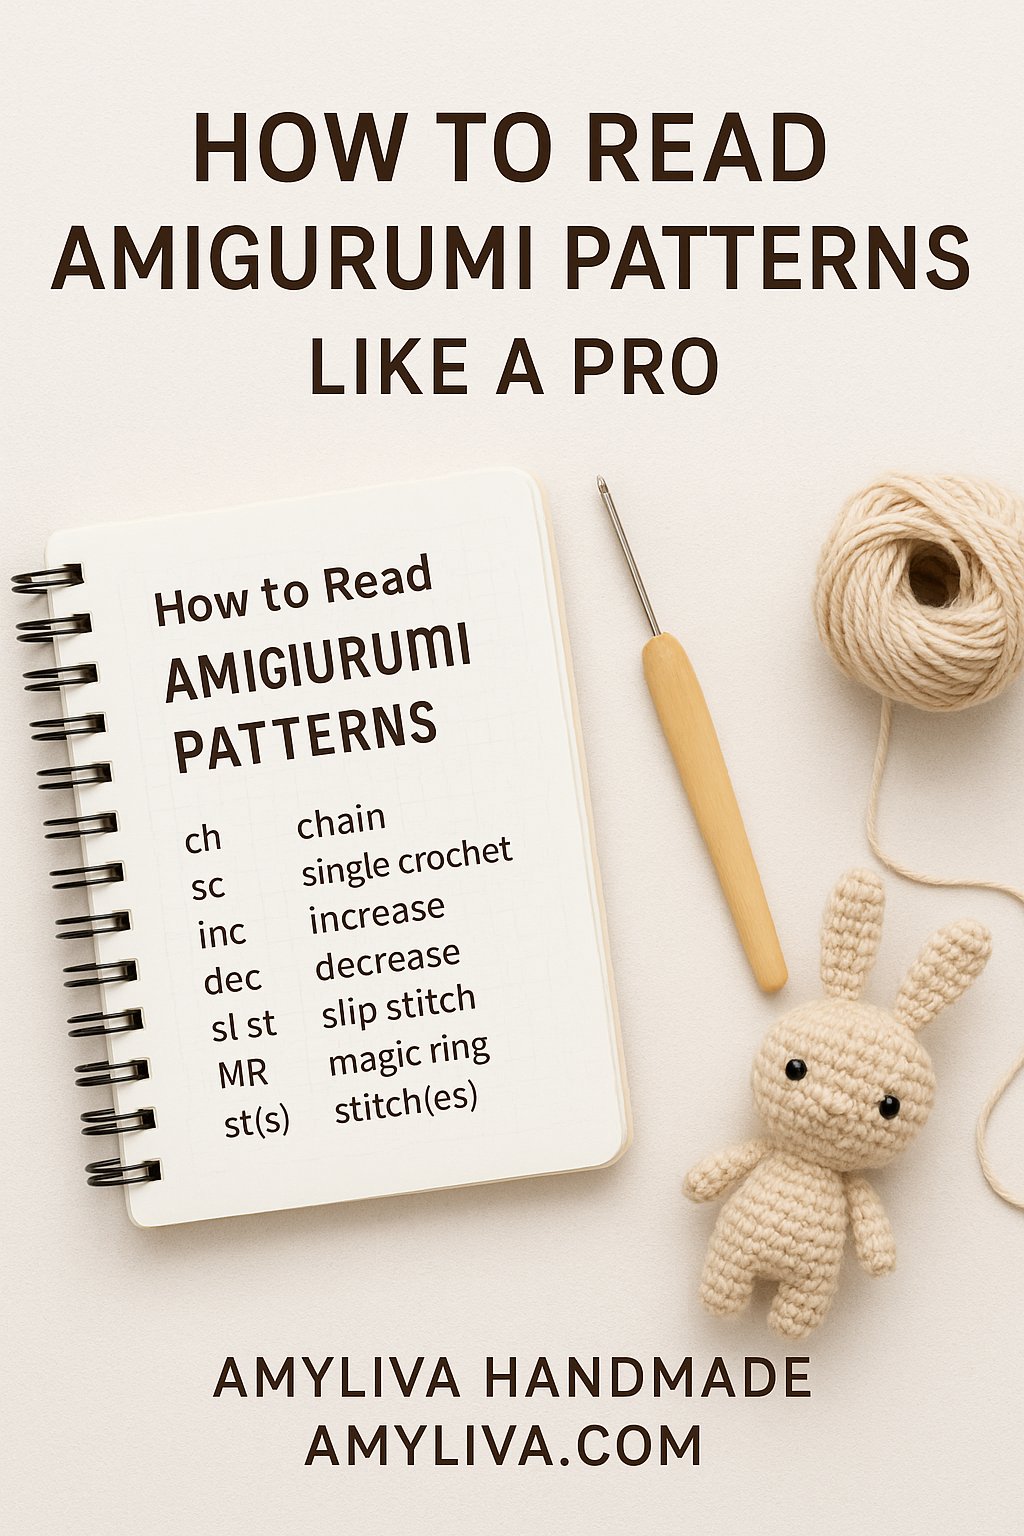
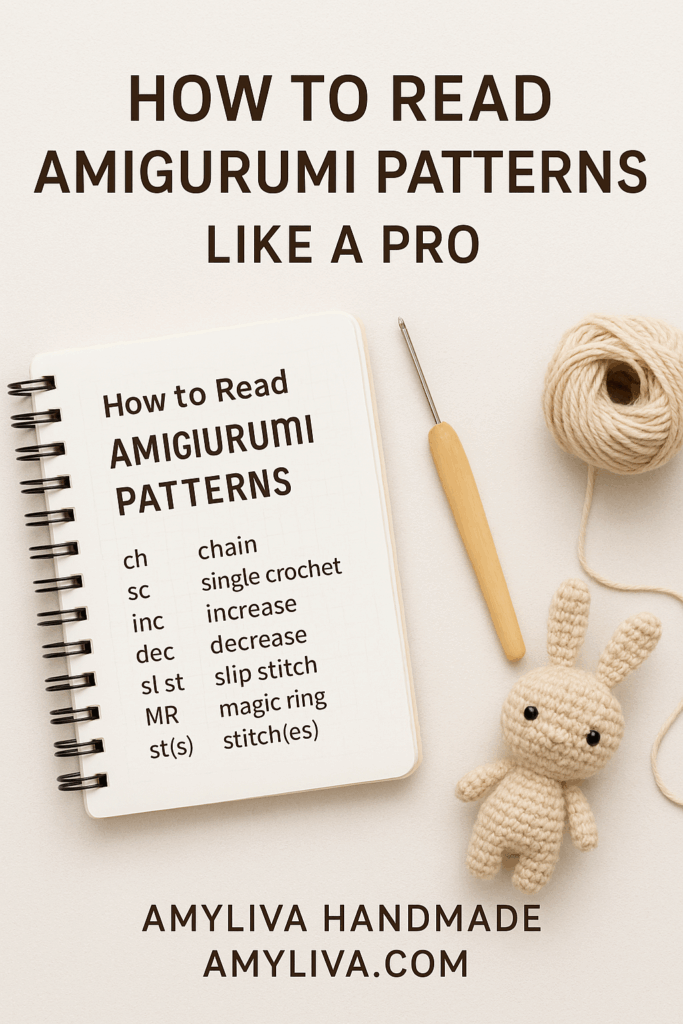
Understanding Amigurumi Pattern Abbreviations
Most patterns use standard crochet abbreviations that save space and make instructions clear. Here are the most common ones you’ll see:
| Abbreviation | Meaning | Description |
| ch | chain | The foundation stitch |
| sc | single crochet | The basic stitch for amigurumi |
| inc | increase | Two single crochets in one stitch |
| dec | decrease | One stitch worked over two stitches |
| sl st | slip stitch | Used to join or close rounds |
| MR / magic ring | magic ring | A circle to start crocheting in the round |
| st(s) | stitch(es) | Refers to the number of stitches |
✨ Pro Tip: Save or print a crochet abbreviation chart to keep near your crafting space.
👉 For more practical techniques, check out Master Amigurumi: Professional Finishing Techniques to learn how to give your creations a perfect final look.
Reading Rounds and Repetitions
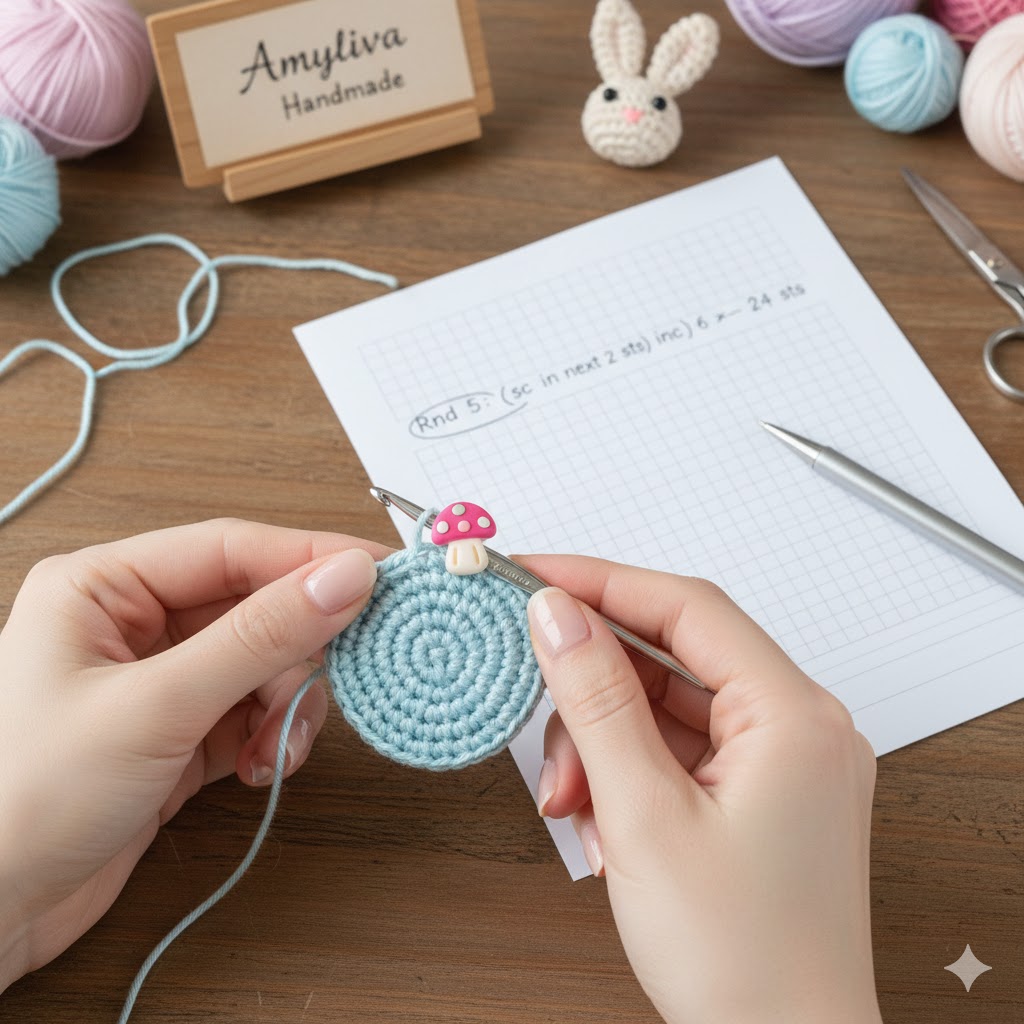
Most amigurumi projects are worked in the round, meaning you crochet in continuous spirals. A line in a pattern might look like this:
Rnd 5: (sc in next 2 sts, inc) × 6 — 24 sts
Let’s break that down:
- “Rnd 5” means round 5.
- “(sc in next 2 sts, inc)” is the repeated pattern.
- “× 6” means repeat this 6 times around the round.
- “24 sts” shows the total number of stitches at the end of that round.
If you’re just starting, use a stitch marker to keep track of the beginning of each round.
Symbols and Diagrams in Amigurumi Patterns
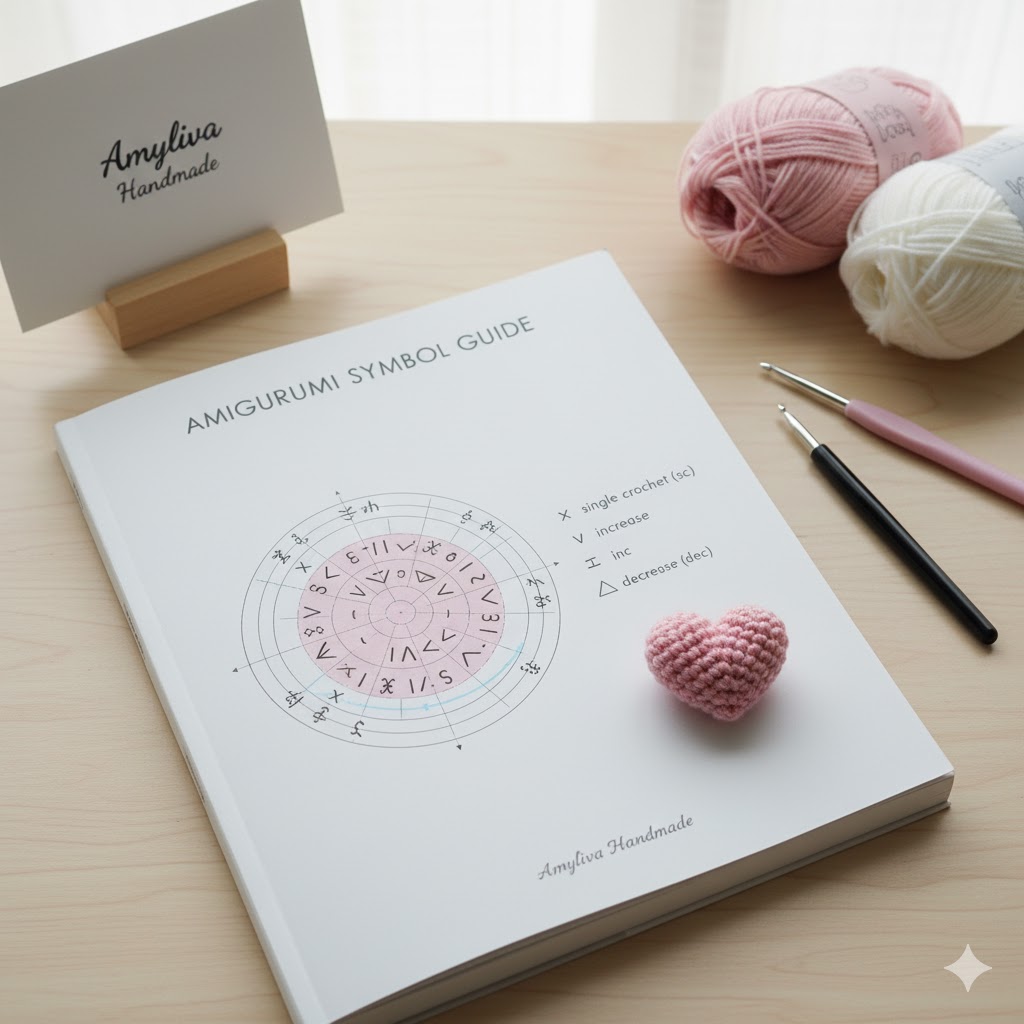
Some patterns—especially Japanese ones—use visual charts instead of text. Each symbol represents a stitch type.
For example:
- A small “X” = single crochet
- A “V” = increase
- A triangle or “∧” = decrease
You can find a full symbol guide on the Craft Yarn Council Crochet Symbols Chart (external resource).
Visual charts can be super helpful once you get used to them. Many advanced crafters prefer them because they show the shape and placement of stitches.
Practice Makes Perfect – Start with Easy Patterns
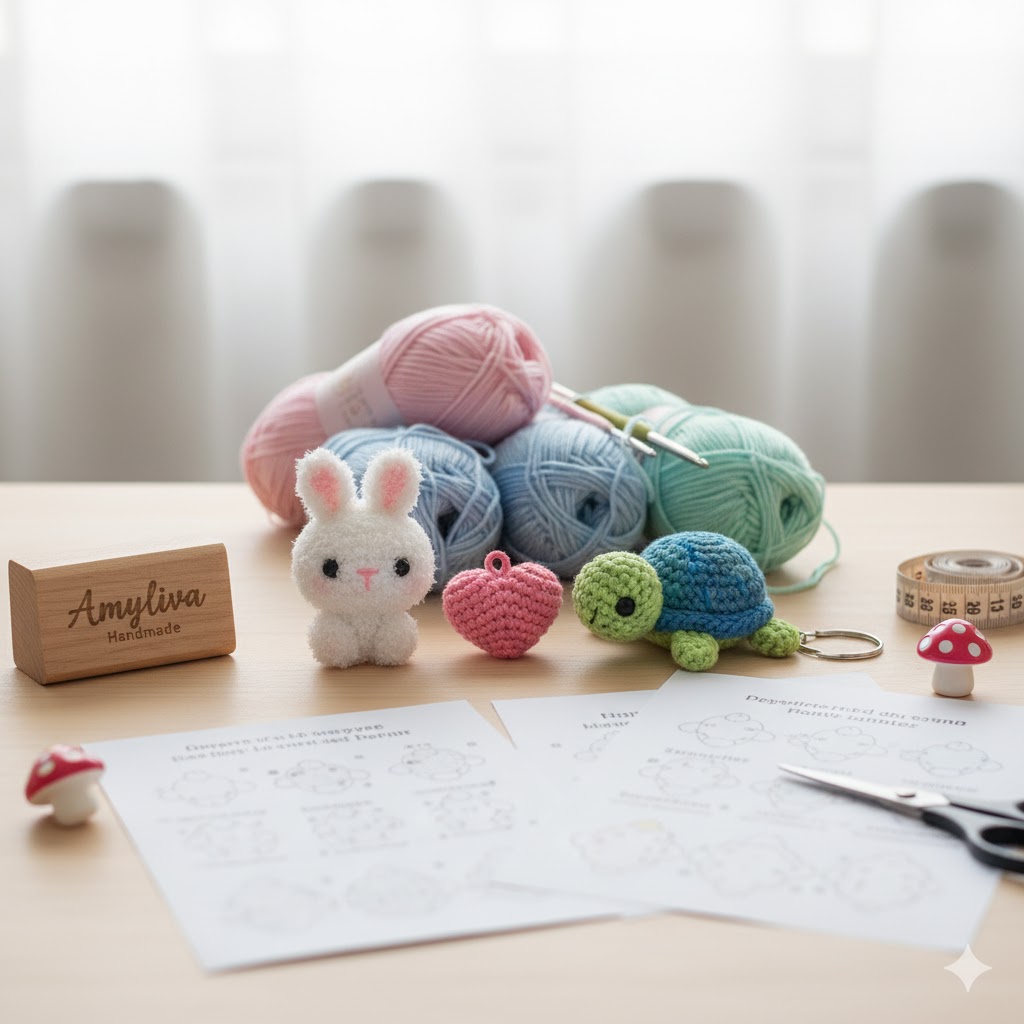
Before diving into complex dolls, start with simple and small amigurumi. The best way to practice reading patterns is by following step-by-step designs like:
These beginner-friendly patterns use repetitive stitches, clear abbreviations, and visual photos to help you understand each round.
How to Read Pattern Sections
Most amigurumi patterns are divided into clear parts, such as:
1. Head and Body
These are usually crocheted separately, starting from a magic ring. The pattern may say:
“Rnd 1: 6 sc in MR (6)”
“Rnd 2: inc × 6 (12)”
“Rnd 3: (sc, inc) × 6 (18)”
Each line builds the shape step by step.
2. Arms, Legs, and Ears
These small pieces often repeat the same stitch pattern. You’ll later sew them onto the body.
3. Assembly
This is where your amigurumi comes to life! Attach the pieces securely and embroider details like the face.
If you’re unsure how to assemble your creation, check the photo steps in Cozy Crochet Cat Bag Pattern—you’ll see how to connect pieces neatly.
Tips for Understanding Complicated Instructions
Even advanced crafters sometimes get stuck. Here’s how to make reading patterns easier:
- Highlight or underline repeated sections.
- Use row counters to track progress.
- Write notes beside each line if you’re a visual learner.
- Look for pattern photos or charts—they help confirm what the text describes.
- Watch tutorials on YouTube (like AmyLiva Handmade 💕) to see the pattern in motion.
You can also find free tutorials and visuals for practice on Pinterest at
👉 Amyliva Handmade on Pinterest.
Common Pattern Confusions (and How to Solve Them)
Problem 1: The number of stitches doesn’t match.
✅ Solution: Recount your increases/decreases—one missed stitch can throw off the count.
Problem 2: The shape looks uneven.
✅ Solution: Use a stitch marker and check that you’re crocheting in a spiral, not joining rounds accidentally.
Problem 3: Unsure what the abbreviation means.
✅ Solution: Refer back to the abbreviation chart or look it up on Ravelry’s Crochet Glossary.
Create Your Own Pattern Once You’re Ready
Once you can confidently follow written instructions, you’ll start understanding the logic behind pattern design. You can then try modifying simple shapes or inventing your own!
Start small—change the ear size, color, or shape of a bunny, and you’ll slowly develop your personal crochet style.
If you’d like to explore more design inspiration, browse Amyliva’s Free Amigurumi Patterns for ideas.
Frequently Asked Questions
Q1: What is the easiest way to read amigurumi patterns as a beginner?
Start with simple patterns that use basic stitches (sc, inc, dec). Follow step-by-step tutorials and highlight repeated parts.
Q2: Are Japanese amigurumi charts hard to understand?
At first, yes—but once you memorize the symbols, they become very clear and visual.
Q3: Can I mix written and charted patterns?
Absolutely! Many crafters use both—read the text for details and glance at the chart for overall shape.
Q4: What if a pattern uses unfamiliar abbreviations?
Check crochet dictionaries like the Craft Yarn Council or your favorite pattern’s notes section.
Final Thoughts
Learning how to read amigurumi patterns opens the door to endless creativity.
Once you master this crochet language, you’ll be able to recreate adorable toys, animals, and characters—just by following written lines!
✨ Keep practicing, be patient, and don’t forget to have fun with every stitch.
If you enjoyed this guide, explore more at
and follow Amyliva Handmade on Pinterest for new amigurumi ideas, tutorials, and free patterns every week.
Yorum gönder