Amigurumi Baby Rattle – Free Crochet Pattern
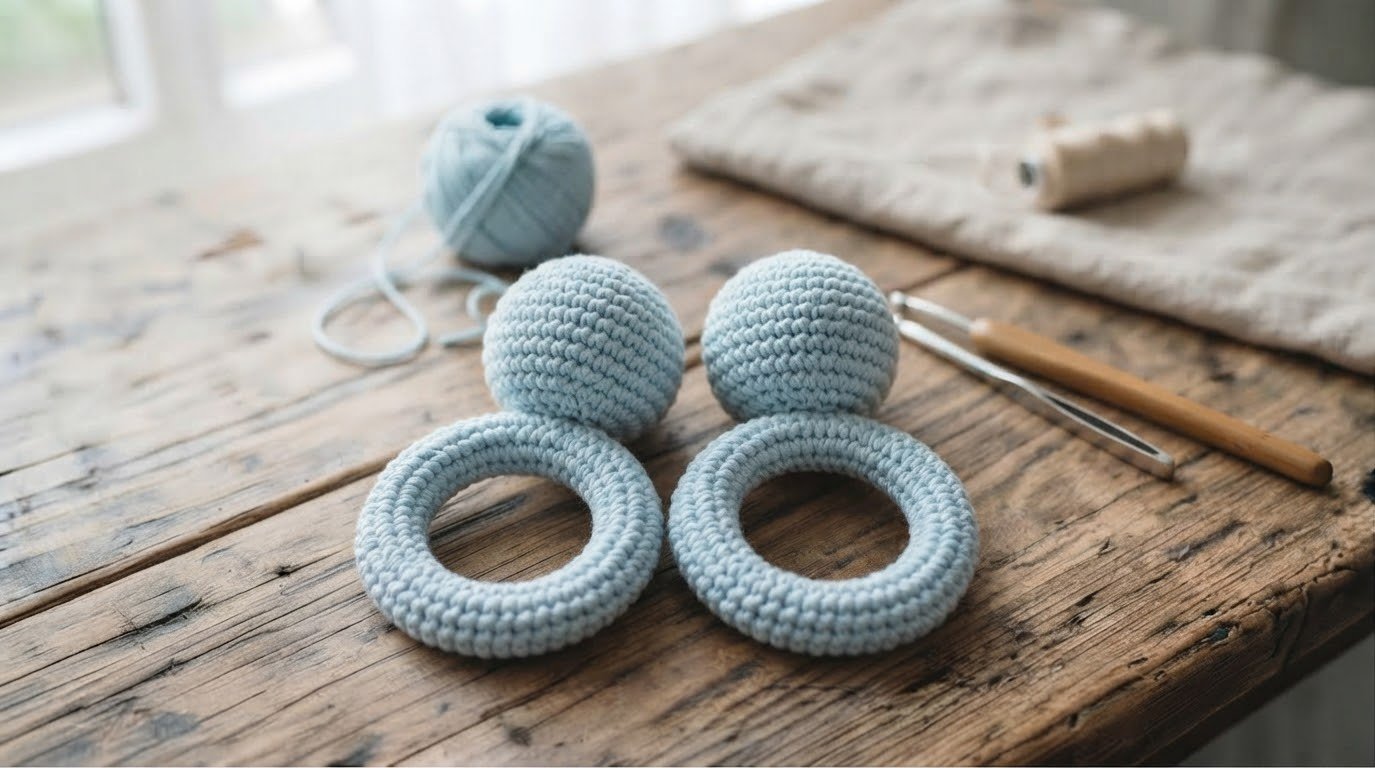
This amigurumi baby rattle is a small crochet project made with a simple ball and handle. The pattern uses basic crochet stitches and can be made in soft cotton yarn.
Because this project is intended for babies, the choice of materials and construction is especially important. The rattle insert must be fully enclosed and securely held inside the crocheted ball, and all embroidered details and sewn parts should be firmly attached.
Whether you are welcoming a new baby or looking for a thoughtful handmade gift for an upcoming baby shower, this crochet baby rattle is a delightful and quick project to make.
Supplies You’ll Need
- 100% cotton yarn in the colors you prefer
- 2.5 mm crochet hook
- Polyester fiberfill
- A commercially made rattle insert that is fully enclosed and designed for use inside handmade toys
- Embroidery thread for the facial details
- Tapestry needle
- Scissors
- Stitch marker
Using a smooth cotton yarn helps keep the stitches neat and gives the baby rattle a clean, professional finish that is gentle for little hands.
How Long Does It Take to Crochet This Baby Rattle?
This crochet baby rattle is a quick project that can usually be completed in 1 to 2 hours. The exact time will depend on your crochet speed, experience level, and the amount of time spent assembling the handle and securely enclosing the rattle insert.
Because safety is especially important for baby items, it is worth taking extra time to check the construction and reinforce any areas that may receive regular handling.
Best Yarn for a Crochet Baby Rattle
100% cotton yarn is one of the best choices for baby rattles because it provides clear stitch definition, creates a firm fabric, and feels comfortable to hold. Cotton yarn also helps the finished rattle maintain its shape over time.
When selecting yarn for baby items, choose a smooth yarn that allows you to crochet tight stitches so the stuffing and rattle insert remain securely enclosed. Using the same yarn weight throughout the project will help create a balanced and professional-looking result.
Abbreviations
MR – Magic Ring
sc – Single Crochet
inc – Increase
dec – Decrease
sl st – Slip Stitch
ch – Chain
st – Stitch
R – Round
Pattern Notes
- Work the ball and handle in continuous rounds unless otherwise stated.
- Use a stitch marker to keep track of the beginning of each round.
- Keep your stitches firm so the stuffing does not easily show through.
- Add fiberfill gradually rather than filling the piece all at once.
- Keep the rattle insert fully enclosed inside the crocheted ball.
- Check your stitch count at the end of each round.
Head (Rattle Ball)
Work in continuous rounds. Use a stitch marker to mark the beginning of each round.
Round 1: MR, 6 sc [6]
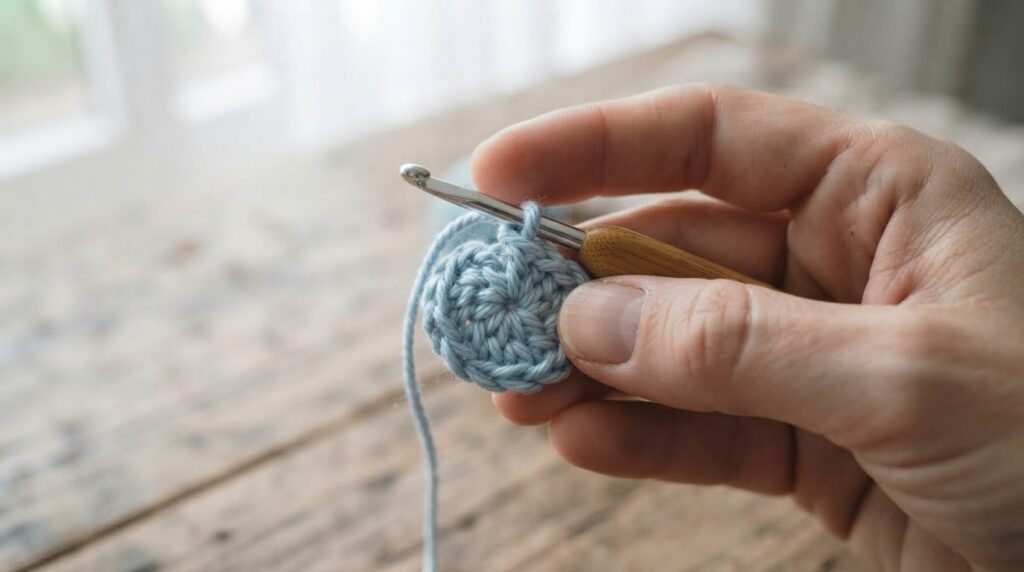
Round 2: inc in each st around [12]
Round 3: (sc, inc) x 6 [18]
Round 4: (2 sc, inc) x 6 [24]
Round 5: (3 sc, inc) x 6 [30]
Rounds 6–10: sc in each st around [30]
Round 11: (3 sc, dec) x 6 [24]
Round 12: (2 sc, dec) x 6 [18]
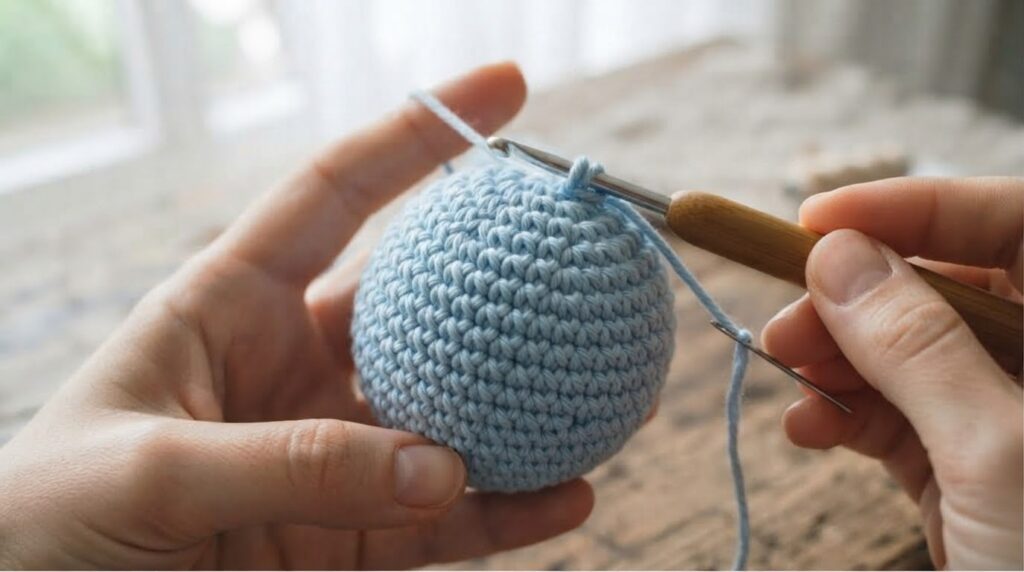
Choose a commercially made rattle insert that fits comfortably inside the crocheted ball with enough room for fiberfill around it. Place the fully enclosed insert inside the ball after Round 12 and keep it centered as you continue crocheting.
Round 13: (sc, dec) x 6 [12]
Round 14: dec x 6 [6]
Add enough stuffing to keep the ball firm without stretching the stitches. Fasten off, leaving a long tail. Weave the tail through the remaining stitches and pull tight to close. Weave in the end securely.
Handle (Grip Section)
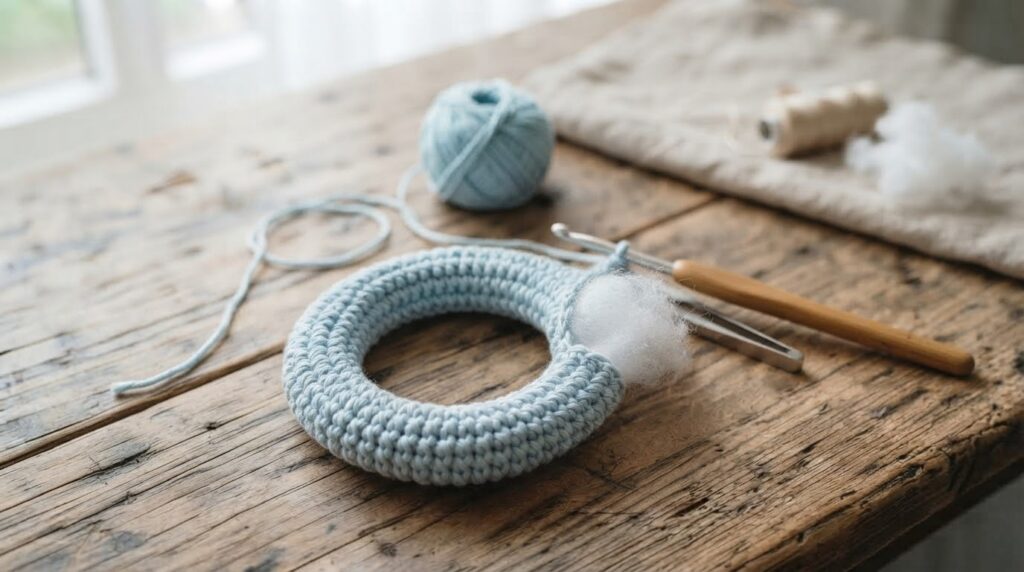
Chain 10 and join with a slip stitch to form a ring, being careful not to twist the chain.
Rounds 1–20: sc in each st around [10]
Add a small amount of fiberfill as you work if needed to keep the handle firm.
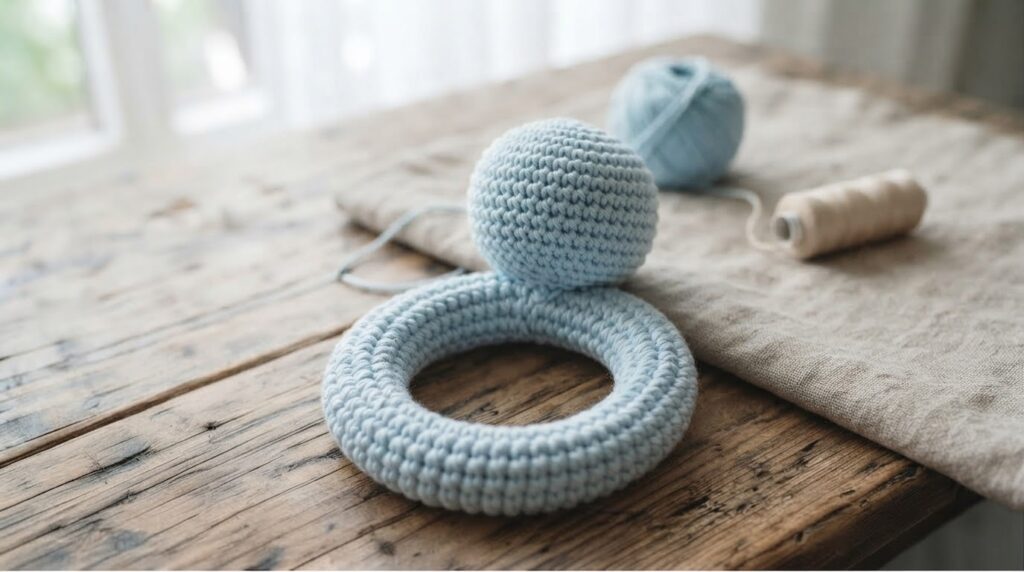
Fasten off, leaving a long tail. Flatten one end of the handle and sew it securely to the bottom of the rattle ball. Make several passes through the stitches around the join to reinforce the connection.
Flatten the other end of the handle and sew the stitches together securely. Weave the yarn end into the handle and trim any excess.
Assembly
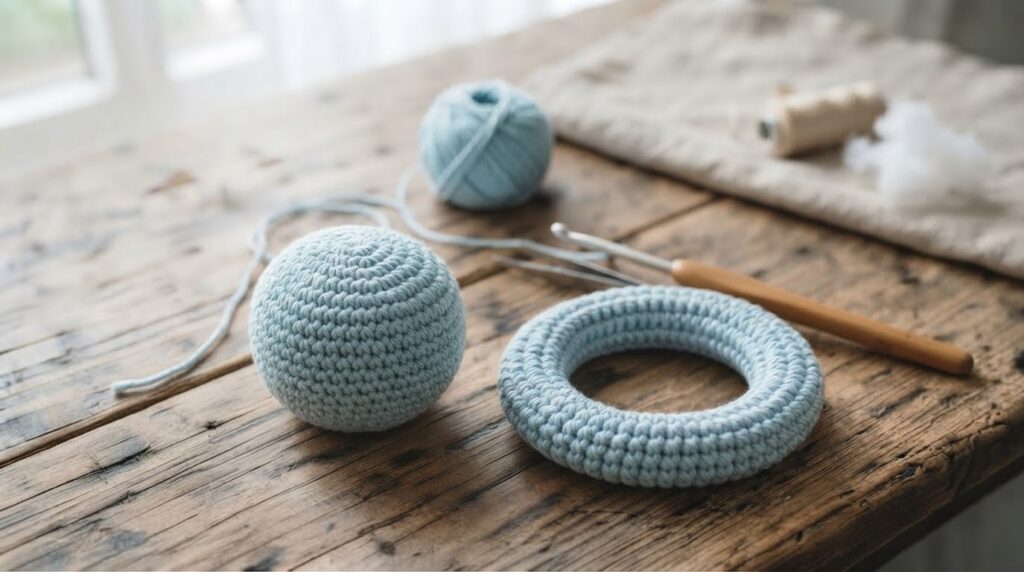
Sew the crocheted handle securely to the bottom of the rattle ball. Make several passes through the stitches around the join to reinforce the connection.
Check the entire rattle carefully to make sure the handle is firmly attached and there are no loose yarn ends or exposed parts.
Optional Decoration
For a decorative version, you can add a simple crochet bow or flower where the handle meets the rattle ball.
If the rattle is intended for a baby or young child, avoid adding bows, flowers, buttons, beads, or other small pieces that could come loose. Keep the finished design simple and make sure all embroidered details are securely stitched.
Related Crochet Patterns
- Mini Amigurumi Cat Keychain Pattern
- Crochet Carrot Keychain Pattern
- Tiny Sea Turtle Keychain Pattern
- Mini Strawberry Amigurumi Pattern
- Frog Keychain on a Crochet Bag
Common Mistakes to Avoid
One common mistake is choosing a rattle insert that is too large for the crocheted ball. The insert should fit comfortably inside with enough room for stuffing around it.
Another common issue is leaving the handle attachment too loose. Reinforce the connection with multiple passes of yarn and check that the handle does not move excessively.
Before giving the rattle to a baby, inspect all seams, embroidered details, and attachment points carefully to make sure everything is secure.
Frequently Asked Questions
Is this pattern suitable for beginners?
Yes. The pattern uses basic stitches and simple shaping. You should be comfortable with a magic ring, single crochet, increases, and decreases before starting.
Can I use a different yarn?
Yes. You can use another yarn weight, but the finished rattle will be a different size. Choose a hook that gives you firm stitches without making the fabric difficult to work.
Can I sell finished rattles made from this pattern?
Yes. You may sell finished items made from this pattern in small quantities. Please credit AmyLiva Handmade as the pattern designer and include a link to amyliva.com when possible.
How should I clean the rattle?
Follow the care instructions for the yarn and rattle insert you use. If the insert is not designed to be washed, avoid soaking the finished rattle. Allow it to dry completely before giving it to a child.
Can I wash the finished crochet baby rattle?
Spot cleaning or gentle hand washing is recommended, depending on the rattle insert used. Avoid soaking the rattle in water if the internal insert is not designed to be washed. Allow it to dry completely before using it again.
Final Thoughts
This crochet baby rattle is a simple and practical handmade project that combines basic amigurumi techniques with a useful baby accessory. Its small size and straightforward construction make it suitable for crocheters who want to create a thoughtful handmade gift without using a large amount of yarn.
By changing the yarn colours and embroidered details, you can easily personalise the design while maintaining the same basic structure. Whether you make it for your own family or as a baby shower gift, this crochet rattle is a charming project that works up quickly and can be customised in many different ways.
Safety Note
This crochet rattle is a handmade item and should be checked carefully before each use. Make sure the crocheted fabric is intact and that the rattle insert and handle are securely enclosed.
For babies and very young children, use embroidered facial details instead of safety eyes or other small parts. Do not add buttons, beads, or loose decorative pieces.
The finished rattle should be used only with appropriate adult supervision. Follow the manufacturer’s instructions for the rattle insert and other materials you use.
Care and Washing
Check the rattle insert manufacturer’s instructions before washing the finished toy. If the insert is not washable, do not soak or machine wash the rattle.
For a washable version, gently hand wash the crocheted cover with mild soap and cool or lukewarm water. Rinse carefully and press out excess water without wringing. Lay flat or reshape and allow it to dry completely before use.
Do not use bleach, tumble drying, or high heat unless the yarn and rattle insert specifically allow it.
Use and Inspection
Inspect the rattle before each use. Check the crocheted fabric, handle, seams, and enclosed rattle insert for signs of damage or loosening.
Do not give the rattle to a child if the crochet fabric is torn, the handle is coming loose, or any part has become exposed.
Adult supervision is recommended whenever a handmade rattle is used by a baby or young child.
Pattern Usage
This pattern is designed and written by AmyLiva Handmade. You may make finished rattles for personal use, as gifts, or for small-quantity sale.
Please credit AmyLiva Handmade as the pattern designer when sharing or selling finished items made from this pattern and include a link to amyliva.com when possible.
The pattern itself may not be copied, reproduced, translated, redistributed, or resold, in whole or in part.

Yorum gönder