Fluffy Amigurumi Tooth – Free Crochet Pattern

This fluffy amigurumi tooth is a small crochet project made with soft velvet or chenille yarn. The main tooth is worked in continuous rounds, with two small roots crocheted separately and sewn to the bottom.
The pattern uses basic amigurumi techniques, including a magic ring, single crochet, increases, decreases, stuffing, and simple sewing. The finished tooth can be used as a small plush decoration or made into a keychain by adding a suitable keychain attachment.
Velvet yarn gives the tooth a soft, plush appearance, but it can make individual stitches difficult to see. For this reason, keeping track of the stitches is especially important throughout the pattern.
The sample uses white yarn with small black eyes and an embroidered smile. You can also use cotton or acrylic yarn if you prefer more visible stitches or want to make the tooth in a different size.
Materials
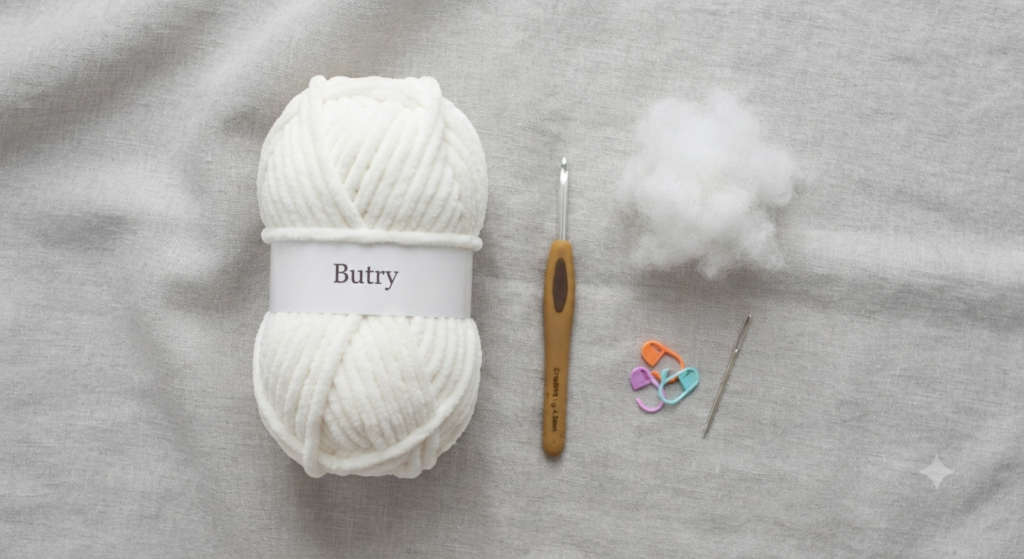
- White velvet or chenille yarn (e.g., Himalaya Dolphin Baby, Bernat Velvet)
- Crochet hook suitable for your yarn choice (usually 3.5 mm – 4.5 mm for velvet yarn)
- Polyester fiberfill for stuffing
- 2 safety eyes (4 mm or 6 mm)
- Black embroidery thread for the smile
- Yarn needle for sewing and weaving in ends
- Stitch marker (essential for working in continuous rounds)
- Scissors
A stitch marker is useful because the tooth is worked in continuous rounds.
Choosing Yarn
Velvet or chenille yarn gives the tooth a soft, plush surface and helps create a rounded shape. These yarns can be used with this pattern, but the stitches are less visible than they are with cotton yarn.
If you are new to amigurumi, cotton or acrylic yarn may be easier to work with because you can see each stitch more clearly. The finished tooth will also have a firmer appearance.
When using a different yarn weight, choose a crochet hook that creates a firm fabric without large gaps between the stitches. Changing the yarn and hook size will also change the finished size of the tooth.
A stitch marker is especially helpful with velvet yarn because the beginning of each continuous round can be difficult to identify.
Choosing Yarn
Velvet or chenille yarn gives the tooth a soft, plush surface and helps create a rounded shape. These yarns can be used with this pattern, but the stitches are less visible than they are with cotton yarn.
If you are new to amigurumi, cotton or acrylic yarn may be easier to work with because you can see each stitch more clearly. The finished tooth will also have a firmer appearance.
When using a different yarn weight, choose a crochet hook that creates a firm fabric without large gaps between the stitches. Changing the yarn and hook size will also change the finished size of the tooth.
A stitch marker is especially helpful with velvet yarn because the beginning of each continuous round can be difficult to identify.
Tooth Body
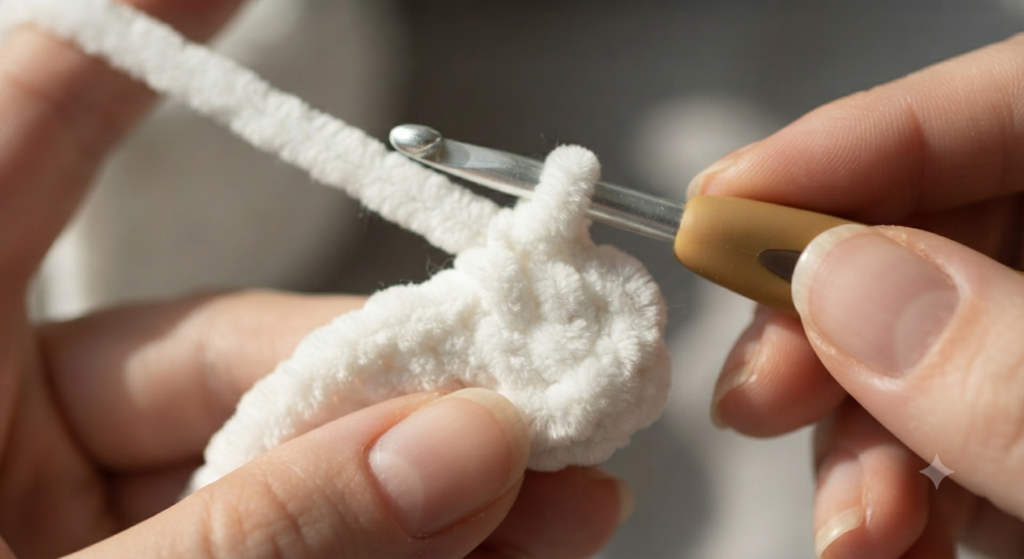
Work in continuous rounds. Do not join at the end of each round. Use a stitch marker to mark the beginning of each round.
Using white velvet or chenille yarn:
Round 1: MR, 6 sc [6]
Round 2: inc in each stitch around [12]
Round 3: (1 sc, inc) × 6 [18]
Round 4: (2 sc, inc) × 6 [24]
Round 5: (3 sc, inc) × 6 [30]
Rounds 6–9: sc around [30]
Round 10: (3 sc, dec) × 6 [24]
Round 11: sc around [24]
Round 12: (2 sc, dec) × 6 [18]
Round 13: (1 sc, dec) × 6 [12]
Round 14: dec around [6]
Eye Placement
Insert the safety eyes between Rounds 6 and 7. Check the position from the front and make sure the eyes are evenly placed before securing the backs.
Stuffing and Closing
Start adding fiberfill after Round 11. Add small amounts at a time and distribute the stuffing evenly so the tooth keeps its rounded shape.
Continue stuffing as you work through the final rounds. The tooth should feel firm but should not be stretched or overly stuffed.
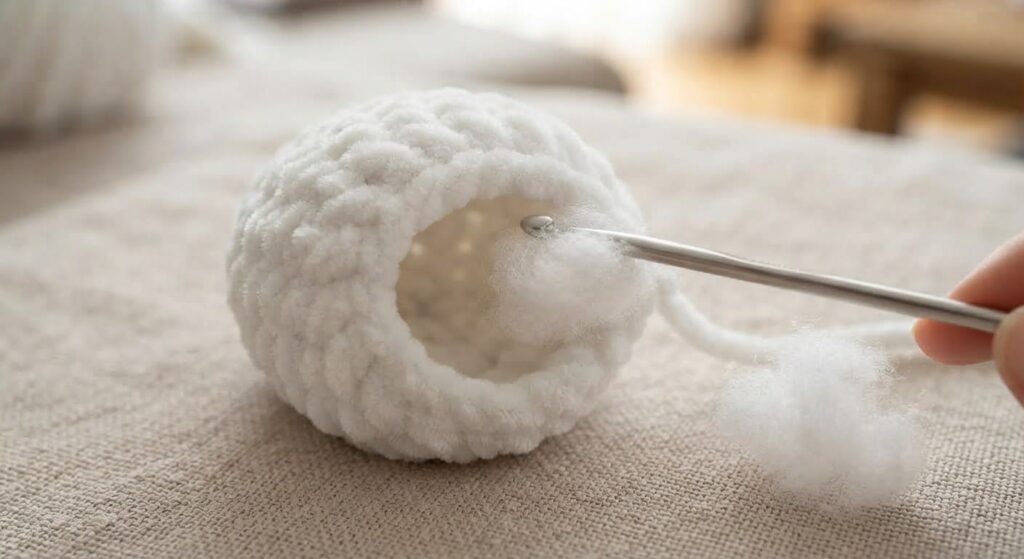
After Round 14, fasten off and leave a long yarn tail. Use the yarn needle to close the remaining opening by working through the front loops of the six stitches. Pull gently to close, secure the yarn, and weave the end inside the tooth.
Embroider the smile with black embroidery thread after the tooth has been stuffed and closed.
Tooth Roots
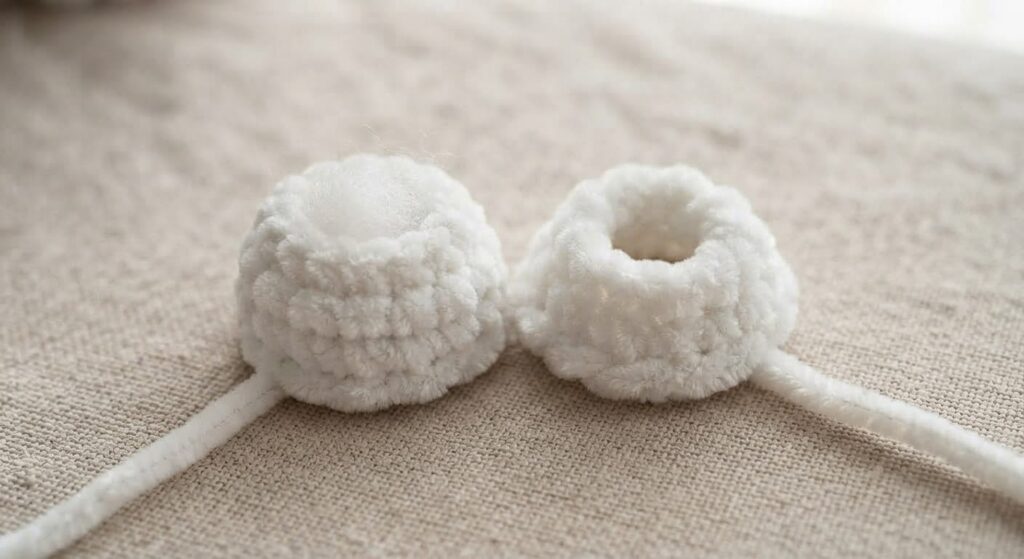
Make 2.
Work each root separately using the same yarn as the tooth.
Round 1: MR, 6 sc [6]
Round 2: (1 sc, inc) × 3 [9]
Rounds 3–5: sc around [9]
Fasten off and leave a long sewing tail.
Add a very small amount of fiberfill to each root. Do not overstuff them because the roots should remain narrow and slightly rounded.
Leave the top opening unclosed so it can be sewn directly to the bottom of the tooth.
Make the second root in the same way.
Tips for Working with Velvet Yarn
Keep Track of Your Stitches
Velvet and chenille yarn can hide individual stitches, especially when the fabric becomes dense. Use a stitch marker and count your stitches at the end of each round.
Keep Your Tension Consistent
Try to maintain the same tension throughout the body. Uneven tension can make the increases and decreases less uniform and may affect the shape of the tooth.
Add the Stuffing Gradually
Add small amounts of fiberfill as the opening becomes smaller. Use your crochet hook or another suitable blunt tool to distribute the stuffing into the corners and around the sides.
Check the Shape Before Closing
Before closing the final opening, look at the tooth from the front and sides. If one area looks flatter or less filled, adjust the stuffing before finishing.
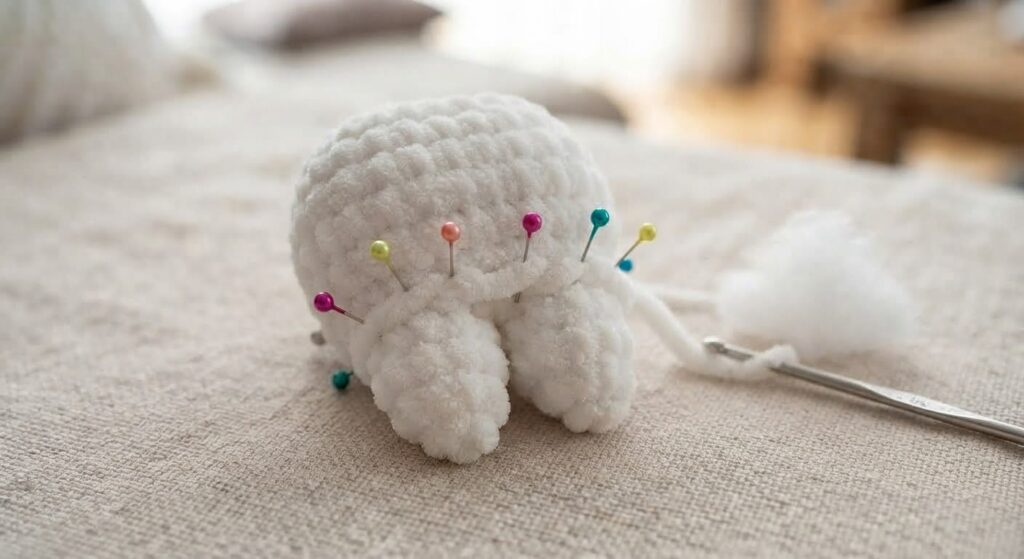
Check the Root Placement
Before sewing the roots in place, pin or temporarily hold them against the bottom of the tooth. Check that they are positioned evenly and that the tooth looks balanced when viewed from the front.
Assembly
Once the tooth is stuffed and closed, attach the two roots to the bottom.
Attach the Roots
Place the two roots on the bottom of the tooth, leaving a small space between them. Check their position from the front and sides before sewing.
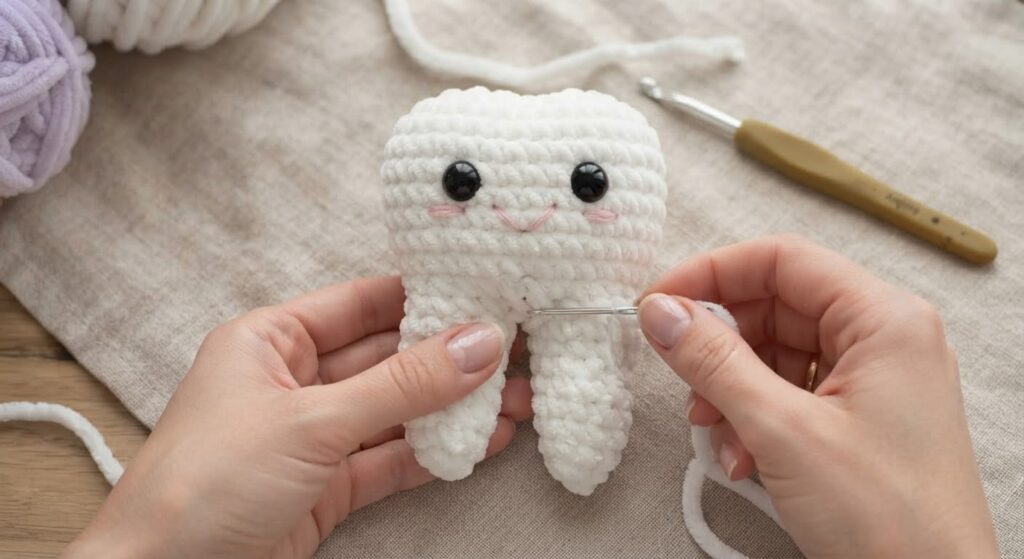
Use the long sewing tails to stitch each root securely to the tooth. Sew around the opening of each root, making several small stitches through the root and the body of the tooth.
Keep the roots pointing downward and check that they are positioned evenly. Once both roots are securely attached, weave the remaining yarn ends inside the tooth and trim the excess.
Add the Keychain Attachment
If you want to use the tooth as a keychain, attach a suitable keychain ring or clasp securely to the top of the tooth. Make sure the attachment is firmly connected before using the finished piece.
Frequently Asked Questions
What yarn is best for this tooth pattern?
Velvet or chenille yarn works well if you want a soft, plush tooth. Cotton or acrylic yarn can also be used and will make the stitches easier to see. The yarn weight and hook size you choose will affect the finished size.
Can I use a different yarn weight?
Yes. You can use a lighter or heavier yarn, but the finished tooth will be a different size. Choose a hook that creates a firm fabric with no large gaps between the stitches.
Is this pattern suitable for beginners?
This pattern uses basic amigurumi techniques such as a magic ring, single crochet, increases, decreases, stuffing, and simple sewing. Beginners who are comfortable with these techniques should be able to follow the pattern. Velvet yarn can be harder to work with because the stitches are less visible.
How much should I stuff the tooth?
Add the fiberfill gradually as you work. The finished tooth should be firm enough to hold its shape, but not so tightly stuffed that the stitches stretch and create gaps.
Can I make the tooth larger or smaller?
Yes. Using a different yarn weight and hook size will change the finished size. Keep in mind that changing the materials may also change the proportions and appearance of the tooth.
How should I wash the finished tooth?
Check the care instructions for the yarn you used. When the yarn is washable, gentle hand washing with cool or lukewarm water is generally a safer option than machine washing. Allow the finished piece to air dry completely.
Is this tooth safe for young children?
Safety eyes are small detachable parts and can pose a choking hazard. For items intended for babies or young children, embroidered eyes are a safer option. Young children should always be supervised when using handmade items containing small parts.
Pattern Usage & Copyright
This amigurumi tooth pattern and the original photographs on this page were created by Amyliva Handmade.
You may use this pattern to make finished tooth amigurumi for yourself, as gifts, or for sale. If you sell a finished item made from this pattern, please credit Amyliva Handmade as the original designer and link to the original pattern page when possible.
Please do not copy, translate, reproduce, redistribute, or publish this written pattern or its photographs as your own. You are welcome to share the link to this original pattern page instead.
Safety Note
If you make this amigurumi for a baby or young child, consider using embroidered eyes instead of plastic safety eyes. Safety eyes and other small parts can become a choking hazard if they come loose.
This handmade item is not a substitute for a commercially tested children’s toy. Always consider the age of the child and supervise young children when using handmade items that contain small parts.


Yorum gönder