Weaving Magic: A Detailed Amigurumi Spider Web Pattern for Spooky Season Success
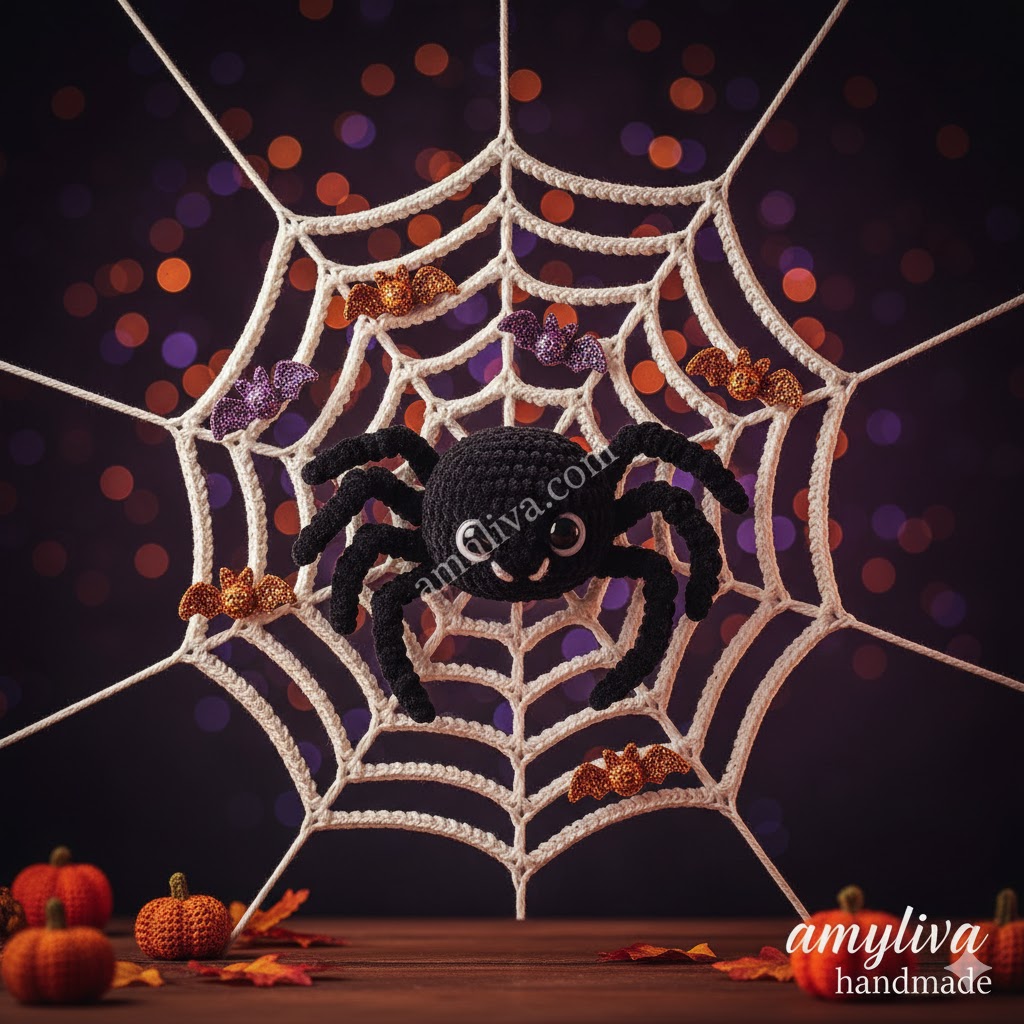
Welcome, fellow yarn enthusiasts and spooky season lovers! Are you ready to add a handcrafted, eerie elegance to your Halloween decor? Forget flimsy, store-bought cobwebs! This comprehensive guide will walk you through crocheting a beautiful, sturdy, and wonderfully spooky Amigurumi Spider Web. Perfect for showcasing your favorite creepy-cute amigurumi spider, this web is designed to be beginner-friendly yet detailed enough for even the most seasoned crocheter to enjoy.
This extensive, SEO-optimized tutorial provides a free pattern, detailed step-by-step instructions, essential tips for blocking, and a wealth of rich content to ensure your crafting success. Get your hooks ready—let’s weave some magic!
Why Choose a Crocheted Spider Web? (The Amigurumi Advantage)
As an Amigurumi artist, you understand the value of handcrafted charm. A crocheted spider web is a fantastic addition to your collection for several reasons:
- Durability and Reusability: Unlike plastic webs that tear and tangle, your crocheted web is a lasting decoration you can use year after year.
- Customization: Easily adjust the size, yarn weight, and color to perfectly match your unique Halloween aesthetic. Want a massive yard display? You can scale this up!
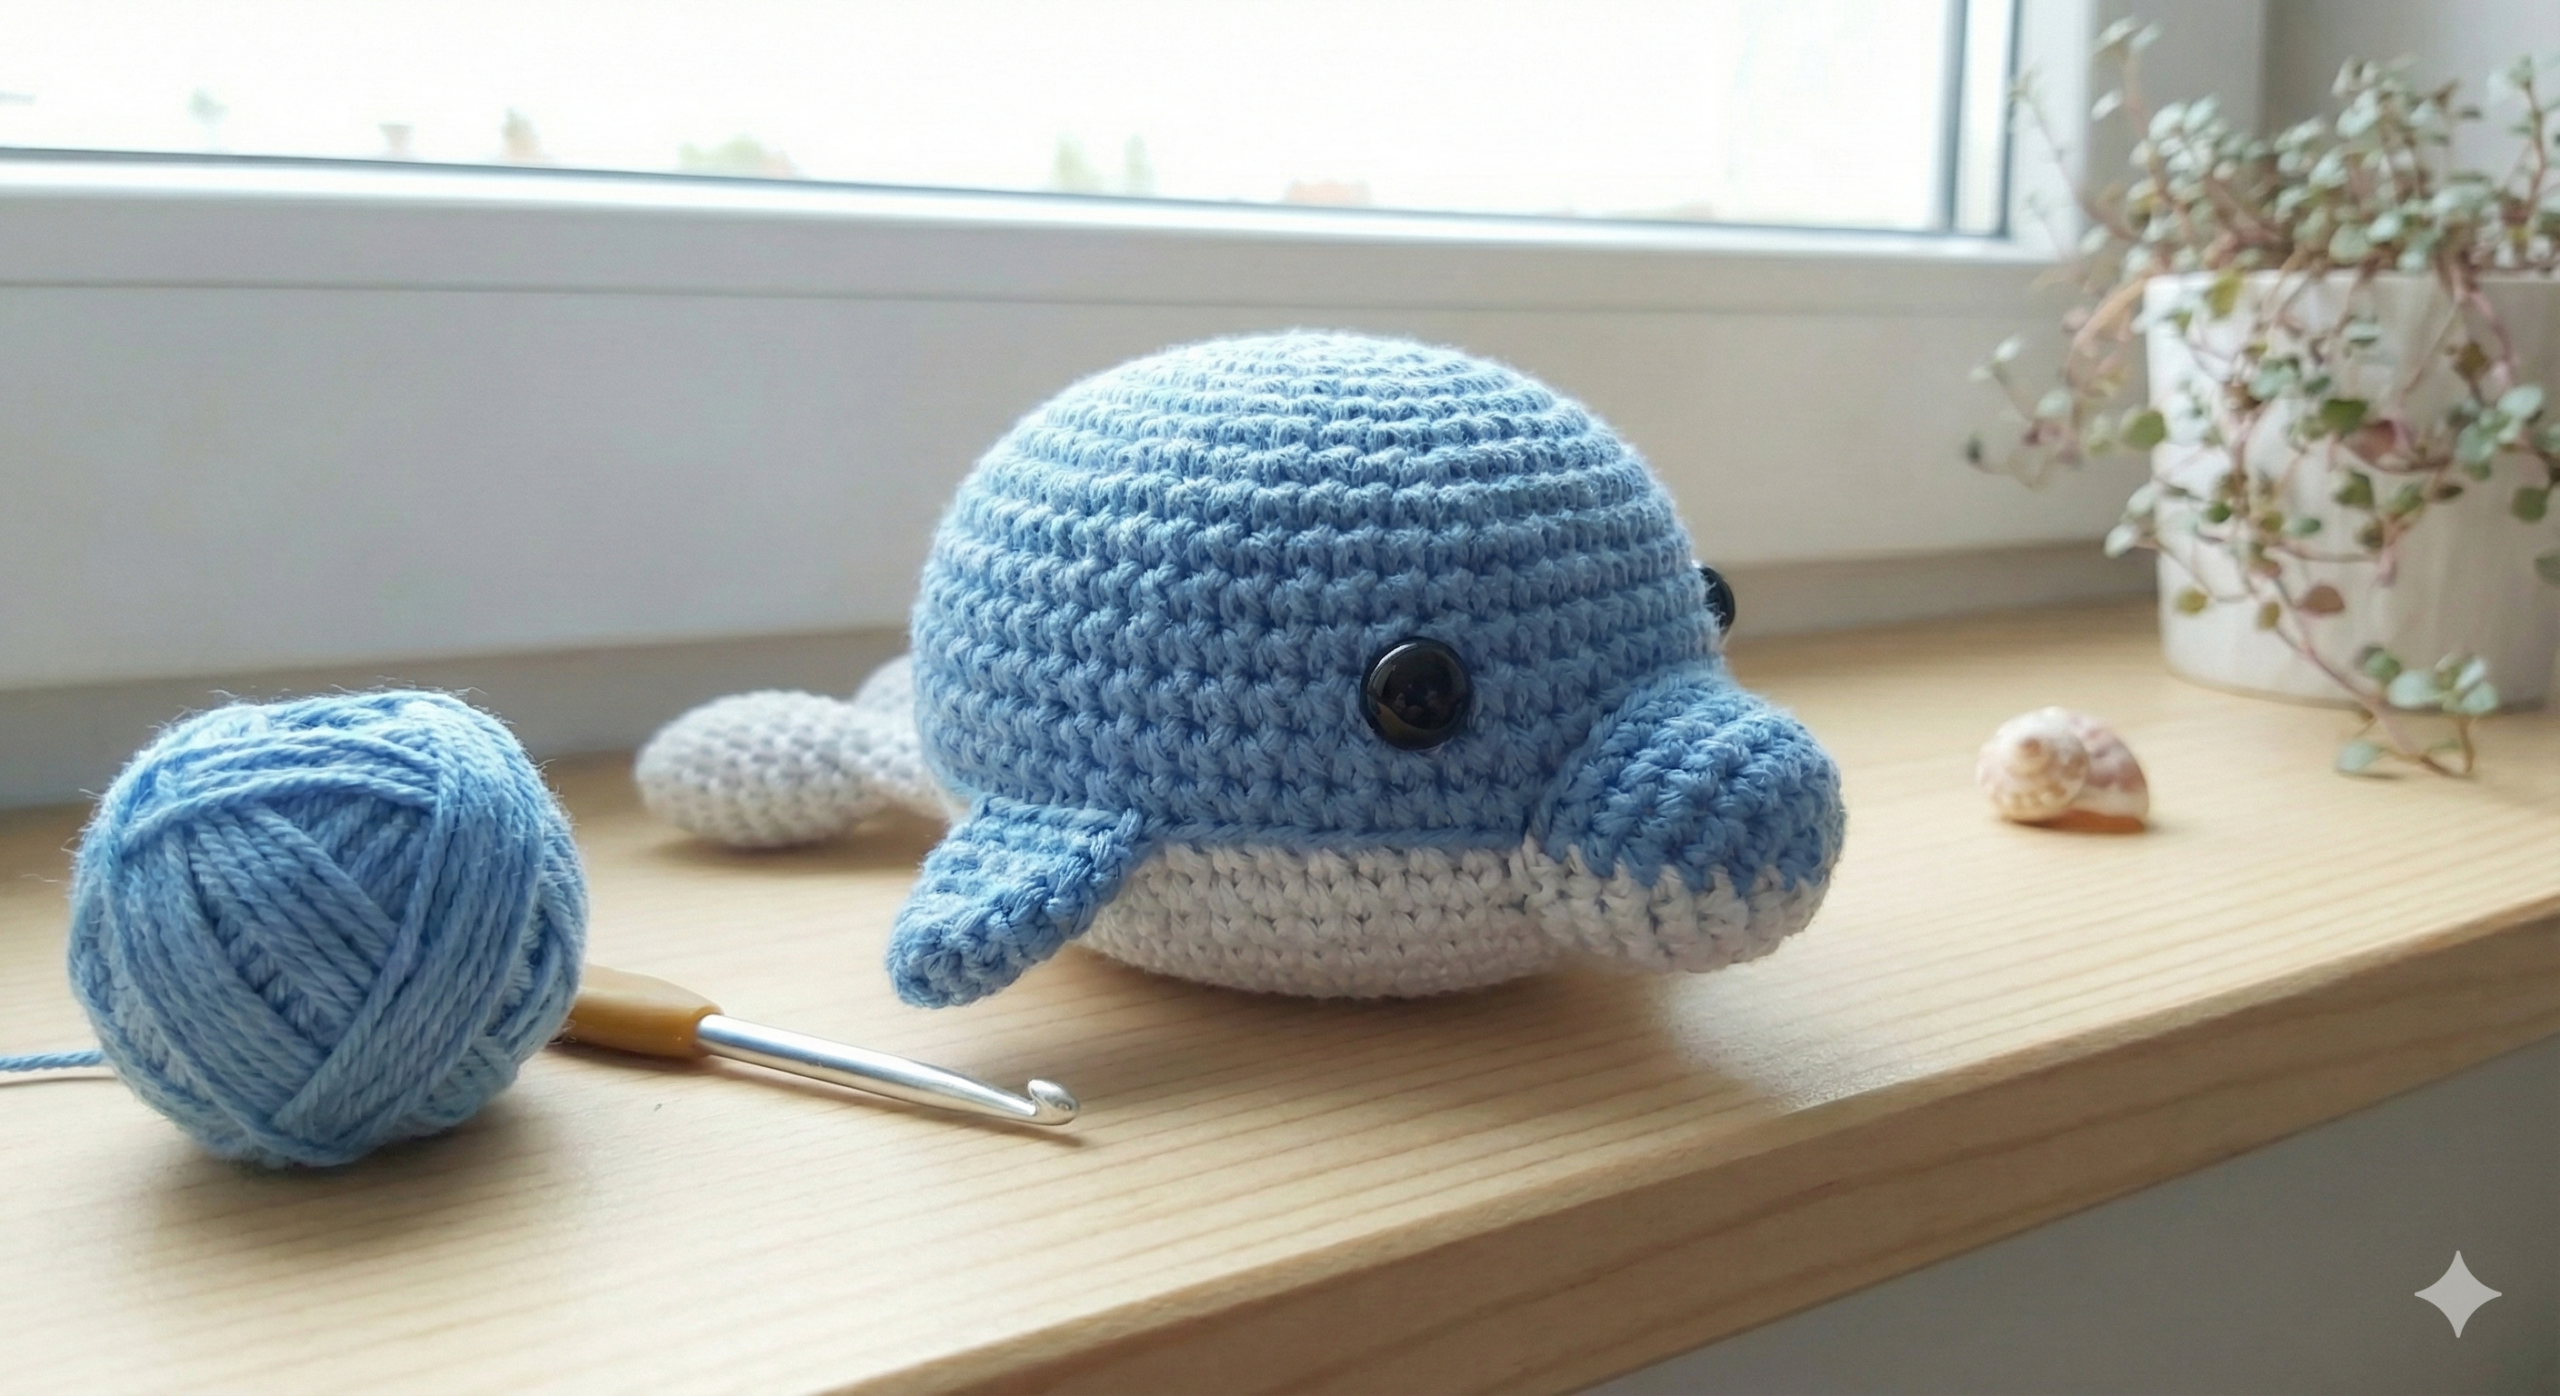
- Showcase for Your Amigurumi: This web is the ideal stage for your amigurumi creations, providing the perfect photo opportunity for your Etsy shop, Ravelry, or Pinterest (like the stunning image you saw!).
- A Relaxing Project: The repetitive nature of the stitches makes this a wonderfully meditative project, perfect for a cozy autumn evening.
The Essential Toolkit: Materials and Abbreviations
Before we dive into the pattern, let’s gather our supplies. Remember, choosing the right materials is key to a beautiful finished piece!
Materials You Will Need:
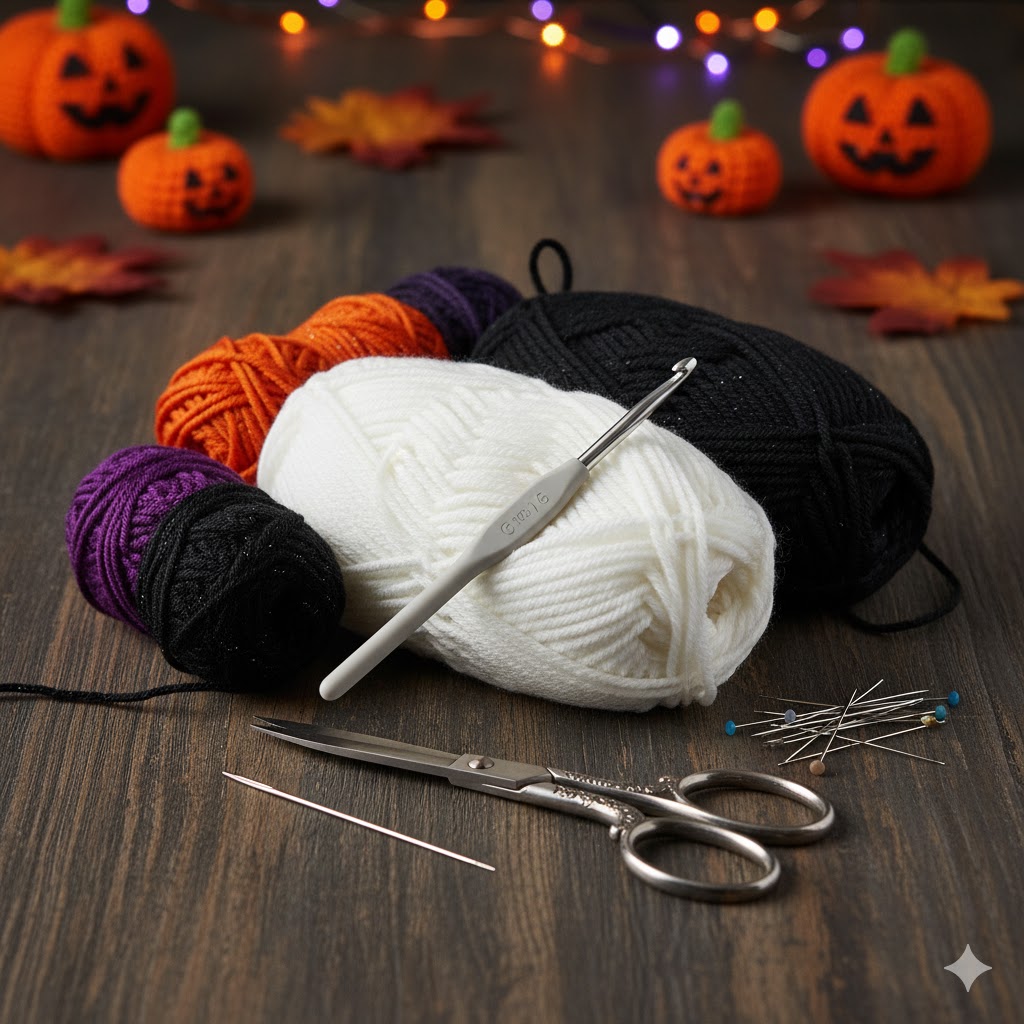
- Yarn: Worsted Weight (Medium #4) Acrylic or Cotton Yarn in White, Off-White, or Black. White or off-white gives the classic cobweb look, but black offers a mysterious, dramatic flair!
- Crochet Hook: A 4.0mm (G/6) or 5.0mm (H/8) hook, depending on your yarn and desired tension. A slightly larger hook than recommended for your yarn can create a lacier, more web-like appearance.
- Tapestry Needle: For weaving in ends.
- Scissors.
- Blocking Supplies (Highly Recommended!): A foam blocking mat (or thick cardboard), rust-proof pins, and a spray bottle with water (or a liquid fabric stiffener, e.g., Stiffen Stuff).
US Crochet Terminology & Abbreviations:
| Abbreviation | Full Term | UK Equivalent | Notes |
| ch | chain | chain | |
| sl st | slip stitch | slip stitch | |
| sc | single crochet | double crochet | |
| dc | double crochet | treble crochet | |
| tr | treble crochet | double treble crochet | |
| MR | magic ring | magic ring | The perfect start for a tight center! |
| st(s) | stitch(es) | stitch(es) | |
| ch-sp | chain space | chain space | |
| rep | repeat | repeat |
Pattern Notes:
- This pattern is worked in the round, and we will join each round with a slip stitch to the top of the starting chain.
- The web is built by increasing the number of chain stitches between the main “spoke” stitches (DC, TR), which pulls the web outward and creates the iconic lace design.
- The initial chain at the beginning of each round counts as the first stitch (DC, TR, etc.).
The Amigurumi Spider Web Pattern (Free & Detailed!)
This pattern will create a medium-sized web, perfect for wall hanging or as a doily/place-mat. To make it larger, simply continue increasing the chain count in subsequent rounds!
Round 1: Establishing the Core
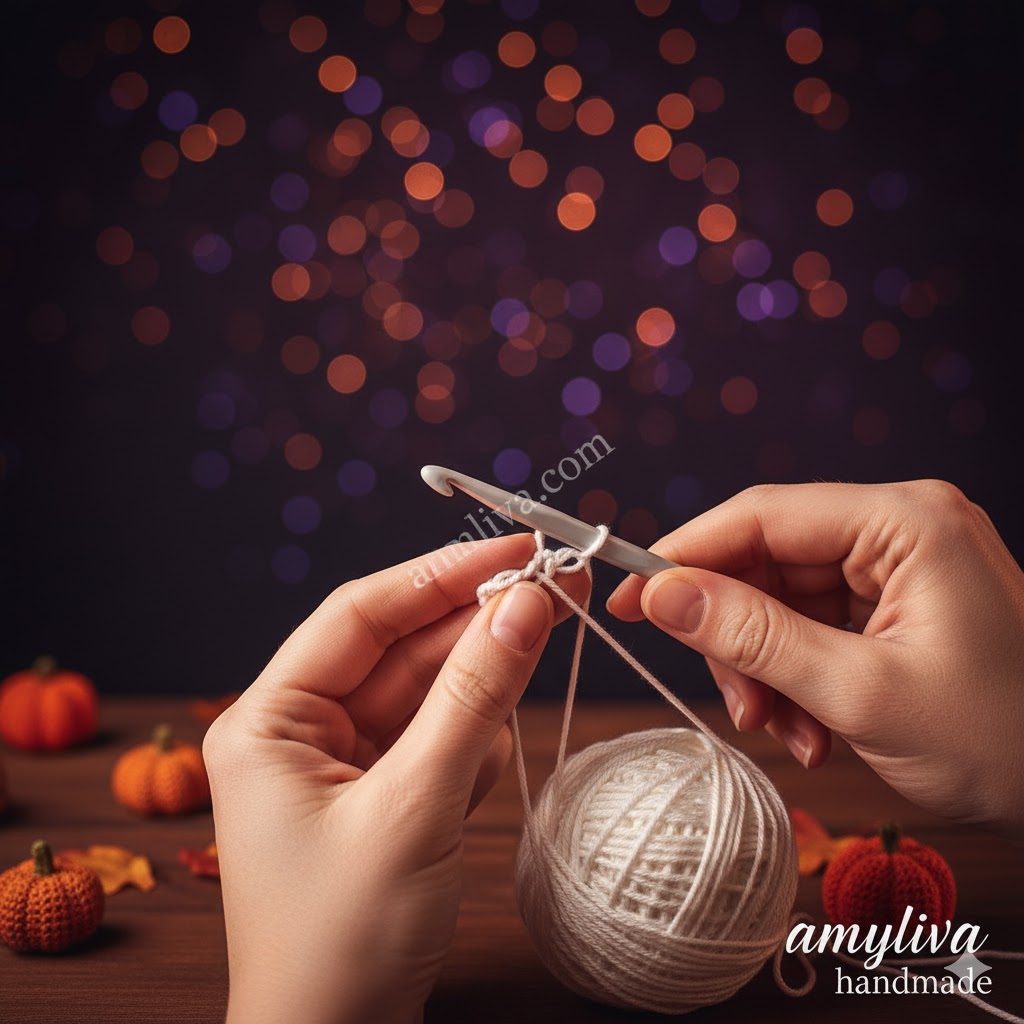
The center of the web needs to be strong and neat—the perfect job for a Magic Ring!
- Start with a Magic Ring (MR).
- Ch 4 (This counts as your first tr).
- Work 1 tr into the MR.
- Ch 2.
- Work 1 tr into the MR, ch 2. Rep this sequence 6 more times.
- Sl st into the 4th chain of the beginning ch-4 to join the round. You should now have 8 treble crochets (tr) separated by 8 ch-2 spaces. [8 tr, 8 ch-2 sps]
Round 2: The First Expansion
We start making the web’s spokes longer by adding more chains.
- Ch 3 (This counts as your first dc).
- Ch 3.
- Work 1 dc into the top of the next tr from the previous round, ch 3. Rep this sequence 6 more times.
- Sl st into the 3rd chain of the beginning ch-3 to join the round. You now have 8 spokes separated by wider gaps. [8 dc, 8 ch-3 sps]
Round 3: Wider Gaps, Spookier Look
The web is visibly growing now!
- Ch 3 (Counts as your first dc).
- Ch 5.
- Work 1 dc into the top of the next dc from the previous round, ch 5. Rep this sequence 6 more times.
- Sl st into the 3rd chain of the beginning ch-3 to join the round. Notice the chain count is increasing by 2 from the previous round. [8 dc, 8 ch-5 sps]
Round 4: A True Web Structure
Keep the tension loose in your chains for a delicate lace effect.
- Ch 3 (Counts as your first dc).
- Ch 7.
- Work 1 dc into the top of the next dc from the previous round, ch 7. Rep this sequence 6 more times.
- Sl st into the 3rd chain of the beginning ch-3 to join the round. [8 dc, 8 ch-7 sps]
Round 5: Preparing for the Edge
The final radial round for our standard size web.
- Ch 3 (Counts as your first dc).
- Ch 9.
- Work 1 dc into the top of the next dc from the previous round, ch 9. Rep this sequence 6 more times.
- Sl st into the 3rd chain of the beginning ch-3 to join the round. [8 dc, 8 ch-9 sps]
Finishing Touches: Weaving and Blocking for Perfection
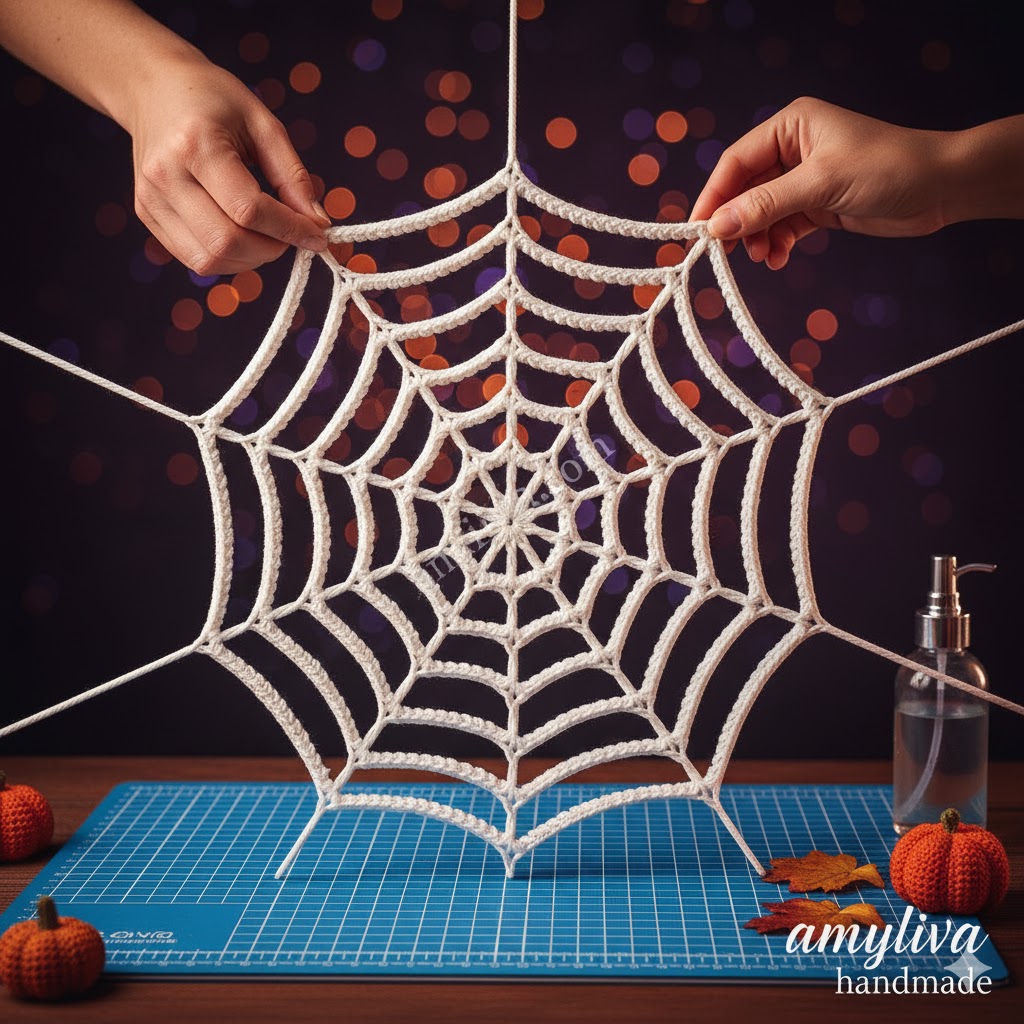
A crocheted web can look a little crumpled or wavy right off the hook—that’s where the magic of blocking comes in!
Step 1: Fasten Off and Weave Ends
- Cut your yarn, leaving a 6-inch tail.
- Pull the tail through the final loop on your hook to secure the knot.
- Using your tapestry needle, carefully weave the tail into the stitches along the edge of the web. This step is crucial for a professional finish and prevents unraveling.
Step 2: The Art of Blocking (The Secret to a Perfect Web!)
Blocking is what takes your floppy circle and transforms it into a taut, geometric spider web. Do not skip this step!
- Prepare the Surface: Lay your foam blocking mat (or cardboard covered in plastic wrap/a towel) on a flat surface.
- Dampen the Web: Use a spray bottle to thoroughly mist the crocheted web with cool water until it is completely damp but not soaking wet. Alternatively, soak it in a diluted solution of liquid fabric stiffener for a very firm result.
- Pin the Center: Place one pin directly in the center of the web (the Magic Ring).
- Stretch and Pin the Spokes: This is the most important part. Place a pin at the very end of one spoke (a DC stitch from the last round). Then, pin the opposite spoke directly across from it, gently but firmly stretching the web to its maximum size.
- Continue Pinning: Repeat step 4 for the remaining six spokes, ensuring the web is stretched into a neat, taut circle with clear, straight radial lines. The chain spaces should now be open and crisp.
- Dry: Allow the web to dry completely. This can take anywhere from a few hours to a full day, especially if you used fabric stiffener.
- Release: Once bone dry, carefully remove the pins. You will now have a beautifully shaped, rigid spider web ready for display!
SEO & AdSense Enrichment: Tips for Amigurumi Creators
To make this blog post a high-value resource, here are some content enrichment ideas for your AdSense and SEO strategy:
Keywords and Long-Tail Phrases:
- Primary Keywords: amigurumi spider web, crochet spider web pattern, easy Halloween crochet, free spider web pattern, beginner crochet Halloween.
- Long-Tail Phrases: “Detailed tutorial for crocheting a realistic spider web,” “How to block a lace crochet project for a crisp finish,” “Adorably spooky amigurumi spider and web set.”
Engagement and Call-to-Action (CTA) Opportunities:
- Internal Linking: “Pair this web with our [Link to Amigurumi Spider Pattern] for the ultimate Halloween duo!” or “Need to learn the Magic Ring? Check out our [Link to Magic Ring Tutorial] for beginners.”
- Product Linking (Monetization): “The best hooks for lace projects are listed in my [Link to Affiliate Hook Recommendations Page].”
- Comment Prompt: “What color did you choose for your spider web? Share your finished project in the comments below, or tag us on Instagram with #AmylivaHandmadeWeb!”
Troubleshooting & Advanced Tips Section (Added Content Value):
Q: My web is curling! What went wrong? A: Curling usually means you need to add more chains between your “spoke” stitches. If you followed the pattern exactly, a forceful blocking (as described above) will correct this. For the next attempt, try adding 1-2 extra chains to each round (e.g., Round 3: Ch 7 instead of Ch 5).
Q: How do I make the web bigger? A: Simply continue the pattern! For each new round, increase the chain count between your DC stitches by two.
- Round 6: Ch 3, Ch 11, (DC in next DC, Ch 11) rep…
- Round 7: Ch 3, Ch 13, (DC in next DC, Ch 13) rep… Continue until you reach your desired diameter!
Q: Can I use different stitches for the spokes? A: Absolutely! Using taller stitches (like tr or dtr – double treble) for the spoke stitches allows you to increase the chain spaces even more dramatically, creating a giant, airy web perfect for outdoor display.
Frequently Asked Questions (FAQ)
Here are some of the most common questions crafters ask when working on crochet lace and spider web patterns:
Q1: My web is curling/wavy, even though I followed the pattern exactly. What should I do?
A: Curling or waviness is a very common issue with round lace projects. It typically means your chain spaces are slightly too tight for your yarn weight/tension, or the web is resisting its final shape. The solution is Blocking. Dampen your web and aggressively pin the spokes (DC stitches) out to their full length on a blocking mat. Allow it to dry completely. For future webs, consider going up one hook size, or adding an extra chain stitch to each round to provide more slack (e.g., if the pattern calls for Ch 7, use Ch 8).
Q2: Can I make this spider web much larger for a wall or yard display?
A: Absolutely! This pattern is easily scalable. To make the web larger, simply continue the established pattern sequence: increase the chain count by 2 on each subsequent round. The “spoke” stitches (DC, TR) will remain constant, but the chains will grow longer, pulling the web outward. For very large webs, you may need to switch to taller stitches (like Treble Crochet – TR) for the spokes to maintain tension.
Q3: What kind of yarn is best for a “lacy” spider web effect?
A: For a crisp, delicate lace effect, we recommend using Sport (Size 2) or DK (Size 3) weight cotton yarn with a hook that is slightly larger than the yarn label suggests (e.g., a 4.0mm hook with DK yarn). Cotton blocks exceptionally well, giving you those perfectly straight web lines. Acrylic yarn works great for large, sturdy, and inexpensive decorations, but requires more rigorous blocking (like steam blocking).
Q4: Is the Magic Ring (MR) essential for this pattern, or can I use a Chain 4 join?
A: The Magic Ring (MR) is highly recommended as it closes the center hole completely, creating a more realistic and neat web core. A Chain 4 joined with a slip stitch will leave a noticeable hole. For beginners struggling with the MR, a Chain 2 with 8 SC in the second chain from the hook is a good, tight alternative, though not as perfect as the MR.
Q5: When should I weave in the ends—before or after blocking?
A: You should always weave in your ends after blocking. Blocking can slightly stretch or change the placement of your stitches. By weaving the ends in after the piece has set into its final shape, you ensure the ends are securely hidden and won’t pop out when the web is stretched or pinned.
Conclusion: Displaying Your Spooky Masterpiece
Congratulations! You have successfully crocheted a stunning, durable, and delightfully spooky amigurumi spider web. Whether you use it as a centerpiece on your Halloween table, hang it in a doorway, or display it proudly on your craft booth, this handmade piece is sure to impress.
Don’t forget to pose your finished amigurumi spider right in the center!
Happy Crocheting and Happy Halloween!
© amyliva handmade – Find more spooky-cute patterns and supplies at amyliva.com

Yorum gönder